This was supposed to be a proper, labor-intensive chicken Parmesan. You know the kind—the one where you spend an hour setting up a breading station, get flour under your fingernails, and stand over a sputtering skillet of oil like it’s a science experiment. That was the plan. But it was a Tuesday, I’d just gotten home late from a work thing, and I was already annoyed that I’d promised myself a home-cooked meal. I grabbed the wrong bag of breadcrumbs from the pantry—panko instead of Italian seasoned—and my egg wash bowl slipped right out of my hand and shattered on the tile floor. I stood there, staring at the mess, and honestly? I almost ordered pizza.
But I was stubborn. And hungry. So I scraped together what I had left, tossed the chicken cutlets in a mix of panko and Parmesan, and figured I’d just bake them and hope for the best. I mean, what was the worst that could happen? Soggy chicken? Dry chicken? I’d survived worse takeout. I threw them in a hot oven, topped them with sauce and mozzarella, and waited, fully expecting to eat my words along with a mediocre dinner.
What came out of that oven was nothing like the plan—and better. The chicken was shatteringly crisp on the outside, juicy on the inside, and the cheese had melted into these perfect golden spots. It was chicken Parmesan, but faster, cleaner, and honestly more satisfying than the fried version I’d been chasing. Maybe you’ve been there—when a recipe fails so hard it actually wins. That’s this one. And I’ve been making it ever since, on purpose this time.
Why You’ll Love This Recipe
Let’s be real for a second. Weeknight cooking is a battlefield. You’re tired, the clock is ticking, and everyone’s hungry five minutes ago. This quick crispy baked chicken Parmesan was born for exactly those nights. It’s not just another recipe—it’s the one that gets dinner on the table fast without making you feel like you compromised on flavor or texture.
- Quick & Easy: From fridge to table in about 30 minutes. No standing over a hot stove, no splattering oil, no complicated steps. Just mix, coat, bake, and eat.
- Simple Ingredients: You probably have most of this stuff already. Chicken breasts, breadcrumbs, Parmesan, marinara sauce, mozzarella. No fancy grocery trips required.
- Perfect for Busy Weeknights: This is the kind of dinner that saves you on a Tuesday when you have zero energy but still want something that feels like a real meal.
- Crowd-Pleaser: Kids love it, adults love it, and it reheats beautifully for lunch the next day. I’ve never met anyone who turned down a plate of this.
- Unbelievably Crispy: The secret is in the panko-Parmesan coating and a hot oven. You get that golden, crunchy crust without the grease. Honestly, it’s next-level comfort food.
What makes this recipe different from the rest? It’s the technique. Instead of frying, we bake the chicken on a wire rack set over a baking sheet. That little trick lets the hot air circulate all around the chicken, so every single bite stays crispy. No soggy bottoms, no sad, steamed chicken. Plus, the Parmesan in the coating adds this nutty, salty depth that you just don’t get from plain breadcrumbs. It’s not just another version of chicken Parmesan—it’s my best version, tested through a dozen failed attempts until I got it right.
This recipe isn’t just good—it is the kind that makes you close your eyes after the first bite. It’s comfort food reimagined: faster, easier, but with the same soul-soothing satisfaction. Perfect for impressing your family on a random Wednesday or turning a simple meal into something memorable.
What Ingredients You Will Need
This recipe uses simple, wholesome ingredients to deliver bold flavor and that irresistible crispy texture without the fuss. Most of these are pantry staples, which is exactly what you want on a busy night.
For the Chicken
- 2 boneless, skinless chicken breasts (about 1.5 lbs total) – Look for breasts that are roughly the same thickness so they cook evenly. If they’re huge, you can butterfly them or just pound them to an even ½-inch thickness. I usually buy organic when I can, but any good-quality chicken works.
- ½ cup all-purpose flour – This helps the egg wash stick to the chicken. You can use a gluten-free all-purpose blend if needed.
- 2 large eggs – Room temperature is best. They whisk up smoother and coat the chicken more evenly.
- 1 cup panko breadcrumbs – This is the key to that extra-crispy texture. Regular breadcrumbs work in a pinch, but panko gives you those shattery, golden flakes. I recommend Kikkoman or Ian’s brand for the best crunch.
- ½ cup grated Parmesan cheese – Use the real stuff, not the green can. Freshly grated Parmesan melts into the coating and adds so much flavor. I like BelGioioso or a good Parmigiano-Reggiano.
- 1 teaspoon garlic powder – For that savory, aromatic base.
- 1 teaspoon dried oregano – Adds a little Italian herb flavor without overpowering.
- ½ teaspoon salt – I use fine sea salt.
- ¼ teaspoon black pepper – Freshly ground is always better.
- 2 tablespoons olive oil – We’ll drizzle this over the breaded chicken before baking to help it get golden and crisp. Don’t skip it!
For Topping & Serving
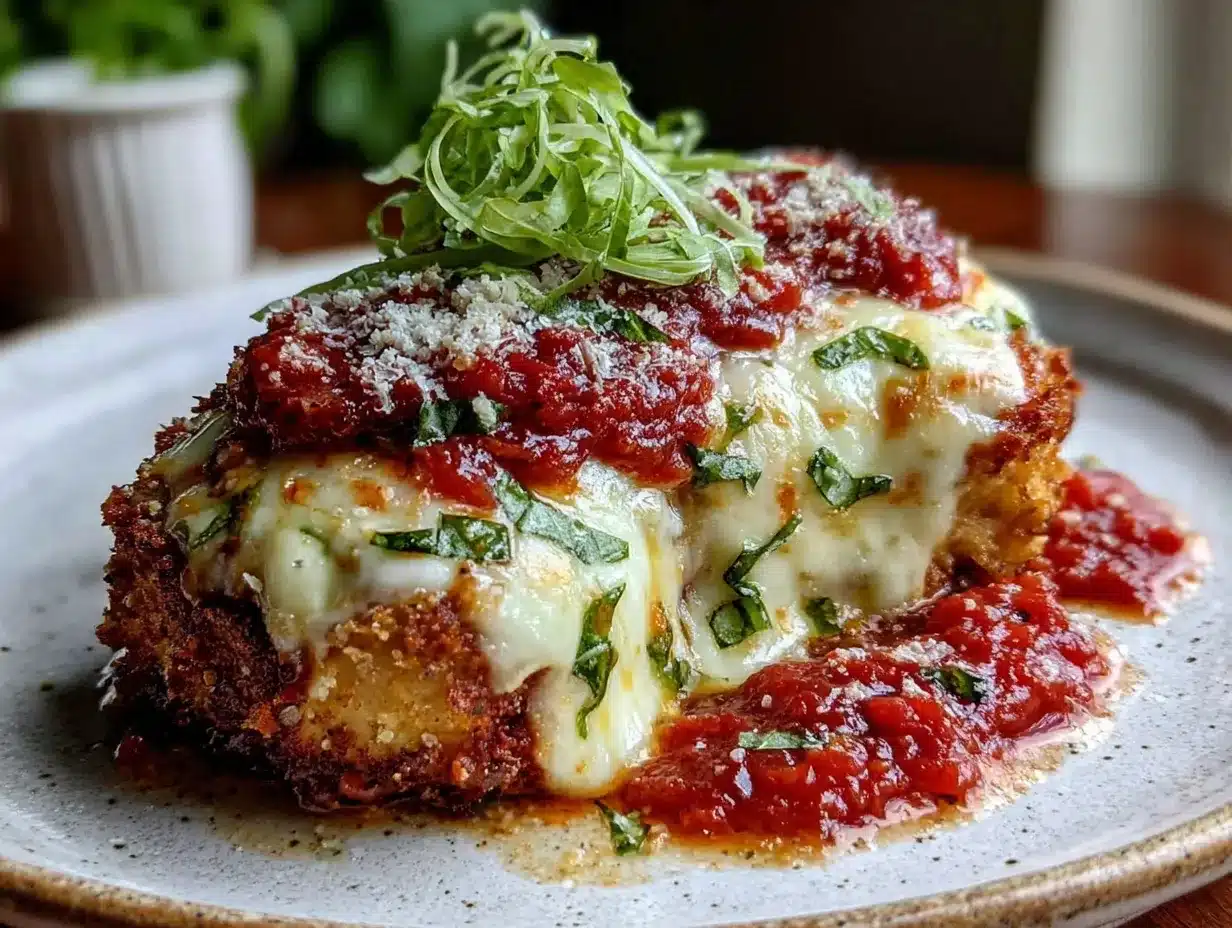
- 1 cup marinara sauce – Use your favorite jarred brand or homemade. I’m partial to Rao’s for weeknights—it’s thick, flavorful, and not too sweet. Look for one with simple ingredients.
- 1 cup shredded mozzarella cheese – Low-moisture, part-skim mozzarella melts best and doesn’t make the dish watery. Fresh mozzarella is fine, but pat it dry first or you’ll end up with a pool of liquid.
- ¼ cup grated Parmesan cheese – For sprinkling on top before baking. More cheese is always a good decision.
- Fresh basil or parsley – Optional, but a few leaves of fresh basil right at the end make it look and taste like a restaurant dish.
- Cooked spaghetti or your favorite pasta – For serving. I like angel hair or spaghetti, but any pasta works. You could also serve this on a bed of zucchini noodles or a simple side salad to keep it lighter.
Equipment Needed
You don’t need a ton of fancy equipment for this one, which is part of the beauty. Here’s what you’ll want to have on hand:
- Baking sheet – A standard half-sheet pan (18×13 inches) works perfectly. Rimmed is important so nothing drips off.
- Wire rack – This is the secret weapon. A wire rack that fits inside your baking sheet lets air circulate under the chicken, keeping the bottom crispy. If you don’t have one, you can bake the chicken directly on a greased baking sheet, but flip it halfway through. I got my basic wire rack at the grocery store for like $8, and it’s one of the best kitchen investments I’ve made.
- Three shallow bowls – For the flour, egg wash, and breadcrumb mixture. I use pie plates or wide soup bowls. They make the breading process so much less messy.
- Tongs – For transferring the chicken from bowl to bowl and onto the baking sheet. Keeps your hands (relatively) clean.
- Meat mallet or rolling pin – To pound the chicken to an even thickness. If you don’t have a mallet, a heavy skillet or even a wine bottle works in a pinch. Just cover the chicken with plastic wrap first to avoid splatters.
- Cutting board and sharp knife – For trimming any excess fat or uneven pieces from the chicken.
- Small bowl – For mixing the panko, Parmesan, and seasonings.
Preparation Method
Alright, let’s get cooking. This whole process takes about 30 minutes, and I promise it’s way less stressful than it sounds. Preheat your oven to 425°F (220°C) right at the start—it needs to be screaming hot for that crispy magic to happen.
- Prep the chicken. Place your chicken breasts on a cutting board. If they’re thick on one end, cover them with a piece of plastic wrap and gently pound them to an even ½-inch thickness using a meat mallet or rolling pin. You’re not trying to destroy them—just even them out. Season both sides lightly with salt and pepper. Cut each breast in half crosswise so you have four roughly equal pieces. This helps them cook faster and more evenly.
- Set up your breading station. Grab three shallow bowls. In the first bowl, add the ½ cup of flour. In the second bowl, whisk the 2 eggs until they’re smooth and slightly frothy. In the third bowl, combine the 1 cup panko breadcrumbs, ½ cup grated Parmesan, 1 teaspoon garlic powder, 1 teaspoon dried oregano, ½ teaspoon salt, and ¼ teaspoon black pepper. Mix it all up with a fork. Line them up in that order: flour, eggs, breadcrumbs.
- Bread the chicken. Take a piece of chicken and dredge it in the flour, shaking off any excess. You want a light, even coating—not a thick paste. Then dip it into the egg wash, letting any extra drip off. Finally, press it into the panko mixture, making sure it’s fully coated on both sides. I like to press gently with my fingers to help the crumbs stick. Place the breaded chicken on a plate. Repeat with all the pieces. Your fingers will get messy—that’s normal. Just embrace it.
- Set up the baking sheet. Place your wire rack inside the baking sheet. Lightly spray the rack with nonstick cooking spray or brush it with a little olive oil. This keeps the chicken from sticking. Arrange the breaded chicken pieces on the rack, leaving a little space between each one. Don’t crowd them—they need room for the hot air to circulate.
- Drizzle with oil. Drizzle the 2 tablespoons of olive oil evenly over the tops of the chicken pieces. You can use your fingers or a brush to spread it around a bit. This step is non-negotiable—the oil is what helps the panko get that deep golden color in the oven instead of staying pale and sad.
- Bake the chicken. Pop the baking sheet into the preheated oven and bake for 12 minutes. The chicken should be starting to turn golden on the edges. While it’s baking, get your sauce and cheese ready.
- Add the toppings. After 12 minutes, remove the baking sheet from the oven. Spoon about 2 tablespoons of marinara sauce onto each piece of chicken, spreading it gently. Sprinkle the shredded mozzarella evenly over the top, then finish with the remaining ¼ cup of grated Parmesan. Don’t pile it on too thick—you want the cheese to melt and bubble, not turn into a heavy blanket.
- Finish baking. Return the baking sheet to the oven and bake for another 8-10 minutes, until the cheese is melted and bubbly and the edges of the chicken are deep golden brown. If you want a little extra color on the cheese, you can switch the oven to broil for the last 1-2 minutes. Just watch it closely—broiling goes from perfect to burnt in seconds.
- Rest and serve. Let the chicken rest on the rack for about 2 minutes. This helps the juices redistribute so the chicken stays moist. Transfer to a plate, garnish with fresh basil or parsley if you’re feeling fancy, and serve immediately over pasta, with a side salad, or all on its own.
Sensory cues to watch for: When you pull the chicken out after the first 12 minutes, it should look golden at the edges and the coating should feel firm to the touch. When it’s fully done, the cheese will be bubbling and slightly browned in spots, and the chicken will feel firm but not hard when you press on it. If you have an instant-read thermometer, the internal temperature should hit 165°F (74°C).
Cooking Tips & Techniques
I’ve made this recipe more times than I can count, and I’ve messed it up in almost every way possible. Here’s what I’ve learned so you don’t have to make the same mistakes.
Don’t skip the wire rack. I know it’s one more thing to wash, but it makes a huge difference. When you bake breaded chicken directly on a baking sheet, the bottom steams and gets soggy. The wire rack lets hot air flow underneath, so every bite stays crispy. If you don’t have a rack, flip the chicken halfway through the first baking step. It’s not perfect, but it helps.
Pound your chicken evenly. I once skipped this step because I was in a hurry, and I ended up with chicken that was overcooked on the thin ends and undercooked on the thick parts. Take the extra 30 seconds to even it out. Your future self will thank you.
Use panko, not regular breadcrumbs. Regular breadcrumbs are too fine and dense—they absorb oil and get heavy. Panko is light, flaky, and stays crispy even after baking. If all you have are regular breadcrumbs, you can still make this work, but the texture won’t be quite as shattery. I learned that the hard way when I ran out of panko and used Italian breadcrumbs instead. The chicken was fine, but it wasn’t crispy crispy.
Don’t over-sauce the chicken. I know it’s tempting to load it up, but too much sauce will make the coating soggy. Stick to about 2 tablespoons per piece. If you want extra sauce, serve it on the side or over the pasta. This also keeps the leftovers from turning into a sad, wet mess the next day.
Let the chicken rest after baking. This is a tip I stole from steak recipes, and it works for chicken too. Letting it sit for just 2 minutes allows the juices to settle so the meat stays tender and moist. If you cut into it right away, all those good juices run out onto the plate.
Multitask like a pro. While the chicken is baking, boil your pasta or toss a salad. This recipe is designed so you can do everything in parallel. I usually start the pasta water when I put the chicken in the oven, and by the time the chicken is done, the pasta is ready to go.
Variations & Adaptations
One of the best things about this recipe is how easy it is to adapt. Here are a few variations I’ve tried and loved:
Gluten-Free Version: Swap the all-purpose flour for a gluten-free all-purpose blend, and use gluten-free panko breadcrumbs (Ian’s makes a good one). Everything else stays the same. I made this for a friend with celiac disease, and she said it was the best chicken Parmesan she’d had in years.
Spicy Chicken Parmesan: Add ½ teaspoon of red pepper flakes to the panko mixture and a pinch of cayenne pepper to the flour. It gives the chicken a subtle warmth without being overwhelming. I like to serve this with a drizzle of hot honey on top—sweet, spicy, and savory all at once.
Lighter Version: Use thin-cut chicken breasts or chicken tenderloins instead of full breasts. They cook faster (about 8 minutes for the first bake) and have less overall fat. You can also skip the mozzarella and just use a sprinkle of Parmesan on top. It’s still delicious, just less decadent.
Eggplant Parmesan Style: Swap the chicken for thick slices of eggplant. Salt the eggplant slices and let them sit for 20 minutes to draw out moisture, then pat them dry before breading. The baking time stays about the same. This is my go-to when I want a vegetarian option.
Air Fryer Adaptation: If you have an air fryer, this recipe works beautifully. Preheat the air fryer to 375°F (190°C). Cook the breaded chicken for 8 minutes, flip, add the sauce and cheese, and cook for another 3-4 minutes until the cheese is melted and bubbly. No wire rack needed—the air fryer basket does the same job.
Different Cheese Combos: Try mixing provolone or fontina with the mozzarella for a different flavor profile. I once used a smoked mozzarella, and it added this incredible depth that paired perfectly with a rich marinara.
Serving & Storage Suggestions
This chicken Parmesan is best served hot, right out of the oven, when the cheese is still stretchy and the coating is at its crispiest. But let’s be real—life happens, and sometimes you have leftovers. Here’s how to handle both situations.
Serving suggestions: I like to serve the chicken over a bed of spaghetti with extra marinara sauce. A simple green salad with lemon vinaigrette cuts through the richness perfectly. If you’re keeping it low-carb, serve it on a bed of sautéed spinach or zucchini noodles. For a truly indulgent meal, pair it with garlic bread and a glass of your favorite red wine—a Chianti or a medium-bodied Merlot works beautifully.
Storage instructions: Let any leftover chicken cool completely before storing. Place the pieces in an airtight container, separating layers with parchment paper if you’re stacking them. They’ll keep in the refrigerator for up to 3 days. The coating will soften a bit in the fridge, but that’s normal.
Reheating tips: The oven is your best friend here. Preheat to 375°F (190°C) and place the chicken on a wire rack over a baking sheet. Bake for 8-10 minutes until heated through and the coating crisps back up. The microwave works in a pinch, but the coating will get soft. If you’re in a hurry, an air fryer at 350°F (175°C) for 3-4 minutes does a fantastic job of reviving the crunch.
Freezer instructions: You can freeze the breaded, unbaked chicken for up to 3 months. Place the breaded pieces on a baking sheet and freeze until solid, then transfer to a freezer bag. When you’re ready to cook, bake directly from frozen, adding 5-7 minutes to the first baking step. Don’t thaw first—it makes the coating soggy. I do this all the time for busy weeks, and it’s a lifesaver.
Flavor development: Honestly, the leftovers are pretty great. The flavors meld together overnight, and while the coating won’t be quite as crispy, the taste is even better. I’ve been known to chop up leftover chicken Parmesan and toss it into a lunch salad for the next day.
Nutritional Information & Benefits
Here’s the estimated nutritional breakdown for one serving (one piece of chicken with sauce and cheese, without pasta). These are rough numbers—actual values will vary based on brands and portion sizes.
| Nutrient | Amount Per Serving |
|---|---|
| Calories | 385 |
| Total Fat | 18g |
| Saturated Fat | 7g |
| Cholesterol | 155mg |
| Sodium | 820mg |
| Total Carbohydrates | 18g |
| Dietary Fiber | 2g |
| Sugars | 4g |
| Protein | 40g |
This recipe is a great source of lean protein, thanks to the chicken breast. The Parmesan and mozzarella add calcium and a little extra protein, while the olive oil provides healthy monounsaturated fats. If you’re watching your sodium, use a low-sodium marinara sauce and reduce the added salt in the breadcrumb mixture. For a lower-carb option, skip the pasta and serve with roasted vegetables or a side salad. This meal is naturally gluten-free if you use the right substitutions, and it’s easy to make dairy-free by using plant-based cheese alternatives.
From a wellness perspective, I love that this recipe lets me enjoy a comfort food classic without the heaviness of deep-frying. It’s satisfying, flavorful, and fits into a balanced diet—especially when you pair it with a big pile of veggies.
Conclusion
So there you have it—a quick crispy baked chicken Parmesan that started as a happy accident and became my go-to weeknight dinner. It’s proof that you don’t need a deep fryer, a ton of time, or a perfect plan to make something truly delicious. This recipe is forgiving, adaptable, and honestly, it just works. Whether you’re cooking for a crowd or just trying to get dinner on the table after a long day, I hope this chicken finds its way into your regular rotation.
I’d love to hear how it turns out for you. Did you try a variation? Did you add your own twist? Drop a comment below and let me know—I read every single one. And if you loved this recipe as much as I do, share it with a friend who needs a little weeknight dinner inspiration. Happy cooking, and remember: sometimes the best recipes come from the biggest messes.
Frequently Asked Questions
Can I use chicken thighs instead of breasts?
Absolutely. Boneless, skinless chicken thighs work great in this recipe. They’re a little more forgiving and stay juicy even if you overcook them slightly. Just adjust the baking time—thighs might need an extra 2-3 minutes in the first bake. The internal temperature should still reach 165°F (74°C).
How do I keep the breading from falling off?
The key is the flour-egg-breadcrumb sequence. Don’t skip the flour—it gives the egg something to grip onto. Also, make sure your chicken is patted dry before you start breading. Any excess moisture will create steam and cause the coating to slide off. Press the breadcrumbs firmly onto the chicken, and let the breaded pieces rest for 5 minutes before baking. That little rest helps the coating set.
Can I make this recipe ahead of time?
Yes, with a few adjustments. You can bread the chicken up to 24 hours in advance and keep it covered in the refrigerator. When you’re ready to bake, add the olive oil drizzle and proceed as directed. You can also fully bake the chicken Parmesan, let it cool, and reheat it in the oven as described in the storage section. Just know that the coating won’t be quite as crispy the second time around.
What’s the best marinara sauce to use?
I’m a big fan of Rao’s Homemade Marinara—it’s thick, flavorful, and doesn’t have added sugar. But honestly, any good-quality jarred sauce works. Look for one with simple ingredients: tomatoes, olive oil, garlic, onions, and herbs. Avoid sauces with lots of added sugar or corn syrup, as they can make the dish taste overly sweet. If you have time, homemade marinara is even better, but on a busy weeknight, jarred is totally fine.
Can I double this recipe for a crowd?
Definitely. This recipe scales beautifully. Just make sure you don’t overcrowd the baking sheet—use two sheets if needed, and rotate them halfway through the baking time. You might need to add a few minutes to the total bake time if you’re cooking a large batch. I’ve made this for dinner parties and potlucks, and it always disappears fast.
Pin This Recipe!
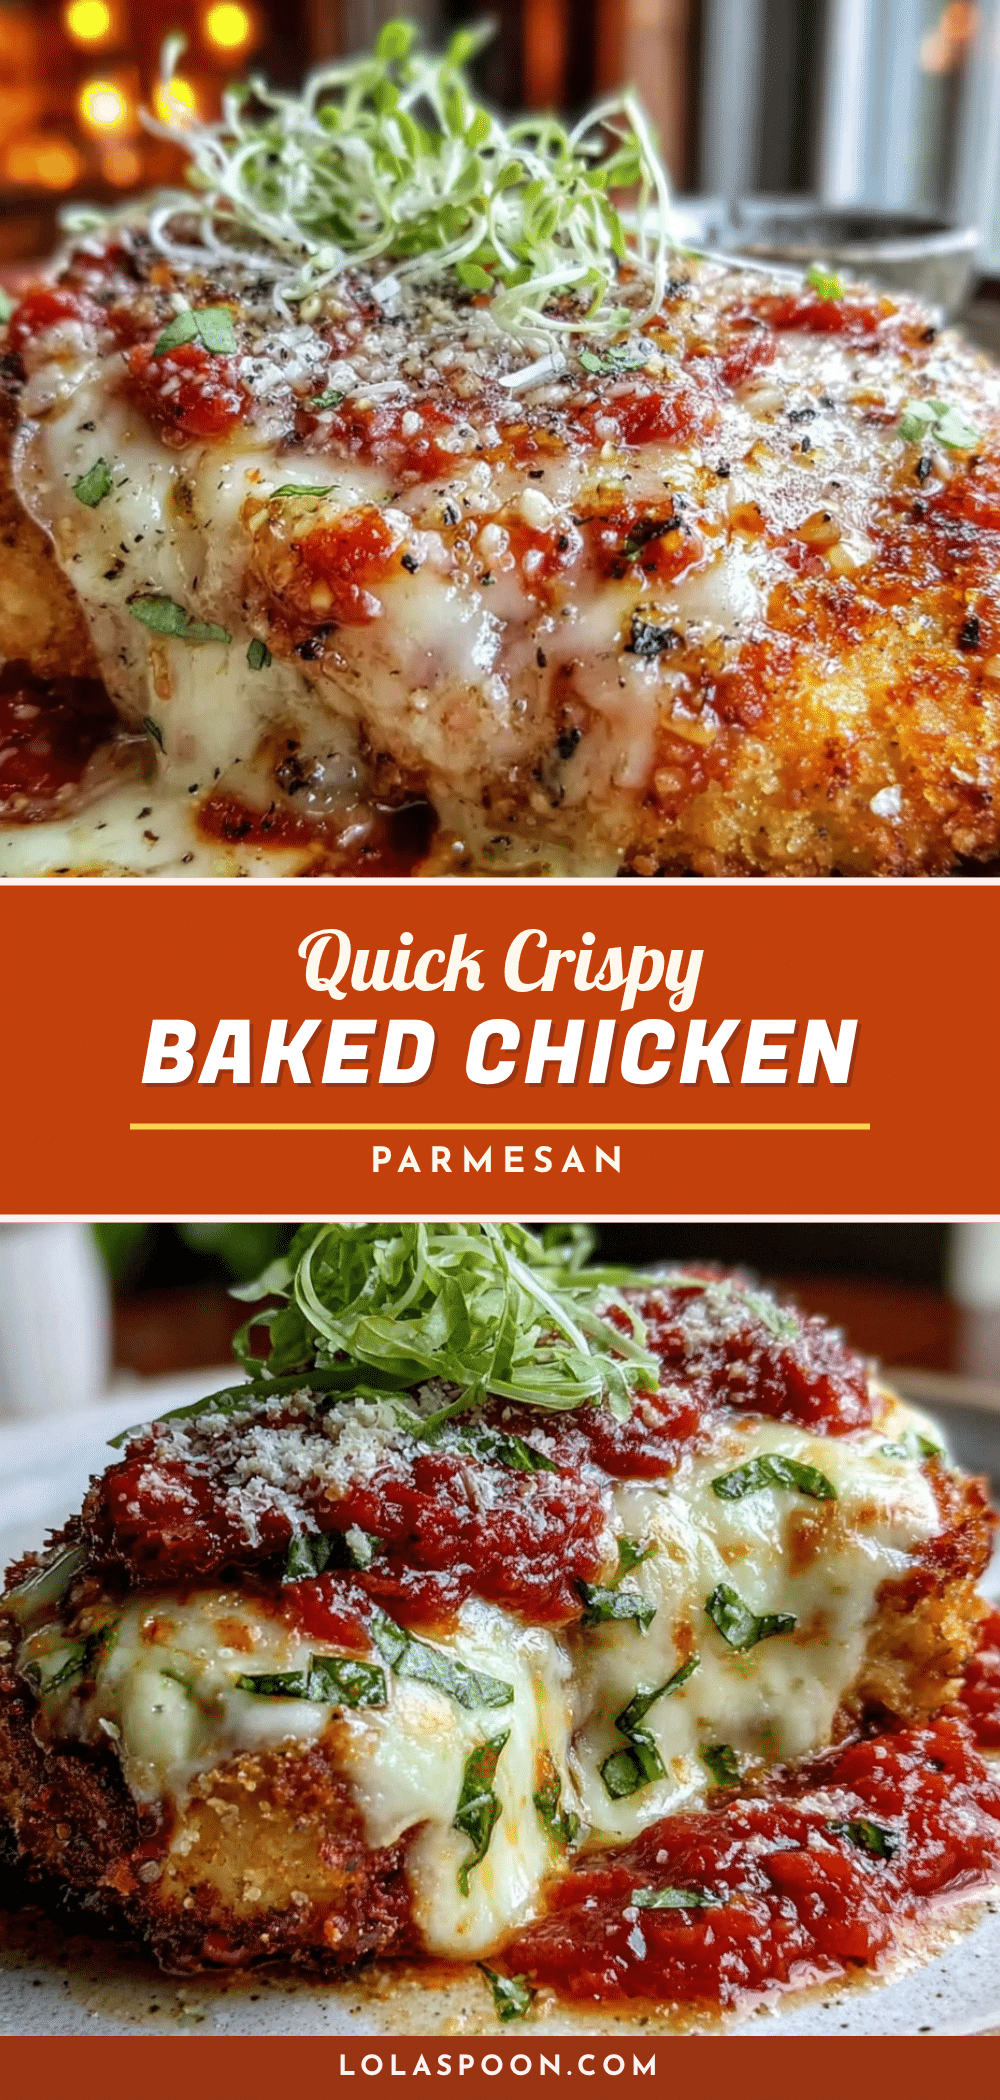
Best Easy Crispy Baked Chicken Parmesan Recipe
A quick and easy baked chicken Parmesan that delivers shatteringly crispy chicken with juicy meat and melted cheese, all without the fuss of deep-frying. Perfect for busy weeknights.
- Prep Time: 15 minutes
- Cook Time: 20 minutes
- Total Time: 35 minutes
- Yield: 4 servings 1x
- Category: Main Course
- Cuisine: Italian-American
Ingredients
- 2 boneless, skinless chicken breasts (about 1.5 lbs total)
- ½ cup all-purpose flour
- 2 large eggs
- 1 cup panko breadcrumbs
- ½ cup grated Parmesan cheese
- 1 teaspoon garlic powder
- 1 teaspoon dried oregano
- ½ teaspoon salt
- ¼ teaspoon black pepper
- 2 tablespoons olive oil
- 1 cup marinara sauce
- 1 cup shredded mozzarella cheese
- ¼ cup grated Parmesan cheese
- Fresh basil or parsley (optional, for garnish)
- Cooked spaghetti or your favorite pasta (for serving)
Instructions
- Preheat oven to 425°F (220°C).
- Place chicken breasts on a cutting board. Cover with plastic wrap and pound to an even ½-inch thickness. Season both sides lightly with salt and pepper. Cut each breast in half crosswise to make four equal pieces.
- Set up a breading station with three shallow bowls: first bowl with flour, second bowl with whisked eggs, third bowl with panko, ½ cup Parmesan, garlic powder, oregano, salt, and pepper mixed together.
- Dredge each piece of chicken in flour, shaking off excess. Dip in egg wash, letting excess drip off. Press into panko mixture until fully coated. Place on a plate.
- Place a wire rack inside a baking sheet. Lightly spray rack with nonstick cooking spray or brush with olive oil. Arrange breaded chicken pieces on the rack, leaving space between each.
- Drizzle 2 tablespoons olive oil evenly over the tops of the chicken pieces.
- Bake for 12 minutes until edges start to turn golden.
- Remove from oven. Spoon about 2 tablespoons marinara sauce onto each piece. Sprinkle shredded mozzarella evenly over the top, then finish with remaining ¼ cup grated Parmesan.
- Return to oven and bake for another 8-10 minutes until cheese is melted and bubbly and edges are deep golden brown. Optionally, broil for 1-2 minutes for extra color.
- Let chicken rest on the rack for 2 minutes. Garnish with fresh basil or parsley if desired. Serve immediately over pasta, with a side salad, or on its own.
Notes
Don’t skip the wire rack—it keeps the bottom crispy. Pound chicken evenly for even cooking. Use panko for the crispiest texture. Don’t over-sauce; about 2 tablespoons per piece is ideal. Let chicken rest after baking to keep it moist.
Nutrition
- Serving Size: 1 piece of chicken w
- Calories: 385
- Sugar: 4
- Sodium: 820
- Fat: 18
- Saturated Fat: 7
- Carbohydrates: 18
- Fiber: 2
- Protein: 40
Keywords: chicken parmesan, baked chicken parmesan, crispy chicken parmesan, easy chicken parmesan, weeknight dinner, chicken recipe