My neighbor Jen wasn’t trying to impress anyone that Tuesday afternoon. I’d stopped by to borrow a corkscrew—I was already three texts deep into planning a dinner party and had forgotten the most essential tool—and the smell hit me before I even got through the screen door. It was warm, spicy, and deeply familiar, like autumn had decided to move into her kitchen and set up camp. I stood there in her doorway, corkscrew completely forgotten, just breathing it in.
“Oh, those are just pumpkin bars,” she said when she caught me sniffing the air like a cartoon wolf. She was wearing sweatpants with a coffee stain on the knee, and she said it the way someone might say “oh, those are just paper towels.” Like it was nothing. Like she hadn’t just created something that smelled like the best bakery in a fifty-mile radius had been shrunk down and stuffed into her modest suburban kitchen.
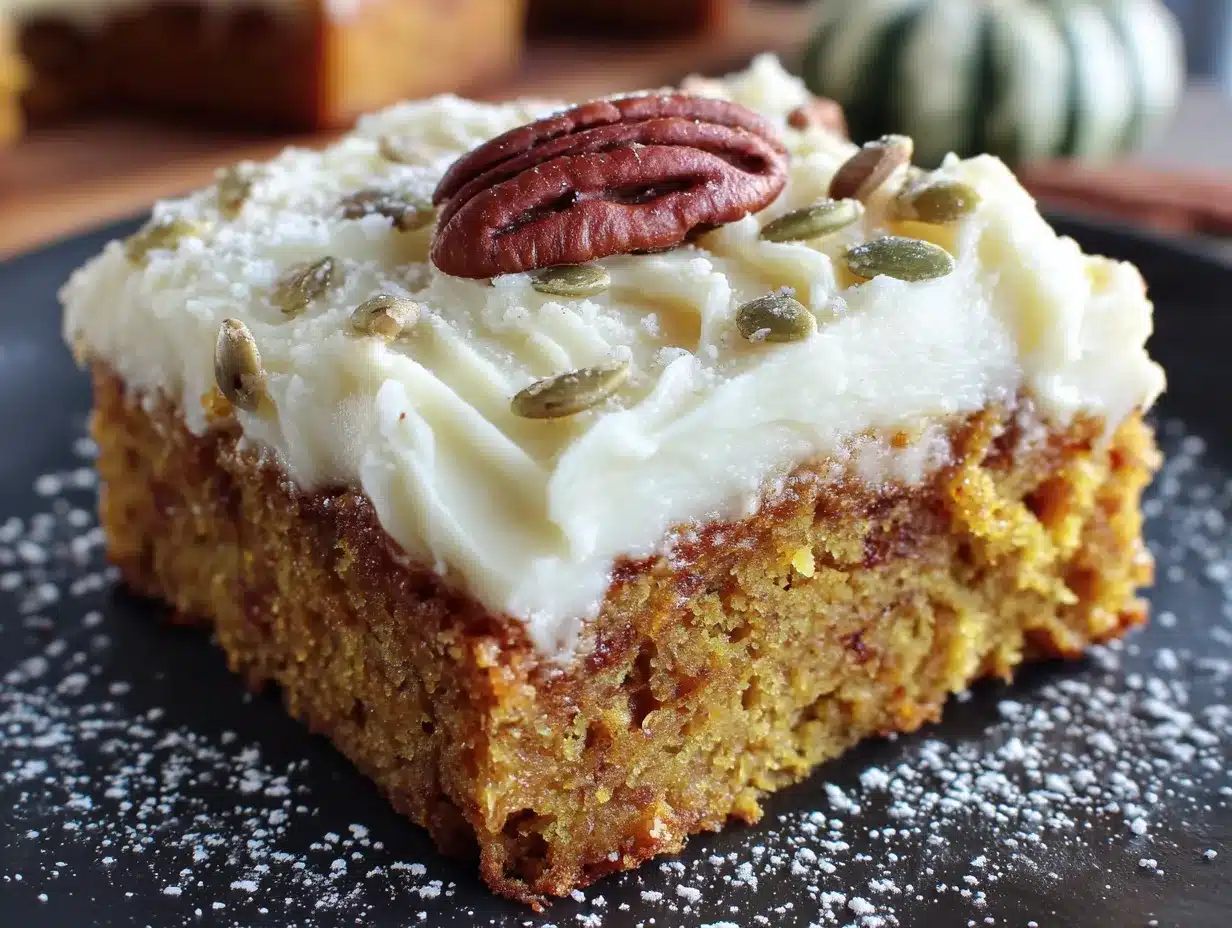
She slid a pan toward me, still warm, and I took one. And honestly? I almost got mad at her. Because these weren’t just pumpkin bars. They were the kind of pumpkin bars that make you reconsider every other pumpkin dessert you’ve ever had. The texture was impossibly soft—almost cloud-like—and the cream cheese frosting was spread on with the kind of abandon that told me she’d made these before. Many times. Maybe you’ve had that moment where you taste something and immediately start planning how to recreate it in your own kitchen before you’ve even finished chewing. That was me, standing in Jen’s kitchen, nodding along to something she was saying about her kid’s soccer practice while my brain was frantically taking mental notes.
I asked for the recipe, of course. She shrugged and texted it to me later that night, and I’ve made it at least twice a month ever since. The thing is, these bars work for everything—they’re wholesome enough that I don’t feel guilty eating one for breakfast (which I’ve done, more than once), but they’re also fancy enough that I’ve brought them to holiday parties and watched them disappear in minutes. There’s something about that combination of warm pumpkin spice and tangy cream cheese that just hits different. And the best part? They’re actually pretty good for you. I mean, they’ve got pumpkin in them. That’s basically a vegetable, right?
Why You’ll Love This Recipe
I’ve tested this recipe more times than I care to admit—probably about a dozen batches in the last year alone—and I can tell you with complete confidence that this is the version worth making. Here’s why these wholesome pumpkin bars stand out from the crowd:
- Quick & Easy: From start to finish, these come together in about 45 minutes. That’s less time than it takes to watch a sitcom, and you end up with a whole pan of something delicious. Perfect for those weeknights when you need a little treat but don’t want to spend hours in the kitchen.
- Simple Ingredients: No weird specialty flours or obscure spices here. You probably already have most of what you need in your pantry right now. The pumpkin puree is the star, and everything else is pretty standard baking fare.
- Perfect for Everything: These bars work for fall brunches, Thanksgiving desserts, office potlucks, or just a random Tuesday when you need something sweet. They’re not too fancy for casual occasions, but they’re impressive enough for company.
- Crowd-Pleaser: I’ve served these to kids, adults, picky eaters, and people who claim they don’t like pumpkin desserts. Every single time, the pan comes back empty. There’s something about that cream cheese frosting that wins everyone over.
- Surprisingly Wholesome: These bars use whole wheat pastry flour and less sugar than traditional versions, plus they’ve got real pumpkin and Greek yogurt in the batter. You get all the satisfaction of a decadent dessert with ingredients that actually make you feel pretty good about what you’re eating.
What makes this recipe different from all the other pumpkin bar recipes out there? It’s the texture, honestly. Most pumpkin bars are either too dense (like a brick of pumpkin mush) or too cakey (where the pumpkin flavor gets lost). These bars hit that perfect sweet spot—they’re tender and moist without being heavy, and the pumpkin flavor shines through without being overwhelming. The cream cheese frosting is the real MVP here too. It’s not too sweet, not too tangy, just perfectly balanced to complement the warm spices in the bars.
This recipe isn’t just good—it’s the kind that makes you close your eyes after the first bite. It’s comfort food reimagined: healthier, faster, but with the same soul-soothing satisfaction that makes you want to curl up on the couch with a cup of coffee and a second piece.
What Ingredients You Will Need
This recipe uses simple, wholesome ingredients to deliver bold flavor and satisfying texture without the fuss. Most of these are pantry staples, which means you can whip up a batch whenever the craving strikes.
For the Pumpkin Bars
- 1 ¾ cups whole wheat pastry flour (or all-purpose flour works great too—I’ve used both and honestly prefer the whole wheat for the slightly nutty flavor and extra fiber)
- 1 teaspoon baking powder
- 1 teaspoon baking soda
- ½ teaspoon salt
- 2 teaspoons ground cinnamon
- 1 teaspoon ground ginger
- ½ teaspoon ground nutmeg
- ¼ teaspoon ground cloves
- ½ cup unsalted butter, melted and slightly cooled (I use Kerrygold because the flavor is just better, but any good unsalted butter works)
- ¾ cup packed light brown sugar
- ¼ cup maple syrup (the real stuff, not pancake syrup—it makes a difference in both flavor and moisture)
- 2 large eggs, room temperature
- 1 cup pumpkin puree (not pumpkin pie filling—make sure you grab the plain stuff. Libby’s is my go-to)
- ¼ cup plain Greek yogurt (full-fat or 2% works best here for moisture, but I’ve used dairy-free yogurt in a pinch)
- 1 teaspoon vanilla extract
For the Cream Cheese Frosting
- 8 ounces cream cheese, softened to room temperature (Philadelphia is the gold standard here—don’t use low-fat or Neufchâtel if you want that classic creamy texture)
- ¼ cup unsalted butter, softened
- 2 cups powdered sugar, sifted (sifting prevents lumps—trust me on this one)
- 1 teaspoon vanilla extract
- Pinch of salt (just a tiny bit to balance the sweetness)
A few ingredient notes from my experience: The whole wheat pastry flour is worth seeking out if you can find it. It gives you that wholesome texture without making the bars taste like cardboard. Regular whole wheat flour is too heavy and will make the bars dense. If you can’t find pastry flour, just use all-purpose—the bars will still be delicious. For the pumpkin puree, I’ve tried making my own from scratch, and honestly? Canned works better for this recipe. Homemade puree tends to be more watery, and these bars need that thick, concentrated pumpkin flavor. Also, make sure your cream cheese is truly at room temperature before you start making the frosting. Cold cream cheese will give you lumpy frosting, and nobody wants that.
Equipment Needed
You don’t need a fancy kitchen to make these bars, which is part of why I love this recipe so much. Here’s what you’ll need:
- 9×13-inch baking pan — This is the perfect size for these bars. If you only have an 8×8 pan, you can use it, but your bars will be thicker and will need a few extra minutes in the oven.
- Parchment paper — Not strictly necessary, but it makes lifting the bars out of the pan SO much easier. I learned this the hard way after my first batch crumbled into pieces when I tried to flip them out.
- Mixing bowls — You’ll need one large bowl for the dry ingredients and another for the wet ingredients. Nothing fancy here—I use the same set of nesting bowls I’ve had since college.
- Whisk and spatula — A whisk for the dry ingredients and a good rubber spatula for folding everything together. I’m partial to the GIR spatulas because they’re one solid piece and don’t get gross where the handle meets the head.
- Electric hand mixer or stand mixer — For the frosting. You can technically do it by hand with a whisk and some elbow grease, but your arm will thank you for using a mixer.
- Cooling rack — Essential for letting the bars cool completely before frosting. If you frost them while they’re still warm, you’ll end up with a melty, sad mess.
- Measuring cups and spoons — For accuracy. Baking is a science, after all.
If you don’t have a cooling rack, you can use the rack from your oven (just make sure it’s clean and cool). And if you’re using a disposable aluminum pan for baking, just be careful when cutting the bars—those pans can be flimsy and you don’t want to end up with a pan-shaped surprise on your kitchen floor.
Preparation Method
Alright, let’s get to the good part. Here’s how to make these wholesome pumpkin bars from start to finish. I’ve included all the little details I wish someone had told me the first time I made these.
- Preheat your oven to 350°F (175°C). Line your 9×13-inch baking pan with parchment paper, leaving some overhang on the long sides. This creates little handles that make lifting the bars out later super easy. Lightly grease the parchment with cooking spray or a thin smear of butter.
- Whisk together the dry ingredients. In a large bowl, combine the whole wheat pastry flour, baking powder, baking soda, salt, cinnamon, ginger, nutmeg, and cloves. Give it a good whisk—about 20 seconds—to make sure everything is evenly distributed. I like to do this step first so the spices have a chance to start releasing their aroma.
- Mix the wet ingredients. In a separate medium bowl, whisk together the melted butter and brown sugar until smooth. Add the maple syrup, eggs, pumpkin puree, Greek yogurt, and vanilla extract. Whisk until everything is combined and smooth. The mixture should be a gorgeous deep orange color at this point—like autumn in a bowl.
- Combine wet and dry ingredients. Pour the wet mixture into the bowl with the dry ingredients. Use a rubber spatula to fold everything together gently. Here’s the important part: mix just until you don’t see any more streaks of flour. A few lumps are totally fine. Overmixing will make the bars tough, and nobody wants tough pumpkin bars. The batter will be thick and smell incredible at this point.
- Spread the batter in the pan. Scrape the batter into your prepared pan and spread it into an even layer. The batter is thick, so take your time here. I use an offset spatula for this, but the back of a spoon works just fine. Try to get the corners filled in evenly—they tend to get neglected otherwise and you’ll end up with thin, overbaked edges.
- Bake for 20-25 minutes. Pop the pan in the oven and bake until the edges are golden brown and a toothpick inserted in the center comes out clean or with just a few moist crumbs. My oven runs hot, so I start checking at 18 minutes. The bars should spring back lightly when you press the center with your finger. Let them cool in the pan on a wire rack for about 15 minutes, then use the parchment handles to lift them out and let them cool completely on the rack. This is crucial—if you frost them while they’re even slightly warm, the frosting will slide right off like a sad little waterfall.
- Make the cream cheese frosting. While the bars are cooling, make the frosting. In a large bowl, beat the softened cream cheese and butter together with an electric mixer on medium speed until smooth and creamy—about 2 minutes. Scrape down the sides of the bowl with a spatula. Add the sifted powdered sugar, vanilla extract, and pinch of salt. Start mixing on low speed (so the sugar doesn’t fly everywhere) and then increase to medium-high. Beat for about 2-3 minutes until the frosting is light, fluffy, and completely smooth. If it seems too thick, add a teaspoon of milk. Too thin? Add a bit more powdered sugar.
- Frost the cooled bars. Once the bars are completely cool (and I mean completely—room temperature, no warmth whatsoever), spread the cream cheese frosting evenly over the top. I like to leave a rustic, swirly texture rather than making it perfectly smooth. It looks more homemade that way.
- Chill before slicing. Pop the frosted bars in the refrigerator for at least 30 minutes before slicing. This sets the frosting and makes for much cleaner cuts. Use a sharp knife and wipe it clean between cuts for the prettiest bars. I usually get 24 bars from one pan, but you can cut them larger if you want more generous portions.
One thing I learned the hard way: don’t rush the cooling process. I once tried to speed things up by putting the warm bars in the fridge, and the condensation made the top surface wet. The frosting still stuck, but it wasn’t pretty. Patience is your friend here.
Cooking Tips & Techniques
After making these bars more times than I can count, I’ve picked up a few tricks that make a real difference. Here are the ones worth knowing:
Room temperature ingredients matter. I know, I know, everyone says this and it feels like a hassle. But seriously, cold eggs and cold yogurt will make your batter seize up and give you a denser texture. Take them out of the fridge about 30 minutes before you start baking. If you forget (which I do, constantly), you can warm your eggs by placing them in a bowl of warm water for 5 minutes.
Don’t overmix the batter. This is probably the most common mistake people make with quick breads and bar recipes. Mix until the flour just disappears into the batter. A few streaks are fine. Overmixing develops the gluten and gives you tough, rubbery bars instead of tender, soft ones.
Use a kitchen scale for the flour if you have one. Measuring flour by volume can be inconsistent—one person’s “cup” might be 20% more than another’s. If you’re using measuring cups, spoon the flour into the cup and level it off with a knife. Don’t scoop directly from the bag, which packs the flour down and gives you too much.
Let the frosting soften slightly before spreading. If you’ve chilled the frosting (or if your kitchen is cold), let it sit at room temperature for 10-15 minutes before spreading. Cold frosting is stiff and will pull at the surface of the bars. You want it spreadable but not runny.
For cleaner cuts, use a hot knife. Run your knife under hot water, dry it off, and then slice. The warmth helps the knife glide through the frosting without dragging it. Wipe the knife clean between each cut. This is the technique that takes your bars from “homemade” to “I could sell these” level.
I once made a batch where I forgot the baking powder. The bars came out flat and dense, like pumpkin-flavored hockey pucks. They still tasted okay (pumpkin and spice covers a multitude of sins), but the texture was all wrong. Double-check your leaveners before you start!
Variations & Adaptations
One of the best things about this recipe is how adaptable it is. Here are some variations I’ve tried and loved:
Gluten-Free Version: Substitute the whole wheat pastry flour with a good 1:1 gluten-free baking flour blend. I’ve had great results with Bob’s Red Mill 1:1 Baking Flour. The texture is slightly more delicate, so let the bars cool completely before cutting. Add an extra tablespoon of Greek yogurt to help with moisture.
Dairy-Free Version: Use melted coconut oil instead of butter in the bars, and swap the Greek yogurt for a dairy-free alternative like coconut yogurt. For the frosting, use a dairy-free cream cheese alternative (Miyoko’s makes an excellent one) and vegan butter. The flavor is slightly different—more coconut-y—but still delicious.
Spice It Up: If you’re like me and can’t get enough pumpkin spice, add an extra teaspoon of cinnamon and a pinch of cardamom to the dry ingredients. Cardamom adds this lovely floral note that pairs beautifully with pumpkin. I also sometimes add a tablespoon of pumpkin pie spice instead of the individual spices when I’m feeling lazy.
Add Mix-Ins: Fold in ½ cup of chocolate chips, chopped pecans, or dried cranberries to the batter before baking. I made a batch with dark chocolate chips and toasted walnuts last fall, and they were gone within hours. The chocolate adds a richness that plays beautifully with the pumpkin and spice.
Pumpkin Cheesecake Bars: For an extra-indulgent version, reserve about ⅓ cup of the cream cheese frosting and dollop it on top of the batter before baking. Swirl it in with a knife to create marbled pumpkin cheesecake bars. Bake as directed, and you’ll get these beautiful ribbons of cheesecake throughout the bars.
My personal favorite variation? I swap out half the brown sugar for coconut sugar and add a handful of toasted pepitas on top before baking. The pepitas get slightly toasted in the oven and add this wonderful crunch that contrasts with the soft bars. It’s my go-to fall potluck contribution, and I’ve had multiple people ask for the recipe.
Serving & Storage Suggestions
These bars are versatile when it comes to serving. Here’s what works best:
Serving Temperature: I prefer these bars cold, straight from the fridge. The cream cheese frosting firms up nicely, and the pumpkin flavor seems more pronounced when they’re chilled. That said, they’re also wonderful at room temperature—the bars are softer and the frosting gets a bit creamier. Try both and see which you prefer.
Presentation Ideas: For casual occasions, just cut them into squares and arrange on a plate. For something fancier, cut them into smaller bite-sized pieces and serve on a tiered tray with coffee or tea. A light dusting of cinnamon or pumpkin pie spice on top adds a nice finishing touch. I sometimes add a few candied pecans on top for texture and visual appeal.
What to Serve With Them: A cup of hot coffee or chai tea is the perfect companion. For a dessert spread, they pair beautifully with vanilla ice cream or a dollop of whipped cream. I’ve also served them alongside a warm apple crisp for a fall dessert buffet that got rave reviews.
Storage Instructions: Store these bars in an airtight container in the refrigerator for up to 5 days. The cream cheese frosting needs to be kept cold, so don’t leave them out at room temperature for more than 2 hours. I usually layer them between sheets of parchment paper to prevent sticking.
Freezer Instructions: These bars freeze beautifully! Freeze them unfrosted for up to 3 months. Wrap the cooled, unfrosted bars tightly in plastic wrap, then in foil. When you’re ready to serve, thaw them in the refrigerator overnight, then make the frosting and spread it on. You can also freeze frosted bars—just freeze them on a baking sheet until the frosting is firm, then wrap individually and store in a freezer bag. Thaw in the refrigerator overnight.
How Flavors Develop: Honestly, these bars taste even better the next day. The spices have time to meld together, and the pumpkin flavor becomes more pronounced. If you can resist eating them the day you make them, you’re in for a treat on day two.
Nutritional Information & Benefits
While I wouldn’t call these bars health food (they do have butter, sugar, and cream cheese frosting, after all), they’re definitely on the more wholesome end of the dessert spectrum. Here’s the estimated nutritional breakdown per bar (based on 24 bars per pan):
| Nutrient | Amount Per Bar |
|---|---|
| Calories | 185 |
| Total Fat | 9g |
| Saturated Fat | 5g |
| Cholesterol | 40mg |
| Sodium | 160mg |
| Total Carbohydrates | 25g |
| Dietary Fiber | 2g |
| Sugars | 16g |
| Protein | 3g |
| Vitamin A | 45% DV |
The star ingredient here is pumpkin, which is packed with vitamin A (great for eye health and immune function) and fiber. The whole wheat pastry flour adds more fiber and nutrients than refined white flour, and the Greek yogurt provides a little protein boost. Compared to traditional pumpkin bar recipes, this version has about 30% less sugar and uses healthier fats. It’s the kind of dessert that satisfies your sweet tooth without leaving you feeling like you need to go run a marathon to burn it off.
These bars are vegetarian and can easily be made gluten-free or dairy-free with the substitutions mentioned above. They contain wheat, dairy, and eggs, so they’re not suitable for those with allergies to those ingredients.
From my personal wellness perspective, I love that these bars let me enjoy a treat without the guilt. They’re perfect for those times when you want something sweet but also want to feel good about what you’re eating. I’ve even eaten one for breakfast with my coffee on more than one occasion—the pumpkin and whole grains make it feel almost virtuous.
Conclusion
These wholesome pumpkin bars with cream cheese frosting have become a staple in my kitchen for good reason. They’re easy enough for a Tuesday night baking session, impressive enough for holiday gatherings, and wholesome enough that you don’t have to feel guilty about going back for seconds. The combination of warm pumpkin spices, tender whole wheat bars, and tangy cream cheese frosting is just unbeatable.
I love that this recipe is forgiving enough for beginners but rewarding enough for experienced bakers. You can keep it simple or dress it up with mix-ins and variations. It’s the kind of recipe that becomes a tradition—the one your family requests every fall, the one you bring to every potluck, the one that makes people ask, “Can I get this recipe?”
I’d love to hear how these turn out for you! Did you add any mix-ins? Try a different frosting? Serve them with something unexpected? Drop a comment below and let me know—I read every single one, and your variations might just inspire my next batch. And if you loved these bars as much as I do, share this recipe with a friend who needs a little fall comfort in their life. Happy baking!
Frequently Asked Questions
Can I use pumpkin pie filling instead of pumpkin puree?
No, I wouldn’t recommend it. Pumpkin pie filling already has sugar and spices added, which will throw off the balance of this recipe. Stick with plain 100% pumpkin puree for the best results. Libby’s is my go-to brand.
Why did my cream cheese frosting turn out runny?
This usually happens for one of two reasons: either your cream cheese wasn’t softened enough (cold cream cheese doesn’t incorporate properly) or your bars were still warm when you added the frosting. Make sure both the cream cheese and butter are at room temperature, and let the bars cool completely before frosting. If your frosting is still runny, try chilling it for 15-20 minutes before spreading.
Can I make these bars ahead of time?
Absolutely! In fact, they taste even better the next day. You can bake the bars up to 2 days ahead, store them unfrosted in the refrigerator, and add the frosting the day you plan to serve them. Or you can fully assemble them and store in the fridge for up to 5 days.
How do I get clean, neat cuts when slicing the bars?
The key is patience. Let the frosted bars chill in the refrigerator for at least 30 minutes before slicing. Use a sharp knife and run it under hot water, drying it off between each cut. Wipe the blade clean after every slice. This gives you those beautiful, bakery-style bars with clean edges.
Can I freeze these pumpkin bars with the cream cheese frosting?
Yes! Freeze the fully assembled bars on a baking sheet until the frosting is firm (about 1 hour), then wrap each bar individually in plastic wrap and place them in a freezer-safe bag. They’ll keep for up to 3 months. Thaw in the refrigerator overnight before serving. The texture and flavor hold up remarkably well.
Pin This Recipe!
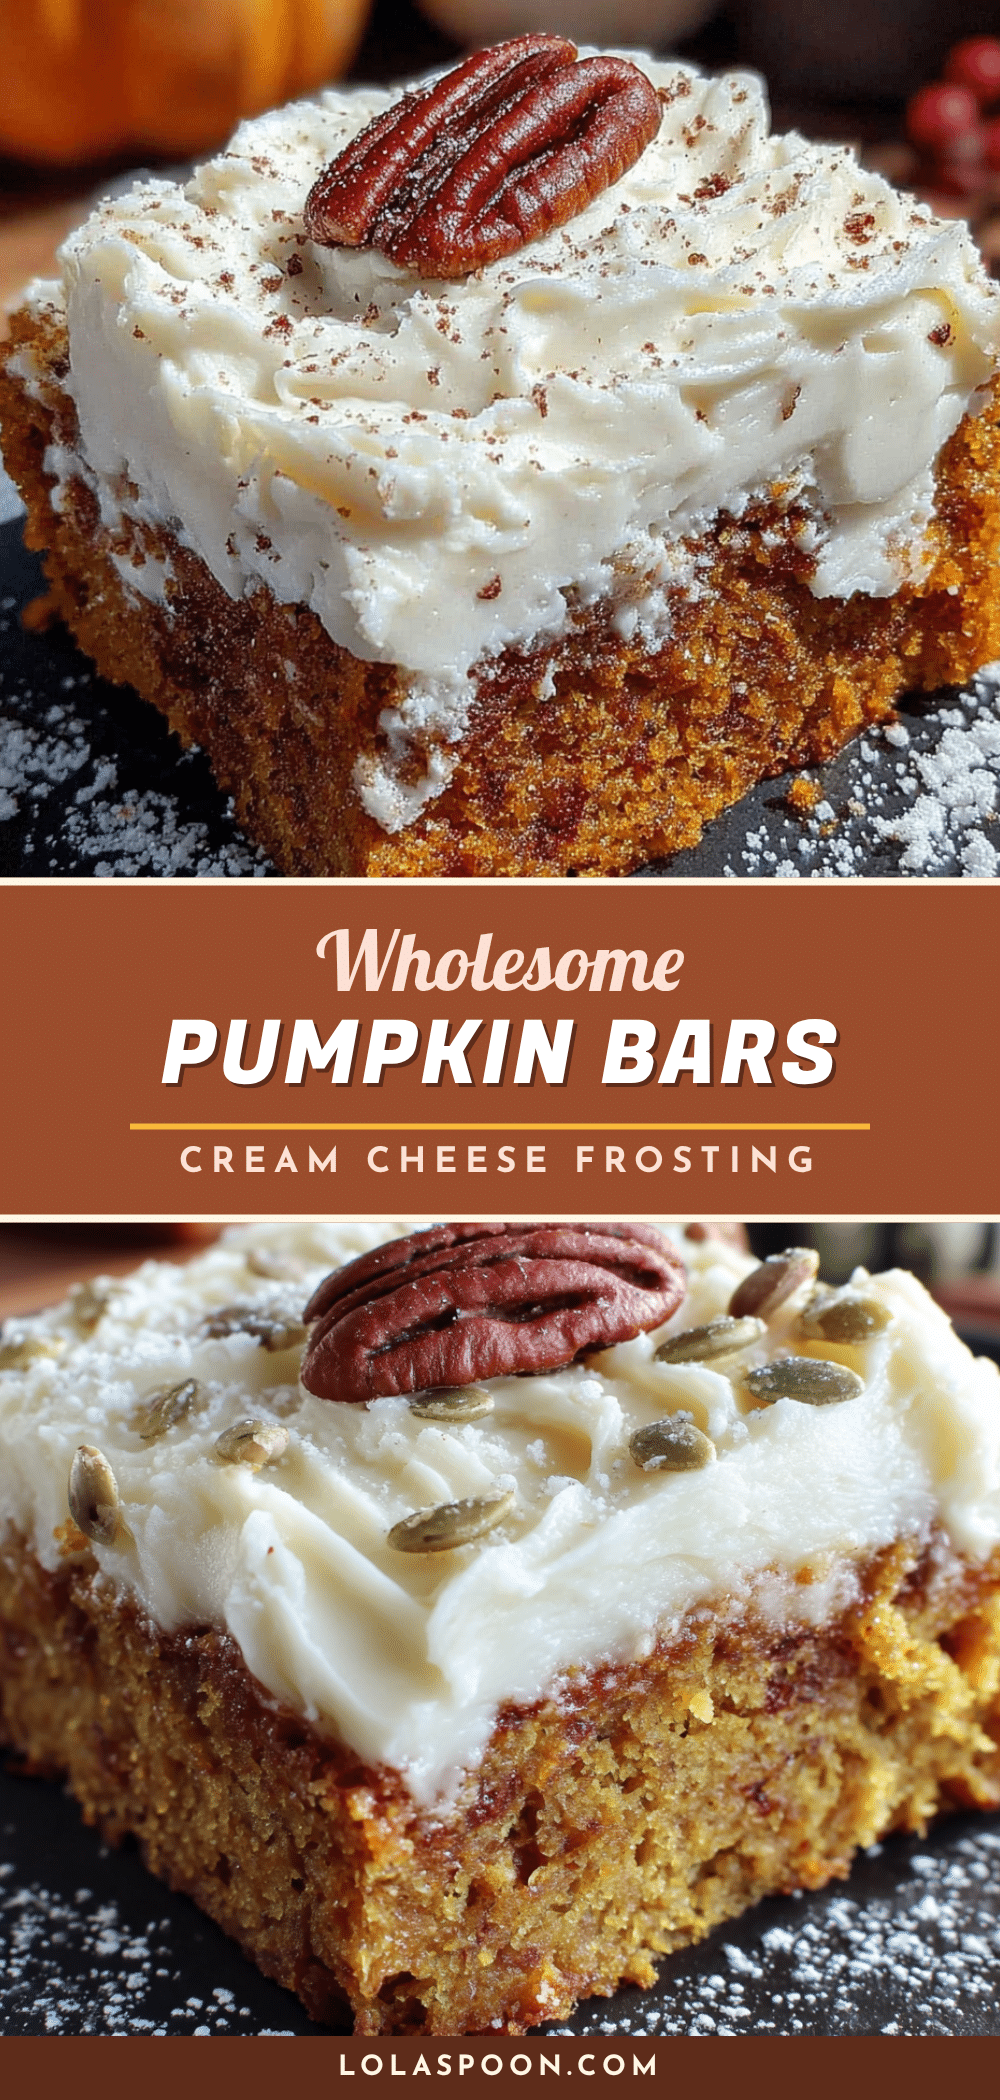
Wholesome Pumpkin Bars with Easy Cream Cheese Frosting
These wholesome pumpkin bars are incredibly soft, moist, and topped with a tangy cream cheese frosting. Made with whole wheat pastry flour and less sugar, they’re a healthier fall dessert that’s perfect for any occasion.
- Prep Time: 15 minutes
- Cook Time: 25 minutes
- Total Time: 45 minutes
- Yield: 24 servings 1x
- Category: Dessert
- Cuisine: American
Ingredients
- 1 ¾ cups whole wheat pastry flour (or all-purpose flour)
- 1 teaspoon baking powder
- 1 teaspoon baking soda
- ½ teaspoon salt
- 2 teaspoons ground cinnamon
- 1 teaspoon ground ginger
- ½ teaspoon ground nutmeg
- ¼ teaspoon ground cloves
- ½ cup unsalted butter, melted and slightly cooled
- ¾ cup packed light brown sugar
- ¼ cup maple syrup
- 2 large eggs, room temperature
- 1 cup pumpkin puree (not pumpkin pie filling)
- ¼ cup plain Greek yogurt (full-fat or 2%)
- 1 teaspoon vanilla extract
- 8 ounces cream cheese, softened to room temperature
- ¼ cup unsalted butter, softened
- 2 cups powdered sugar, sifted
- 1 teaspoon vanilla extract
- Pinch of salt
Instructions
- Preheat your oven to 350°F (175°C). Line a 9×13-inch baking pan with parchment paper, leaving overhang on the long sides. Lightly grease the parchment.
- In a large bowl, whisk together the whole wheat pastry flour, baking powder, baking soda, salt, cinnamon, ginger, nutmeg, and cloves.
- In a separate medium bowl, whisk together the melted butter and brown sugar until smooth. Add the maple syrup, eggs, pumpkin puree, Greek yogurt, and vanilla extract. Whisk until combined and smooth.
- Pour the wet mixture into the dry ingredients. Use a rubber spatula to fold together gently until just combined (a few lumps are fine; do not overmix).
- Scrape the batter into the prepared pan and spread into an even layer.
- Bake for 20-25 minutes, until the edges are golden brown and a toothpick inserted in the center comes out clean or with a few moist crumbs. Cool in the pan on a wire rack for 15 minutes, then lift out using the parchment handles and cool completely.
- While the bars cool, make the frosting: In a large bowl, beat the softened cream cheese and butter with an electric mixer on medium speed until smooth and creamy, about 2 minutes. Add the sifted powdered sugar, vanilla extract, and pinch of salt. Mix on low speed, then increase to medium-high and beat for 2-3 minutes until light and fluffy.
- Once the bars are completely cool, spread the cream cheese frosting evenly over the top.
- Refrigerate the frosted bars for at least 30 minutes before slicing. Use a sharp knife, wiping clean between cuts. Cut into 24 bars.
Notes
Do not overmix the batter to avoid tough bars. Ensure cream cheese and butter are at room temperature for smooth frosting. Let bars cool completely before frosting to prevent melting. For cleaner cuts, chill frosted bars for at least 30 minutes and use a hot knife.
Nutrition
- Serving Size: 1 bar
- Calories: 185
- Sugar: 16
- Sodium: 160
- Fat: 9
- Saturated Fat: 5
- Carbohydrates: 25
- Fiber: 2
- Protein: 3
Keywords: pumpkin bars, cream cheese frosting, fall dessert, healthy pumpkin bars, whole wheat pumpkin bars