My husband claimed he hated turkey for fifteen years. Fifteen years. Every Thanksgiving, every holiday gathering, he’d load up on ham and side dishes, leaving the turkey completely untouched. I stopped trying to convince him after the first few years—honestly, it wasn’t worth the argument. Then last November, on a random Tuesday night with no holiday in sight, I spotted a whole turkey on sale for eight dollars at the grocery store. Eight dollars. That’s less than a pizza. I bought it on impulse, thinking I’d roast it just for myself and have leftovers for the week. I made this herb butter roasted turkey with no expectations, using what I had in the pantry. When I pulled it out of the oven, the skin was this incredible golden brown, crispy in places, and the smell—it filled the whole house. I set it on the counter to rest and walked away for ten minutes. When I came back, my husband was standing there with a fork, a piece of white meat halfway to his mouth, caught red-handed. He froze, fork in the air, and just said, “Okay. This is different.” He ate two plates that night. Two plates. So I guess this is the turkey that finally did it. Maybe you’ve got someone in your house who thinks they don’t like turkey too. This one might change their mind.
Why You’ll Love This Recipe
This herb butter roasted turkey is the kind of recipe that makes you look like a hero without spending hours in the kitchen or breaking the bank. I’ve tested this method at least a dozen times over the past year, tweaking the butter mixture, adjusting the temperature, and figuring out exactly what works for a family-sized bird that doesn’t dry out. Here’s what makes it stand out:
- Budget-Friendly Feast: A whole turkey is one of the most affordable ways to feed a crowd. You can often find them on sale for under $10, and this recipe stretches to feed 8-10 people easily.
- Incredibly Juicy Meat: The herb butter seeps into the meat as it roasts, keeping every bite moist and flavorful. No dry turkey here—I promise.
- Simple Ingredients: Butter, garlic, fresh herbs, salt, and pepper. That’s it. Nothing fancy, nothing you can’t find at any grocery store.
- Perfect for Family Gatherings: Whether it’s Thanksgiving, Christmas, or just a Sunday dinner, this turkey feels special without requiring constant attention.
- Leftovers That Reheat Beautifully: This is a big deal for families. The meat stays tender even after a few days in the fridge, making sandwiches and soups absolutely delicious.
What makes this version different from every other roasted turkey recipe? It’s the technique of getting the herb butter under the skin. That simple step changes everything. The butter bastes the meat from the inside out, so you don’t have to constantly open the oven and baste. It’s almost foolproof, honestly. This isn’t just another turkey recipe—it’s the one that turned my turkey-hating husband into a convert. If that’s not a testimonial, I don’t know what is.
What Ingredients You Will Need
This recipe relies on simple, wholesome ingredients that work together to create deep, savory flavor. Most of these are pantry staples or easy to find at any grocery store. The key is using fresh herbs if you can—they make a real difference in the butter.
- Whole turkey (10-12 pounds), thawed completely if frozen (look for sales—I’ve grabbed these for as low as $0.49 per pound)
- 1 cup unsalted butter, softened to room temperature (I prefer Land O’Lakes for consistent quality)
- 4 cloves garlic, minced finely (or use a garlic press to save time)
- 2 tablespoons fresh rosemary, chopped (dried works too, but use half the amount)
- 2 tablespoons fresh thyme leaves, chopped (stems removed—they’re tough)
- 1 tablespoon fresh sage, chopped (optional, but adds that classic Thanksgiving flavor)
- 2 teaspoons salt, plus more for seasoning the cavity (use kosher salt for best results)
- 1 teaspoon black pepper, freshly ground
- 1 lemon, halved (for stuffing the cavity—adds brightness)
- 1 onion, quartered (for the cavity and the roasting pan)
- 2 carrots, chopped roughly (for the roasting pan—adds flavor to the drippings)
- 2 celery stalks, chopped roughly (same reason—better gravy later)
- 1 cup low-sodium chicken broth (for the bottom of the pan, keeps things moist)
For the herb butter, make sure your butter is truly softened—leave it out for at least an hour before starting. Cold butter won’t mix well with the herbs and will be harder to spread under the skin. If you’re dairy-free, you can substitute a good quality vegan butter, though the flavor will be slightly different. I’ve tried it with olive oil instead of butter, and honestly, it’s not the same—the butter adds richness that oil just can’t match.
If you don’t have fresh herbs, dried herbs work in a pinch. Just remember that dried herbs are more concentrated, so use about one teaspoon of dried for each tablespoon of fresh. The flavor won’t be quite as bright, but it’ll still be delicious. For a gluten-free option, this recipe is naturally gluten-free as long as you check your broth label—some brands add wheat-based ingredients.
Equipment Needed
You don’t need a lot of fancy equipment for this recipe, which is part of why I love it. Here’s what you’ll need:
- Roasting pan with a rack (a disposable aluminum pan works fine if you don’t own one—I’ve used them plenty of times)
- Small mixing bowl for the herb butter
- Chef’s knife and cutting board
- Kitchen twine for trussing (optional, but helps the turkey cook evenly)
- Meat thermometer (this is non-negotiable—trust me, I learned the hard way)
- Basting brush (optional, you can use a spoon)
- Aluminum foil for tenting
- Large platter for serving
If you don’t have a roasting rack, you can use crumpled aluminum foil to lift the turkey off the bottom of the pan. It’s not pretty, but it works. I’ve done it more times than I care to admit. As for the meat thermometer, get a simple instant-read one—they’re under $10 at most stores and will save you from serving dry turkey.
Preparation Method
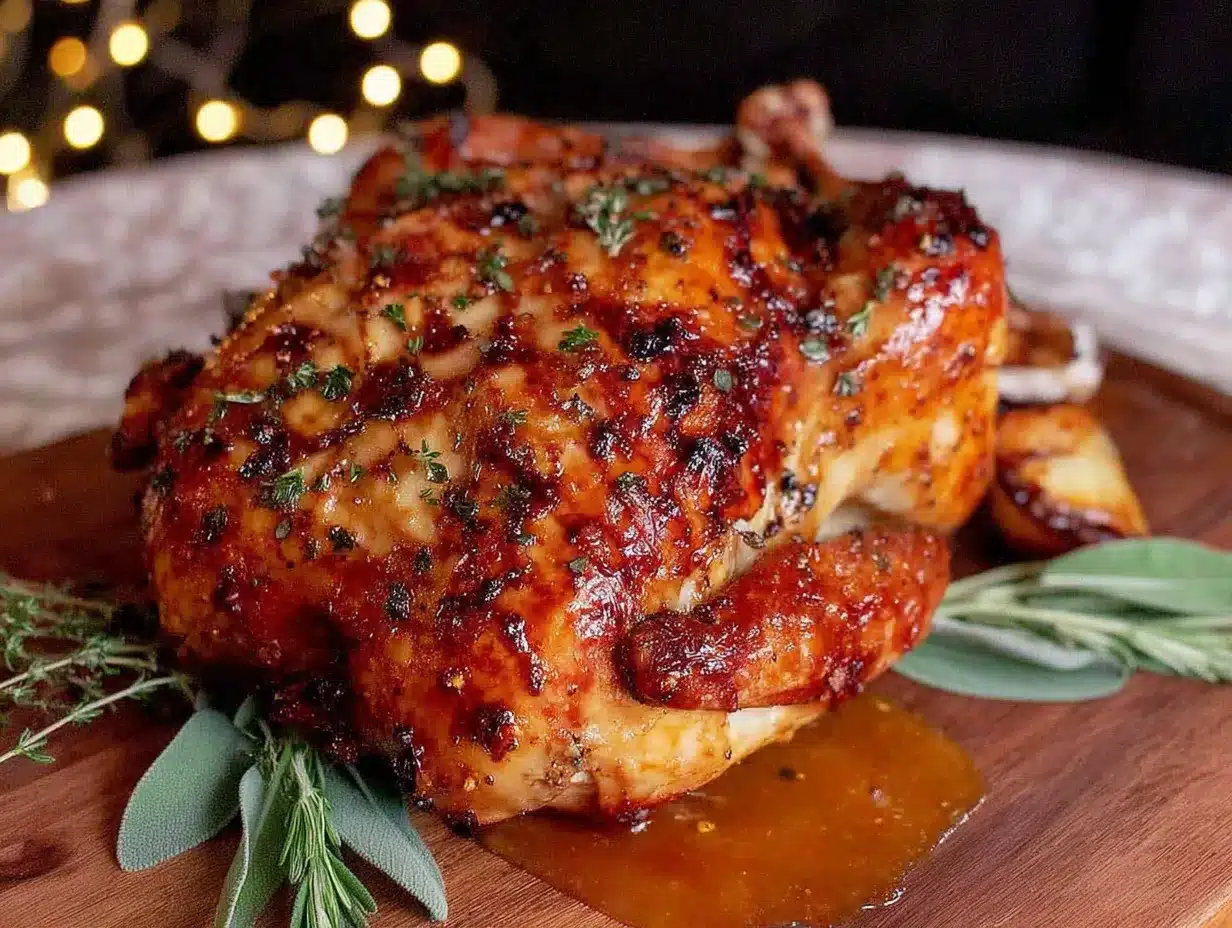
Let’s get into the actual cooking. I’ll walk you through every step so there’s no confusion. Take your time with this—rushing leads to mistakes, and we want this turkey to be perfect.
- Prep the turkey: Remove the turkey from its packaging. Take out the giblets and neck from the cavity—they’re usually in a little bag. Rinse the turkey inside and out with cold water, then pat it completely dry with paper towels. This is important: a wet turkey won’t get crispy skin. Let it sit on a tray in the fridge, uncovered, for at least 2 hours or up to overnight. This dries the skin out even more, which means extra crispiness. I know it sounds weird, but try it once and you’ll see.
- Make the herb butter: In a small bowl, combine the softened butter, minced garlic, chopped rosemary, thyme, sage (if using), salt, and pepper. Mix everything together until it’s well combined. Taste a tiny bit—it should be savory and herby. If it tastes flat, add a pinch more salt.
- Apply the herb butter: This is the most important step. Using your fingers, gently loosen the skin of the turkey breast. Start at the neck opening and work your fingers between the skin and the meat, being careful not to tear the skin. You want to create a pocket. Take about two-thirds of the herb butter and spread it directly onto the breast meat under the skin. Use your hands to massage it around so it covers the whole breast area. Then spread the remaining butter all over the outside of the turkey, including the legs and wings. Don’t forget the underside.
- Season the cavity: Stuff the cavity with the lemon halves, onion quarters, and any leftover herb sprigs you have. This adds flavor from the inside out. Don’t pack it too tight—you want air to circulate.
- Truss the turkey: If you have kitchen twine, tie the legs together at the ankles and tuck the wing tips under the body. This helps the turkey cook evenly and keeps it looking neat. If you don’t have twine, it’s fine—just arrange the legs as best you can.
- Set up the pan: Place the chopped carrots, celery, and any extra onion pieces in the bottom of your roasting pan. Pour in the chicken broth. Place the turkey on the rack (or on crumpled foil) over the vegetables. The vegetables add flavor to the drippings, which you can use for gravy later.
- Roast the turkey: Preheat your oven to 425°F. Roast the turkey at this high temperature for 30 minutes. This initial blast of heat helps the skin start crisping. Then, without opening the oven, reduce the temperature to 350°F. Continue roasting for about 13-15 minutes per pound. For a 12-pound turkey, that’s about 2.5 to 3 hours total. Start checking the temperature about 30 minutes before you think it’s done.
- Check for doneness: Insert your meat thermometer into the thickest part of the thigh, avoiding the bone. You’re looking for 165°F. Also check the breast—it should be at least 160°F. If the skin is getting too dark before the turkey is done, tent it loosely with aluminum foil.
- Rest the turkey: Once it’s done, remove the turkey from the oven and transfer it to a large platter. Let it rest for at least 20-30 minutes before carving. I know it’s hard to wait, but this step is crucial. The juices need time to redistribute throughout the meat. If you cut into it too soon, all those juices will run out onto the cutting board instead of staying in the meat.
- Make gravy (optional but recommended): While the turkey rests, pour the pan drippings through a strainer into a measuring cup. Let the fat rise to the top, then skim it off. You can use the remaining liquid as a base for gravy—just heat it in a saucepan, whisk in a little flour or cornstarch slurry, and simmer until thickened.
One thing I’ve learned the hard way: don’t skip the resting step. The first time I made this turkey, I was so excited that I carved it after ten minutes. The meat was still good, but it wasn’t as juicy as it could have been. Now I set a timer and walk away. Trust the process.
Cooking Tips & Techniques
Over the years, I’ve made plenty of mistakes with roasted turkey. Here’s what I’ve learned so you don’t have to repeat my errors.
Don’t skip drying the skin: I mentioned this earlier, but it’s worth repeating. A dry turkey skin is a crispy turkey skin. If you’re short on time, just pat it dry as thoroughly as possible with paper towels. Every bit of moisture you remove helps.
Use a thermometer, not the pop-up timer: Those little plastic pop-up timers that come with some turkeys are notoriously unreliable. They often pop too late, meaning your turkey is already overcooked. A $10 instant-read thermometer is a much better investment.
Let the turkey come to room temperature: Take the turkey out of the fridge about 30-45 minutes before it goes into the oven. A cold turkey will cook unevenly, with the outside drying out before the inside is done. This is a small step that makes a big difference.
Baste wisely: You don’t actually need to baste every 30 minutes like some recipes suggest. The herb butter under the skin does the basting for you. If you open the oven too often, you let heat escape and extend the cooking time. I baste once, about halfway through, just to feel useful. It’s mostly for my own peace of mind.
Watch the wing tips: The wing tips are the thinnest part of the bird and tend to burn. Tucking them under the body helps, but if they still look dark, cover them with small pieces of foil halfway through cooking.
One failure I’ll admit to: I once forgot to remove the bag of giblets from the cavity before roasting. The smell was… memorable. My husband still brings it up. So double-check that cavity before you put the turkey in the oven. Learn from my mistake.
Variations & Adaptations
This recipe is flexible, and I’ve tried several variations depending on what I have on hand or who I’m feeding.
Citrus Herb Butter: Add the zest of one lemon and one orange to the herb butter. It gives the turkey a bright, fresh flavor that pairs beautifully with the herbs. I did this for Easter last year, and everyone asked what I’d done differently.
Spicy Southwest Version: Mix in 1 teaspoon of smoked paprika, ½ teaspoon of cumin, and a pinch of cayenne pepper to the herb butter. It adds warmth without being too spicy. This is great if you’re serving the turkey with a side of black beans and rice.
Garlic Lovers’ Turkey: Roast a whole head of garlic alongside the turkey. Once it’s soft and caramelized, squeeze the cloves into the herb butter before applying. The roasted garlic adds a sweet, mellow flavor that’s completely different from raw garlic.
Dairy-Free Option: Substitute the butter with a high-quality vegan butter or use olive oil mixed with the herbs. The texture won’t be quite as rich, but it still works. I’ve made this for a friend with dairy allergies, and it was well-received.
Smaller Bird Variation: If you’re cooking for a smaller family, use a turkey breast instead of a whole bird. The cooking time will be much shorter—about 1.5 to 2 hours for a 4-5 pound breast. Apply the herb butter the same way, under the skin.
My personal favorite variation is the citrus one. Something about the lemon and orange with the herbs just feels right for a special occasion. It’s become my go-to for Christmas dinner.
Serving & Storage Suggestions
This turkey is best served hot, right after its rest period. Carve it at the table for maximum impact—the golden skin and aromatic steam will have everyone reaching for their plates.
Serving ideas: Pair this turkey with classic sides like mashed potatoes, green bean casserole, cranberry sauce, and dinner rolls. The herb butter drippings make an excellent gravy base, so don’t skip that step. For a lighter meal, serve it with a simple arugula salad dressed with lemon vinaigrette.
Storage: Leftover turkey can be stored in an airtight container in the refrigerator for up to 4 days. The meat actually gets more flavorful as it sits, making it perfect for sandwiches the next day. I like to shred some of the dark meat and use it in soups or casseroles.
Freezing: Shredded or sliced turkey freezes beautifully for up to 3 months. Wrap it tightly in plastic wrap, then place it in a freezer bag. When you’re ready to use it, thaw it overnight in the refrigerator. The texture remains surprisingly good.
Reheating: The best way to reheat turkey without drying it out is to add a splash of chicken broth to a baking dish, place the turkey in it, cover with foil, and warm it in a 300°F oven for about 15-20 minutes. You can also reheat individual portions in the microwave with a damp paper towel over the top. Avoid high heat—it’ll turn the meat tough.
The flavors in this turkey actually deepen over time. I’ve found that day-old turkey, cold from the fridge, makes the best sandwiches. Something about the herb butter seeping into the meat overnight just makes it even better.
Nutritional Information & Benefits
Turkey is a lean source of protein that’s packed with nutrients. A 3-ounce serving of roasted turkey breast provides about 25 grams of protein, along with B vitamins, selenium, and zinc. The herb butter adds some fat, but you can control the amount by how much you apply.
Here’s an approximate breakdown per serving (based on a 6-ounce serving of turkey with skin):
- Calories: 350
- Protein: 35g
- Fat: 20g
- Carbohydrates: 1g
- Fiber: 0g
- Sugar: 0g
This recipe is naturally gluten-free and low-carb, making it suitable for a variety of dietary needs. If you’re watching your sodium, use unsalted butter and reduce the added salt—the herbs provide plenty of flavor on their own. Turkey is also a good source of tryptophan, which is why everyone feels sleepy after Thanksgiving dinner. It’s not the turkey making you drowsy—it’s the massive meal combined with all those carbs from the sides.
One thing I appreciate about this recipe is that it fits into a balanced diet. You get high-quality protein, healthy fats from the butter, and antioxidants from the herbs. It’s comfort food that doesn’t leave you feeling guilty.
Conclusion
This herb butter roasted turkey has become a staple in my kitchen, not just for holidays but for any time I want to feed my family something special without spending a fortune. It’s the recipe that changed my husband’s mind about turkey, and it’s the one I turn to when I need a guaranteed win. The herb butter keeps everything moist, the simple technique makes it approachable, and the leftovers are a gift that keeps giving.
I’d love for you to try this recipe and make it your own. Maybe add a different herb, try the citrus version, or serve it with your family’s favorite sides. The beauty of this recipe is that it’s forgiving—it works with what you have and adapts to your preferences. If you make it, let me know how it turns out. Drop a comment below or tag me in your photos. I genuinely want to hear about your turkey triumphs (and yes, even your turkey mishaps—we’ve all been there). Happy cooking, friends.
Frequently Asked Questions
Can I use dried herbs instead of fresh?
Yes, absolutely. Use about one teaspoon of dried herbs for each tablespoon of fresh called for in the recipe. The flavor won’t be quite as bright, but it’ll still be delicious. I’ve made this with dried herbs plenty of times when fresh wasn’t available.
How do I know when the turkey is fully cooked?
The most reliable way is to use a meat thermometer. Insert it into the thickest part of the thigh, avoiding the bone. You’re looking for a temperature of 165°F. The breast should be at least 160°F. Don’t rely on the pop-up timer that comes with some turkeys—they’re often inaccurate.
Can I prepare the herb butter in advance?
Yes, you can make the herb butter up to 3 days ahead. Keep it covered in the refrigerator, and let it come to room temperature before spreading it under the turkey skin. Cold butter is harder to spread and might tear the skin.
What if I don’t have a roasting rack?
No problem at all. You can use crumpled aluminum foil to lift the turkey off the bottom of the pan. Just shape a few pieces of foil into coils and place them under the turkey. It’s not fancy, but it works perfectly.
How long should I let the turkey rest before carving?
At least 20-30 minutes. I know it’s tempting to dig in right away, but resting allows the juices to redistribute throughout the meat. If you cut too soon, all those juices will run out onto the cutting board, leaving you with drier meat. Set a timer and walk away.
Pin This Recipe!
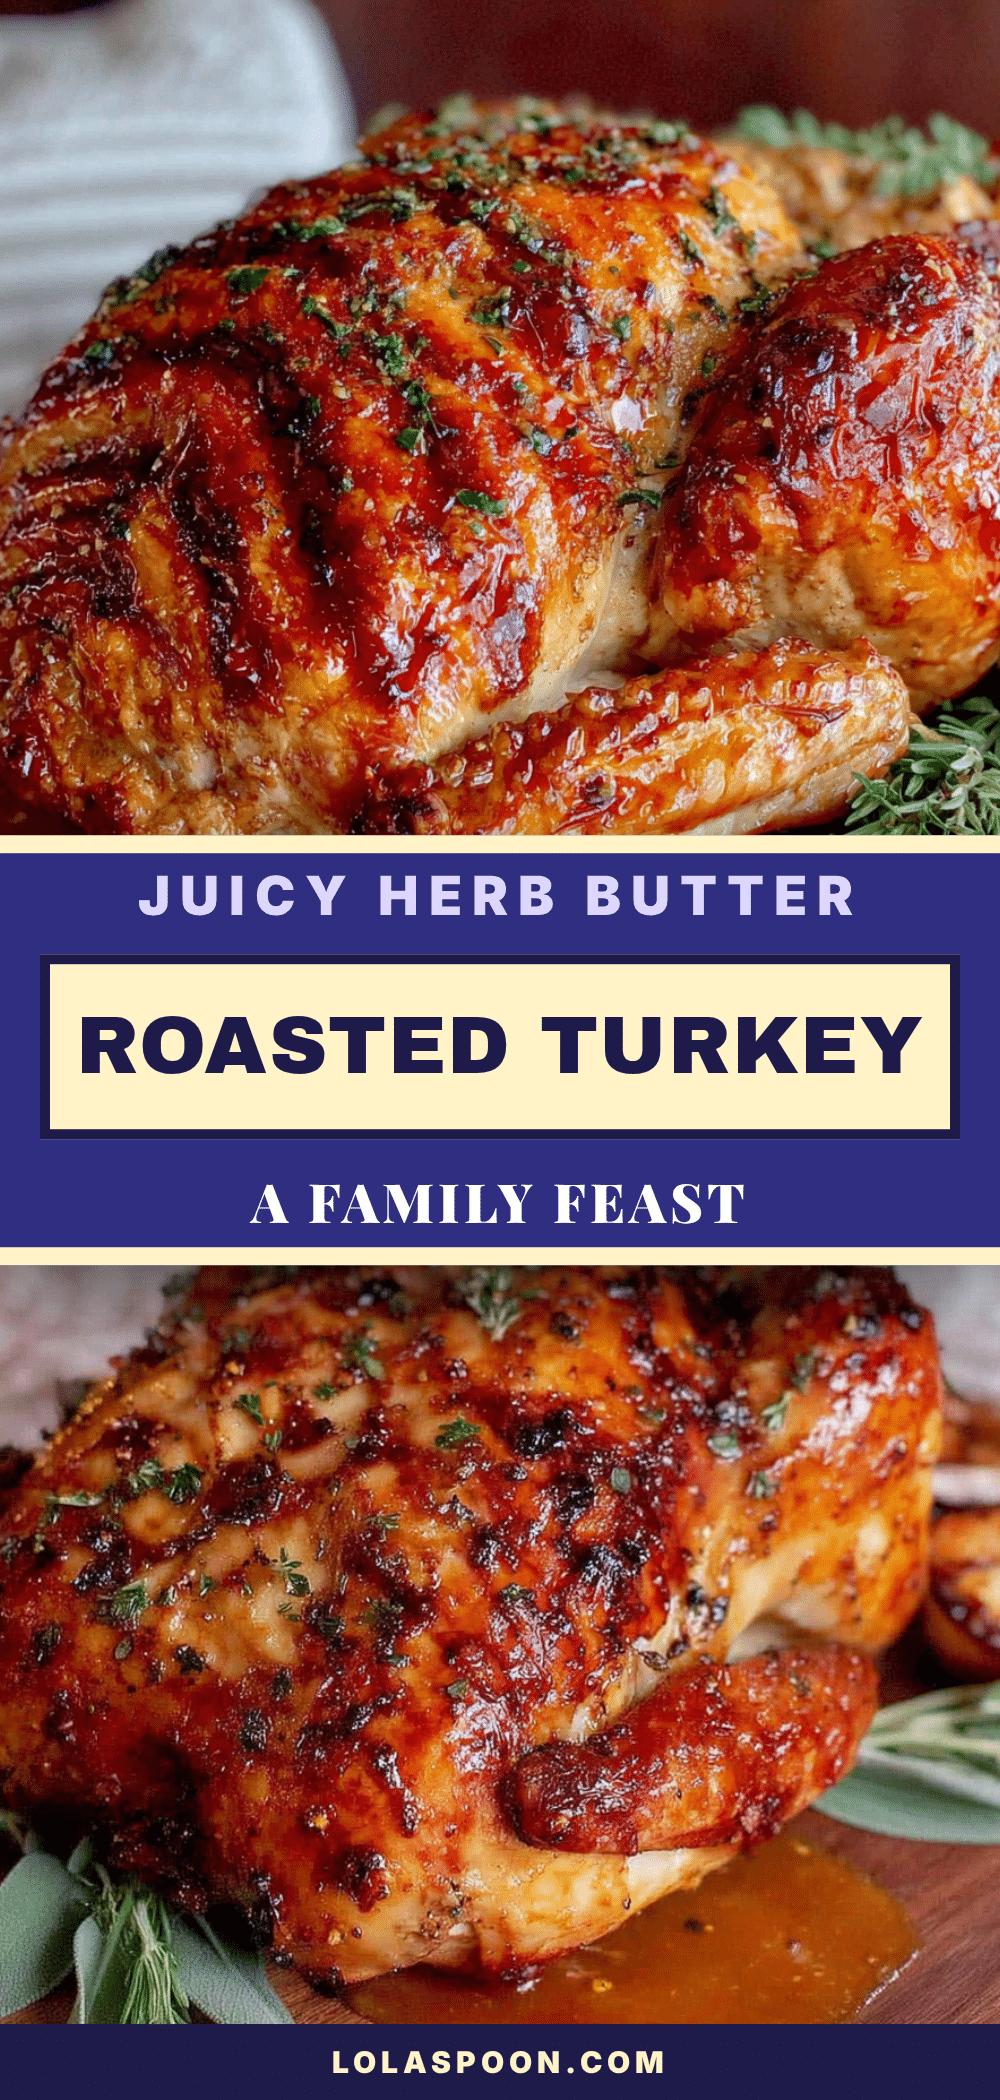
Juicy Herb Butter Roasted Turkey – Best Budget Family Feast
This herb butter roasted turkey is a budget-friendly feast that turns even turkey-haters into fans. The herb butter seeps into the meat as it roasts, keeping every bite moist and flavorful.
- Prep Time: 30 minutes
- Cook Time: 2 hours 30 minutes
- Total Time: 3 hours
- Yield: 8-10 servings 1x
- Category: Main Course
- Cuisine: American
Ingredients
- 1 whole turkey (10–12 pounds), thawed completely if frozen
- 1 cup unsalted butter, softened to room temperature
- 4 cloves garlic, minced finely
- 2 tablespoons fresh rosemary, chopped
- 2 tablespoons fresh thyme leaves, chopped
- 1 tablespoon fresh sage, chopped (optional)
- 2 teaspoons salt, plus more for seasoning the cavity
- 1 teaspoon black pepper, freshly ground
- 1 lemon, halved
- 1 onion, quartered
- 2 carrots, chopped roughly
- 2 celery stalks, chopped roughly
- 1 cup low-sodium chicken broth
Instructions
- Prep the turkey: Remove the turkey from its packaging. Take out the giblets and neck from the cavity. Rinse the turkey inside and out with cold water, then pat it completely dry with paper towels. Let it sit on a tray in the fridge, uncovered, for at least 2 hours or up to overnight.
- Make the herb butter: In a small bowl, combine the softened butter, minced garlic, chopped rosemary, thyme, sage (if using), salt, and pepper. Mix everything together until well combined.
- Apply the herb butter: Using your fingers, gently loosen the skin of the turkey breast. Take about two-thirds of the herb butter and spread it directly onto the breast meat under the skin. Spread the remaining butter all over the outside of the turkey, including the legs and wings.
- Season the cavity: Stuff the cavity with the lemon halves, onion quarters, and any leftover herb sprigs.
- Truss the turkey: If you have kitchen twine, tie the legs together at the ankles and tuck the wing tips under the body.
- Set up the pan: Place the chopped carrots, celery, and any extra onion pieces in the bottom of your roasting pan. Pour in the chicken broth. Place the turkey on the rack (or on crumpled foil) over the vegetables.
- Roast the turkey: Preheat your oven to 425°F. Roast the turkey at this high temperature for 30 minutes. Then, without opening the oven, reduce the temperature to 350°F. Continue roasting for about 13-15 minutes per pound. For a 12-pound turkey, that’s about 2.5 to 3 hours total.
- Check for doneness: Insert your meat thermometer into the thickest part of the thigh, avoiding the bone. You’re looking for 165°F. Also check the breast—it should be at least 160°F. If the skin is getting too dark before the turkey is done, tent it loosely with aluminum foil.
- Rest the turkey: Once it’s done, remove the turkey from the oven and transfer it to a large platter. Let it rest for at least 20-30 minutes before carving.
- Make gravy (optional but recommended): While the turkey rests, pour the pan drippings through a strainer into a measuring cup. Let the fat rise to the top, then skim it off. Use the remaining liquid as a base for gravy.
Notes
Don’t skip drying the skin for extra crispiness. Use a meat thermometer for accuracy. Let the turkey come to room temperature before roasting. Baste once halfway through. Watch the wing tips to prevent burning.
Nutrition
- Serving Size: 6 ounces
- Calories: 350
- Sodium: 600
- Fat: 20
- Saturated Fat: 12
- Carbohydrates: 1
- Protein: 35
Keywords: herb butter roasted turkey, budget turkey recipe, juicy turkey, Thanksgiving turkey, family feast turkey