I was standing in the middle of a grocery store aisle last October, holding a bag of Honeycrisp apples and staring at a jar of store-bought caramel sauce, when the smell hit me. Not from the store—from somewhere deep in my memory. It was the scent of butter browning in a cast-iron pan, mixed with cinnamon and something sweet turning sticky in the oven. And suddenly I was seven years old, standing on a step stool in my Great-Aunt Rose’s tiny kitchen, watching her peel apples so fast the skins fell in one long, unbroken spiral. She passed away when I was twelve, and I hadn’t thought about her apple crisp in twenty years. But there I was, frozen in the produce section, holding apples I didn’t even know I needed.
I bought five pounds of them, plus a box of butter, a bag of brown sugar, and some flaky sea salt I had no plan for. Honestly, I didn’t even know what I was making yet. I just knew I had to recreate that feeling—the warmth of her kitchen, the way she’d let me lick the spoon, the sound of that crisp topping bubbling through the house. The first attempt was a disaster. Too much butter, not enough salt, and the topping came out like a brick. But the second try? That was closer. By the third, I had it. And I added my own twist—a salted caramel drizzle that Aunt Rose would’ve called “fancy nonsense” but would’ve secretly loved.
Maybe you’ve been there, standing in a kitchen trying to chase a memory you can almost taste but never quite catch. This recipe is my attempt to hold onto that moment. And honestly, it’s become the thing I bring to every fall gathering, every Friendsgiving, every potluck where people need something that feels like a hug. The best part? It feeds a crowd without breaking a sweat. Let me show you how to make it.
Why You’ll Love This Recipe
Let’s be real for a second. There are about a million apple crisp recipes out there. So why should you trust this one? Because I’ve tested it more times than I care to admit—burned my tongue on molten caramel, cried over a soggy topping, and finally nailed the perfect balance of sweet, salty, and crunchy. This isn’t just another recipe; it’s the one I bring to every gathering, and it always disappears first.
- Feeds a Crowd with Ease: This recipe doubles beautifully and fits in a 9×13 dish, making it perfect for dinner parties, potlucks, and holiday tables. You can even prep it the night before.
- Simple, Everyday Ingredients: No weird specialty items here. Apples, oats, flour, butter, brown sugar, and a little heavy cream. You probably already have most of this in your pantry.
- That Salted Caramel Magic: The homemade salted caramel takes this from “good” to “close-your-eyes-and-savor-it” good. It’s not complicated, I promise—just a little patience and a good whisk.
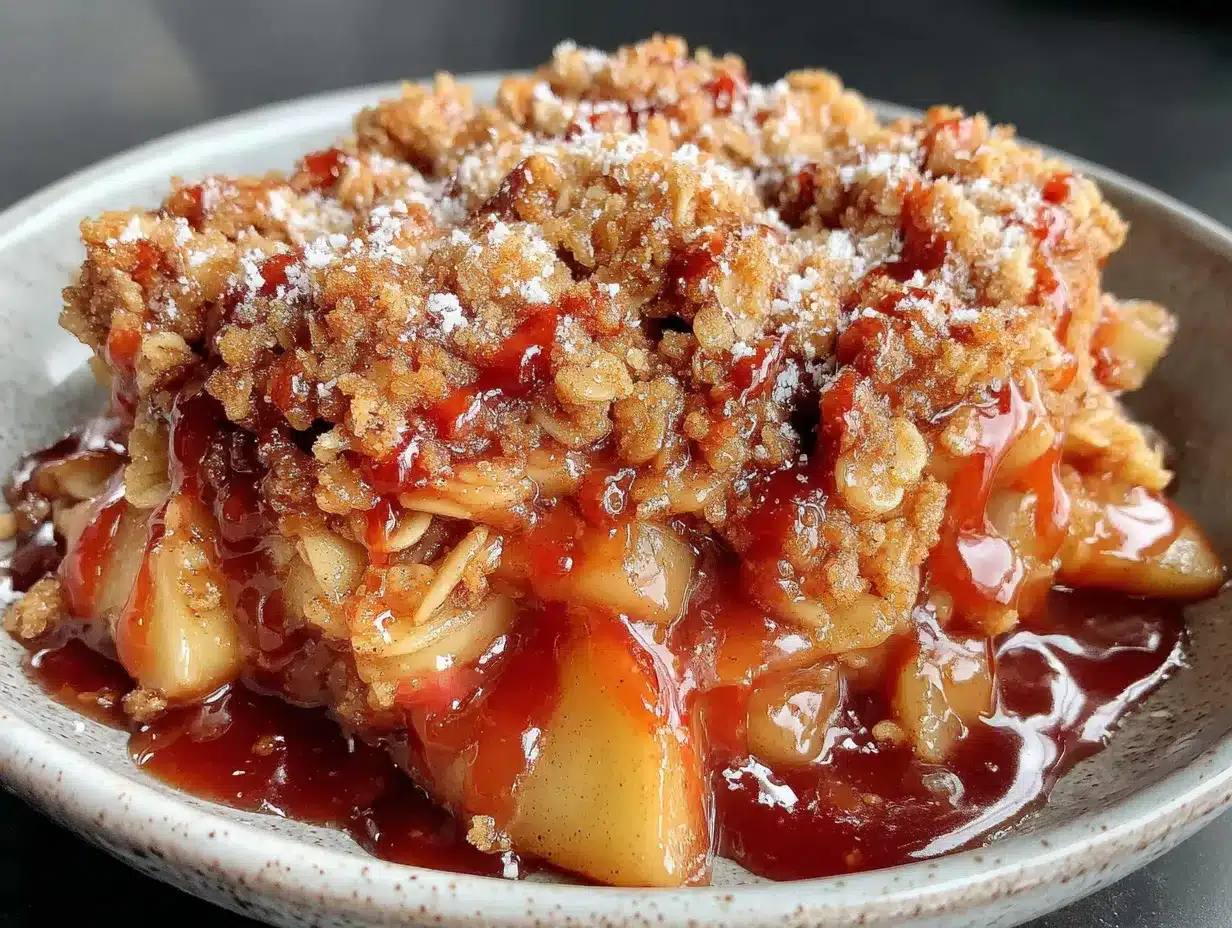
- Perfect for Hosting: This dish is designed to impress. The golden, bubbly topping, the way the caramel pools around the edges, the flaky salt glistening on top—it’s a showstopper that makes you look like a pro.
- Crowd-Pleaser Guaranteed: I’ve served this to kids, grandparents, picky eaters, and dessert snobs. Every single person asked for the recipe. Every. Single. Time.
This recipe isn’t just good—it’s the kind that makes people close their eyes after the first bite. It’s comfort food reimagined: warm, gooey, crunchy, and perfectly salted. Perfect for impressing guests without stress, or turning a simple fall meal into something memorable.
What Ingredients You Will Need
This recipe uses simple, wholesome ingredients to deliver that big, bold flavor without the fuss. Most of these are pantry staples, so you might not even need a grocery run.
For the Apple Filling
- 6 large apples (about 3 pounds) — I use a mix of Honeycrisp and Granny Smith. The Honeycrisp adds sweetness, the Granny Smith gives it that tangy balance. Peel, core, and slice them about ¼-inch thick.
- ½ cup granulated sugar
- ¼ cup brown sugar, packed
- 2 tablespoons all-purpose flour — helps thicken the juices so the filling isn’t watery.
- 1 tablespoon lemon juice — fresh is best; it keeps the apples from browning and brightens the flavor.
- 1 teaspoon ground cinnamon
- ¼ teaspoon ground nutmeg — freshly grated if you have it.
- ¼ teaspoon salt
For the Crisp Topping
- 1½ cups old-fashioned rolled oats — not quick oats; they get mushy. Old-fashioned oats give that perfect chewy-crunchy texture.
- 1½ cups all-purpose flour
- 1 cup brown sugar, packed
- 1 teaspoon cinnamon
- ½ teaspoon salt
- ¾ cup unsalted butter, cold and cut into small cubes — I use Kerrygold for the rich flavor, but any good unsalted butter works.
For the Salted Caramel Sauce
- 1 cup granulated sugar
- 6 tablespoons unsalted butter, cut into pieces
- ½ cup heavy cream — at room temperature; cold cream will seize the caramel.
- 1 teaspoon flaky sea salt — like Maldon. Plus more for sprinkling on top.
- 1 teaspoon vanilla extract
Ingredient Tip: For the best texture, make sure your butter is really cold when cutting it into the topping. And if you’re dairy-free, you can substitute cold coconut oil for the butter in the topping (though the caramel really needs real butter and cream for that silky texture).
Equipment Needed
You don’t need a fancy kitchen to pull this off. Here’s what you’ll need:
- 9×13-inch baking dish — this is the perfect size for feeding a crowd. A ceramic or glass dish works best for even heat distribution.
- Large mixing bowls — one for the apples, one for the topping.
- Medium saucepan — for the caramel sauce. Go with a light-colored pan so you can see the sugar change color.
- Chef’s knife and cutting board
- Vegetable peeler
- Pastry cutter or two forks — for cutting butter into the topping. You can also use your hands; just work quickly so the butter doesn’t warm up.
- Whisk — for the caramel.
- Candy thermometer — optional, but helpful for the caramel if you’re nervous about it.
Budget-Friendly Tip: Don’t have a pastry cutter? No problem. Just use your fingertips to rub the butter into the flour mixture until it looks like coarse meal. It’s actually my preferred method—more control, less cleanup.
Preparation Method
Alright, let’s get cooking. This recipe comes together in about an hour, and I promise it’s worth every minute.
- Preheat your oven to 350°F (175°C). Grease your 9×13 baking dish lightly with butter or non-stick spray.
- Make the apple filling. In a large bowl, toss the sliced apples with granulated sugar, brown sugar, flour, lemon juice, cinnamon, nutmeg, and salt. Use your hands to mix everything well—make sure every apple slice is coated. Let it sit for 10 minutes while you prep the topping. This step helps the apples release some juice, which will thicken into a beautiful syrup as it bakes.
- Make the crisp topping. In another large bowl, whisk together the oats, flour, brown sugar, cinnamon, and salt. Add the cold butter cubes. Using a pastry cutter, two forks, or your fingertips, cut the butter into the dry ingredients until the mixture looks like coarse crumbs with some pea-sized butter pieces remaining. Don’t overwork it—those little butter lumps create the crispy, golden clusters everyone fights over.
- Assemble the crisp. Spread the apple mixture evenly in the prepared baking dish. Sprinkle the topping evenly over the apples. Don’t press it down; you want it loose so it gets nice and crunchy.
- Bake for 40-45 minutes, or until the topping is golden brown and the filling is bubbling around the edges. If the topping is browning too quickly, tent the dish with foil for the last 10 minutes. Your kitchen is going to smell like heaven right about now.
- While it bakes, make the salted caramel. In a medium saucepan over medium heat, melt the granulated sugar, stirring occasionally with a whisk. It will clump at first, then melt into a deep amber liquid. This takes about 6-8 minutes. Watch it closely—sugar burns fast. Once it’s a beautiful copper color, remove from heat and whisk in the butter pieces. The mixture will bubble up; that’s normal. Keep whisking until the butter is fully melted. Slowly pour in the heavy cream while whisking constantly. The caramel will steam and bubble again—just keep whisking until smooth. Stir in the flaky sea salt and vanilla. Let it cool slightly; it will thicken as it cools.
- Finish and serve. Let the crisp cool for 10-15 minutes after coming out of the oven. Drizzle the salted caramel sauce generously over the top. Sprinkle with a little extra flaky sea salt. Serve warm, preferably with a scoop of vanilla ice cream.
Pro Tip: The caramel sauce can be made up to a week ahead. Just reheat it gently on the stove or microwave before drizzling.
Cooking Tips & Techniques
After making this recipe about a dozen times (and messing it up at least three), here’s what I’ve learned:
Don’t skip the lemon juice. I know it seems minor, but it does two things: keeps the apples from browning and balances the sweetness. The first time I made this, I forgot the lemon juice, and the filling tasted flat and overly sweet. Never again.
Use a mix of apple varieties. All sweet apples make a one-note filling. All tart apples need more sugar. The Honeycrisp-Granny Smith combo is my go-to, but Fuji and Braeburn also work great. Stay away from Red Delicious—they turn into mush.
Toast your oats for extra crunch. If you have an extra 5 minutes, spread the oats on a baking sheet and toast them at 350°F for 5-7 minutes before mixing them into the topping. It adds a nutty depth that’s incredible.
Let the crisp rest before serving. I know it’s hard to wait, but letting it sit for 10-15 minutes allows the filling to set up. If you dig in right away, you’ll get a soupy mess. Patience pays off here.
Make the caramel while the crisp bakes. This is my favorite multitasking trick. The crisp needs 40 minutes in the oven, which is exactly enough time to make the caramel from scratch. Use that time wisely—it keeps you from standing around watching the oven door.
My biggest failure: The time I used quick oats because I thought they were the same thing. The topping turned into a pasty, glue-like mess. Learn from my mistake—old-fashioned oats are non-negotiable here.
Variations & Adaptations
This recipe is flexible. Here are some ways to make it your own:
Gluten-Free Version: Swap the all-purpose flour in the topping with a 1:1 gluten-free baking flour blend. Bob’s Red Mill works great. The texture will be slightly more crumbly, but still delicious.
Dairy-Free Version: Use cold coconut oil or vegan butter in the topping. For the caramel, you can use full-fat coconut cream instead of heavy cream, though the flavor will be slightly different. It’s still good—just different.
Add Some Crunch: Mix ½ cup chopped pecans or walnuts into the topping. Toast them first for maximum flavor. I did this for a Thanksgiving gathering once, and it was the first thing to disappear.
Bourbon-Infused Caramel: Add 2 tablespoons of bourbon to the caramel along with the vanilla. The alcohol cooks off, leaving behind a warm, smoky depth that pairs beautifully with the apples. This is my go-to for adult-only gatherings.
Individual Servings: Spoon the apple mixture and topping into ramekins or small baking dishes. Reduce the baking time to 20-25 minutes. Perfect for dinner parties where everyone wants their own little dish.
Serving & Storage Suggestions
How to Serve: This crisp is best served warm, straight from the oven. I like to scoop it into bowls and top it with a generous scoop of vanilla bean ice cream. The hot-cold contrast is everything. A drizzle of extra caramel on top never hurts either.
What to Serve Alongside: A dollop of lightly sweetened whipped cream, a sprinkle of cinnamon, or even a side of warm custard. For a full fall spread, serve it alongside a warm apple cider or a cup of strong coffee. If you’re hosting a dinner party, this pairs beautifully with a roasted pork loin or a sharp cheddar cheese board—yes, apple and cheddar is a classic combo for a reason.
Storage: Cover the baking dish tightly with foil or plastic wrap and store in the refrigerator for up to 4 days. The topping will soften over time, but it’s still delicious. I actually think the flavors meld together even more the next day.
Reheating: Reheat individual portions in the microwave for 30-45 seconds. For a larger portion, reheat in a 350°F oven for 10-15 minutes. If the topping needs a little crunch revival, pop it under the broiler for 1-2 minutes—watch it closely so it doesn’t burn.
Freezing: You can freeze the unbaked crisp for up to 3 months. Assemble it in the baking dish, wrap tightly in plastic wrap and then foil. Bake directly from frozen, adding 15-20 minutes to the baking time. The caramel sauce can also be frozen in a jar for up to 3 months.
Nutritional Information & Benefits
Let’s be honest—this is a dessert, and it’s meant to be indulgent. But there are some redeeming qualities worth mentioning.
Estimated per serving (based on 12 servings): Calories: 420 | Fat: 18g | Carbs: 64g | Fiber: 4g | Sugar: 42g | Protein: 4g
Healthier Highlights: Apples are packed with fiber and vitamin C, and the oats in the topping provide soluble fiber that’s good for heart health. The cinnamon in this recipe has anti-inflammatory properties and can help regulate blood sugar. So yes, there’s some goodness in every bite.
Dietary Considerations: This recipe contains gluten, dairy, and nuts (if you add them). For a gluten-free version, use certified gluten-free oats and a gluten-free flour blend. For a dairy-free version, substitute as mentioned in the variations section. Always check your ingredient labels if cooking for someone with allergies.
My Take: I believe in balance. This recipe is for celebrations, for gatherings, for the moments when you want to feel warm and connected. It’s not an everyday dessert, and that’s okay. Enjoy it fully, share it generously, and don’t worry about the numbers.
Conclusion
This salted caramel apple crisp is more than just a dessert—it’s the dish I bring when I want to say “I’m glad you’re here” without using words. It’s the one that makes people linger at the table, scrape their bowls clean, and ask for the recipe before they’ve even finished chewing. And honestly? That’s exactly what I was chasing in that grocery store aisle last October.
I hope you make this recipe your own. Maybe you’ll add extra salt, swap in pears for half the apples, or double the caramel because, let’s face it, more caramel is never a bad idea. Whatever you do, make it with love and share it with people who matter. That’s what Aunt Rose would’ve wanted.
Have you tried this recipe? I’d love to hear how it turned out. Drop a comment below, share your twist on it, or tag me in your photos. Let’s keep this delicious tradition going!
Frequently Asked Questions
Can I make this apple crisp ahead of time?
Absolutely! You can assemble the entire crisp (without the caramel) up to 24 hours in advance. Cover and refrigerate, then bake as directed. You may need to add 5-10 minutes to the baking time since it’s starting from cold. Make the caramel while it bakes for the freshest flavor.
Can I use store-bought caramel sauce instead of homemade?
You can, but I really recommend making it from scratch. The homemade version has a deeper, richer flavor and you can control the salt level. If you’re short on time, look for a high-quality jarred caramel and add a pinch of flaky sea salt to it. It won’t be quite the same, but it’ll still be delicious.
Why is my crisp topping soggy instead of crunchy?
This usually happens for one of two reasons: either you used quick oats instead of old-fashioned oats, or your butter wasn’t cold enough when you cut it into the flour mixture. Cold butter creates steam pockets as it bakes, which gives you that crispy texture. Also, make sure your topping isn’t pressed down—keep it loose and airy.
How do I prevent the apple filling from being too watery?
Two things help: First, toss the apples with flour and let them sit for 10 minutes before baking. The flour absorbs excess liquid. Second, don’t overfill the dish. If you add too many apples, they release more juice than the topping can handle. Stick to the recipe measurements and you’ll be golden.
Can I use frozen apples for this recipe?
I don’t recommend it. Frozen apples release a lot of water as they thaw, which will make your filling soupy and your topping soggy. Fresh apples are really the way to go here. If you have frozen apples, thaw them first, drain the excess liquid, and pat them dry before using—but honestly, fresh gives you the best texture and flavor.
Pin This Recipe!
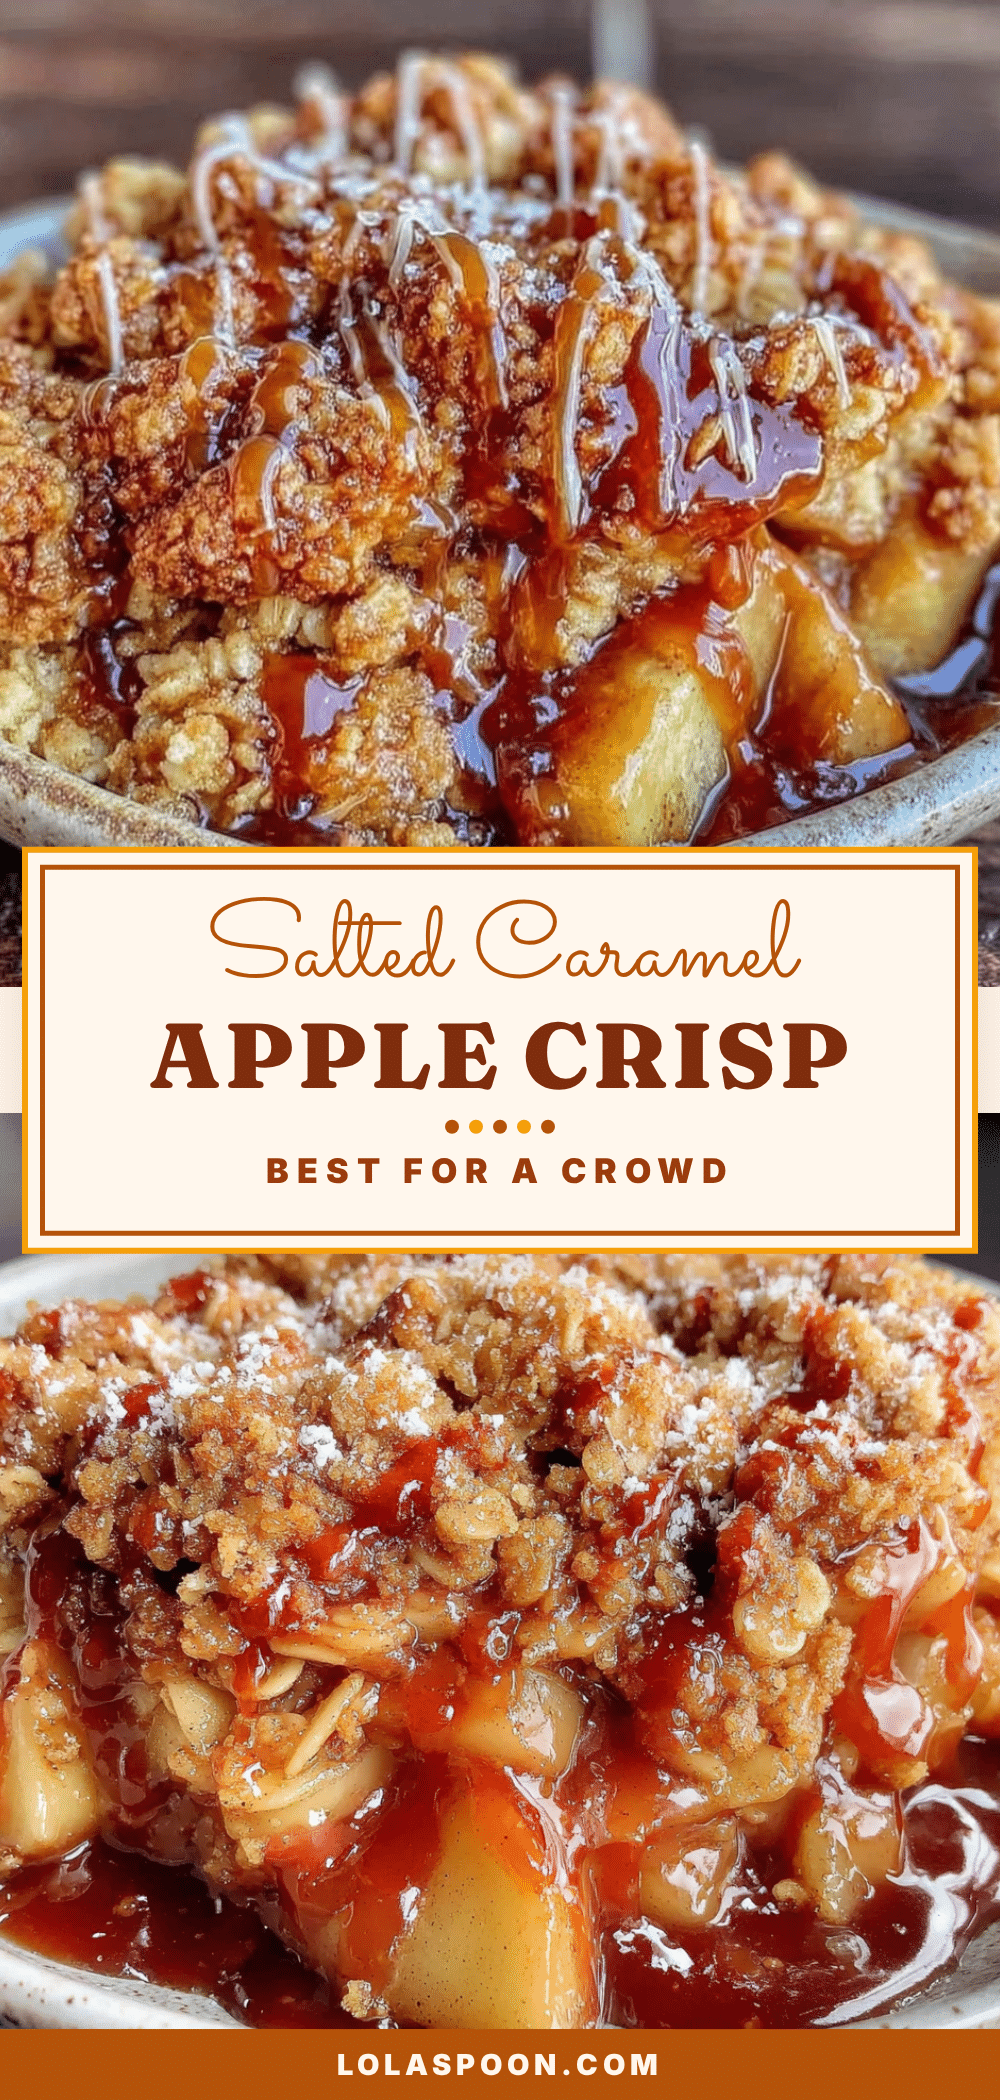
Best Salted Caramel Apple Crisp Recipe for a Crowd

This salted caramel apple crisp is the perfect dessert for fall gatherings, potlucks, and holiday tables. With a crunchy oat topping, tender spiced apples, and a homemade salted caramel drizzle, it’s a crowd-pleaser that tastes like a warm hug.
- Prep Time: 20 minutes
- Cook Time: 45 minutes
- Total Time: 1 hour 5 minutes
- Yield: 12 servings 1x
- Category: Dessert
- Cuisine: American
Ingredients
- 6 large apples (about 3 pounds), peeled, cored, and sliced ¼-inch thick (mix of Honeycrisp and Granny Smith)
- ½ cup granulated sugar
- ¼ cup brown sugar, packed
- 2 tablespoons all-purpose flour
- 1 tablespoon lemon juice
- 1 teaspoon ground cinnamon
- ¼ teaspoon ground nutmeg
- ¼ teaspoon salt
- 1½ cups old-fashioned rolled oats
- 1½ cups all-purpose flour
- 1 cup brown sugar, packed
- 1 teaspoon cinnamon
- ½ teaspoon salt
- ¾ cup unsalted butter, cold and cut into small cubes
- 1 cup granulated sugar (for caramel)
- 6 tablespoons unsalted butter, cut into pieces (for caramel)
- ½ cup heavy cream, at room temperature (for caramel)
- 1 teaspoon flaky sea salt (for caramel), plus more for sprinkling
- 1 teaspoon vanilla extract (for caramel)
Instructions
- Preheat your oven to 350°F (175°C). Grease a 9×13-inch baking dish lightly with butter or non-stick spray.
- Make the apple filling: In a large bowl, toss the sliced apples with granulated sugar, brown sugar, flour, lemon juice, cinnamon, nutmeg, and salt. Use your hands to mix well, ensuring every apple slice is coated. Let it sit for 10 minutes.
- Make the crisp topping: In another large bowl, whisk together the oats, flour, brown sugar, cinnamon, and salt. Add the cold butter cubes. Using a pastry cutter, two forks, or your fingertips, cut the butter into the dry ingredients until the mixture looks like coarse crumbs with some pea-sized butter pieces remaining. Do not overwork.
- Assemble the crisp: Spread the apple mixture evenly in the prepared baking dish. Sprinkle the topping evenly over the apples. Do not press it down.
- Bake for 40-45 minutes, or until the topping is golden brown and the filling is bubbling around the edges. If the topping is browning too quickly, tent the dish with foil for the last 10 minutes.
- While the crisp bakes, make the salted caramel: In a medium saucepan over medium heat, melt the granulated sugar, stirring occasionally with a whisk. It will clump at first, then melt into a deep amber liquid (about 6-8 minutes). Once it’s a beautiful copper color, remove from heat and whisk in the butter pieces. The mixture will bubble up; keep whisking until the butter is fully melted. Slowly pour in the heavy cream while whisking constantly. Stir in the flaky sea salt and vanilla. Let it cool…
- Let the crisp cool for 10-15 minutes after coming out of the oven. Drizzle the salted caramel sauce generously over the top. Sprinkle with a little extra flaky sea salt. Serve warm, preferably with a scoop of vanilla ice cream.
Notes
For the best texture, make sure your butter is really cold when cutting it into the topping. The caramel sauce can be made up to a week ahead and reheated gently. Let the crisp rest for 10-15 minutes before serving to allow the filling to set. Old-fashioned oats are non-negotiable for a crunchy topping.
Nutrition
- Serving Size: 1 serving
- Calories: 420
- Sugar: 42
- Sodium: 320
- Fat: 18
- Saturated Fat: 11
- Carbohydrates: 64
- Fiber: 4
- Protein: 4
Keywords: apple crisp, salted caramel, apple dessert, fall dessert, crowd-pleaser, potluck dessert, apple crisp recipe


