My neighbor, a retired art teacher named Carol, watched me trying to wrangle three sugar-high kids at a block party last October. I was losing the battle, honestly. She didn’t say anything at first, just disappeared into her house and came back with a cookie sheet covered in what looked like a tiny edible graveyard. There were pretzel stick fences, chocolate tombstone cookies, and little ghosts made of marshmallows. The kids went silent for a full ten minutes. Ten minutes, you know? That’s like a lifetime in kid-minutes. Carol just smiled and said, “Let them play with their food for once.”
That moment stuck with me. Not just because of the quiet, but because of how proud the kids looked arranging everything themselves. They weren’t just eating candy—they were building something. So I asked Carol how she came up with it, and she told me her own kids used to make it every Halloween when they were little. She shared the idea freely, like it was no big deal. But to me, it was pure genius. I’ve made it every year since, tweaking it just a little to fit what we have on hand. Maybe you’ve been there—trying to find a Halloween activity that doesn’t involve a sugar crash before the sun goes down. This is it.
Why You’ll Love This Recipe
Let me tell you why this graveyard snack mix board has become our family’s Halloween tradition. I’ve tested it with my own kids, my niece’s picky eaters, and even a classroom full of second graders. It passed every test with flying colors—and sticky fingers.
- Quick & Easy: You can put this together in under 15 minutes. No baking, no complicated steps. Just dump, arrange, and let the kids go wild.
- Simple Ingredients: Everything comes from your pantry or a quick trip to the dollar store. No fancy gourmet chocolates or hard-to-find items.
- Perfect for Halloween Parties: Whether it’s a school celebration, a neighborhood get-together, or just a spooky movie night at home, this board steals the show.
- Crowd-Pleaser: I’ve yet to meet a kid who doesn’t love building their own edible graveyard. It’s interactive, which means less begging for candy every five seconds.
- Unbelievably Fun: The texture combo of crunchy pretzels, smooth chocolate, and chewy marshmallows is honestly addictive. And the best part? It’s as much a craft as it is a snack.
What makes this different from other Halloween snacks is the hands-on element. Kids aren’t just eating—they’re designing. They decide where the tombstones go, how many ghosts to add, and whether the fence should be straight or crooked. It gives them a sense of ownership over the snack. And for parents, it means a few minutes of peace while they focus on their creepy creations. Trust me, this isn’t just another Halloween recipe. It’s the one you’ll pull out year after year.
What Ingredients You Will Need
This recipe uses simple, everyday ingredients that work together to create a spooky but totally edible scene. Most of these are pantry staples, especially if you have kids who love snacks. Here is what you will need to build your graveyard board:
For the Base and Fence
- Pretzel sticks – 1 bag (about 8 ounces). These make the fence around the graveyard. I like the thin, salty kind, but any straight pretzel works. (Adds that perfect salty crunch.)
- Chocolate sandwich cookies – 1 package (like Oreos). You will use these to make the dirt and the tombstones. I recommend the regular size, not the double-stuffed, for easier crumbling.
- Green or black frosting – 1 tube. This is for writing “RIP” on the tombstones. A basic store brand works fine.
For the Tombstones and Ghosts
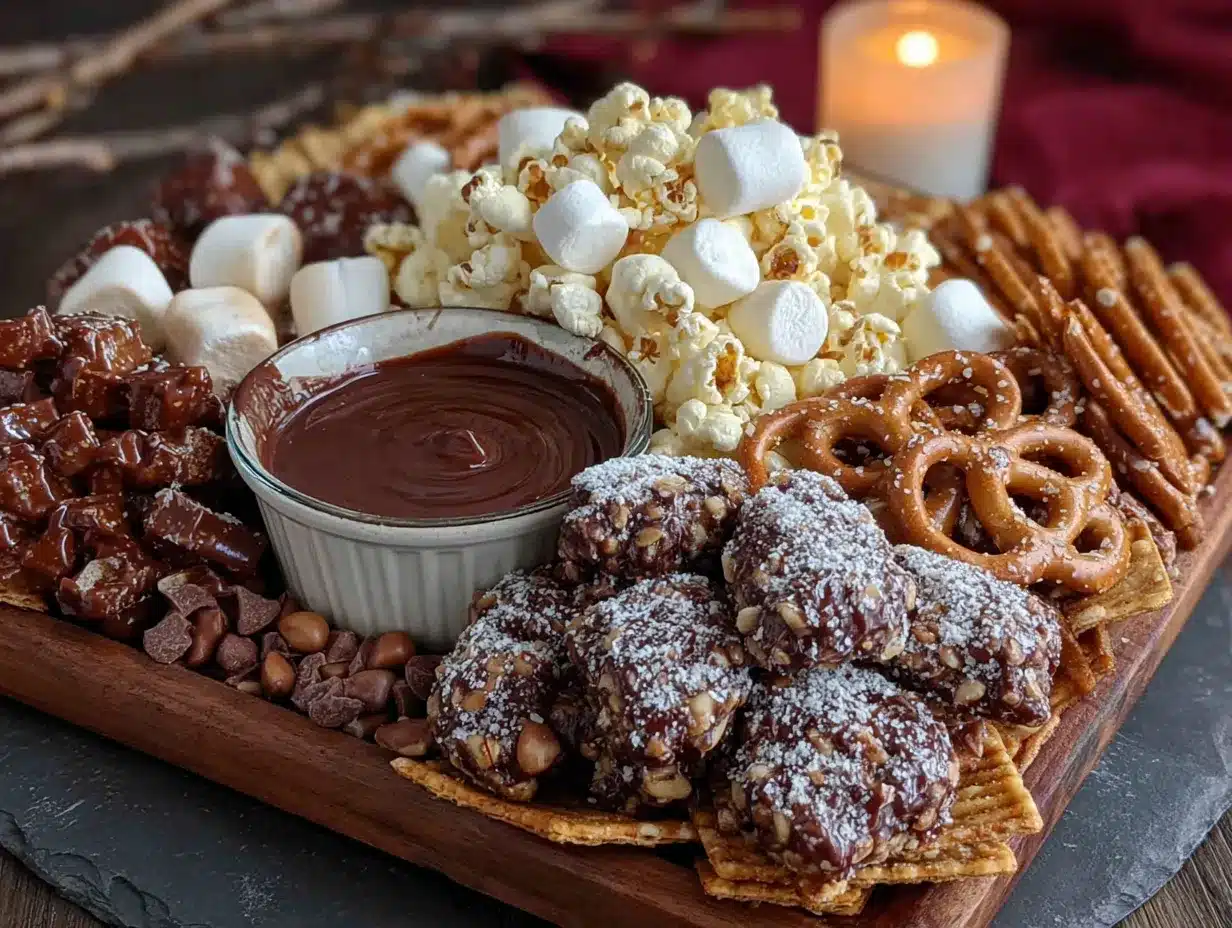
- White chocolate melts or white candy coating – 1 cup. You will melt these to make the ghost shapes. I use Wilton brand because it melts smoothly without seizing up.
- Mini marshmallows – 1 bag. These become the ghost bodies. Look for fresh, soft marshmallows—stale ones are harder to dip.
- Black decorating gel – 1 tube. For adding eyes and mouths to the ghosts. (A little goes a long way, so don’t squeeze too hard!)
For the Graveyard Scene
- Chocolate pudding cups – 4 to 6 individual cups. This acts as the “dirt” base. You can also make your own pudding from a box if you prefer.
- Gummy worms – 1 small bag. These look like creepy crawlies coming out of the ground. My kids fight over these.
- Pumpkin-shaped candy corn or candy pumpkins – 1 small bag. Adds a pop of orange color and a sweet chew.
- Chocolate chips or mini chocolate eggs – ½ cup. Scatter these like little rocks or skulls. (Dark chocolate chips work great for a less sweet option.)
Optional Add-Ins
- Green-tinted coconut flakes – For making “grass” around the graves. Just mix shredded coconut with a drop of green food coloring.
- Pretzel bats or spiders – You can buy these at most grocery stores around Halloween.
- Red fruit leather – Cut into strips to look like blood or vines.
Substitution tip: If you want a nut-free version, check your chocolate cookies and pudding cups for nut warnings. Most standard brands are safe, but always read the label. For a dairy-free option, use dairy-free pudding and dark chocolate chips. The rest of the ingredients are naturally dairy-free.
Equipment Needed
You don’t need fancy kitchen tools for this one. Here is what I use every time:
- Large serving board or cookie sheet – A rimmed baking sheet works best to keep everything contained. I use an old half-sheet pan I’ve had for years.
- Small microwave-safe bowls – For melting the white chocolate. Glass or ceramic works fine.
- Parchment paper or wax paper – To set the ghost marshmallows on. Silicone mats also work great.
- Piping bag or small zip-top bag – For drizzling chocolate or writing on tombstones. A zip-top bag with the corner snipped off is my go-to budget hack.
- Rolling pin or food processor – For crushing the chocolate cookies into dirt. A rolling pin and a zip-top bag work just as well as a food processor.
- Small offset spatula or butter knife – For spreading frosting on the tombstones.
- Toothpicks – Handy for placing small decorations or fixing a ghost that tips over.
Honestly, I’ve made this board with just a cutting board and a butter knife when I was visiting my sister’s house. It still turned out adorable. Don’t stress about having every single tool.
Preparation Method
Follow these steps carefully, and you will have a spooky snack board in no time. I’ve added my own little tips from the many times I’ve made this.
- Make the tombstones first. Take about 10 to 12 chocolate sandwich cookies. Gently twist them apart so the cream filling is exposed on one side. Using a butter knife, scrape off the cream and set it aside in a small bowl. (You can eat it or save it for another use—no judgment here.) Place the cookie halves on a flat surface with the chocolate side facing up. Using the green or black frosting, pipe a small “RIP” or a cross on each cookie. Set them aside to dry while you work on the ghosts.
- Melt the white chocolate. Pour the white chocolate melts into a microwave-safe bowl. Microwave in 20-second intervals, stirring between each, until fully melted and smooth. This usually takes about 60 to 90 seconds total. Be careful not to overheat it, or it will seize up and become lumpy. If that happens, add a teaspoon of coconut oil and stir—it usually fixes it.
- Dip the marshmallows. Line a baking sheet with parchment paper. Take each mini marshmallow and dip the top half into the melted white chocolate. Let the excess drip off for a second, then place it on the parchment paper. Work quickly, because the chocolate sets fast. You want about 15 to 20 ghosts for a full board. Once all the marshmallows are dipped, use the black decorating gel to add two tiny eyes and a little mouth. Let them set completely, about 10 minutes at room temperature.
- Crush the cookies for dirt. Place the remaining chocolate sandwich cookies (the ones you didn’t use for tombstones) into a zip-top bag. Seal it, then use a rolling pin to crush them into fine crumbs. You want a mix of fine dirt and a few bigger chunks for texture. If you have a food processor, pulse them a few times instead. Dump the crumbs into a small bowl and set aside.
- Assemble the pudding cups. Open the chocolate pudding cups and spoon the pudding into small serving bowls or directly onto the board if you prefer a more rustic look. Spread it out evenly to create a flat “ground” surface. If you are using a large board, you can pour all the pudding into one big pile and spread it around.
- Create the graveyard scene. Sprinkle the crushed cookie crumbs over the pudding to look like dirt. You want a thick, even layer that hides the pudding completely. Press down gently so the crumbs stick to the pudding. Now, arrange the tombstones in a small cluster or a line—whatever looks spookiest to you. Push the bottom edge of each cookie into the dirt so they stand upright.
- Add the ghosts and fence. Place the white chocolate ghosts around the tombstones. Some can be half-buried in the dirt for a spooky effect. Then, take the pretzel sticks and break a few in half to create shorter fence posts. Arrange the pretzels in a rectangle or a zigzag pattern around the graveyard. Press them into the dirt slightly so they stay standing.
- Scatter the extras. Sprinkle the gummy worms around so they look like they are crawling out of the graves. Add the candy pumpkins, chocolate chips, and any other decorations you have. If you are using green coconut grass, sprinkle it around the edges of the tombstones. Step back and admire your work—it should look like a tiny, edible Halloween scene.
- Serve immediately. Place the board in the center of the table and let the kids go to town. They will love rearranging the pieces and eating as they go. If you are making this ahead of time, keep the pretzels and marshmallows separate until just before serving to prevent them from getting soggy.
Cooking Tips & Techniques
After making this board about a dozen times, I’ve learned a few things the hard way. Here are my best tips to make yours perfect.
Don’t over-melt the white chocolate. I ruined my first batch by microwaving it for a full minute straight. It turned into a grainy mess. Always do short bursts and stir in between. If it does get too thick, add a teaspoon of vegetable shortening or coconut oil—it will smooth right out.
Let the tombstones dry completely. The frosting needs at least 10 minutes to set before you stick them in the dirt. If you push them in too soon, the frosting smears and the writing becomes unreadable. I usually make the tombstones first while I’m melting the chocolate, so by the time I’m ready to assemble, they are good to go.
Crush the cookies in batches. If you try to crush an entire package at once in a bag, the bag might split open. Trust me, I’ve had cookie crumbs all over my kitchen floor. Do it in two or three batches, or use a food processor for a cleaner process.
Keep the pretzels separate until the end. If you add the pretzel fence too early, the moisture from the pudding will soften them. They will still taste fine, but they won’t have that satisfying crunch. I always add the pretzels right before serving.
Let the kids help with the messy parts. Honestly, the best tip I can give you is to let the kids crush the cookies and sprinkle the dirt. It keeps them busy and invested in the final product. My youngest loves dipping the marshmallows, even though she gets chocolate everywhere. It’s worth the cleanup for the look on her face.
Variations & Adaptations
One of the best things about this snack board is how easy it is to change up. Here are a few ways I’ve adapted it over the years.
Gluten-Free Version: Swap the chocolate sandwich cookies for a gluten-free chocolate cookie brand. Most grocery stores carry them now. Use gluten-free pretzel sticks—they are available at many health food stores. Everything else in the recipe is naturally gluten-free.
Nut-Free Version: This recipe is naturally nut-free if you use standard brands, but always check the labels on your chocolate and pudding cups. Some specialty chocolates are processed in facilities that handle nuts. For peace of mind, I use Enjoy Life brand chocolate chips, which are certified nut-free.
Dairy-Free Version: Use dairy-free chocolate pudding (like Jell-O brand) and dairy-free dark chocolate chips. The white chocolate melts can be replaced with a dairy-free white chocolate alternative, though they can be harder to find. I’ve also used coconut cream mixed with powdered sugar as a dairy-free ghost dip—it sets softer but tastes great.
Less Sugar Version: If you are watching sugar intake, use sugar-free chocolate pudding and dark chocolate chips with at least 70% cocoa. Skip the candy pumpkins and use fresh berries or apple slices for color. The ghosts can be made with plain marshmallows and a tiny dot of dark chocolate for eyes.
Seasonal Twist: For a Christmas or winter theme, use green pudding for “snow” and white chocolate snowflake decorations. Swap the gummy worms for candy canes. For Easter, use pastel-colored candy and bunny-shaped marshmallows. The base idea stays the same, but the look changes completely.
I tried a “zombie” version last year where I used green-tinted pudding and added candy eyeballs everywhere. My kids thought it was hilarious. Don’t be afraid to get creative—the messier, the better.
Serving & Storage Suggestions
This snack board is best served at room temperature, right after assembly. The contrast between the cold pudding, crunchy pretzels, and soft marshmallows is part of the magic. I usually set it out about 15 minutes before the kids come to the table, so everything is at the perfect temperature.
What to serve with it: This board is a meal in itself for little ones, but if you want to round it out, serve it alongside some apple slices, carrot sticks, or cheese cubes. The salty-sweet combo pairs surprisingly well with a glass of cold milk or a mug of warm apple cider for the adults.
For a party: Make individual graveyard cups instead of one big board. Use small clear plastic cups, layer pudding and cookie crumbs at the bottom, and let each kid decorate their own with a tombstone, a ghost, and a few gummy worms. It is less messy and gives everyone their own creation.
Storage: If you have leftovers (which is rare in my house), store the components separately. The pudding cups should be covered and refrigerated. The tombstones and ghosts can be kept in an airtight container at room temperature for up to three days. The pretzels will go stale if left out, so seal them in a bag. When you are ready to eat again, just reassemble. The flavors actually meld together nicely overnight, though the pretzels lose their crunch.
Reheating: You don’t need to reheat anything. If the pudding has been refrigerated, let it sit at room temperature for 10 minutes before serving. The ghosts and tombstones are fine cold or at room temperature.
One thing I love about this recipe is how the flavors develop. The cookie crumbs soak up a little moisture from the pudding and become almost cake-like. It is a different texture than fresh, but still delicious. My husband actually prefers it the next day.
Nutritional Information & Benefits
Let’s be real—this is a treat, not a health food. But here is a rough estimate for a single serving (about one cup of the assembled board):
| Nutrient | Amount per Serving |
|---|---|
| Calories | 280 |
| Total Fat | 10g |
| Saturated Fat | 5g |
| Carbohydrates | 45g |
| Sugar | 30g |
| Protein | 3g |
| Sodium | 200mg |
These values will vary depending on the brands you use and how many gummy worms you sneak in. (I always sneak in extra.)
Health benefits? Okay, I’ll try. The pretzels provide a little bit of iron and B vitamins. The chocolate contains antioxidants—dark chocolate more so than milk. And the marshmallows? Well, they make people smile, and that counts for something. If you want to feel better about it, serve this alongside some fruit or veggie sticks. Balance is key, right?
Dietary considerations: This recipe is egg-free and can be made gluten-free, nut-free, and dairy-free with the substitutions I mentioned earlier. It is not suitable for low-carb or keto diets due to the high sugar content. If you have a child with severe allergies, always check labels carefully, especially for the pudding cups and chocolate cookies.
From my own perspective, I see this as a once-a-year treat. Halloween is about fun and indulgence, and I think it is okay to let kids have a little sugar now and then. The joy on their faces when they see this board is worth every calorie.
Conclusion
I hope you give this graveyard snack mix board a try this Halloween. It has become such a special tradition in our home, and I love seeing how each kid arranges their own little scene. Some go for symmetry, others go for chaos—both are beautiful in their own way.
Don’t be afraid to customize it based on what your family loves. Swap out the gummy worms for sour spiders, use different colored frosting on the tombstones, or add a few candy bones for extra creepiness. The beauty of this recipe is that there are no rules. It is meant to be played with, literally.
I would love to hear how yours turns out. Did your kids add something unexpected? Did you discover a new favorite candy to include? Drop a comment below and share your creation. And if you snap a photo, tag me—I am always looking for new ideas from other creative families.
Happy Halloween, and may your graveyard be deliciously spooky!
Frequently Asked Questions
Can I make this snack board ahead of time?
Yes, but with some planning. You can prepare the tombstones and ghosts up to three days in advance and store them in an airtight container. The pudding can be made a day ahead and kept in the fridge. However, I recommend assembling the board no more than an hour before serving, especially if you are using pretzels, because they will get soft from the moisture.
What if I don’t have white chocolate melts?
No problem! You can use regular white chocolate chips or even a white chocolate bar chopped into small pieces. Just melt them the same way—short bursts in the microwave. If you don’t have white chocolate at all, you can skip the ghosts and use store-bought marshmallow ghosts or even just plain mini marshmallows with drawn-on faces using a food-safe marker.
How do I keep the tombstones from falling over?
This is a common issue. Make sure you press the bottom edge of the cookie into the pudding and dirt mixture firmly. If the cookie is too thin, you can break off a small piece of another cookie and use it as a support wedge behind the tombstone. Another trick is to use a dab of frosting as glue on the bottom of the cookie before sticking it in the dirt.
Can I use homemade pudding instead of store-bought cups?
Absolutely! Homemade chocolate pudding works great and often has a richer flavor. Just make sure it is fully chilled and set before you spread it on the board. Homemade pudding tends to be softer than the store-bought cups, so you might need to let it set for an extra hour in the fridge to firm up enough to hold the cookie crumbs.
Is this recipe safe for toddlers?
Generally yes, but with some modifications. For very young children, skip the hard pretzel sticks to avoid any choking hazard. You can use soft pretzel sticks instead, or just leave the fence out entirely. Also, watch out for the gummy worms—they can be a choking risk for kids under three. I usually set aside a small bowl of safe options for my toddler, like plain marshmallows and soft chocolate pieces, while the older kids enjoy the full board.
Pin This Recipe!
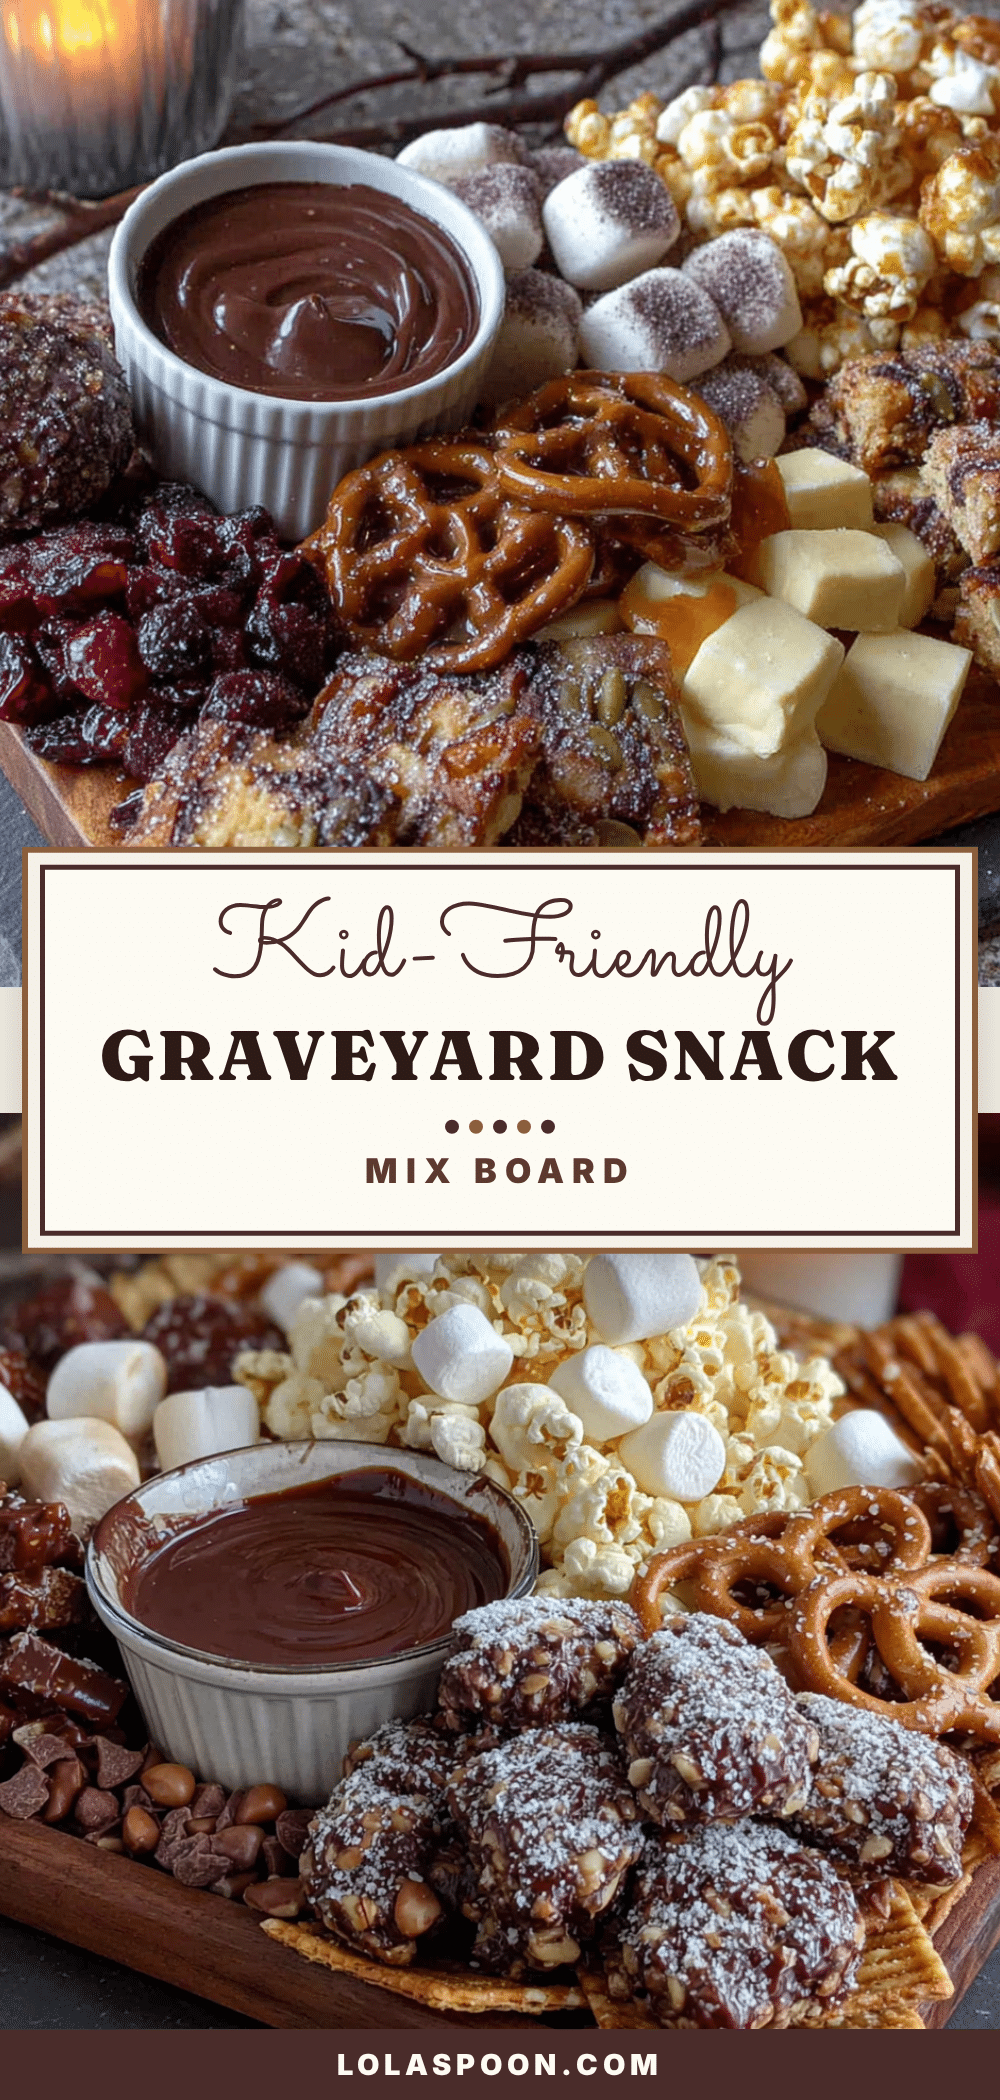
Halloween Graveyard Snack Mix Board (Easy Kids’ Recipe)
A fun, no-bake Halloween snack board where kids can build their own edible graveyard with pretzel fences, chocolate tombstones, and marshmallow ghosts. Perfect for parties or a spooky movie night.
- Prep Time: 15 minutes
- Cook Time: 0 minutes
- Total Time: 15 minutes
- Yield: 8 servings 1x
- Category: Snack
- Cuisine: American
Ingredients
- 1 bag (8 ounces) pretzel sticks
- 1 package chocolate sandwich cookies (like Oreos)
- 1 tube green or black frosting
- 1 cup white chocolate melts or white candy coating
- 1 bag mini marshmallows
- 1 tube black decorating gel
- 4 to 6 individual chocolate pudding cups
- 1 small bag gummy worms
- 1 small bag pumpkin-shaped candy corn or candy pumpkins
- ½ cup chocolate chips or mini chocolate eggs
- Green-tinted coconut flakes (optional)
- Pretzel bats or spiders (optional)
- Red fruit leather (optional)
Instructions
- Make the tombstones first. Take about 10 to 12 chocolate sandwich cookies. Gently twist them apart so the cream filling is exposed on one side. Using a butter knife, scrape off the cream and set it aside in a small bowl. Place the cookie halves on a flat surface with the chocolate side facing up. Using the green or black frosting, pipe a small ‘RIP’ or a cross on each cookie. Set them aside to dry while you work on the ghosts.
- Melt the white chocolate. Pour the white chocolate melts into a microwave-safe bowl. Microwave in 20-second intervals, stirring between each, until fully melted and smooth. This usually takes about 60 to 90 seconds total. Be careful not to overheat it, or it will seize up and become lumpy. If that happens, add a teaspoon of coconut oil and stir—it usually fixes it.
- Dip the marshmallows. Line a baking sheet with parchment paper. Take each mini marshmallow and dip the top half into the melted white chocolate. Let the excess drip off for a second, then place it on the parchment paper. Work quickly, because the chocolate sets fast. You want about 15 to 20 ghosts for a full board. Once all the marshmallows are dipped, use the black decorating gel to add two tiny eyes and a little mouth. Let them set completely, about 10 minutes at room temperature.
- Crush the cookies for dirt. Place the remaining chocolate sandwich cookies (the ones you didn’t use for tombstones) into a zip-top bag. Seal it, then use a rolling pin to crush them into fine crumbs. You want a mix of fine dirt and a few bigger chunks for texture. If you have a food processor, pulse them a few times instead. Dump the crumbs into a small bowl and set aside.
- Assemble the pudding cups. Open the chocolate pudding cups and spoon the pudding into small serving bowls or directly onto the board if you prefer a more rustic look. Spread it out evenly to create a flat ‘ground’ surface. If you are using a large board, you can pour all the pudding into one big pile and spread it around.
- Create the graveyard scene. Sprinkle the crushed cookie crumbs over the pudding to look like dirt. You want a thick, even layer that hides the pudding completely. Press down gently so the crumbs stick to the pudding. Now, arrange the tombstones in a small cluster or a line—whatever looks spookiest to you. Push the bottom edge of each cookie into the dirt so they stand upright.
- Add the ghosts and fence. Place the white chocolate ghosts around the tombstones. Some can be half-buried in the dirt for a spooky effect. Then, take the pretzel sticks and break a few in half to create shorter fence posts. Arrange the pretzels in a rectangle or a zigzag pattern around the graveyard. Press them into the dirt slightly so they stay standing.
- Scatter the extras. Sprinkle the gummy worms around so they look like they are crawling out of the graves. Add the candy pumpkins, chocolate chips, and any other decorations you have. If you are using green coconut grass, sprinkle it around the edges of the tombstones. Step back and admire your work—it should look like a tiny, edible Halloween scene.
- Serve immediately. Place the board in the center of the table and let the kids go to town. They will love rearranging the pieces and eating as they go. If you are making this ahead of time, keep the pretzels and marshmallows separate until just before serving to prevent them from getting soggy.
Notes
Don’t over-melt the white chocolate; microwave in short bursts. Let tombstones dry completely before placing in dirt. Crush cookies in batches to avoid bag splitting. Keep pretzels separate until serving to maintain crunch. Let kids help with messy parts for fun.
Nutrition
- Serving Size: 1 cup of assembled b
- Calories: 280
- Sugar: 30
- Sodium: 200
- Fat: 10
- Saturated Fat: 5
- Carbohydrates: 45
- Fiber: 1
- Protein: 3
Keywords: Halloween snack, graveyard snack mix, kids Halloween recipe, no-bake Halloween treat, edible graveyard


