My neighbor, a retired baker named Mrs. Gable, watched me fumbling with a piping bag on my front porch last February. I was trying to frost some sad-looking sugar cookies for a school party, and the icing kept sliding right off. She didn’t say anything at first. She just went back inside her house and came back with a worn recipe card, the edges soft from years of use. “Forget the cookies,” she said, handing it over. “Make these. They’re faster, and they actually taste like something.”
The card was for red velvet cupcakes, but it had a little heart drawn in the corner next to a note that said “Valentine’s Day 1987.” I remember thinking how funny it was that this tiny piece of paper held a memory from before I was even born. I made them that weekend, honestly a little nervous because I’d never gotten red velvet right before. But Mrs. Gable’s recipe? It worked. The cake was tender, not dry, and the cream cheese frosting was so smooth I almost ate it with a spoon. Maybe you’ve been there—standing in your kitchen, covered in flour, wondering if it’s all worth it for a Tuesday night treat. These cupcakes are the answer. They’re the kind of recipe that makes you feel like you actually know what you’re doing, even when you’re rushing. I’ve been making them for three years now, and they’ve never let me down.
Why You’ll Love This Recipe
Let me tell you, I’ve tested a lot of red velvet recipes over the years. Some were too dry, some tasted like plain chocolate with food coloring, and others took an hour just to prep. This one is different. It’s the version I keep coming back to, and here’s why you will too.
- Quick & Easy: From start to finish, these cupcakes are ready in under 30 minutes. No complicated techniques, no waiting for butter to soften—just straightforward steps that work.
- Simple Ingredients: You probably have most of these in your pantry right now. No need for a special trip to the store or hunting down obscure ingredients.
- Perfect for Weeknights: Whether it’s a random Tuesday or a last-minute Valentine’s treat, these cupcakes come together fast. They’re great for school parties, office potlucks, or just because you need something sweet.
- Crowd-Pleaser: Every single time I bring these somewhere, people ask for the recipe. Kids love the color, adults love the flavor, and everyone loves the frosting.
- Unbelievably Delicious: The texture is light and tender, the flavor has that perfect balance of cocoa and tang, and the cream cheese frosting is the stuff dreams are made of.
What makes this recipe stand out from all the others? It’s the buttermilk. I know, it sounds simple, but using real buttermilk gives these cupcakes a moisture and a slight tang that you just can’t get from substitutes. Plus, the vinegar reaction with the baking soda creates a super tender crumb. I’ve tried making them with milk and lemon juice in a pinch, and it’s just not the same. Trust me on this one—use the real stuff.
This recipe isn’t just good—it’s the kind that makes you close your eyes after the first bite. It’s comfort food reimagined for busy people who still want something special. Perfect for impressing guests without stress, or turning a simple weeknight into something memorable.
What Ingredients You Will Need
This recipe uses simple, everyday ingredients to create something truly special. Most of these are pantry staples, and the few that aren’t are easy to find at any grocery store.
- All-purpose flour (1 1/2 cups) – The base of the cupcake. I use Gold Medal or King Arthur for consistent results.
- Granulated sugar (1 cup) – Adds sweetness and helps with texture.
- Unsweetened cocoa powder (1 tablespoon) – Just enough for that classic red velvet flavor without making it a chocolate cupcake. I prefer Hershey’s natural unsweetened.
- Baking soda (1 teaspoon) – Helps the cupcakes rise and creates a tender crumb.
- Salt (1/2 teaspoon) – Balances the sweetness and enhances flavor.
- Vegetable oil (1/2 cup) – Keeps the cupcakes moist. Canola or any neutral oil works too.
- Buttermilk (1/2 cup) – This is the secret ingredient. It adds moisture and a subtle tang that makes red velvet what it is. Look for it in the dairy section.
- Large egg (1) – Binds everything together. Make sure it’s at room temperature for best results.
- Red food coloring (1 tablespoon) – For that iconic red color. You can use liquid gel food coloring for a more vibrant shade. I use McCormick red food coloring.
- White vinegar (1 teaspoon) – Reacts with the baking soda to help the cupcakes rise and stay tender.
- Vanilla extract (1 teaspoon) – Adds warmth and depth to the flavor.
For the Cream Cheese Frosting:
- Cream cheese (8 ounces, softened) – Use full-fat cream cheese for the best texture and flavor. Philadelphia is my go-to brand.
- Unsalted butter (1/4 cup, softened) – Adds richness and helps the frosting hold its shape.
- Powdered sugar (3 cups) – Sweetens and thickens the frosting.
- Vanilla extract (1 teaspoon) – Enhances the flavor.
Substitution Notes: If you don’t have buttermilk, you can make a quick substitute by adding 1 tablespoon of lemon juice or white vinegar to 1/2 cup of milk and letting it sit for 5 minutes. For a dairy-free version, use a plant-based milk with the same acid trick and use dairy-free cream cheese. I’ve tried it with Kite Hill cream cheese, and it works pretty well.
Equipment Needed
You don’t need a fancy kitchen to make these cupcakes. Here’s what you’ll need:
- Muffin tin (12-cup) – Standard size works best. I have an old Nordic Ware one that’s never let me down.
- Cupcake liners – Use paper liners for easy removal. Heart-shaped liners are fun for Valentine’s Day, but regular ones work fine.
- Mixing bowls – You’ll need one large bowl and one medium bowl.
- Whisk – For mixing dry ingredients.
- Electric mixer – A hand mixer or stand mixer works for the frosting. You can mix the batter by hand with a wooden spoon.
- Measuring cups and spoons – For accurate measurements.
- Piping bag – Optional but recommended for a pretty finish. I use a disposable plastic bag with the tip snipped off when I’m in a hurry.
- Offset spatula – For smoothing frosting if you’re not piping.
- Cooling rack – Lets the cupcakes cool evenly.
If you don’t have a piping bag, a zip-top bag with a corner snipped off works perfectly. I’ve done it many times when I couldn’t find my piping tips.
Preparation Method
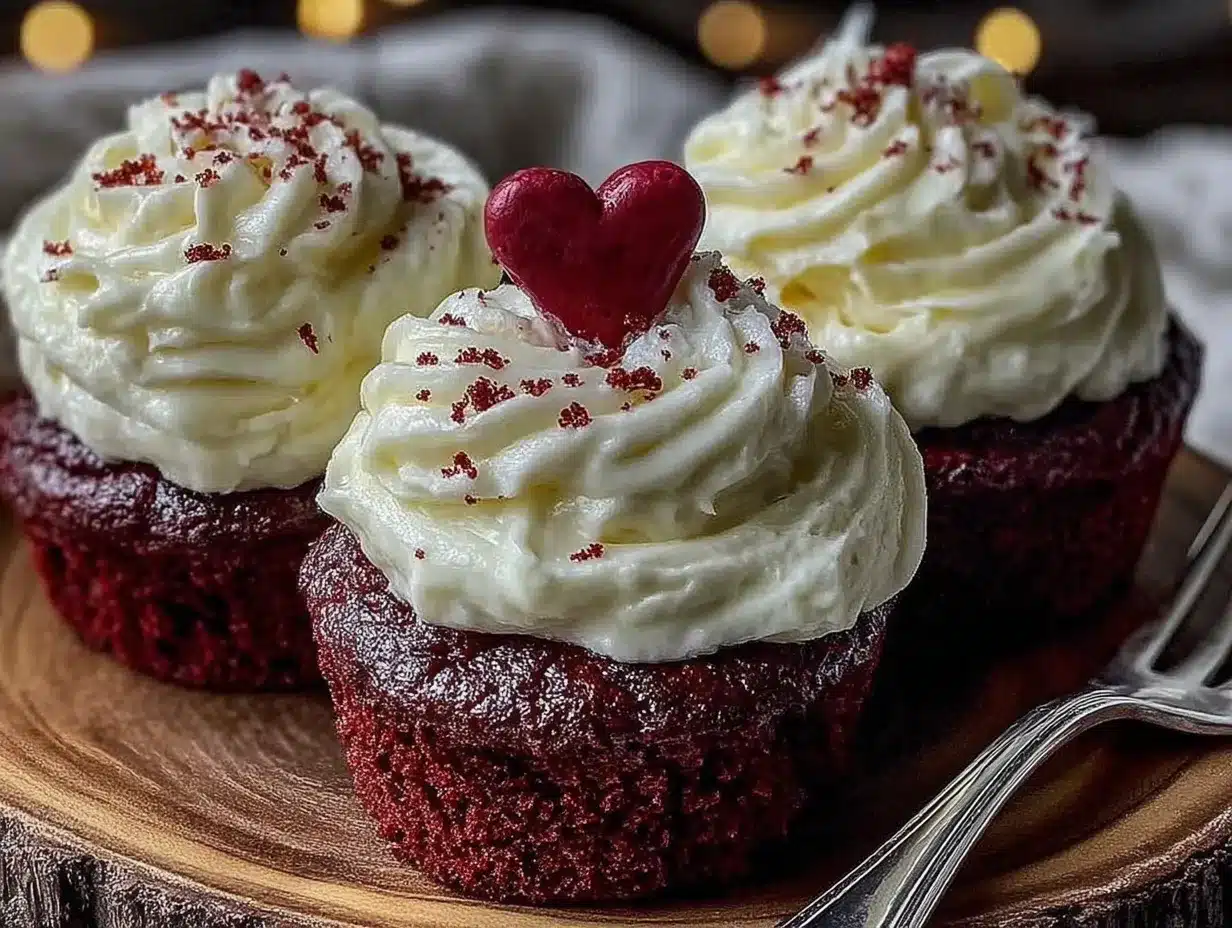
These cupcakes come together fast, so get your ingredients ready before you start. Preheat your oven to 350°F (175°C) and line your muffin tin with cupcake liners.
- Mix the dry ingredients: In a medium bowl, whisk together the flour, sugar, cocoa powder, baking soda, and salt. Make sure there are no lumps. The cocoa powder can be stubborn, so really whisk it well.
- Combine the wet ingredients: In a large bowl, whisk together the vegetable oil, buttermilk, egg, red food coloring, vinegar, and vanilla extract. Whisk until everything is well combined and smooth. The color should be a deep, even red.
- Combine wet and dry: Pour the dry ingredients into the wet ingredients. Stir with a wooden spoon or spatula until just combined. Do not overmix—a few small lumps are okay. Overmixing will make the cupcakes tough. I learned this the hard way when I made a batch that came out like hockey pucks.
- Fill the liners: Divide the batter evenly among the 12 cupcake liners. Fill each about 2/3 full. An ice cream scoop works great for this—it keeps things neat and consistent.
- Bake: Place the muffin tin in the preheated oven and bake for 15-18 minutes. The cupcakes are done when a toothpick inserted into the center comes out clean or with a few moist crumbs. The tops should spring back when lightly touched. My oven runs hot, so I start checking at 15 minutes.
- Cool completely: Let the cupcakes cool in the pan for 5 minutes, then transfer them to a cooling rack. Let them cool completely before frosting. If you frost them while they’re still warm, the frosting will melt into a sad, runny mess. Trust me, I’ve been there.
- Make the frosting: While the cupcakes are cooling, make the cream cheese frosting. In a large bowl, beat the softened cream cheese and butter together until smooth and creamy. About 2-3 minutes with an electric mixer on medium speed. Add the vanilla extract and mix until combined.
- Add powdered sugar: Gradually add the powdered sugar, one cup at a time, beating on low speed until incorporated. Once all the sugar is added, increase the speed to medium-high and beat for 2-3 minutes until the frosting is light and fluffy. Scrape down the sides of the bowl as needed.
- Frost the cupcakes: Once the cupcakes are completely cool, frost them. You can use a piping bag with a star tip for a decorative swirl, or simply spread the frosting with an offset spatula. For a heart shape, use a heart-shaped cookie cutter as a stencil and fill it with sprinkles or extra frosting.
Cooking Tips & Techniques
After making these cupcakes more times than I can count, I’ve picked up a few tricks that make a real difference.
Room temperature ingredients matter. I know it’s annoying to wait, but cold cream cheese and butter will give you lumpy frosting. Take them out of the fridge 30 minutes before you start. If you’re in a hurry, cut the cream cheese into small cubes and let it sit for 15 minutes—it softens faster.
Don’t overmix the batter. This is the most common mistake I see. Mix until the flour just disappears. A few streaks of flour are okay. Overmixing develops the gluten and makes the cupcakes dense and tough. I ruined my first batch by being too enthusiastic with the whisk.
Use gel food coloring for a deeper red. Liquid food coloring works fine, but gel coloring gives you a more vibrant color without thinning the batter. I switched to gel after my cupcakes came out more pink than red one year.
Let the cupcakes cool completely. I cannot stress this enough. Warm cupcakes + cream cheese frosting = a mess. I once tried to speed things up by putting them in the fridge for 10 minutes, and the frosting still slid right off. Patience is key here.
Toast the frosting for a different texture. If you want a slightly firmer frosting that pipes beautifully, refrigerate it for 15-20 minutes before piping. It holds its shape much better.
Variations & Adaptations
This recipe is pretty forgiving, so feel free to play around with it. Here are some variations I’ve tried and loved:
- Gluten-Free Version: Substitute the all-purpose flour with a 1:1 gluten-free baking flour blend. I’ve used Bob’s Red Mill with great results. The texture is slightly denser but still delicious.
- Dairy-Free Version: Use a plant-based buttermilk (add 1 tablespoon vinegar to 1/2 cup almond milk) and dairy-free cream cheese. Kite Hill makes a good cream cheese alternative. The frosting won’t be as firm, but it still tastes great.
- Mini Cupcakes: Use a mini muffin tin and bake for 10-12 minutes. Perfect for parties or when you need a smaller treat. You’ll get about 24 mini cupcakes from this recipe.
- Chocolate Red Velvet: Increase the cocoa powder to 2 tablespoons for a richer chocolate flavor. It’s still red velvet, just with a deeper cocoa taste.
- Heart-Shaped Cupcakes: Place a marble or a small ball of aluminum foil between the liner and the muffin tin to create a heart shape as the cupcake bakes. It takes a bit of fiddling, but the result is adorable.
Serving & Storage Suggestions
These cupcakes are best served at room temperature. The cream cheese frosting softens slightly, and the cake is perfectly tender. If you’re serving them for a special occasion, arrange them on a cake stand or a pretty platter. A few fresh raspberries or strawberries on top add a nice pop of color and tartness that balances the sweetness.
For storage, keep the cupcakes in an airtight container in the refrigerator for up to 5 days. The cream cheese frosting needs to stay chilled. Let them sit at room temperature for about 15 minutes before serving to take the chill off. The flavors actually develop a bit overnight—I think they taste even better the next day.
You can also freeze the unfrosted cupcakes for up to 3 months. Wrap each one tightly in plastic wrap and place them in a freezer-safe bag. When you’re ready to enjoy them, thaw them at room temperature and frost as usual. I’ve done this for last-minute school parties, and no one ever knows they were frozen.
If you’re making these ahead of time, I recommend frosting them the day you plan to serve them. The frosting stays fresh, and the cupcakes don’t get soggy.
Nutritional Information & Benefits
Let’s be real—these are cupcakes, not health food. But they’re made with real ingredients, and that counts for something. Here’s the estimated nutritional breakdown per cupcake (with frosting):
- Calories: 385
- Fat: 18g
- Carbohydrates: 52g
- Protein: 4g
- Sugar: 40g
The cream cheese frosting does add a good amount of fat and sugar, but it also provides a small amount of calcium and protein from the cream cheese. The cocoa powder in the cupcakes contains antioxidants called flavonoids, which are good for heart health. And hey, sometimes you just need a treat. Life is about balance, right?
If you’re watching your sugar intake, you can reduce the sugar in the frosting to 2 cups instead of 3. It won’t be as firm, but it’ll still taste great. For a lower-fat option, use Neufchatel cheese instead of full-fat cream cheese.
Conclusion
These quick red velvet heart cupcakes with cream cheese frosting have become my go-to for any occasion that calls for something special. They’re fast enough for a weeknight, pretty enough for a party, and delicious enough to make you forget about all the other red velvet recipes out there. Mrs. Gable’s recipe card is still tucked in my kitchen drawer, a little more worn now from my own use. Every time I make them, I think about that afternoon on my porch and how a simple act of neighborly kindness turned into one of my favorite recipes.
I’d love to hear how these turn out for you. Did you try any variations? Did your family love them? Drop a comment below and let me know. And if you’re looking for more quick and easy desserts, check out our easy chocolate chip cookies or these no-bake cheesecake bites for another simple treat. Happy baking!
Frequently Asked Questions
Can I make these cupcakes without buttermilk?
Yes! You can make a quick buttermilk substitute by adding 1 tablespoon of lemon juice or white vinegar to 1/2 cup of regular milk. Let it sit for 5 minutes before using. It won’t be quite as tangy, but it’ll work in a pinch.
How do I get the red color really vibrant?
Use gel food coloring instead of liquid. It’s more concentrated, so you get a deeper red without thinning the batter. Start with 1 tablespoon and add more if needed. I’ve also used beet powder for a natural red, but the color is more muted.
Can I make these cupcakes ahead of time?
Absolutely. You can bake the cupcakes up to 2 days ahead and store them in an airtight container at room temperature. Make the frosting the day you plan to serve them for the best texture. Or freeze the unfrosted cupcakes for up to 3 months.
Why did my cupcakes sink in the middle?
This usually happens if the oven temperature is too low or if you opened the oven door too early. Make sure your oven is fully preheated to 350°F before baking. Also, avoid overmixing the batter, which can cause the cupcakes to rise too quickly and then collapse.
Can I use this recipe to make a cake instead of cupcakes?
Yes! Pour the batter into two greased 8-inch round cake pans and bake for 25-30 minutes at 350°F. The baking time will vary depending on your oven, so start checking at 25 minutes. You’ll need to double the frosting recipe to cover a layer cake.
Pin This Recipe!
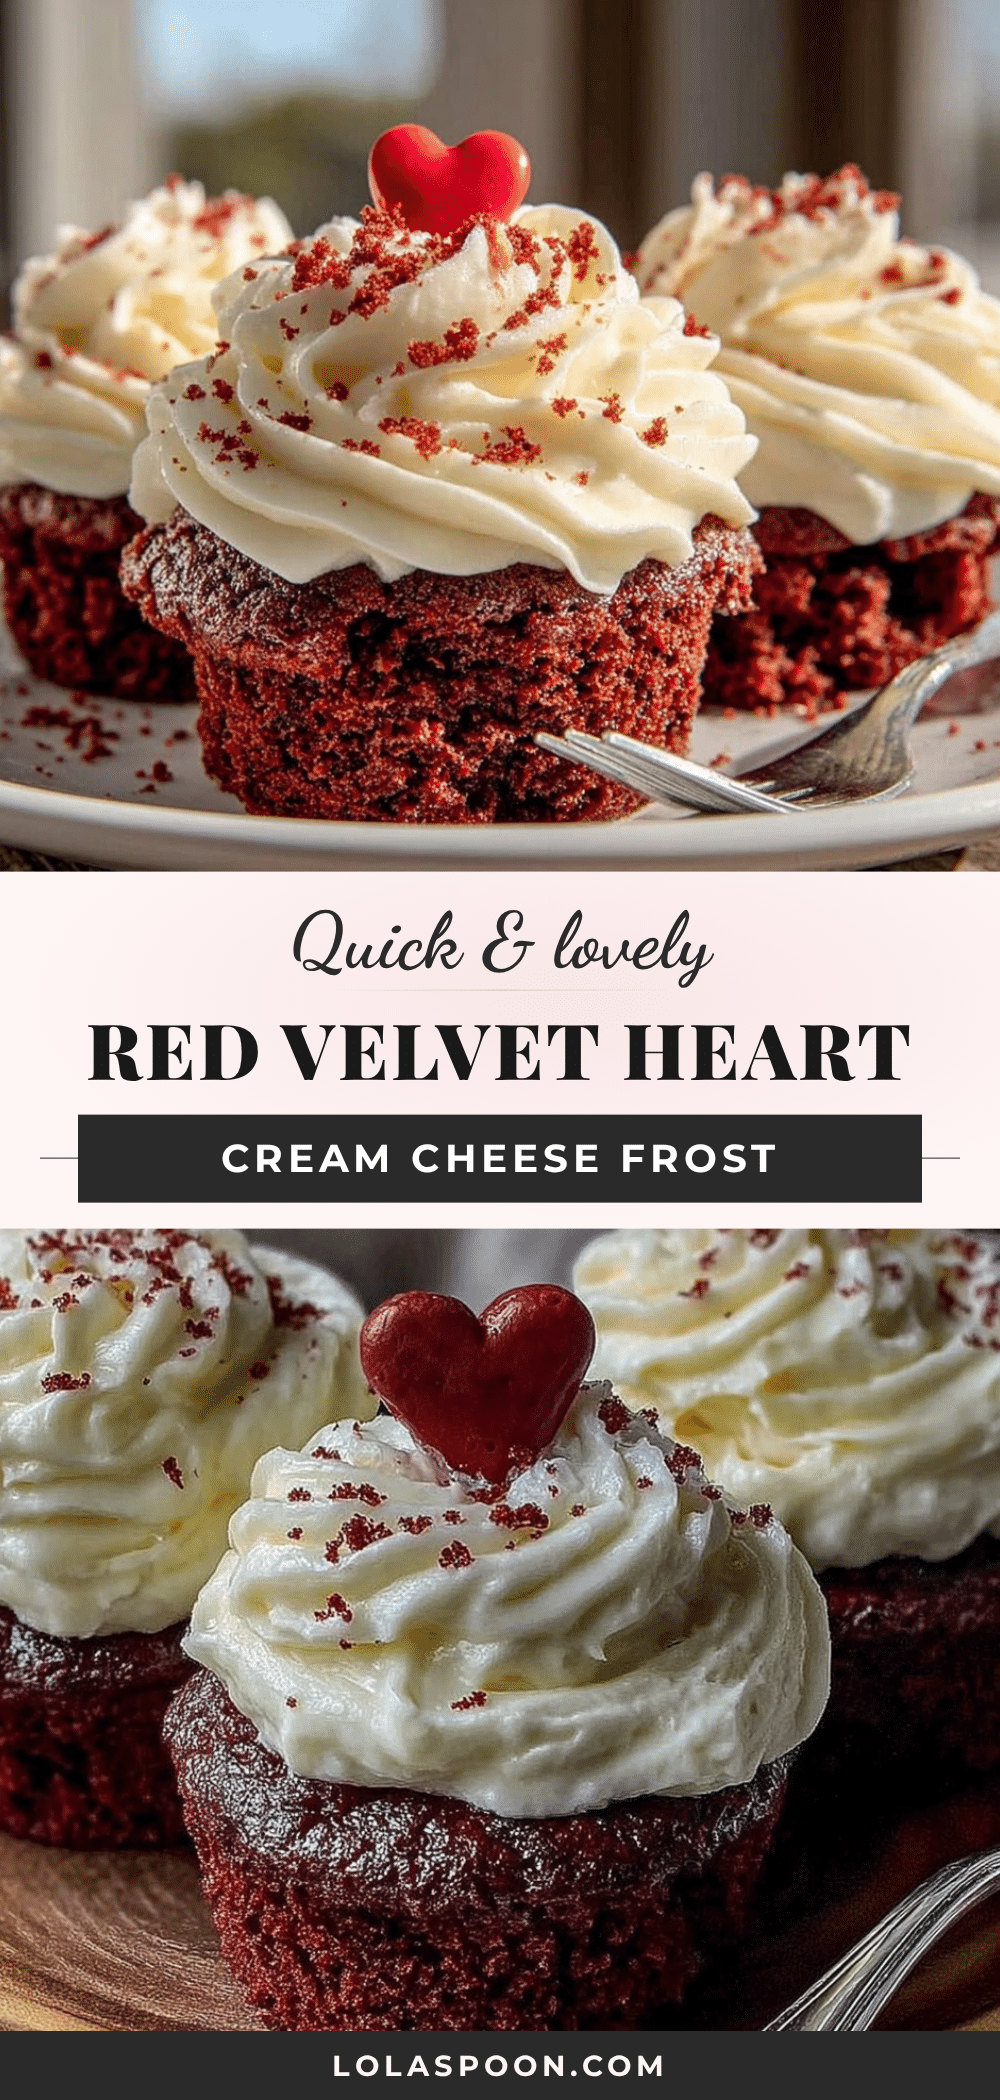
Quick Red Velvet Heart Cupcakes with Cream Cheese Frosting
These quick and easy red velvet cupcakes are tender, moist, and topped with a smooth cream cheese frosting. Perfect for weeknights, Valentine’s Day, or any occasion that calls for a special treat.
- Prep Time: 15 minutes
- Cook Time: 18 minutes
- Total Time: 33 minutes
- Yield: 12 cupcakes 1x
- Category: Dessert
- Cuisine: American
Ingredients
- 1 1/2 cups all-purpose flour
- 1 cup granulated sugar
- 1 tablespoon unsweetened cocoa powder
- 1 teaspoon baking soda
- 1/2 teaspoon salt
- 1/2 cup vegetable oil
- 1/2 cup buttermilk
- 1 large egg, room temperature
- 1 tablespoon red food coloring
- 1 teaspoon white vinegar
- 1 teaspoon vanilla extract
- 8 ounces cream cheese, softened
- 1/4 cup unsalted butter, softened
- 3 cups powdered sugar
- 1 teaspoon vanilla extract
Instructions
- Preheat oven to 350°F (175°C). Line a 12-cup muffin tin with cupcake liners.
- In a medium bowl, whisk together flour, sugar, cocoa powder, baking soda, and salt.
- In a large bowl, whisk together vegetable oil, buttermilk, egg, red food coloring, vinegar, and vanilla extract until smooth.
- Pour dry ingredients into wet ingredients and stir until just combined. Do not overmix.
- Divide batter evenly among the 12 liners, filling each about 2/3 full.
- Bake for 15-18 minutes, until a toothpick inserted into the center comes out clean or with a few moist crumbs.
- Let cupcakes cool in the pan for 5 minutes, then transfer to a cooling rack to cool completely.
- For the frosting: In a large bowl, beat cream cheese and butter together until smooth and creamy, about 2-3 minutes.
- Add vanilla extract and mix until combined.
- Gradually add powdered sugar, one cup at a time, beating on low speed until incorporated. Increase speed to medium-high and beat for 2-3 minutes until light and fluffy.
- Once cupcakes are completely cool, frost with cream cheese frosting using a piping bag or offset spatula.
Notes
Use room temperature ingredients for best results. Do not overmix the batter. Let cupcakes cool completely before frosting. For a deeper red color, use gel food coloring. Frosting can be refrigerated for 15-20 minutes before piping for a firmer texture.
Nutrition
- Serving Size: 1 cupcake
- Calories: 385
- Sugar: 40
- Sodium: 280
- Fat: 18
- Saturated Fat: 8
- Carbohydrates: 52
- Fiber: 1
- Protein: 4
Keywords: red velvet cupcakes, cream cheese frosting, quick dessert, Valentine's Day, easy cupcakes


