It was 11:47 PM on a random Wednesday, and I was staring into the fridge like it owed me money. The craving hit me out of nowhere — not for something sweet, but for something savory, cheesy, and garlicky. The kind of thing you’d normally order at a restaurant and feel slightly embarrassed about how fast you devoured it. I didn’t have the fancy cuts of chicken a normal recipe would demand, but I had some boneless thighs sitting in the back, a block of Parmesan that was getting lonely, and the wild idea that I could make something genuinely impressive in the time it takes to watch half a sitcom.
Honestly, I wasn’t even trying to create a guest-friendly dish that night. I was just hungry and a little desperate, wearing pajamas that had definitely seen better days. The garlic hit the butter and that smell — you know the one — filled my tiny kitchen, and I thought, “Wait. This might actually work.” I forgot to set a timer because I was scrolling my phone, and the chicken got a little extra color on one side. Best mistake I ever made. That golden, crispy edge became my favorite part.
What came out of that pan was so good I actually texted a photo to my mom at midnight. She replied with a single question mark, which is basically her version of a Michelin star. I’ve made this for every dinner party, potluck, and casual hang since then, and it never fails to get that wide-eyed “you made this in how long?” reaction. Maybe you’ve been there — that moment when a last-minute kitchen gamble turns into the thing everyone asks you to bring. This is that recipe.
Why You’ll Love This Recipe
Let me tell you, after testing this dish for about six different gatherings — including one where I accidentally doubled the garlic and it was still devoured in minutes — I can confidently say this recipe is a keeper. It’s the kind of thing that makes you look like a hero without breaking a sweat.
- Ready in 15 Minutes : From fridge to table in a quarter of an hour. Perfect for those “oh no, guests are here in 20 minutes” moments. I’ve been there more times than I’d like to admit.
- Simple Pantry Ingredients : Chicken, Parmesan, garlic, butter, and a few seasonings. You probably have everything right now. No special trips to three different stores.
- Perfect for Hosting : This dish steals the table at dinner parties. It looks fancy enough to serve with a nice wine, but it’s secretly the easiest thing on your menu.
- Crowd-Pleaser : I’ve served this to picky eaters, garlic skeptics, and even my uncle who “doesn’t do chicken.” Everyone goes back for seconds.
- Unbelievably Delicious : The crust gets this golden, crispy texture while the inside stays juicy. That garlic-Parmesan butter sauce is basically liquid gold.
What makes this different from every other garlic chicken recipe out there? It’s the technique. Most recipes tell you to bake it or simmer it forever. I use a hot pan and a quick sear that locks in flavor and creates that incredible crust in minutes. Plus, the ratio of garlic to Parmesan is something I tweaked over five test runs — it’s perfectly balanced so the garlic hits first, then the cheese rounds it all out. This isn’t just another version. It’s the version.
There’s something about that first bite that makes people close their eyes for a second. It’s comfort food that feels special — faster, easier, but with all the soul-soothing satisfaction of something that simmered for hours. Perfect for impressing guests without stress, or turning a simple Tuesday into something memorable.
What Ingredients You Will Need
This recipe uses simple, honest ingredients that come together to create something genuinely impressive. No weird stuff, no long list of things you’ll use once and forget about. Just good food that works.
- Boneless, skinless chicken breasts or thighs (about 1.5 lbs / 680g) — I prefer thighs for extra juiciness, but breasts work beautifully too. If using breasts, pound them to even thickness so they cook evenly. For hosting, thighs are more forgiving and guests love them.
- Fresh garlic (6-8 cloves, minced) — Please don’t use the jarred stuff here. Fresh garlic makes a massive difference. I recommend getting the pre-peeled cloves from the store if you’re short on time — they’re a lifesaver for busy hosting days.
- Parmesan cheese (1 cup / 100g, freshly grated) — Buy a block and grate it yourself. The pre-shredded stuff has anti-caking agents that won’t melt as smoothly. I like BelGioioso or a good imported Parmigiano-Reggiano when I’m feeling fancy.
- Unsalted butter (4 tablespoons / 56g) — Salted butter works too, just reduce the added salt. The butter creates that rich sauce base.
- Olive oil (2 tablespoons / 30ml) — Helps prevent the butter from burning and adds a lovely fruity note. Use a good extra virgin if you have it.
- All-purpose flour (1/4 cup / 30g) — For dredging. This creates that gorgeous golden crust. You can use almond flour for a gluten-free option — it works surprisingly well.
- Chicken broth (1/2 cup / 120ml) — Low-sodium is best so you control the salt. Adds depth to the sauce without making it heavy.
- Heavy cream (1/4 cup / 60ml) — Optional but highly recommended for a richer sauce. For a lighter version, use half-and-half or even whole milk.
- Dried Italian seasoning (1 teaspoon) — A blend of oregano, basil, and rosemary works perfectly. Fresh herbs are lovely too, but dried is more reliable for this quick recipe.
- Red pepper flakes (1/4 teaspoon, optional) — Adds a tiny kick that balances the richness. I always include it for guests — it’s subtle enough that even non-spicy eaters don’t notice.
- Salt and black pepper (to taste) — Use kosher salt for better flavor distribution. Freshly cracked black pepper makes a difference here.
- Fresh parsley (for garnish) — Optional but makes it look restaurant-worthy. Chives work too in a pinch.
For the best texture, look for chicken pieces that are similar in size so they cook evenly. If you’re scaling this for a larger gathering, just double everything — the recipe scales beautifully.
Equipment Needed
You don’t need a professional kitchen for this one. Here’s what you’ll actually use:
- Large skillet or frying pan (12-inch / 30cm is ideal) — Cast iron works best for that perfect crust, but a good non-stick or stainless steel pan works great too. I’ve used my trusty Lodge cast iron for years and it delivers every time.
- Meat mallet or rolling pin — For pounding chicken to even thickness. A heavy-bottomed skillet works in a pinch if you don’t have one. I’ve used a wine bottle before — don’t judge me, it worked.
- Sharp knife and cutting board — For mincing garlic and prepping chicken. A microplane is great for grating Parmesan quickly.
- Mixing bowls — One shallow bowl for the flour dredge, another for the Parmesan mixture. Small ones are fine.
- Tongs — For flipping the chicken without splashing hot butter everywhere. Trust me, you want these.
- Measuring spoons and cups — For accuracy, though after a few times you’ll eyeball it.
- Paper towels — For patting chicken dry. This step matters more than you think for getting that crust.
Budget-friendly tip: A basic non-stick pan from a kitchen supply store works perfectly. You don’t need a fancy brand. I started with a $15 pan and it made excellent chicken for years.
Preparation Method
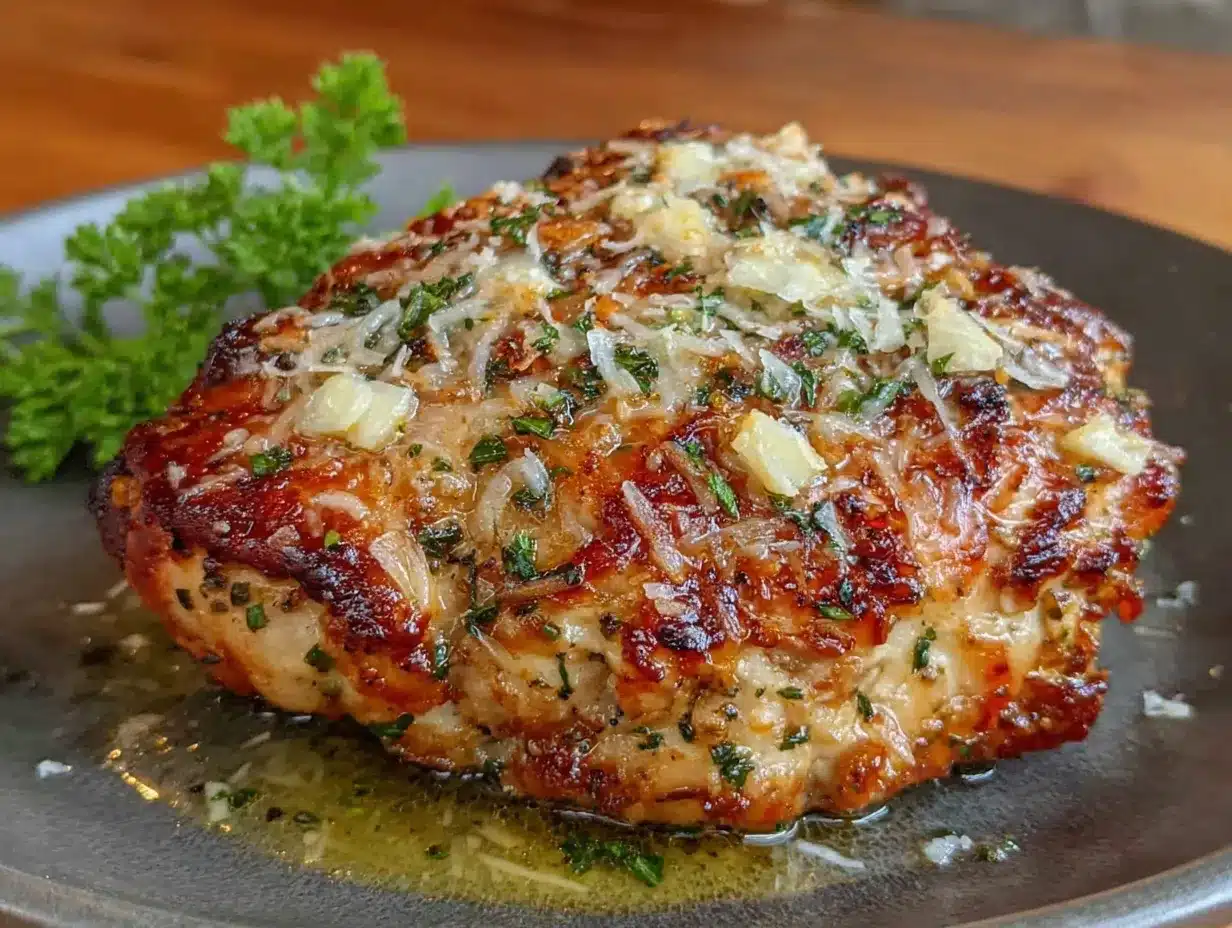
- Prep the chicken (5 minutes) — Place your chicken pieces between two sheets of plastic wrap or parchment paper. Gently pound them to about 1/2-inch (1.25cm) thickness using a meat mallet or rolling pin. This ensures even cooking and tender results. Pat them completely dry with paper towels — this is crucial for getting that golden crust. Season both sides generously with salt and pepper.
- Set up your dredging station (2 minutes) — In a shallow bowl, combine the flour with half the Italian seasoning and a pinch of salt and pepper. In another shallow bowl, combine the freshly grated Parmesan with the remaining Italian seasoning. Yes, you’re double-coating — this is the secret to that incredible crust.
- Heat your pan (1 minute) — Place your skillet over medium-high heat and add the olive oil and 2 tablespoons of butter. Let it heat until the butter is melted and shimmering but not browning. The oil helps prevent the butter from burning — a little trick I learned after ruining a few batches.
- Coat the chicken (2 minutes) — Dredge each piece first in the flour mixture, shaking off any excess. Then press it into the Parmesan mixture, coating both sides well. Don’t rush this step — really press that cheese mixture into the chicken. The bits that fall off in the pan will become crispy, delicious morsels that are basically chef’s snacks.
- Sear the chicken (6-8 minutes) — Carefully place the coated chicken pieces in the hot pan. Don’t overcrowd — work in batches if needed. Cook for 3-4 minutes per side until golden brown and the internal temperature reaches 165°F (74°C). The crust should be deep golden with some darker spots — that’s where the flavor lives. Resist the urge to move the chicken around; let it sit and develop that crust.
- Make the garlic sauce (2 minutes) — Once the chicken is cooked, transfer it to a plate and cover loosely with foil. Reduce the heat to medium-low and add the remaining 2 tablespoons of butter. Add the minced garlic and red pepper flakes (if using) and cook for about 30 seconds until fragrant — don’t let the garlic burn or it’ll turn bitter. I learned this the hard way when I got distracted by a phone call.
- Finish the sauce (2 minutes) — Pour in the chicken broth and scrape up any browned bits from the bottom of the pan — that’s pure flavor. Let it simmer for about a minute until slightly reduced. Stir in the heavy cream (if using) and let it bubble gently for another 30 seconds. Taste and adjust seasoning — you might want a pinch more salt or pepper here.
- Return the chicken to the pan (1 minute) — Place the chicken back in the pan, spooning the sauce over each piece. Let it warm through for about a minute. The sauce should be thick enough to coat the back of a spoon but still pourable. If it’s too thick, add a splash more broth. Too thin, let it simmer another minute.
- Garnish and serve (immediately) — Sprinkle with fresh parsley and an extra grating of Parmesan if you’re feeling fancy. Serve right away while that crust is still crispy and the sauce is warm and luscious.
Sensory cues: When you flip the chicken, it should release easily from the pan — if it sticks, it needs another minute. The crust should be deeply golden with visible specks of melted Parmesan. The sauce should smell intensely garlicky with a nutty note from the browned butter. When you cut into the chicken, the juices should run clear.
Cooking Tips & Techniques
After making this dish more times than I can count — including one memorable disaster where I used pre-shredded Parmesan and ended up with a glue-like coating — I’ve gathered some real-deal tips that’ll save you from my mistakes.
Patience is everything. The biggest mistake people make is moving the chicken too early. Let it sit in that hot pan for the full 3-4 minutes before trying to flip. If it’s sticking, it’s not ready. I ruined my first three batches because I was too eager. The crust needs time to form that golden barrier.
Temperature management matters. Medium-high heat is your friend for searing, but you need to dial it back for the garlic. Garlic burns in seconds at high heat, and burnt garlic tastes bitter and ruins the whole dish. I keep a little bowl of broth ready to deglaze if I see the garlic getting too dark.
Double-coating is non-negotiable. I know it seems like extra work, but the flour-first, then Parmesan method creates a crust that stays crispy even under the sauce. I tried just coating in Parmesan once and it slid right off in the pan. Never again.
Grate your own cheese. I cannot stress this enough. The pre-shredded stuff has cellulose and anti-caking agents that prevent proper melting. You’ll get a grainy, clumpy mess instead of that smooth, luscious crust. A block of good Parmesan and a microplane takes 30 seconds.
Work in batches if needed. Crowding the pan drops the temperature and steams the chicken instead of searing it. You want that sizzle when each piece hits the pan. If you’re cooking for a crowd, keep the first batch warm in a 200°F (93°C) oven while you finish the rest.
Multitasking strategy: Start the chicken first, then prep your garnishes and set the table while it cooks. The whole thing comes together in 15 minutes, so have everything measured and ready before you turn on the heat. Mise en place isn’t just for fancy chefs — it’s for anyone who doesn’t want to burn garlic while hunting for the measuring spoons.
Variations & Adaptations
One of the best things about this recipe is how flexible it is. I’ve played around with it for different guests and occasions, and here are some variations that actually work.
Lemon Herb Version: Add the zest of one lemon and 2 tablespoons of fresh lemon juice to the sauce along with the broth. Swap the Italian seasoning for fresh thyme and rosemary. The brightness cuts through the richness beautifully — I made this for a spring brunch and it was a hit.
Spicy Cajun Twist: Replace the Italian seasoning with 1-2 teaspoons of Cajun seasoning. Add a diced jalapeño along with the garlic for extra heat. This version is fantastic for game day gatherings or when you want something with a kick. My neighbor requested this version three weekends in a row.
Low-Carb / Keto Friendly: Skip the flour dredge entirely and use a mixture of almond flour (1/4 cup / 30g) and Parmesan. The crust won’t be quite as crispy, but it’s still delicious. Use heavy cream in the sauce and serve with roasted vegetables or a side salad instead of bread or pasta.
Dairy-Free Adaptation: Use dairy-free butter (I like Miyoko’s) and nutritional yeast instead of Parmesan. The texture will be different — less crispy, more saucy — but the flavor is still fantastic. I tested this for a friend with dairy allergies and she asked for the recipe.
Baked Version: If you’re cooking for a larger crowd, sear the chicken for 2 minutes per side, then transfer to a baking dish. Pour the sauce over the top and bake at 375°F (190°C) for 10-12 minutes until cooked through. This frees up your stovetop for sides and makes serving easier.
Extra Veggie Addition: Add a handful of halved cherry tomatoes or sliced mushrooms to the pan after removing the chicken. Let them cook in the sauce for 2-3 minutes before returning the chicken. It adds color, nutrition, and makes the dish feel more substantial.
Serving & Storage Suggestions
This dish is best served hot, right from the pan, when that Parmesan crust is at its crispiest. But let’s talk about how to make it shine at your gathering.
Presentation tips: Arrange the chicken on a warm platter with the sauce spooned over the top. Sprinkle with fresh parsley and a final grating of Parmesan. For dinner parties, I like to serve it on a wooden board with lemon wedges and a small bowl of extra sauce on the side. It looks intentional and inviting.
What to serve alongside: This chicken pairs beautifully with simple sides that let it shine. Try it with buttery mashed potatoes, crusty bread for soaking up the sauce, or a light arugula salad with lemon vinaigrette. For low-carb options, roasted asparagus or zucchini noodles work perfectly. I often serve it with my creamy garlic mashed potatoes for the ultimate comfort meal.
Beverage pairings: A crisp Pinot Grigio or unoaked Chardonnay complements the garlic and Parmesan beautifully. For beer drinkers, a light pilsner or wheat beer works well. Non-alcoholic options: sparkling water with lemon or a crisp iced tea.
Storage instructions: Store leftovers in an airtight container in the refrigerator for up to 3 days. The crust will soften, but the flavor actually gets better as it sits. I’ve been known to eat the leftovers cold, straight from the fridge — don’t judge me until you try it.
Reheating tips: For best results, reheat in a skillet over medium heat with a splash of broth or water to loosen the sauce. Microwave works in a pinch but the texture won’t be as good. If using the oven, cover with foil and warm at 350°F (175°C) for about 10 minutes.
Freezer instructions: You can freeze the cooked chicken (without the sauce) for up to 2 months. Wrap individually in plastic wrap and store in a freezer bag. Thaw in the refrigerator overnight and reheat in a fresh batch of garlic sauce. The sauce itself doesn’t freeze well due to the cream — make it fresh when you’re ready to serve.
Flavor development: Like many saucy dishes, this one tastes even better the next day. The garlic mellows and the flavors meld together beautifully. I sometimes make it a day ahead for parties and reheat it gently — guests never guess it wasn’t made fresh.
Nutritional Information & Benefits
Here’s the estimated nutritional breakdown per serving (based on 4 servings with chicken thighs and heavy cream):
- Calories: ~420-450
- Protein: 38-42g
- Fat: 28-32g
- Carbohydrates: 6-8g
- Fiber: 0.5g
- Sugar: 1g
- Sodium: 580-650mg
Health benefits: Chicken is an excellent source of lean protein, which supports muscle health and keeps you feeling full. Garlic is packed with allicin, a compound known for its immune-boosting and anti-inflammatory properties. Parmesan cheese provides calcium and protein, though it’s also high in sodium — so balance is key. The olive oil adds heart-healthy monounsaturated fats.
Dietary considerations: This recipe is naturally low-carb (about 6-8g per serving) and can be made gluten-free with almond flour. It’s not suitable for dairy-free diets as-is, but the variation above offers a good alternative. Always check your ingredients if cooking for someone with allergies — some commercial chicken broths contain gluten or soy.
Personal note: I love that this dish feels indulgent but isn’t actually that heavy on calories or carbs. It’s the kind of meal that satisfies a craving without leaving you feeling sluggish. Perfect for when you want to enjoy a great dinner with friends without derailing your healthy eating goals.
Conclusion
This Garlic Parmesan Chicken has become my go-to for a reason. It’s the recipe I make when I want to impress without stress, when I need something quick but crave something special, and when I want to hear that little “mmm” sound from guests that says everything. It started as a late-night experiment born from a random craving and a half-empty fridge, and now it’s the dish people ask me to bring to every gathering.
What I love most about this recipe is how it proves you don’t need hours in the kitchen or a dozen complicated steps to create something genuinely memorable. Fifteen minutes, a hot pan, and a few good ingredients — that’s all it takes. The crust gets crispy, the sauce gets luscious, and the garlic fills your kitchen with that irresistible aroma that makes everyone wander in asking, “What’s for dinner?”
I’d love to hear how this turns out for you. Did you try one of the variations? Add your own twist? Burn the garlic like I definitely have? Drop a comment below and let me know — your experiments might inspire someone else’s next great meal. And if you’re looking for another quick crowd-pleaser, check out my crispy garlic chicken recipe for a different take on this classic flavor combination.
Now go make some chicken. Your guests will thank you.
Frequently Asked Questions
Can I use chicken thighs instead of breasts?
Absolutely! Chicken thighs are actually my preferred choice for this recipe. They’re more forgiving and stay juicier. Just adjust the cooking time slightly — thighs may need an extra minute per side. The internal temperature should still reach 165°F (74°C).
How do I keep the Parmesan crust from falling off?
The secret is the double-coating method — flour first, then Parmesan. Also, make sure your chicken is patted completely dry before dredging, and don’t move it around in the pan while it’s searing. Let that crust form undisturbed for 3-4 minutes per side.
Can I make this recipe dairy-free?
Yes! Use dairy-free butter (like Miyoko’s or Earth Balance) and nutritional yeast in place of Parmesan. The texture will be different — less crispy, more saucy — but the flavor is still delicious. I’ve tested this and it works well for dairy-sensitive guests.
What’s the best way to reheat leftovers without losing the crispy crust?
Reheat in a skillet over medium heat with a splash of broth or water. The crust will soften slightly, but this method preserves the texture better than the microwave. If you’re okay with softer crust, the microwave works in 30-second bursts.
Can I prep this ahead of time for a party?
You can prep the chicken up to the dredging step and refrigerate it for up to 4 hours. When ready to cook, just let it sit at room temperature for 10 minutes before searing. You can also cook it fully and reheat gently in the sauce — the flavor actually improves overnight.
Pin This Recipe!
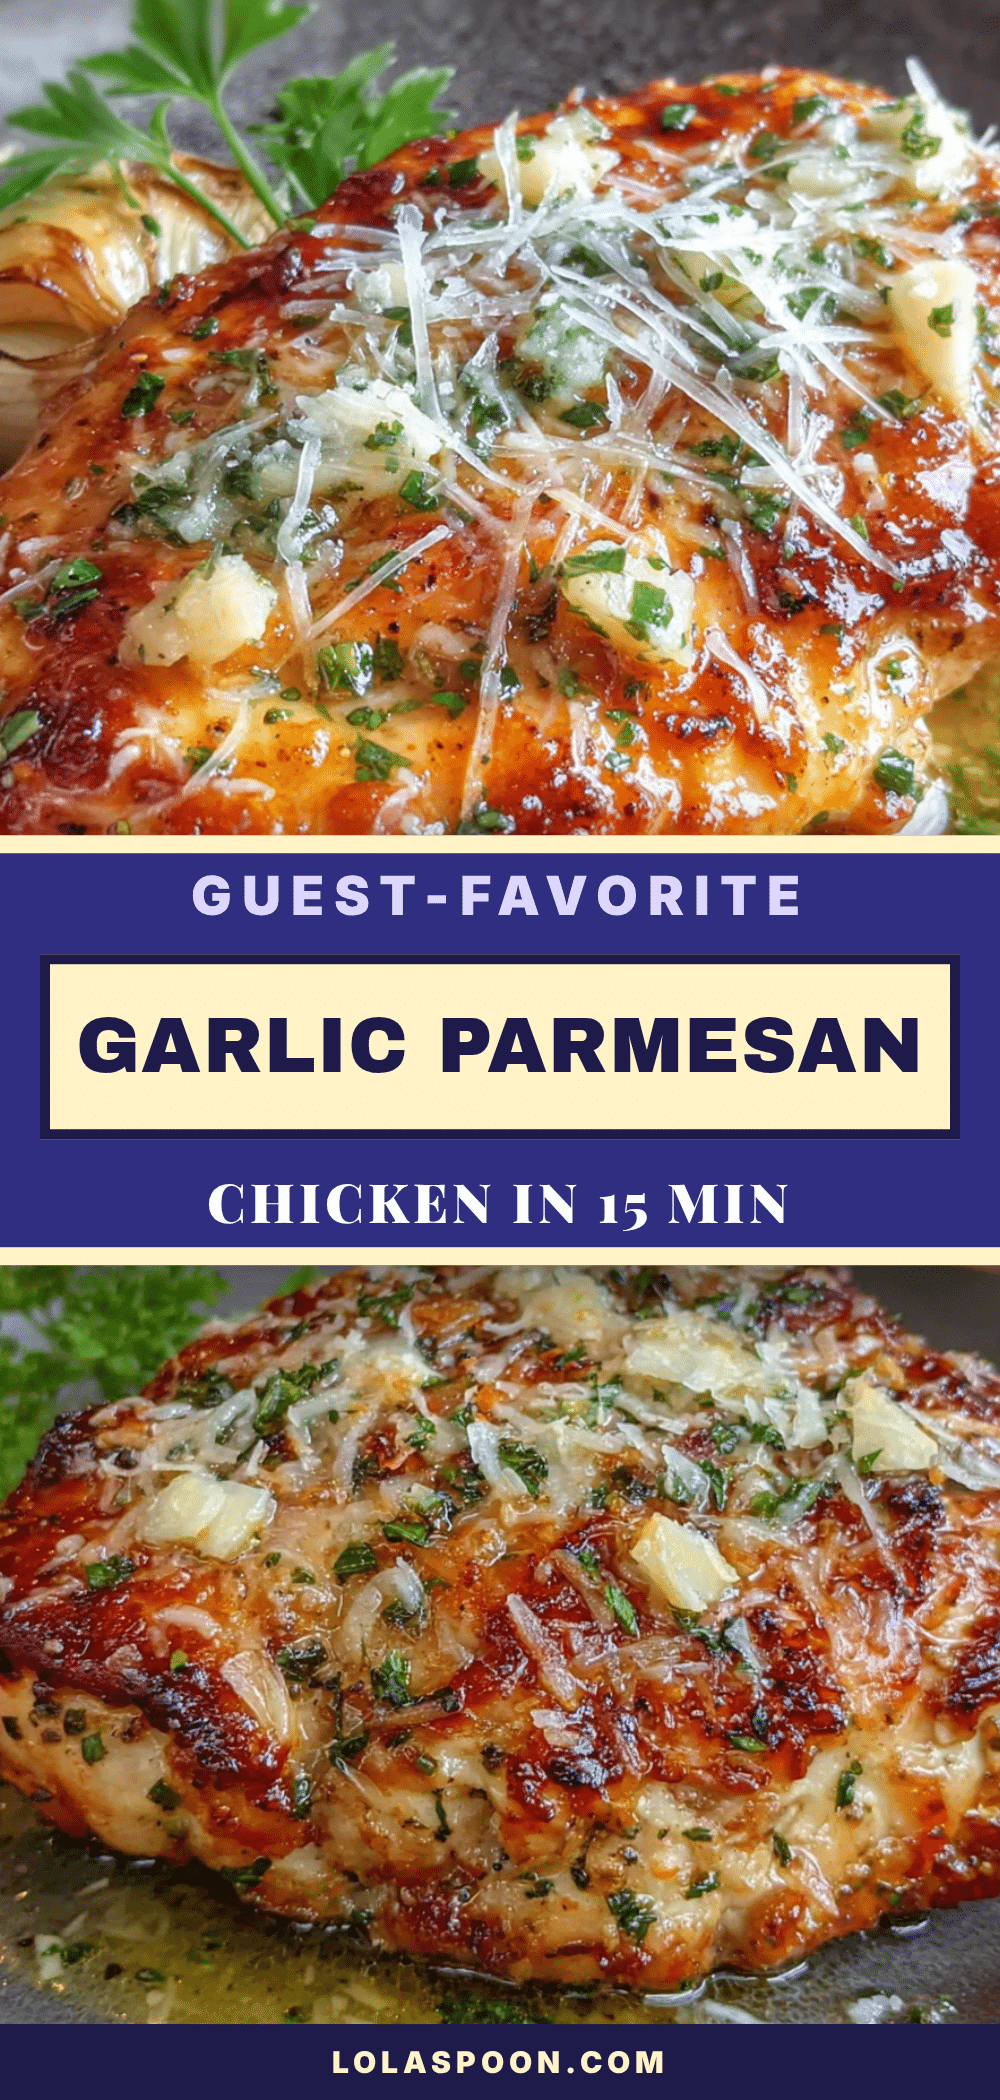
15-Minute Garlic Parmesan Chicken – Easy Guest-Favorite
This 15-minute Garlic Parmesan Chicken is a quick, savory, and cheesy dish perfect for impressing guests or turning a simple Tuesday into something memorable. With a golden, crispy Parmesan crust and a luscious garlic butter sauce, it’s a crowd-pleaser that comes together in a quarter of an hour.
- Prep Time: 5 minutes
- Cook Time: 10 minutes
- Total Time: 15 minutes
- Yield: 4 servings 1x
- Category: Main Course
- Cuisine: American
Ingredients
- 1.5 lbs (680g) boneless, skinless chicken breasts or thighs
- 6–8 cloves fresh garlic, minced
- 1 cup (100g) freshly grated Parmesan cheese
- 4 tablespoons (56g) unsalted butter
- 2 tablespoons (30ml) olive oil
- 1/4 cup (30g) all-purpose flour
- 1/2 cup (120ml) low-sodium chicken broth
- 1/4 cup (60ml) heavy cream (optional)
- 1 teaspoon dried Italian seasoning
- 1/4 teaspoon red pepper flakes (optional)
- Salt and black pepper to taste
- Fresh parsley for garnish
Instructions
- Prep the chicken (5 minutes): Place chicken pieces between two sheets of plastic wrap or parchment paper. Gently pound to about 1/2-inch (1.25cm) thickness using a meat mallet or rolling pin. Pat completely dry with paper towels. Season both sides generously with salt and pepper.
- Set up your dredging station (2 minutes): In a shallow bowl, combine flour with half the Italian seasoning and a pinch of salt and pepper. In another shallow bowl, combine freshly grated Parmesan with remaining Italian seasoning.
- Heat your pan (1 minute): Place a large skillet over medium-high heat and add olive oil and 2 tablespoons of butter. Heat until butter is melted and shimmering but not browning.
- Coat the chicken (2 minutes): Dredge each piece first in the flour mixture, shaking off excess. Then press into the Parmesan mixture, coating both sides well.
- Sear the chicken (6-8 minutes): Carefully place coated chicken pieces in the hot pan. Don’t overcrowd; work in batches if needed. Cook for 3-4 minutes per side until golden brown and internal temperature reaches 165°F (74°C).
- Make the garlic sauce (2 minutes): Transfer cooked chicken to a plate and cover loosely with foil. Reduce heat to medium-low and add remaining 2 tablespoons of butter. Add minced garlic and red pepper flakes (if using) and cook for about 30 seconds until fragrant.
- Finish the sauce (2 minutes): Pour in chicken broth and scrape up browned bits from the bottom of the pan. Let simmer for about a minute until slightly reduced. Stir in heavy cream (if using) and let bubble gently for another 30 seconds. Taste and adjust seasoning.
- Return the chicken to the pan (1 minute): Place chicken back in the pan, spooning sauce over each piece. Let warm through for about a minute.
- Garnish and serve (immediately): Sprinkle with fresh parsley and an extra grating of Parmesan if desired. Serve right away.
Notes
Pat chicken dry for best crust. Don’t move chicken while searing. Grate your own Parmesan for smooth melting. Work in batches if needed to avoid overcrowding the pan. For gluten-free, use almond flour instead of all-purpose flour.
Nutrition
- Serving Size: 1 serving (about 1 c
- Calories: 435
- Sugar: 1
- Sodium: 615
- Fat: 30
- Saturated Fat: 14
- Carbohydrates: 7
- Fiber: 0.5
- Protein: 40
Keywords: garlic parmesan chicken, quick chicken recipe, 15 minute dinner, easy chicken, guest-friendly chicken, crispy chicken, garlic butter chicken


