It was 10:47 PM on a random Wednesday, and I was standing in front of my open fridge, utterly possessed by a vision of roasted squash. Not just any squash — I wanted that deep, caramelized sweetness with the nutty, almost hypnotic smell of brown butter. The problem? I had exactly one honeynut squash rolling around in the crisper drawer, a sad little bunch of sage that was probably judging me, and half a stick of butter. No maple syrup. No fancy balsamic. No plan. But something about that late-night hour made me bold. I grabbed the squash, didn’t even bother to peel it (who has the energy at 11 PM?), and just started slicing. The butter went into the pan, and I stared at it like a maniac, waiting for it to turn that perfect amber color. Honestly, I burnt the first batch. But the second one? That was the moment I realized you don’t need a dozen ingredients to make something that tastes like a hug. This roasted honeynut squash with brown butter and sage became my secret weapon — the dish I make when I want to feel like I have my life together, even on a Tuesday night when I’m still in my sweatpants. Maybe you’ve been there, staring into the fridge, hoping for inspiration to strike. Well, this is it.
Why You’ll Love This Recipe
Let me tell you, this isn’t just another roasted squash recipe. I’ve tested this about seven times now (my neighbors are very well-fed), and each batch taught me something new. The first time, I sliced the squash too thin and they turned into crispy chips. The second time, I forgot the sage entirely. But by round three, I had cracked the code.
- Quick & Easy: From fridge to table in under 35 minutes. Perfect for those “I need a side dish NOW” moments.
- Simple Ingredients: You literally need squash, butter, sage, salt, and pepper. That’s it. No grocery store scavenger hunt required.
- Perfect for Fall Gatherings: This dish steals the show at Thanksgiving, Friendsgiving, or just a cozy Sunday dinner. It looks fancy but takes almost no effort.
- Crowd-Pleaser: I’ve served it to picky kids, vegan friends (use plant butter!), and my dad who “doesn’t like squash.” They all went back for seconds.
- Unbelievably Delicious: The brown butter adds this deep, almost toffee-like richness that pairs perfectly with the sweet, creamy squash. And the crispy sage? Absolute game-changer.
What makes this recipe different from the rest is the technique. Most recipes tell you to toss everything together and roast it. But I’ve learned that browning the butter separately and drizzling it over the squash halfway through cooking gives you that intense, nutty flavor without the butter burning in the oven. It’s a small tweak that makes a huge difference. This isn’t just good — it’s the kind of side dish that makes you close your eyes after the first bite. Trust me on this one.
What Ingredients You Will Need
This recipe uses simple, wholesome ingredients that come together to create something truly special. Most of these are pantry staples, especially during fall, which makes this dish incredibly accessible.
- Honeynut Squash (2-3 medium): These little guys are sweeter and creamier than butternut squash, with a thinner skin that’s totally edible once roasted. Look for ones that feel heavy for their size and have a deep orange color. I usually grab mine from the farmers market or Trader Joe’s.
- Unsalted Butter (4 tablespoons, or 1/2 stick): Using unsalted butter lets you control the salt level. I prefer Kerrygold for its rich, grassy flavor, but any good-quality butter works. For a dairy-free version, use a high-quality plant-based butter.
- Fresh Sage Leaves (10-12 leaves): Don’t even think about using dried sage here. The fresh leaves get crispy and almost chip-like when fried in the brown butter, and that texture is non-negotiable. If you can’t find fresh sage, you can substitute with fresh thyme or rosemary.
- Kosher Salt (1/2 teaspoon): I use Diamond Crystal for its clean flavor and easy pinch-ability. Flaky sea salt like Maldon is great for finishing.
- Freshly Ground Black Pepper (1/4 teaspoon): Freshly ground is key here — pre-ground pepper just doesn’t have the same punch.
- Optional: Maple Syrup (1 tablespoon): I don’t always use this, but if you want a touch more sweetness, a light drizzle before serving is lovely. Not necessary, though — the squash is already sweet enough.
- Optional: Red Pepper Flakes (1/4 teaspoon): A tiny pinch adds a nice warmth that cuts through the richness. I add this when I’m feeling spicy (pun intended).
One ingredient tip: if you can’t find honeynut squash, you can absolutely use butternut squash instead. Just peel it first, as the skin is thicker and tougher. The flavor will be slightly less sweet, but still delicious.
Equipment Needed
You don’t need a fancy kitchen to pull this off. Here’s what you’ll need:
- Baking Sheet (half-sheet pan): A rimmed baking sheet is ideal to catch any butter that might spill over. I’ve used my trusty Nordic Ware one for years — it hasn’t warped once.
- Parchment Paper or Silicone Baking Mat: This makes cleanup a breeze and prevents the squash from sticking. I prefer parchment for the crispy edges.
- Small Skillet or Saucepan: For browning the butter. A light-colored pan is helpful so you can see the butter change color. My stainless steel skillet works perfectly.
- Chef’s Knife: A sharp knife is essential for cutting the squash in half. Honeynut squash is smaller and easier to cut than butternut, but still requires a good blade.
- Cutting Board: Preferably a large, stable one. I learned this the hard way after my cutting board slipped and I nearly lost a finger.
- Measuring Spoons: For the salt and pepper. Eyeballing is fine for experienced cooks, but measure until you get the hang of it.
- Spatula or Tongs: For flipping the squash halfway through roasting.
If you don’t have a small skillet, any pan will do — just keep a close eye on the butter. And if you don’t have parchment paper, you can grease the baking sheet lightly with oil. The cleanup will just be a bit more involved.
Preparation Method
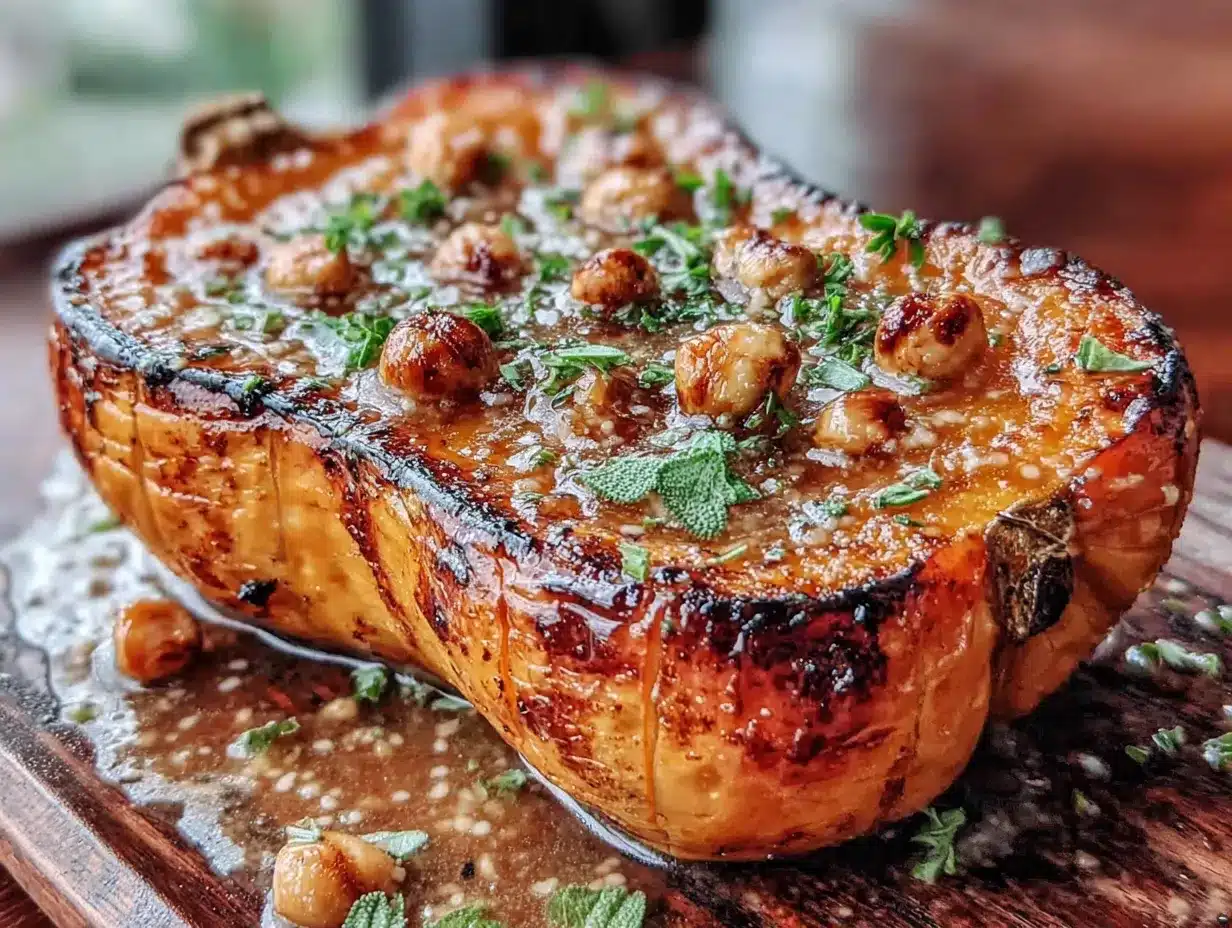
Alright, let’s get cooking. Follow these steps, and you’ll have a side dish that tastes like you spent hours in the kitchen — when really, it took you less than 40 minutes.
- Preheat your oven to 400°F (200°C). Line a baking sheet with parchment paper. This is a good time to get your ingredients out and ready.
- Prepare the squash. Using a sharp chef’s knife, carefully cut each honeynut squash in half lengthwise. Scoop out the seeds and stringy bits with a spoon. No need to peel them — the skin is thin and becomes tender and delicious when roasted. Place the squash halves cut-side up on the prepared baking sheet. Season generously with salt and pepper.
- Start the brown butter. In a small skillet or saucepan over medium heat, melt the butter. Swirl the pan occasionally. After about 3-4 minutes, the butter will start to foam and turn a light golden color. Watch it closely — it can go from perfect to burnt in seconds. When you see small brown specks forming at the bottom and it smells nutty and wonderful, remove it from the heat immediately. This usually takes about 5 minutes total.
- Fry the sage leaves. Once the butter is off the heat, drop the sage leaves into the hot butter. They’ll sizzle and crisp up in about 30 seconds. Use a fork or tongs to transfer them to a paper towel-lined plate. They’ll continue to crisp as they cool. Don’t throw away the butter!
- Drizzle and roast. Drizzle about half of the brown butter (leaving the browned bits behind) over the cut sides of the squash. Reserve the remaining butter for later. Roast the squash for 20 minutes, cut-side up.
- Flip and baste. After 20 minutes, carefully flip the squash halves over using tongs or a spatula. They should be starting to caramelize on the edges. Drizzle the remaining brown butter over the cut sides. Roast for another 10-15 minutes, until the squash is fork-tender and deeply golden. The edges should be slightly crispy and caramelized.
- Finish and serve. Remove the squash from the oven. Arrange on a serving platter, cut-side up. Crumble the crispy sage leaves over the top. If you’re using the optional maple syrup or red pepper flakes, drizzle or sprinkle them on now. Serve immediately, while the squash is still hot and the butter is glossy.
One thing I learned the hard way: don’t skip the flipping step. The first time I made this, I left the squash cut-side up the whole time, and the bottoms got soggy. Flipping them halfway gives you that beautiful caramelization on both sides. Also, if your squash are different sizes, check the smaller ones a few minutes early — they’ll cook faster.
Cooking Tips & Techniques
I’ve made enough mistakes with this recipe to fill a small notebook. Let me save you the trouble.
Don’t crowd the pan. Give each squash half a little breathing room. If they’re touching, they’ll steam instead of roast, and you won’t get those gorgeous caramelized edges. Use two baking sheets if you need to.
The butter is the star. Browning butter is a skill that takes a few tries to master. The key is to keep your heat at medium and never walk away. I once got distracted by a phone call and ended up with black butter that smelled like burnt popcorn. Not good. The color you’re looking for is a warm amber, like the color of a penny. And the smell? It should be nutty and almost sweet.
Save the brown butter bits. Those little brown specks at the bottom of the pan are pure flavor. They’re the milk solids that have toasted, and they add an incredible depth. When you drizzle the butter over the squash, make sure to scrape those bits up and include them.
Timing is everything. I like to start the butter when the squash has been roasting for about 10 minutes. That way, the butter is ready to drizzle when I flip the squash. It’s a nice little rhythm — prep, roast, flip, baste, finish.
Test for doneness with a fork. The squash should be soft all the way through, with no resistance. If the fork slides in easily, it’s done. If it’s still firm, give it another 5 minutes.
One more thing: If you’re making this for a crowd, you can roast the squash ahead of time and reheat it in a 350°F oven for 10 minutes before serving. Just add the crispy sage right before serving so it stays crunchy.
Variations & Adaptations
This recipe is incredibly flexible. Here are a few ways I’ve changed it up based on what I had in the kitchen or who I was cooking for.
Maple-Balsamic Glaze: For a sweeter, tangier version, mix 1 tablespoon of maple syrup with 1 teaspoon of balsamic vinegar and drizzle it over the squash during the last 5 minutes of roasting. The balsamic reduces and gets sticky and delicious. I made this for a Friendsgiving potluck and it disappeared in minutes.
Spicy Honey Version: Swap the maple syrup for honey and add a pinch of cayenne pepper to the brown butter. The heat from the cayenne balances the sweetness beautifully. My husband, who claims he doesn’t like squash, ate half the batch before I could stop him.
Vegan Adaptation: Use a high-quality plant-based butter (I like Miyoko’s) and follow the same browning process. It works surprisingly well — the browning might take an extra minute or two, but the flavor is still rich and nutty.
Herb Swap: If you can’t find fresh sage, try fresh thyme or rosemary. Thyme gives it a more earthy, subtle flavor, while rosemary is bolder and piney. I’ve even used a mix of all three when I had leftover herbs from another recipe.
Different Squash: As I mentioned, butternut squash is a great substitute. Just peel it and cut it into 1-inch cubes instead of halving it. Roast the cubes for 25-30 minutes, tossing halfway through. The flavor will be slightly less sweet, but still wonderful.
Serving & Storage Suggestions
This roasted honeynut squash is best served hot, straight from the oven. The brown butter should still be glossy and the sage leaves crisp. I like to arrange the squash halves on a large wooden board or a white platter to let the deep orange color pop. A sprinkle of flaky sea salt right before serving adds a lovely finishing touch.
What to serve with it: This dish pairs beautifully with roasted chicken, pork chops, or a hearty grain bowl. For a vegetarian meal, I serve it alongside a lentil salad or stuffed into a warm pita with hummus and pickled onions. It also works as a side for Thanksgiving — it’s lighter than sweet potato casserole but just as festive.
Storage: Leftover squash keeps in an airtight container in the fridge for up to 4 days. The texture will soften slightly, but the flavor is still fantastic. I’ve been known to eat it cold, straight from the container, as a snack.
Reheating: The best way to reheat is in a 350°F oven for 5-7 minutes. This helps re-crisp the edges. You can also reheat in a skillet over medium heat with a tiny bit of butter. The microwave works in a pinch, but the squash will be softer.
Freezing: I don’t recommend freezing this dish, as the texture of the squash becomes watery and mushy upon thawing. It’s really best enjoyed fresh.
Flavor development: Honestly, the flavors are at their peak right after roasting. The brown butter is at its nuttiest, and the sage is at its crispiest. That said, leftovers are still delicious — the flavors meld together overnight, and the squash absorbs all that buttery goodness.
Nutritional Information & Benefits
Here’s the thing about this recipe: it feels indulgent, but it’s actually pretty good for you. Honeynut squash is packed with vitamins A and C, fiber, and antioxidants. The brown butter adds richness, but a little goes a long way.
| Nutrient | Amount Per Serving (1/2 squash) |
|---|---|
| Calories | 185 |
| Total Fat | 12g |
| Saturated Fat | 7g |
| Carbohydrates | 19g |
| Fiber | 4g |
| Sugar | 7g |
| Protein | 3g |
| Vitamin A | 210% DV |
| Vitamin C | 35% DV |
Dietary considerations: This recipe is naturally gluten-free and can be made vegan with plant-based butter. It’s also low-carb friendly if you skip any added sweeteners. The main allergen is dairy, but that’s easily swapped.
Health benefits: Honeynut squash is a nutritional powerhouse. The high vitamin A content supports eye health and immune function. The fiber helps with digestion and keeps you feeling full. And the antioxidants in the squash and sage have anti-inflammatory properties. Honestly, it’s a side dish that makes you feel good from the inside out.
Conclusion
This roasted honeynut squash with brown butter and sage is the kind of recipe that proves you don’t need a dozen ingredients or hours of prep to make something truly memorable. It’s simple, yes, but it’s also deeply satisfying — the kind of dish that makes you slow down and savor each bite. Whether you’re making it for a holiday feast or a quiet weeknight dinner, I promise it will become a staple in your kitchen.
I’d love to hear how it turns out for you. Did you add your own twist? Did you burn the butter like I did the first time? Drop a comment below and let me know. And if you’re looking for more fall side dishes, you might enjoy this crispy garlic chicken or simple herb roasted potatoes — they’re both perfect for this time of year.
Now go make some magic with a squash and a stick of butter. You’ve got this.
Frequently Asked Questions
Can I use regular butternut squash instead of honeynut?
Absolutely. Just peel it first and cut it into 1-inch cubes. Roast for 25-30 minutes, tossing halfway through. The flavor will be slightly less sweet, but still delicious.
How do I know when the brown butter is done?
Watch for the butter to turn a light amber color and smell nutty. You’ll see small brown specks forming at the bottom of the pan. Remove it from the heat immediately — it goes from perfect to burnt in seconds.
Can I make this ahead of time?
Yes! Roast the squash up to 2 days ahead and reheat in a 350°F oven for 10 minutes. Add the crispy sage right before serving so it stays crunchy.
Do I really need to flip the squash halfway through?
Yes, this is important. Flipping ensures even caramelization on both sides. If you skip it, the bottoms will be softer and less flavorful.
Can I freeze leftover roasted squash?
I don’t recommend it. The texture becomes watery and mushy upon thawing. It’s best enjoyed fresh or stored in the fridge for up to 4 days.
Pin This Recipe!
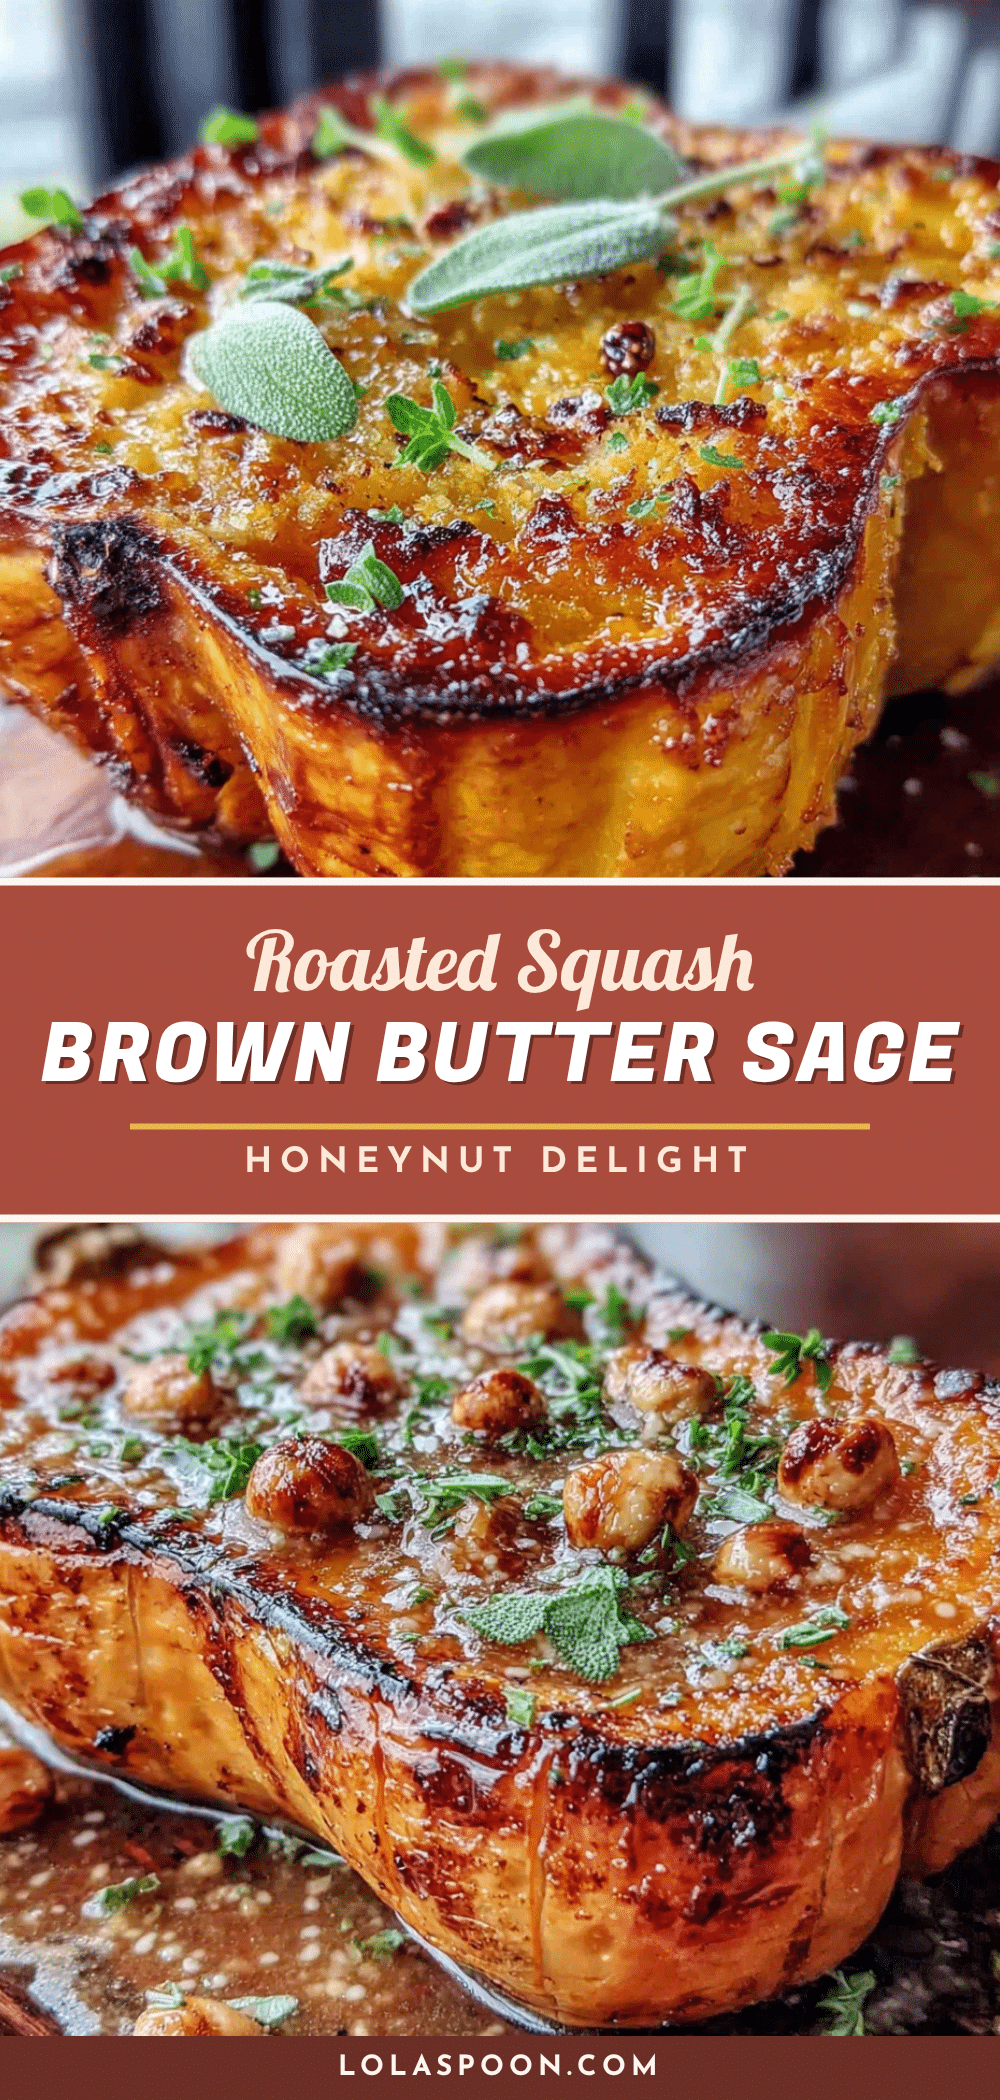
Roasted Honeynut Squash with Brown Butter & Sage: Best Fall Side

This roasted honeynut squash with brown butter and sage is a simple yet deeply satisfying fall side dish. With just a few ingredients and under 35 minutes, you can create a caramelized, nutty, and crispy masterpiece that will steal the show at any gathering.
- Prep Time: 10 minutes
- Cook Time: 30 minutes
- Total Time: 40 minutes
- Yield: 4 servings 1x
- Category: Side Dish
- Cuisine: American
Ingredients
- 2–3 medium honeynut squash
- 4 tablespoons unsalted butter (1/2 stick)
- 10–12 fresh sage leaves
- 1/2 teaspoon kosher salt
- 1/4 teaspoon freshly ground black pepper
- 1 tablespoon maple syrup (optional)
- 1/4 teaspoon red pepper flakes (optional)
Instructions
- Preheat your oven to 400°F (200°C). Line a baking sheet with parchment paper.
- Using a sharp chef’s knife, carefully cut each honeynut squash in half lengthwise. Scoop out the seeds and stringy bits with a spoon. No need to peel them. Place the squash halves cut-side up on the prepared baking sheet. Season generously with salt and pepper.
- In a small skillet or saucepan over medium heat, melt the butter. Swirl the pan occasionally. After about 3-4 minutes, the butter will start to foam and turn a light golden color. Watch it closely — when you see small brown specks forming at the bottom and it smells nutty, remove it from the heat immediately (about 5 minutes total).
- Once the butter is off the heat, drop the sage leaves into the hot butter. They’ll sizzle and crisp up in about 30 seconds. Use a fork or tongs to transfer them to a paper towel-lined plate. Don’t throw away the butter!
- Drizzle about half of the brown butter (leaving the browned bits behind) over the cut sides of the squash. Reserve the remaining butter for later. Roast the squash for 20 minutes, cut-side up.
- After 20 minutes, carefully flip the squash halves over using tongs or a spatula. Drizzle the remaining brown butter over the cut sides. Roast for another 10-15 minutes, until the squash is fork-tender and deeply golden.
- Remove the squash from the oven. Arrange on a serving platter, cut-side up. Crumble the crispy sage leaves over the top. If using optional maple syrup or red pepper flakes, add them now. Serve immediately.
Notes
Don’t crowd the pan; give each squash half breathing room. Brown butter can go from perfect to burnt in seconds—watch closely. Save the brown butter bits (toasted milk solids) for extra flavor. For best results, flip the squash halfway through roasting. If making ahead, reheat in a 350°F oven for 10 minutes and add crispy sage just before serving.
Nutrition
- Serving Size: 1/2 squash
- Calories: 185
- Sugar: 7
- Sodium: 300
- Fat: 12
- Saturated Fat: 7
- Carbohydrates: 19
- Fiber: 4
- Protein: 3
Keywords: roasted honeynut squash, brown butter, sage, fall side dish, easy, gluten-free, vegetarian


