I wasn’t expecting to get cooking advice from my accountant, but there I was, knee-deep in tax paperwork last October, listening to Gary describe exactly how to make a vegetable platter that looks like a skeleton. Gary—who wears cardigans and drives a beige sedan—had apparently been the go-to Halloween party guy in his college days. “You just need a skull-shaped cookie cutter,” he said, not looking up from my 1099s. “And the right dip. It’s all about the dip.”
Honestly, I almost laughed. But then he showed me a photo on his phone, and let me tell you—it was the coolest thing I’d seen all year. A full skeleton made entirely of vegetables, lying across a platter like it had just crawled out of a grave looking for a snack. The skull was carved from a bell pepper, the spine was cucumber slices, and the ribs were crunchy carrot sticks. It was clever, it was healthy, and it took maybe twenty minutes to put together.
I went home that night and tried it myself. My first attempt? A bit of a disaster. The skull kept tipping over, and the “bones” looked more like a pile of sticks than a skeleton. But by the third try—and after a few tweaks—I had a veggie tray that actually made people gasp when I brought it to a party. You know that feeling when something turns out way better than you expected? That’s this recipe.
And the best part? It’s not just for Halloween. I’ve made this for game day parties, themed dinners, and even a “spooky snacks” night with my niece. It always gets a reaction. So whether you’re hosting a costume party or just want to make Tuesday night a little more fun, this Spooky Skull & Bones Halloween Veggie Tray is about to become your new favorite trick.
Why You’ll Love This Recipe
Let’s be real for a second—most Halloween snacks are basically sugar bombs disguised as ghosts. Cupcakes, candy, cookies. They’re delicious, sure, but after the third one, you’re crashing hard. This veggie tray is the hero we all need: it’s festive, it’s fun, and it actually makes you feel good while you’re eating it.
- Quick & Easy: This whole thing comes together in under 20 minutes. No baking, no complicated steps. Just chop, arrange, and serve. Perfect for last-minute party prep or when you realize the kids’ school party is tomorrow and you’ve got nothing.
- Simple Ingredients: You probably already have most of these veggies in your fridge. Bell peppers, cucumbers, carrots, cherry tomatoes—the usual suspects. No fancy grocery trips required.
- Perfect for Halloween: Obviously. But also great for any spooky-themed event, movie night, or even a healthy snack for kids who think vegetables are boring. Trust me, they won’t when they see a skeleton made of carrots.
- Crowd-Pleaser: I’ve brought this to three parties now, and every single time, people take photos before they eat. It’s a conversation starter. Kids love it, adults love it, and even the pickiest eaters will grab a “bone.”
- Unbelievably Delicious: The combination of crunchy fresh veggies with a creamy, herby dip is just perfect. The dip is the secret weapon here—it’s what makes people come back for more. I use a simple ranch-seasoned Greek yogurt base that’s lighter than traditional dip but just as flavorful.
What makes this recipe different from all the other veggie trays out there? It’s the presentation. Anyone can throw some carrots and celery on a plate. But a skeleton made of vegetables? That takes a little creativity—and I’ve figured out exactly how to make it look good without spending an hour fussing with it. This isn’t just another veggie tray. It’s your best version.
I mean, honestly—when you bring this out at a party, people will think you spent way more time on it than you actually did. That’s the kind of win we all need.
What Ingredients You Will Need
This recipe uses simple, everyday vegetables and a few pantry staples for the dip. The key is choosing fresh, firm veggies that will hold their shape when cut. Here’s what you’ll need to build your spooky skeleton:
For the Skeleton
- 1 large red bell pepper – This becomes the skull. Look for one that’s blocky and symmetrical, not too lumpy. A nice deep red color makes the skull really pop against the green veggies.
- 1 large English cucumber – You’ll use this for the spine and limb bones. English cucumbers are best because they’re long, straight, and have fewer seeds. Regular cucumbers work too, but they can be a bit watery.
- 4-5 large carrots, peeled – These become the rib bones. Go for thick, straight carrots so you get nice wide strips. I like organic carrots from the farmers market when they’re in season—they’re sweeter and more vibrant.
- 1 cup cherry tomatoes – These add color and act as little “organs” or just scattered decoration around the skeleton. Use red or a mix of red and yellow for variety.
- 1 cup broccoli florets – These fill in the gaps and add texture. Fresh broccoli is best; frozen will be too limp.
- 1 cup snap peas or snow peas – They add a nice crunch and a pop of green. Plus, they look a little like little bones themselves if you squint.
- Optional: 1 cup cauliflower florets – Great for adding white contrast. They can also be used as “skull teeth” if you’re feeling fancy.
For the Dip
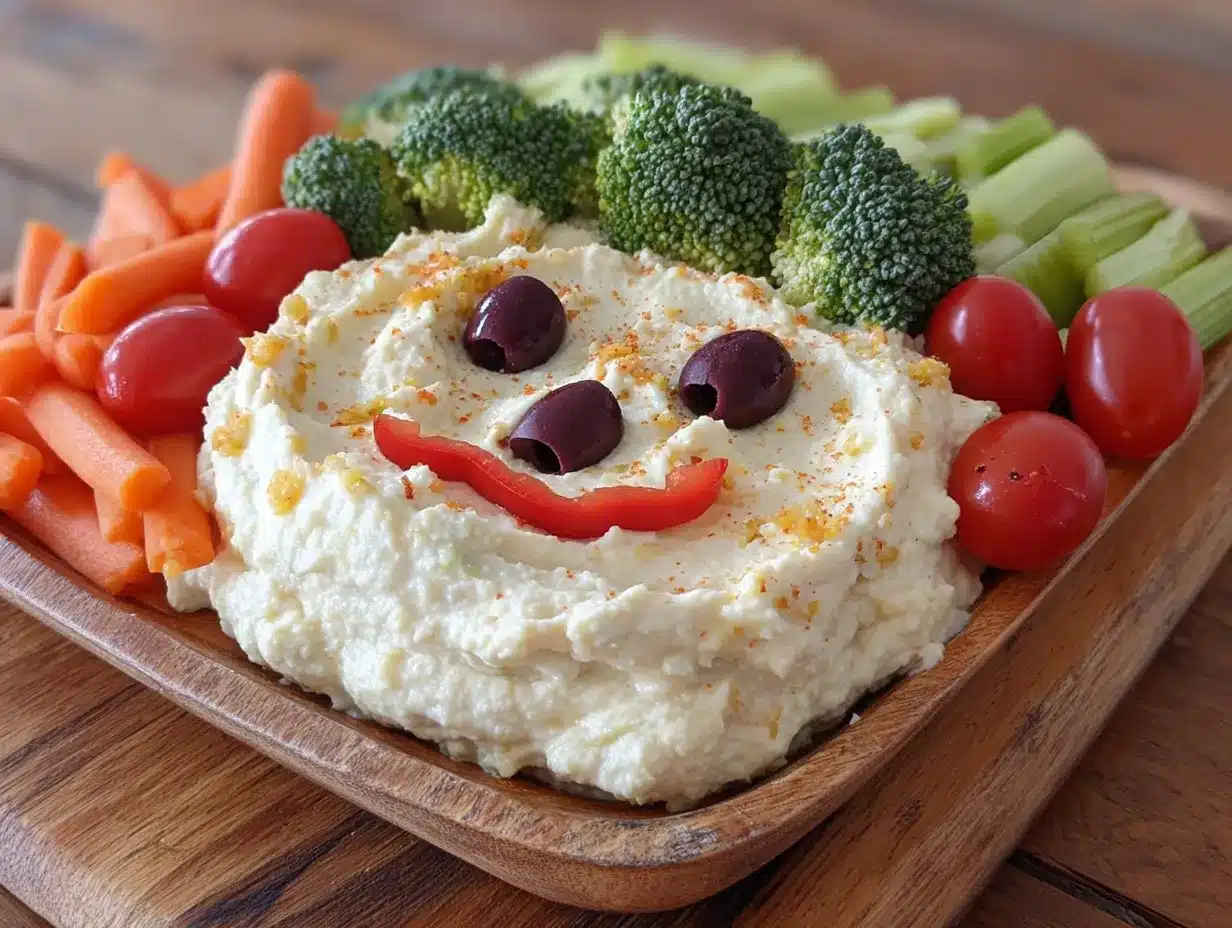
- 1 cup plain Greek yogurt – I prefer full-fat for creaminess, but 2% works fine. For a dairy-free version, use a thick coconut yogurt. Fage or Chobani are my go-to brands.
- 1 packet ranch seasoning mix – Hidden Valley is the classic, but any brand works. You can also make your own with dried dill, garlic powder, onion powder, and parsley.
- 1 tablespoon fresh lemon juice – Adds brightness and helps balance the richness of the yogurt.
- 1/2 teaspoon garlic powder – Because you can never have too much garlic.
- Salt and black pepper to taste
For Garnish (Optional but Fun)
- Black olives, sliced – These make great “eyes” for the skull or creepy little details.
- Fresh parsley or dill – Sprinkle over the dip for a finished look.
- Edible googly eyes – If you’re making this for kids, these are a huge hit. You can find them at baking supply stores or online.
Equipment Needed
You don’t need a lot of fancy gear for this recipe, which is one of the reasons I love it. Here’s what you’ll need:
- Cutting board – A large one is helpful since you’ll be doing a lot of chopping. I use a wooden board, but plastic is fine too.
- Sharp chef’s knife – A good 8-inch knife makes all the difference. Dull knives are dangerous and will crush your veggies instead of slicing them cleanly.
- Small paring knife – This is essential for carving the skull face. A sharp paring knife gives you control for detailed cuts.
- Vegetable peeler – For the carrots. A Y-peeler is my favorite—it’s faster and gives you more control.
- Large serving platter or cutting board – You need something big enough to hold the full skeleton. A wooden board or a white platter looks great. I use a large rectangular bamboo board I found at a home goods store for $15.
- Small bowl for the dip – A ramekin or small bowl works perfectly. You want something that fits nicely in the center of the skull or beside it.
- Skull-shaped cookie cutter (optional) – If you want to get fancy, a skull cookie cutter can help you shape the bell pepper skull more precisely. But honestly, I’ve done it both ways, and freehand carving looks just as good—maybe even more rustic and creepy.
If you don’t have a skull cookie cutter, don’t worry. I’ll show you how to carve the skull by hand in the method section. It’s easier than you think!
Preparation Method
Alright, let’s build a skeleton. This is the fun part. Take your time, and don’t stress about perfection—the slightly uneven, hand-carved look actually makes it more Halloween-y. Here’s how to do it step by step.
- Make the dip first (5 minutes). In a small bowl, combine the Greek yogurt, ranch seasoning mix, lemon juice, and garlic powder. Stir until smooth. Taste and add salt and pepper as needed. Cover and refrigerate while you prep the veggies. This gives the flavors time to meld.
- Carve the skull (10 minutes). This is the centerpiece, so take your time. Wash the red bell pepper and cut off the top (the stem end). Remove the seeds and membranes from inside. Now, place the pepper on your cutting board with the open end facing you. Using your paring knife, carve out two eye sockets—these should be almond-shaped or round, like a classic skull. Below the eyes, carve a small triangle or upside-down heart shape for the nose. Then, carve a wavy line for the mouth. Don’t worry if it’s not perfect—a crooked smile looks creepy and cool. If you want, you can also carve a few small lines on the sides for cheekbones. Place the carved skull in the center of your serving platter.
- Cut the spine (3 minutes). Slice the English cucumber into rounds about 1/4-inch thick. You’ll need about 12-15 slices. Starting from the bottom of the skull, arrange the cucumber slices in a straight line down the center of the platter. This is the spine. Leave a little space between each slice so it looks like vertebrae.
- Make the ribs (5 minutes). Using your vegetable peeler, peel the carrots into wide, thin strips. You want each strip to be about 3-4 inches long and 1/2-inch wide. You’ll need about 10-12 strips. On each side of the cucumber spine, arrange 5-6 carrot strips, angling them outward and slightly upward like ribs. They should curve gently away from the spine. Don’t worry if they break—just press them back together; nobody will notice once the platter is full.
- Add the arm and leg bones (3 minutes). Cut the remaining cucumber into long, thick strips—about 3 inches long and 1/2-inch wide. For the arms, place two strips extending outward from each side of the upper spine (near the skull). For the legs, place two longer strips extending downward from the bottom of the spine. You can also add small rounds at the ends for hands and feet if you’re feeling detailed.
- Fill in the gaps (5 minutes). Now scatter the cherry tomatoes, broccoli florets, snap peas, and cauliflower around the skeleton. Place them in the empty spaces on the platter. This creates a “graveyard” effect and gives people plenty of veggies to grab. Don’t overcrowd it—you want the skeleton to be visible.
- Add the dip and final touches (2 minutes). Place the bowl of dip right below the skull or inside the skull cavity if you carved one. If you’re using black olives, place two slices in the eye sockets for a truly creepy look. Sprinkle fresh parsley or dill over the dip. Add edible googly eyes to the skull if you’re serving this to kids—they’ll love it.
- Serve immediately or refrigerate. This platter is best served within an hour of assembly. If you need to make it ahead, prep all the veggies and dip separately, then assemble just before serving. The veggies will stay crisp, and the dip won’t get watery.
One thing I learned the hard way: don’t cut the veggies too far in advance. Cucumbers especially will start to weep and make the platter soggy. Prep everything, but wait to slice the cucumber and arrange the skeleton until right before your guests arrive.
Cooking Tips & Techniques
I’ve made this platter about a dozen times now, and I’ve definitely had my share of failures. Here’s what I’ve learned so you don’t have to make the same mistakes.
Pick the right bell pepper. Not all bell peppers are created equal when it comes to skull carving. Look for one that’s squat and wide rather than tall and narrow. A taller pepper makes the skull look stretched out and weird. I learned this the hard way when my first skull looked more like an alien than a skeleton. Also, red peppers are best because the color contrasts beautifully with the green veggies. Orange or yellow work too, but red is the most dramatic.
Keep your knife sharp. A dull knife will crush the bell pepper instead of cutting cleanly. This makes the carved edges look ragged and messy. Take a minute to sharpen your paring knife before you start. Your skull will thank you.
Use a template if you’re nervous. If freehand carving makes you anxious, print out a small skull outline from the internet, cut it out, and trace it onto the pepper with a toothpick. Then carve along the lines. I did this for my second attempt and it came out perfect.
Don’t skip the dip. I know it’s tempting to just buy a tub of pre-made ranch, but the homemade version is so much better. The Greek yogurt base is thicker and tangier than sour cream or mayo-based dips. Plus, it has more protein and less fat. Make it at least 30 minutes ahead so the flavors have time to develop.
Multitask smartly. While the dip is chilling, carve the skull. While you’re arranging the skeleton, have the kids or a friend scatter the cherry tomatoes and broccoli. This recipe is great for teamwork—it’s like a little Halloween assembly line.
Common mistake: overloading the platter. I made the mistake of piling on too many veggies my first time, and the skeleton got completely buried. You want to see the bones! Leave some empty space around the skeleton so it reads clearly. The veggies are for filling in, not for covering up.
Consistency tip: Cut all your cucumber slices the same thickness so the spine looks uniform. Use a mandoline slicer if you have one, or just take your time with a knife. The visual consistency makes a big difference.
Variations & Adaptations
One of the best things about this recipe is how flexible it is. Here are some ways to change it up depending on what you have on hand or who you’re serving.
Vegetarian/Vegan Version: The recipe is already vegetarian, but to make it vegan, simply use a dairy-free yogurt for the dip. Coconut yogurt works great, or you can use a store-bought vegan ranch. Everything else is plant-based as is.
Gluten-Free Adaptation: This recipe is naturally gluten-free as long as your ranch seasoning mix doesn’t contain gluten. Most brands are gluten-free, but double-check the label. Serve with gluten-free crackers or extra veggies on the side.
Low-Carb/Keto Version: Skip the carrots (they’re higher in carbs) and use more cucumber, bell pepper, and celery sticks for the bones. The dip is already low-carb if you use full-fat Greek yogurt. Add some cheese cubes or pepperoni slices for extra fat and flavor.
Seasonal Variations: In the fall, I add roasted pumpkin seeds and sliced apples around the skeleton. In the summer, I use fresh corn kernels and cherry tomatoes from the garden. You can really adapt this to whatever produce is in season.
Different “Skeleton” Styles: Instead of a human skeleton, try making a snake skeleton using long, curved cucumber strips. Or make a dinosaur skeleton using larger veggie pieces. I made a dragon skeleton once for a Game of Thrones party—it was a hit.
Spicy Version: Add a chopped jalapeño to the dip or sprinkle red pepper flakes over the veggies. The heat pairs surprisingly well with the cool, crunchy vegetables.
My personal favorite variation: I once swapped the ranch dip for a spicy black bean dip and added sliced radishes for the “bones.” The radishes were bright white and looked incredible against the dark dip. It was a completely different vibe but just as delicious.
Serving & Storage Suggestions
This platter is best served cold or at room temperature, right when you assemble it. The veggies are at their crispiest, and the dip is still thick and creamy. Here’s how to make the most of it.
Serving Temperature: Keep the dip chilled until the last minute. If you’re serving outdoors at a Halloween party, set the platter on a bed of ice to keep everything cold and crisp. The veggies will stay fresh for about an hour at room temperature before they start to wilt.
Presentation Ideas: Serve the platter on a black or dark gray board for maximum spooky effect. Add some fake spider webs around the edges or scatter a few plastic spiders on the board. I like to put a small pumpkin or two next to the platter for extra Halloween ambiance. If you’re serving this at a party, label it with a little sign that says “Skeleton Snacks” or “Bones & Brains.”
Complementary Dishes: This veggie tray pairs beautifully with other Halloween snacks. Serve it alongside a bowl of popcorn “eyeballs” (popcorn balls with candy eyes), pumpkin-shaped cheese balls, or mummy hot dogs. For drinks, a blood-red punch or sparkling apple cider fits the theme perfectly.
Storage Instructions: If you have leftovers (unlikely, but possible), separate the veggies from the dip. Store the veggies in an airtight container in the fridge for up to 2 days. The dip will keep for 3-4 days. Do not store assembled leftovers—the dip will make the veggies soggy.
Reheating: There’s no reheating needed for this recipe, but if your veggies have gone a little limp after refrigeration, you can revive them by soaking them in ice water for 10 minutes. Pat them dry before serving again.
Flavor Development: The dip actually gets better after a day in the fridge—the flavors meld and deepen. So feel free to make the dip a day ahead. Just don’t assemble the full platter until you’re ready to serve.
Nutritional Information & Benefits
Let’s be honest—when you’re at a Halloween party, you’re not usually thinking about nutrition. But this veggie tray is one of those rare snacks that’s both fun and good for you. Here’s the breakdown.
Estimated Nutritional Values (per serving, based on 8 servings):
- Calories: 85
- Protein: 5g
- Carbohydrates: 12g
- Fiber: 3g
- Fat: 2g
- Sugar: 6g (naturally occurring)
Note: Values are approximate and will vary based on exact ingredients and portion sizes.
Health Benefits of Key Ingredients: Bell peppers are packed with vitamin C—actually more than oranges gram for gram. They’re also rich in antioxidants that support eye health. Cucumbers are mostly water, which makes them hydrating and low-calorie. Carrots are famous for beta-carotene, which your body converts to vitamin A for healthy vision and immune function. Greek yogurt provides protein and probiotics for gut health. The broccoli and snap peas add fiber, folate, and vitamin K.
Dietary Considerations: This recipe is naturally vegetarian, gluten-free (check your ranch seasoning), and can easily be made vegan and dairy-free. It’s low in calories and fat, making it a great option for anyone watching their intake. The main allergens to note are dairy (in the yogurt-based dip) and possible trace gluten in seasoning mixes.
My Personal Wellness Perspective: I love that this recipe lets me indulge in the fun of Halloween without the sugar crash. It’s the kind of snack that makes you feel good while you’re eating it—and afterward. Plus, it’s a great way to get kids excited about vegetables. If they’re willing to eat a skeleton made of carrots, that’s a win in my book.
Conclusion
So there you have it—a Spooky Skull & Bones Halloween Veggie Tray that’s equal parts creepy, fun, and delicious. It’s the kind of recipe that makes people stop and stare, then reach for a carrot “bone” and ask for the dip recipe. And honestly, that’s the best compliment a home cook can get.
I love this recipe because it proves that healthy food can be playful. You don’t need to drown everything in sugar to make it festive. Sometimes all it takes is a bell pepper, a sharp knife, and a little imagination. Whether you’re making this for a costume party, a classroom celebration, or just a Tuesday night that needs a little spooky magic, I hope it brings you as much joy as it’s brought me.
Now I want to hear from you! Have you tried making this veggie skeleton? Did you come up with your own creepy variation? Drop a comment below and let me know. And if you share a photo on social media, tag me—I love seeing your creations. Happy Halloween, and happy snacking!
Frequently Asked Questions
Can I make this veggie tray ahead of time?
You can prep the ingredients ahead, but I recommend assembling the platter no more than an hour before serving. Slice the veggies and make the dip up to a day in advance, then store them separately in the fridge. Assemble just before your guests arrive for the freshest look and crunchiest texture.
What if I can’t find a skull-shaped cookie cutter?
No problem at all! You can carve the skull freehand with a paring knife. Just sketch the eye sockets, nose, and mouth with a toothpick first, then cut along the lines. A slightly imperfect, hand-carved look actually adds to the creepy Halloween vibe. I’ve done it both ways, and freehand looks just as good.
Can I use different vegetables?
Absolutely. This recipe is very flexible. Swap in celery sticks for the spine, use zucchini strips for the ribs, or try jicama sticks for the bones. The key is to use firm, crunchy vegetables that hold their shape. Avoid anything too soft or watery, like tomatoes (except for decoration) or cooked veggies.
How do I keep the veggies from getting soggy?
The biggest culprit is moisture. Pat all your veggies dry with a paper towel after washing them. Don’t cut the cucumbers too far in advance—they release water as they sit. And keep the dip in a separate bowl, not poured directly over the veggies. If you’re serving outdoors, set the platter on ice to keep everything crisp.
Is this recipe kid-friendly?
Yes! Kids absolutely love this platter. The skeleton design makes vegetables feel like a fun activity instead of a chore. Let them help arrange the “bones” or add edible googly eyes to the skull. I’ve seen kids who normally refuse to touch a carrot happily grab a “bone” and dip it in ranch. It’s a Halloween miracle.
Pin This Recipe!
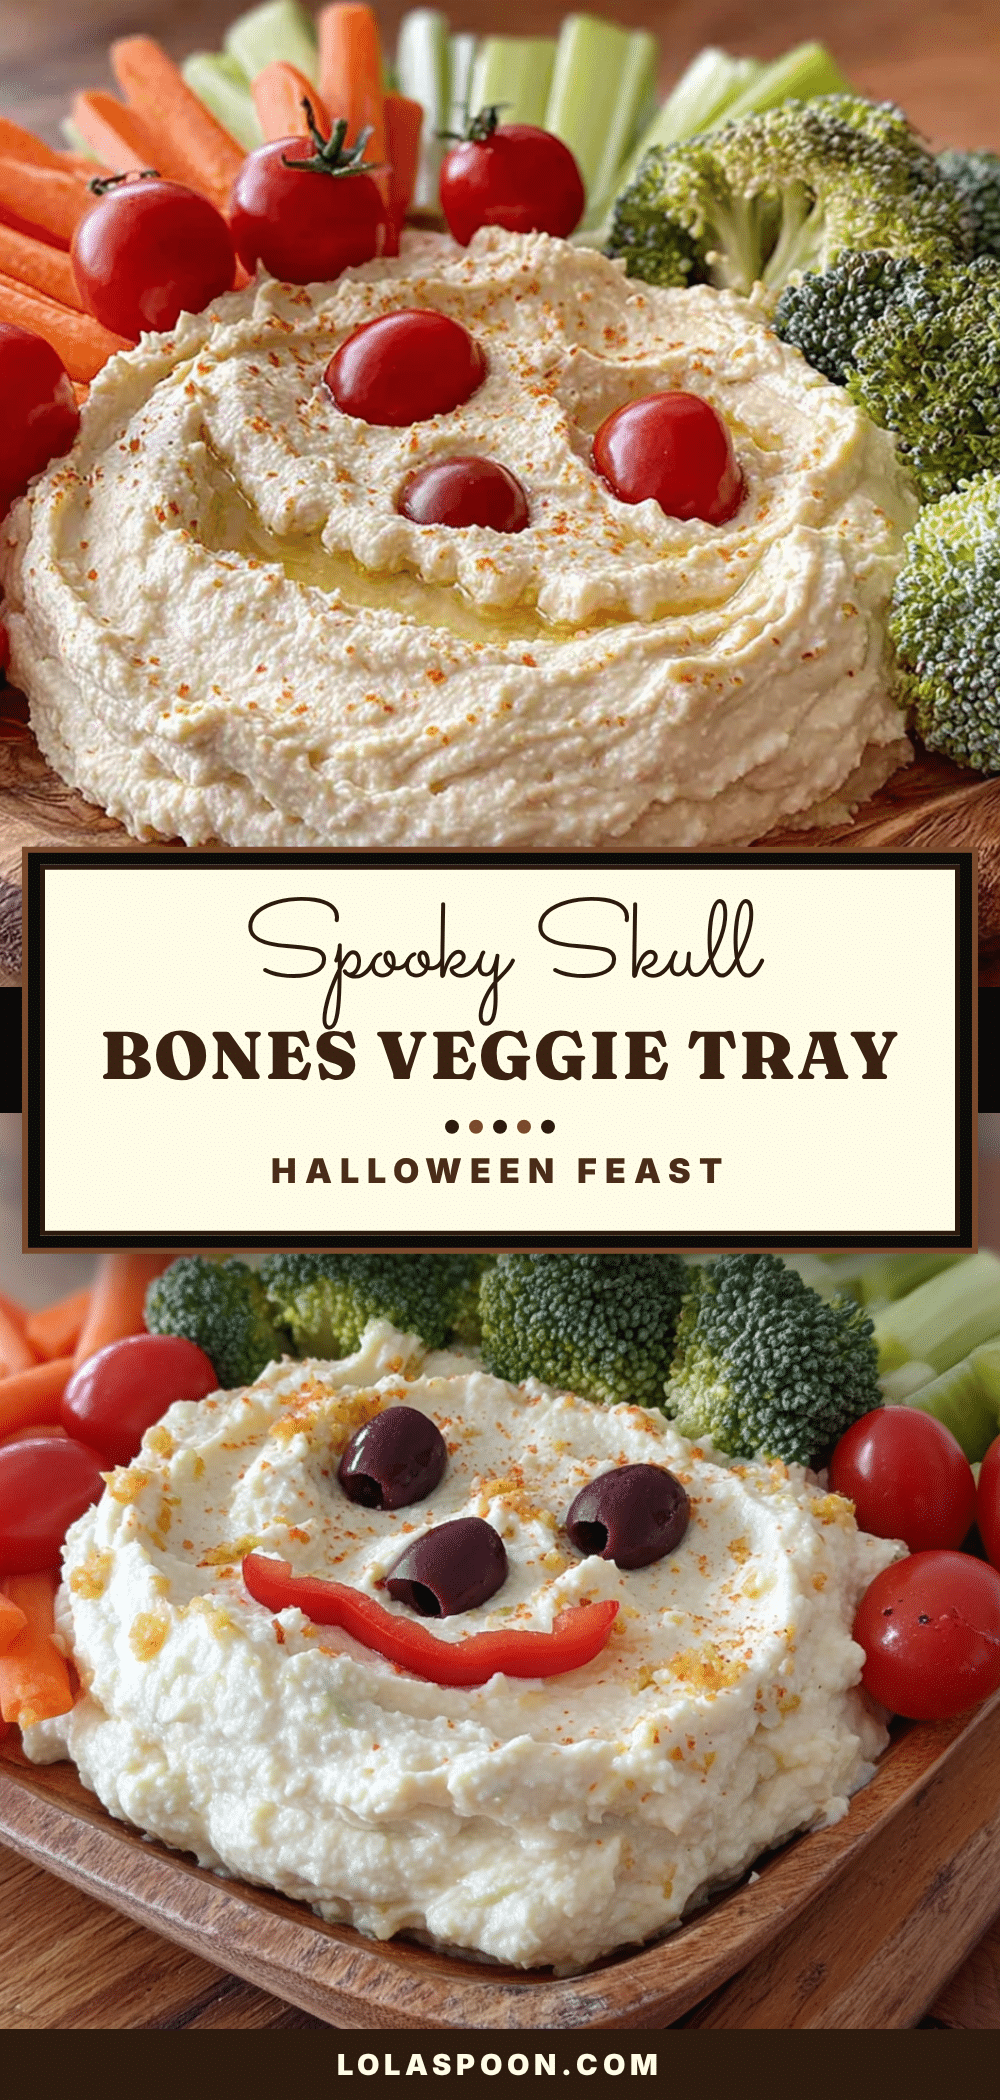
Spooky Skull & Bones Halloween Veggie Tray: Easy 20-Minute Snack
A festive and healthy Halloween snack that looks like a skeleton made entirely of vegetables. Quick to assemble in under 20 minutes, this veggie tray features a carved bell pepper skull, cucumber spine, and carrot ribs, served with a creamy ranch dip.
- Prep Time: 20 minutes
- Cook Time: 0 minutes
- Total Time: 20 minutes
- Yield: 8 servings 1x
- Category: Appetizer
- Cuisine: American
Ingredients
- 1 large red bell pepper
- 1 large English cucumber
- 4–5 large carrots, peeled
- 1 cup cherry tomatoes
- 1 cup broccoli florets
- 1 cup snap peas or snow peas
- 1 cup cauliflower florets (optional)
- 1 cup plain Greek yogurt
- 1 packet ranch seasoning mix
- 1 tablespoon fresh lemon juice
- 1/2 teaspoon garlic powder
- Salt and black pepper to taste
- Black olives, sliced (optional)
- Fresh parsley or dill (optional)
- Edible googly eyes (optional)
Instructions
- Make the dip first (5 minutes). In a small bowl, combine the Greek yogurt, ranch seasoning mix, lemon juice, and garlic powder. Stir until smooth. Taste and add salt and pepper as needed. Cover and refrigerate while you prep the veggies.
- Carve the skull (10 minutes). Wash the red bell pepper and cut off the top (the stem end). Remove the seeds and membranes. Place the pepper on your cutting board with the open end facing you. Using a paring knife, carve out two eye sockets (almond-shaped or round). Below the eyes, carve a small triangle or upside-down heart shape for the nose. Then carve a wavy line for the mouth. Optionally carve small lines on the sides for cheekbones. Place the carved skull in the center of your serving platt…
- Cut the spine (3 minutes). Slice the English cucumber into rounds about 1/4-inch thick (about 12-15 slices). Starting from the bottom of the skull, arrange the cucumber slices in a straight line down the center of the platter to form the spine.
- Make the ribs (5 minutes). Using a vegetable peeler, peel the carrots into wide, thin strips about 3-4 inches long and 1/2-inch wide (about 10-12 strips). On each side of the cucumber spine, arrange 5-6 carrot strips, angling them outward and slightly upward like ribs.
- Add the arm and leg bones (3 minutes). Cut the remaining cucumber into long, thick strips about 3 inches long and 1/2-inch wide. For the arms, place two strips extending outward from each side of the upper spine near the skull. For the legs, place two longer strips extending downward from the bottom of the spine. Optionally add small rounds at the ends for hands and feet.
- Fill in the gaps (5 minutes). Scatter the cherry tomatoes, broccoli florets, snap peas, and cauliflower around the skeleton, placing them in the empty spaces on the platter to create a graveyard effect.
- Add the dip and final touches (2 minutes). Place the bowl of dip right below the skull or inside the skull cavity. If using black olives, place two slices in the eye sockets. Sprinkle fresh parsley or dill over the dip. Add edible googly eyes to the skull if desired.
- Serve immediately or refrigerate. Best served within an hour of assembly. If making ahead, prep all veggies and dip separately, then assemble just before serving.
Notes
Pick a squat, wide red bell pepper for the skull. Keep your knife sharp for clean cuts. Use a template if freehand carving is intimidating. Don’t overload the platter—leave space so the skeleton is visible. Cut veggies just before serving to prevent sogginess. The dip can be made a day ahead for better flavor.
Nutrition
- Serving Size: 1 serving (about 1 c
- Calories: 85
- Sugar: 6
- Sodium: 180
- Fat: 2
- Saturated Fat: 0.5
- Carbohydrates: 12
- Fiber: 3
- Protein: 5
Keywords: Halloween, veggie tray, skeleton, spooky, healthy snack, party appetizer, vegetable platter, ranch dip


