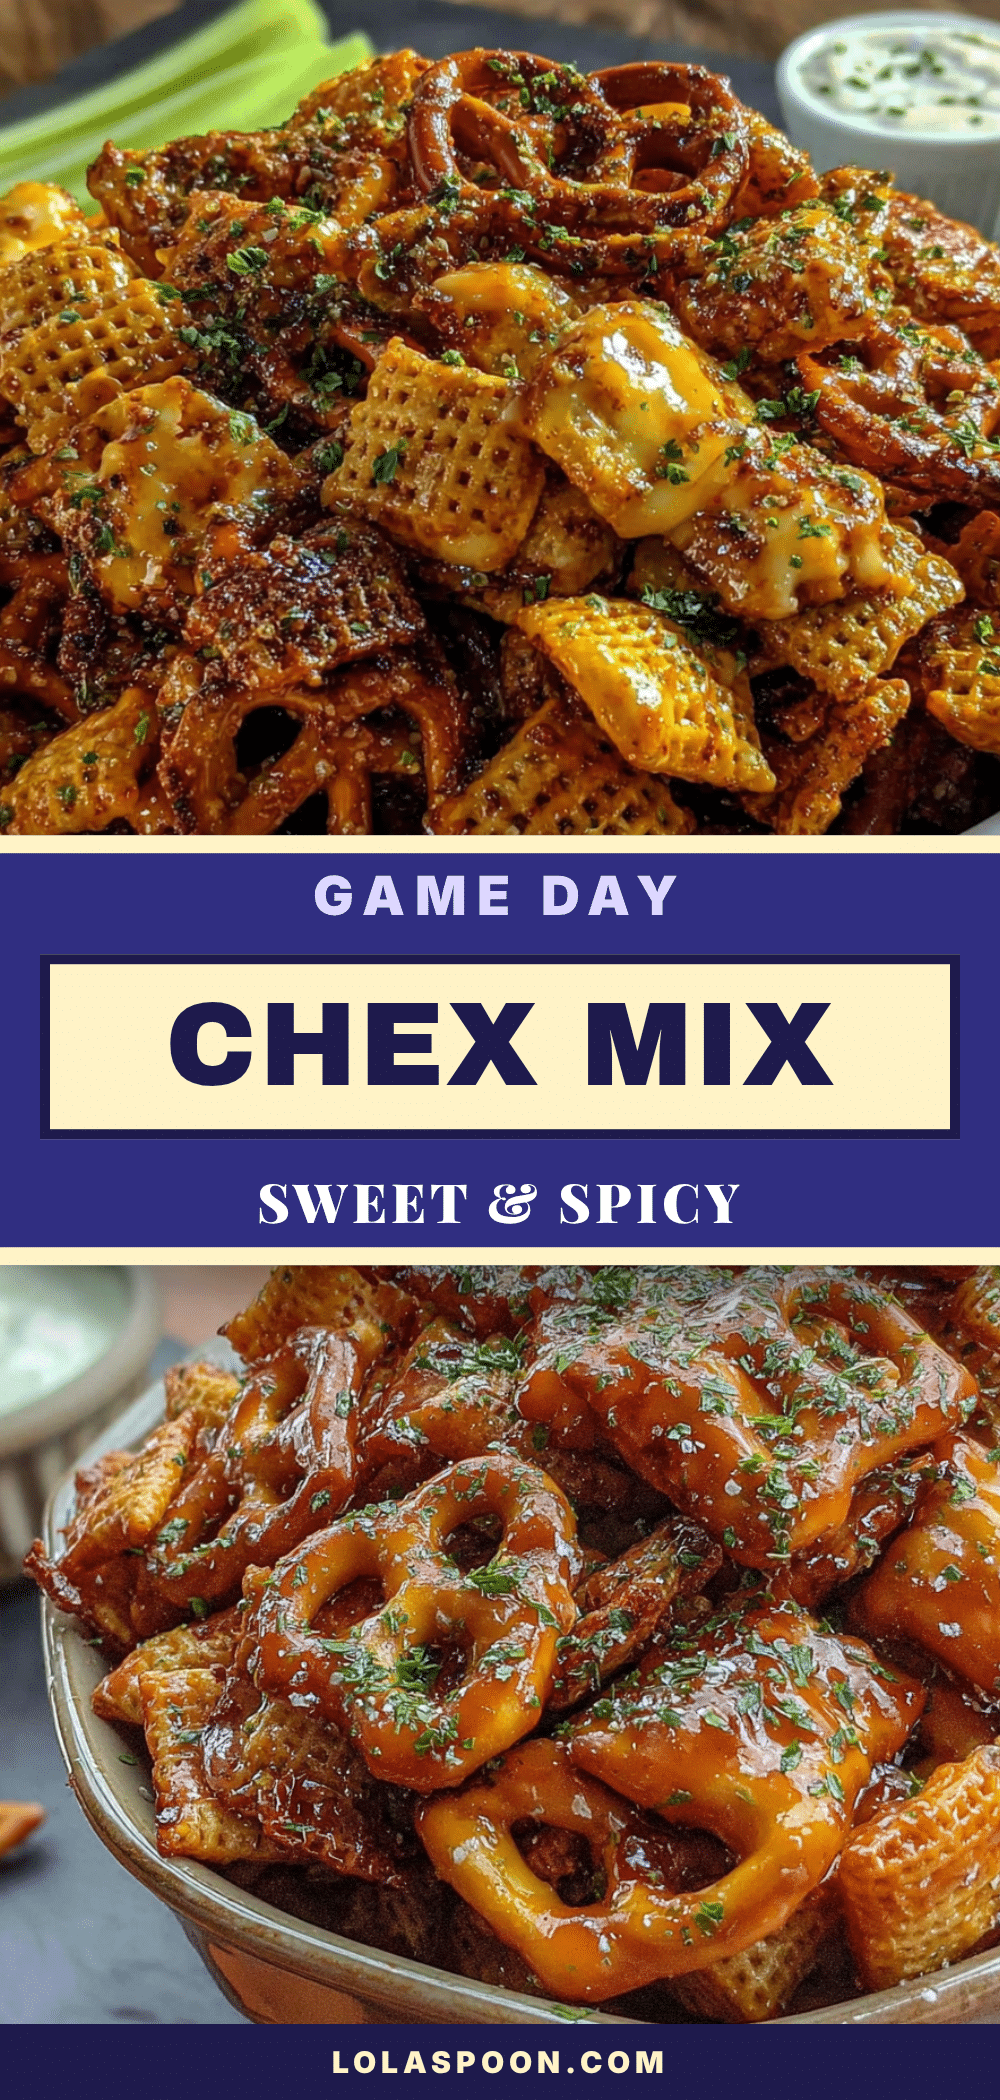
I wasn’t expecting to get a recipe from my accountant, but there I was, knee-deep in spreadsheets during tax season, listening to him describe the exact ratios for what he called “the only snack you’ll ever need for a football game.” Honestly, I was just trying to figure out if I could deduct my stand mixer as a business expense. But the way he talked about this snack—the crunch, the heat, the way it clings to your fingers in the most addictive way possible—made me forget all about deductions and deadlines.
He scribbled the recipe on the back of a bank deposit slip. I mean, who even uses those anymore? But I tucked it into my bag and forgot about it for a solid three months. Then, come fall, I was cleaning out my purse (a rare event, let me tell you) and found that crumpled slip of paper. The ink had smudged a bit, but the core of it was still there: a sweet and spicy Buffalo Ranch Chex Mix. I remember thinking, “This is going to either be a total disaster or the best thing I’ve ever made.”
That first batch, I made a mess. I spilled cayenne pepper all over the counter, forgot to set a timer, and nearly burned the whole thing. But when I finally pulled that baking sheet out of the oven, the smell—the tangy Buffalo, the buttery ranch, the whisper of sweetness—it was like my kitchen had been transformed into a tailgate party. And the taste? Honestly, it was better than anything I’d ever bought in a bag. That accountant knew his stuff. Maybe you’ve been there, holding onto a random recipe tip from an unexpected source, wondering if it’s worth the gamble. Trust me on this one—it is. This Game Day Buffalo Ranch Chex Mix is the reason I look forward to football season, and it might just become your new game day tradition, too.
Why You’ll Love This Recipe
Let’s be real for a second. Store-bought snack mixes are fine, but they’re never quite right, are they? They’re either too salty, not spicy enough, or that weird artificial flavor just lingers. This recipe is different. It’s the kind of snack you make once and then your friends start texting you before every big game, asking if you’re bringing “the mix.”
- Quick & Easy: This comes together in about 15 minutes of prep and 45 minutes of baking. It’s mostly hands-off, which means you can prep your wings or set up the snack table while it works its magic in the oven.
- Simple Ingredients: No weird preservatives or hard-to-find items. You probably have the spices in your pantry right now. The base is just classic Chex cereal, pretzels, and peanuts.
- Perfect for Game Day: This is the ultimate crowd-pleaser for Super Bowl parties, tailgates, or just a lazy Sunday watching the game. It’s salty, spicy, and just a little bit sweet—it hits every single craving.
- Totally Customizable: Don’t like peanuts? Swap them for cashews. Want it hotter? Add more cayenne. This recipe is a starting point, not a rulebook.
- Unbelievably Delicious: The secret is in the coating. We’re not just tossing cereal in butter; we’re creating a glossy, sticky glaze that bakes into the most incredible, crunchy clusters. The combination of Buffalo heat and cool ranch is just… chef’s kiss.
What makes this the best version? It’s the balance. Most Buffalo Chex Mix recipes are all heat and no nuance. This one has a deep, buttery richness from the brown sugar and Worcestershire sauce that mellows the hot sauce and makes the ranch seasoning pop. It’s not just another snack mix—it’s your new game day MVP.
What Ingredients You Will Need
This recipe uses simple, wholesome ingredients to deliver that bold, addictive flavor without any fuss. Most of these are probably already in your pantry, which is half the beauty of it. Let’s break down what you need and why each ingredient matters.
For the Mix Base
- 9 cups Rice Chex Cereal: This is the backbone. It’s light, crispy, and holds the coating perfectly without getting soggy. I’ve tried other brands, but the classic Chex texture is unmatched.
- 3 cups Corn Chex Cereal: Adds a slightly different crunch and a touch of sweetness. You could use all Rice Chex, but the mix of textures is better.
- 2 cups Mini Pretzels: The saltiness from the pretzels is crucial. It cuts through the richness of the butter and the heat of the Buffalo sauce. I like the classic mini twists, but sticks work too.
- 1 cup Roasted, Salted Peanuts: They add protein, crunch, and a savory depth that makes this mix feel substantial. Unsalted peanuts would work, but you’d want to add a pinch more salt to the seasoning mix.
- 1 cup Cheerios (optional but recommended): This is my little secret. They add a subtle oat flavor and another layer of texture. If you don’t have them, just add another cup of Rice Chex.
For the Buffalo Ranch Coating
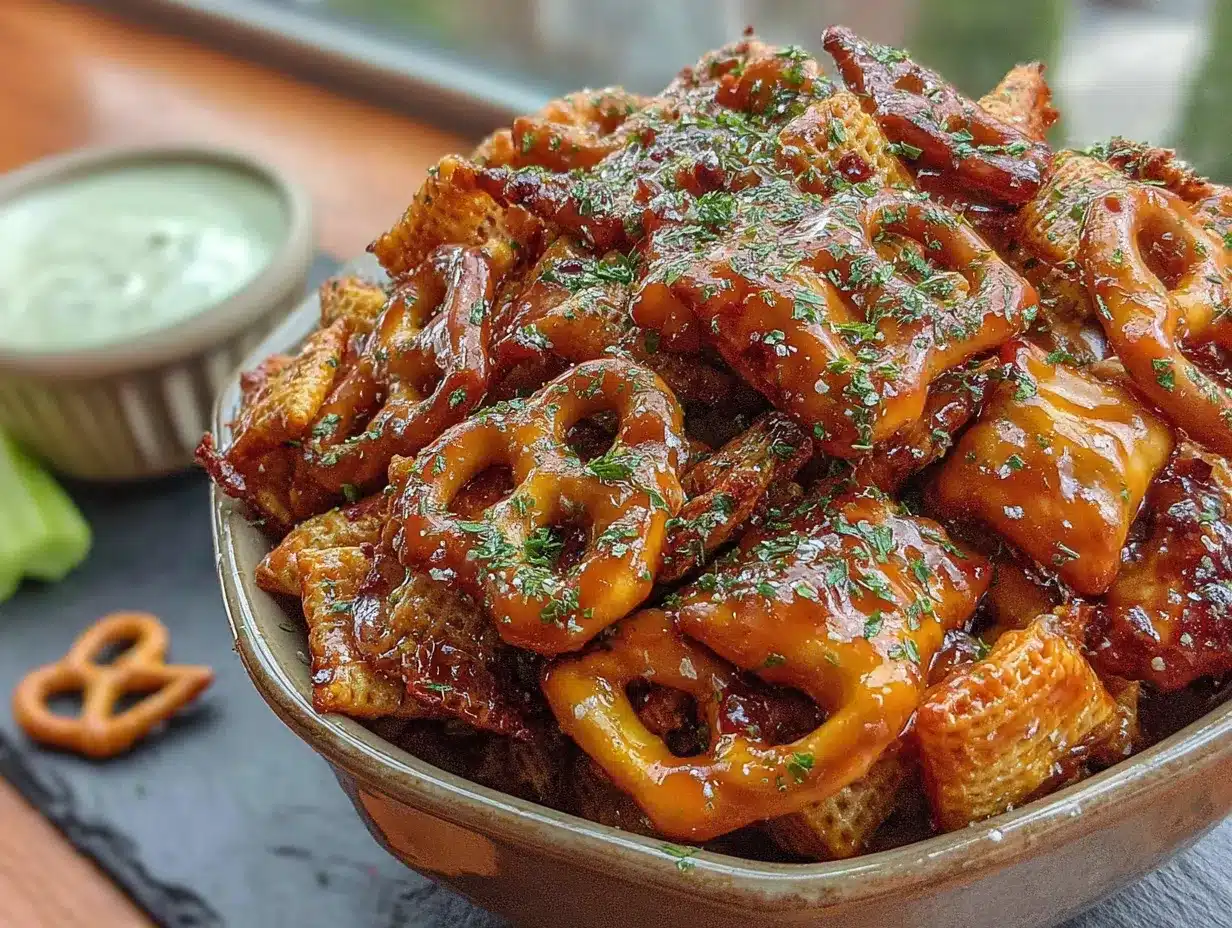
- 1/2 cup Unsalted Butter (1 stick): We use unsalted so we can control the salt level ourselves. The butter is what carries all the flavor and helps the seasoning stick. (I prefer Kerrygold for the rich taste).
- 1/4 cup Frank’s RedHot Original Sauce: This is non-negotiable for me. Frank’s is the gold standard for Buffalo flavor. It has the perfect tang and heat without being overwhelmingly spicy. Look for the original, not the wing sauce.
- 2 tablespoons Worcestershire Sauce: This adds that deep, umami savoriness. It’s the secret ingredient that makes people ask, “What’s in this?” Don’t skip it.
- 3 tablespoons Light Brown Sugar, packed: This is where the “sweet” in “Sweet & Spicy” comes from. It balances the heat and helps create those beautiful, glossy clusters as it bakes.
- 1 packet (1 oz) Ranch Dressing & Dip Mix: This is the easiest way to get that cool, herby ranch flavor. I recommend Hidden Valley for the most authentic taste. (For a gluten-free option, make sure you find a certified GF ranch mix.)
- 1 teaspoon Garlic Powder: Adds a savory punch that complements the ranch. Don’t use garlic salt, as the ranch mix is already salty.
- 1/2 teaspoon Onion Powder: Rounds out the savory profile. It’s subtle, but you’d miss it if it were gone.
- 1/2 teaspoon Cayenne Pepper (or to taste): This is for the extra kick. If you’re sensitive to spice, start with 1/4 teaspoon. If you’re a heat seeker, bump it up to a full teaspoon. I usually stick with 1/2 teaspoon for a nice, warm glow.
- 1/4 teaspoon Black Pepper: A little fresh-cracked pepper adds a final layer of warmth.
Equipment Needed
You don’t need a fancy kitchen to make this recipe. Just a few basic tools that you probably already own.
- Large Roasting Pan or Baking Sheet: A 13×18-inch half-sheet pan is perfect. You need a large surface area so the cereal can spread out in a single layer. If you use a smaller pan, the mix will steam instead of getting crispy. I’ve made that mistake—it’s not good.
- Large Mixing Bowl: You’ll need a big bowl to toss everything together. I use my grandmother’s old ceramic bowl, but any large bowl will do.
- Small Saucepan: For melting the butter and simmering the sauce. You could also do this in the microwave, but the stovetop gives you more control and helps the flavors meld.
- Whisk: To combine the sauce ingredients smoothly. A wooden spoon works in a pinch.
- Spatula or Wooden Spoon: For stirring the mix while it bakes. A silicone spatula is great for scraping every last bit of that delicious glaze out of the pan.
- Parchment Paper or Silicone Baking Mat (optional): This makes cleanup a breeze. It’s not strictly necessary, but I highly recommend it.
Preparation Method
Alright, let’s get to the fun part. The key to this recipe is patience during the baking process. You want to stir it regularly to ensure even coating and maximum crunch. Here’s the step-by-step.
- Preheat and Prep: Preheat your oven to 250°F (120°C). Line your large baking sheet with parchment paper if you’re using it. This low and slow temperature is what dries out the coating and makes everything perfectly crunchy without burning.
- Combine the Dry Mix: In your largest mixing bowl, combine the Rice Chex, Corn Chex, Cheerios (if using), mini pretzels, and roasted peanuts. Give them a gentle toss with your hands to distribute everything evenly. Set aside.
- Make the Buffalo Ranch Glaze: In a small saucepan over medium heat, melt the butter. Once melted, whisk in the Frank’s RedHot, Worcestershire sauce, and packed brown sugar. Continue whisking until the sugar is fully dissolved and the mixture is bubbling gently, about 2-3 minutes. Don’t let it boil hard, you just want it to get hot and well-combined.
- Add the Seasonings: Remove the saucepan from the heat. Whisk in the entire packet of ranch dressing mix, the garlic powder, onion powder, cayenne pepper, and black pepper. Whisk until smooth. The smell at this point is incredible—tangy, spicy, and buttery.
- Pour and Toss: Slowly pour the hot glaze over the cereal mixture. Use your spatula or a wooden spoon to gently fold and toss everything together. You want every single piece of cereal, every pretzel, and every nut to be lightly coated. Work from the bottom up to make sure nothing is dry. This takes a minute or two, but it’s worth it.
- Transfer to Baking Sheet: Pour the coated mixture onto your prepared baking sheet. Use your spatula to spread it out into a thin, even layer. Don’t pile it up—if it’s too thick, it won’t get crispy.
- Bake Low and Slow: Place the baking sheet in the preheated oven. Bake for 45 minutes, but here’s the crucial part: you need to stir the mix every 15 minutes. Set a timer for 15 minutes, pull the pan out, give it a good stir with your spatula, and spread it back out. This ensures even baking and prevents the edges from burning while the middle stays soft.
- The Cool Down: After 45 minutes, remove the pan from the oven. The mix will still feel a little soft, but don’t worry—it will harden as it cools. Let it cool completely on the baking sheet, about 1 hour. This is the hardest part, I know, but resist the urge to dig in right away. As it cools, it transforms into those crunchy, clustered pieces we’re after.
- Break Apart: Once completely cool, use your hands to gently break apart any large clusters. You want a mix of individual pieces and small, crunchy clumps.
Cooking Tips & Techniques
I’ve made this recipe about a dozen times now, and I’ve learned a few things the hard way. Here are my best tips for getting it perfect every single time.
- Don’t Skip the Stirring: I know it’s annoying to set a timer and stop what you’re doing, but this is the single most important step. The first time I made this, I got distracted and only stirred it once. The edges were burnt and the middle was still soggy. Every 15 minutes, no exceptions.
- Let It Cool Completely: This is where the magic happens. The coating firms up as it cools, creating that signature crunch. If you eat it warm, it will be soft and a bit greasy. Patience is a virtue, especially with snack mix.
- Use Fresh Spices: Spices lose their potency over time. If your cayenne pepper has been sitting in the cabinet for two years, it won’t have the same kick. For the best flavor, try to use spices that are less than six months old.
- Scale It Up: This recipe makes a big batch, perfect for a party. But if you’re feeding a crowd, you can easily double it. Just make sure to use two separate baking sheets so you don’t overcrowd the pan. Overcrowding leads to steaming, not crisping.
- Watch Your Oven: All ovens run a little differently. If your oven runs hot, start checking it at the 35-minute mark. You want the mix to be dry and the coating to look set, but not dark brown. It should be a warm, golden amber color.
Variations & Adaptations
One of the best things about this recipe is how easy it is to tweak. Don’t be afraid to make it your own. Here are a few of my favorite variations.
- Make it Gluten-Free: This is super easy. Just swap the mini pretzels for gluten-free pretzels (there are some great options now), and make sure your Worcestershire sauce is gluten-free (Lea & Perrins is a safe bet). The Chex cereals are already gluten-free, so you’re good there.
- Turn Up the Heat: For a seriously spicy version, add 1/2 teaspoon of chipotle powder along with the cayenne. You can also use a hotter hot sauce, like Tabasco’s Habanero Sauce, instead of Frank’s. Just be careful—it gets hot fast.
- The Sweet Tooth Version: If you want it more sweet than spicy, double the brown sugar to 6 tablespoons and reduce the cayenne to just a pinch. Add 1/2 cup of dried cranberries or golden raisins after it cools for a sweet and salty twist.
- Nut-Free Option: If you’re serving a crowd with nut allergies, simply omit the peanuts and replace them with 1 cup of pumpkin seeds (pepitas) or an extra cup of Cheerios. The texture will be slightly different, but it will still be delicious.
- Air Fryer Method: Yes, you can do this in an air fryer! Cook in batches at 250°F (120°C) for about 10-12 minutes, shaking the basket halfway through. Keep a close eye on it, as air fryers can be more intense. It will be ready much faster, but it won’t have quite the same volume as the oven method.
Serving & Storage Suggestions
This mix is best served at room temperature, straight from the bowl. It’s the kind of snack that disappears before halftime, so make a lot.
Serving: Pile it into a large serving bowl and set it out with other game day classics. It pairs beautifully with cold beer, spicy Bloody Marys, or a big pitcher of lemonade. I love serving it alongside my Crispy Buffalo Chicken Dip for the ultimate Buffalo-themed snack table. The cool, creamy dip is the perfect counterpoint to the crunchy, spicy mix.
Storage: This is one of those recipes that actually gets better after a day or two, as the flavors meld. Store it in an airtight container at room temperature for up to 2 weeks. I don’t recommend refrigerating it, as the moisture can make it lose its crunch.
Freezing: You can absolutely freeze this snack mix! Let it cool completely, then transfer it to a freezer-safe zip-top bag. It will keep for up to 3 months. To serve, just let it thaw at room temperature for about 30 minutes. It might lose a tiny bit of its initial crunch, but it’s still fantastic. This is a great way to get ahead for a big party.
Nutritional Information & Benefits
Let’s be honest—this is a treat, not a health food. But it’s not as bad as you might think! A serving (about 1 cup) provides a satisfying mix of carbs, fats, and a little protein to keep you going.
- Estimated per serving (1 cup): Approximately 280 calories, 14g fat (6g saturated), 35g carbohydrates, 5g protein, 3g fiber, 6g sugar, 450mg sodium.
- Healthier Twist: To lighten it up a bit, you can reduce the butter to 1/3 cup and use a low-sodium ranch seasoning mix. The texture will be slightly less rich, but the flavor will still be there.
- Ingredient Benefits: The peanuts provide healthy monounsaturated fats and a bit of protein to keep you full. The Chex cereals are fortified with iron and B vitamins. And the cayenne pepper contains capsaicin, which can give your metabolism a tiny boost.
- Allergen Note: This recipe contains dairy (butter), gluten (pretzels, Worcestershire), and peanuts. See the variations section for substitutions to accommodate these allergies.
Frequently Asked Questions
Can I use a different type of cereal?
Absolutely! While I love the classic Chex blend, you can use any crispy, unsweetened cereal. Wheat Chex, Crispix, or even plain Corn Flakes would work. Just avoid anything with a heavy sugar coating, as it can burn in the oven.
My mix came out a little soggy. What went wrong?
This usually happens for one of two reasons. Either the oven wasn’t hot enough (make sure it’s at 250°F), or you didn’t stir it enough during baking. The stirring is crucial for even drying. Also, make sure the mix is completely cool before storing it.
Can I make this in the microwave?
You can, but I don’t recommend it for the best texture. The microwave tends to make the coating chewy rather than crunchy. If you’re in a real pinch, you can microwave it in 2-minute intervals, stirring well between each, until it’s dry. But the oven method is superior.
How can I make it less spicy for kids?
Easy! Simply omit the cayenne pepper entirely. The Buffalo sauce and ranch seasoning will still give it a ton of flavor without any real heat. You can also use a mild wing sauce instead of the original Frank’s.
Can I add other ingredients like cheese crackers or bagel chips?
Sure! This recipe is very forgiving. You can add up to 2 cups of other snacks like small cheese crackers (like Goldfish), mini bagel chips, or even wasabi peas for a different flavor profile. Just keep the total volume of dry ingredients around 14-15 cups so the coating ratio stays balanced.
Conclusion
So there you have it—a recipe that came from a bank deposit slip and ended up becoming a game day legend in my house. This Game Day Buffalo Ranch Chex Mix is everything you want in a snack: it’s crunchy, savory, spicy, and just a little bit sweet. It’s the kind of thing you can’t stop eating, and honestly, why would you want to?
I love this recipe because it’s proof that the best things often come from the most unexpected places. That accountant probably has no idea that his scribbled recipe has been the star of a dozen parties, but I think about it every time I pull a pan out of the oven. It’s more than just a snack—it’s a little story you can share with your friends and family.
Now it’s your turn. Give this recipe a try, and don’t be afraid to make it your own. Add more heat, less sugar, throw in some cashews—whatever feels right. And when you do, I’d love to hear about it! Drop a comment below and tell me how it turned out, or share a photo on Pinterest. Let’s make this the most pinned snack mix of the season. Happy snacking!
Pin This Recipe!