My friend Jenna had refused to touch a Thanksgiving dessert for over a decade. Ten years. She’d push the pumpkin pie around her plate, claim she was “too full,” and pour herself another glass of wine instead. I honestly thought it was some kind of principled stand against the holiday. Then, last November, I caught her standing over my kitchen counter, eating a slice of this cookie cake with her fingers. She wasn’t even using a plate. She had crumbs on her sweater and zero shame about it.
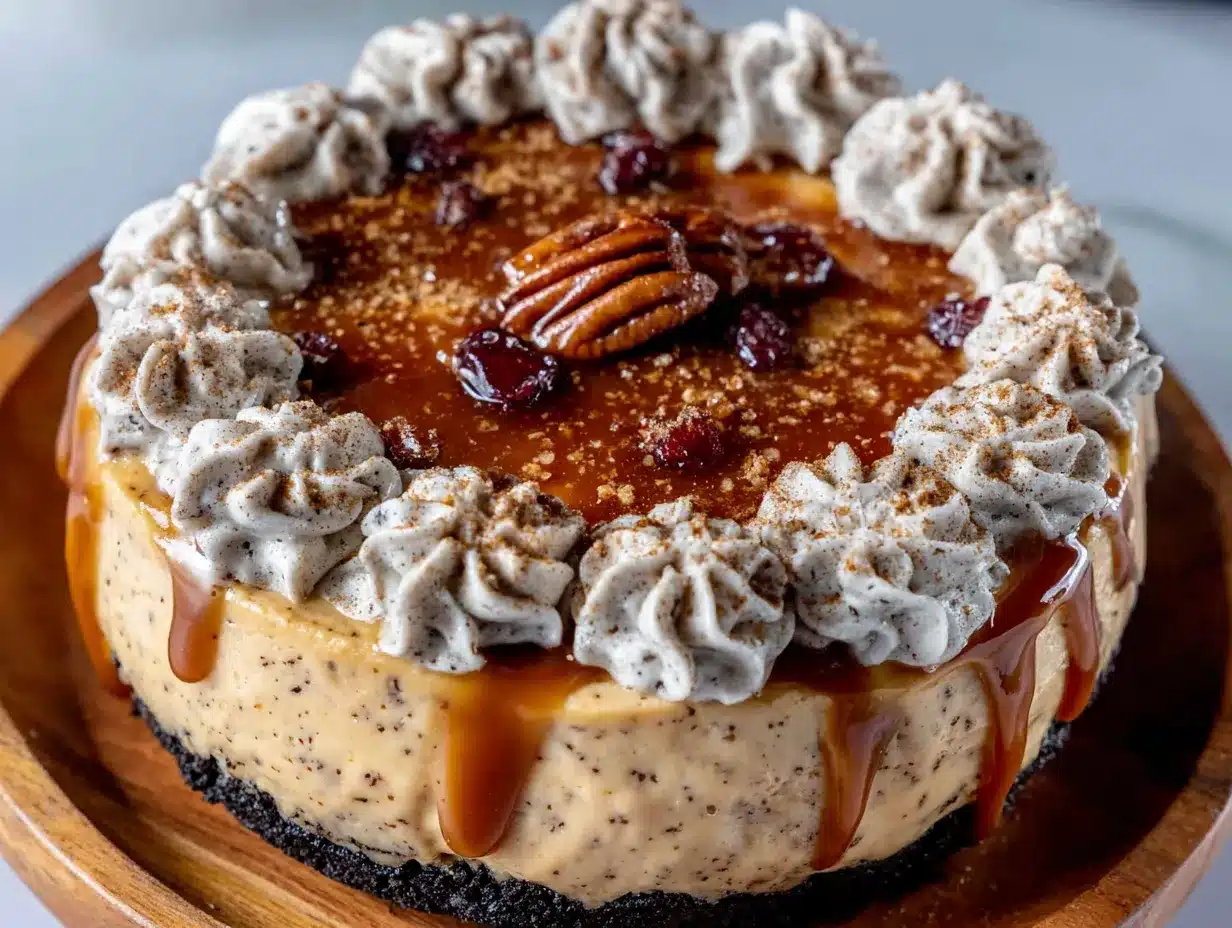
I’d made this Quick No-Bake Thanksgiving Cookie Cake on a total whim that year. The oven was already crammed with the turkey and two casseroles, and I needed a dessert that wouldn’t add to the chaos. I threw together an Oreo crust, whipped up a no-bake cheesecake filling, and topped it with a drizzle of caramel and a few toasted pecans. I wasn’t trying to convert anyone. I was just trying to keep my sanity.
But here’s the thing about this Easy No-Bake Thanksgiving Cookie Cake—it’s sneaky. It looks fancy enough for the holiday table, but it takes maybe twenty minutes of actual work. No baking, no fussing, no stressing over a cracked cheesecake top. You press the crust, mix the filling, and let the fridge do the rest. It’s the kind of dessert that makes you look like you’ve got it all together, even when you’re pretty sure you forgot to set out the butter for the rolls. Maybe you’ve been there, right?
The reason this recipe stuck with me isn’t just that it’s easy—it’s that it genuinely surprised everyone. Jenna included. And honestly, there’s something pretty satisfying about watching someone prove themselves wrong with every single bite.
Why You’ll Love This Recipe
This isn’t just another Thanksgiving dessert. It’s the one that saves your sanity when the oven is full and the counter is a disaster zone. Here’s why you’ll come back to it year after year:
- Quick & Easy: Comes together in under 30 minutes of hands-on time. The fridge does all the hard work while you focus on the turkey and the side dishes.
- Simple Ingredients: Oreos, cream cheese, butter, and a few pantry staples. No fancy grocery trips needed—you probably already have everything in your kitchen.
- Perfect for Busy Holidays: Great for Thanksgiving, Friendsgiving, or any holiday gathering where oven space is prime real estate.
- Crowd-Pleaser: Kids love the Oreo crust, adults love the creamy filling, and everyone loves that it doesn’t require a fork-and-knife situation.
- Unbelievably Delicious: The texture is this perfect combo of crunchy, creamy, and silky. It’s comfort food without the stress.
What makes this Easy No-Bake Thanksgiving Cookie Cake different from every other no-bake dessert out there? It’s the crust. A classic graham cracker crust is fine, but an Oreo crust? That’s next-level. The chocolate cookies add a rich, slightly bitter note that balances the sweet, tangy filling. Plus, the no-bake filling uses a clever trick—a touch of lemon juice to brighten the cream cheese without making it taste like lemon. It’s subtle, but it makes the whole thing taste lighter and more sophisticated.
I’ve tested this recipe four times now. Once with full-fat cream cheese, once with Neufchâtel, once with a splash of vanilla bean paste instead of extract, and once with a pinch of cinnamon in the crust. The version I’m sharing today is the one that made Jenna eat it with her fingers. And honestly, that’s the highest praise I can give.
What Ingredients You Will Need
This recipe uses simple, mostly pantry-staple ingredients to deliver a dessert that tastes like you spent hours on it. Here’s what you’ll need, grouped by component for easy shopping.
For the Oreo Crust
- 24 Oreo cookies (regular, not Double Stuf—you want the cookie-to-cream ratio just right for the crust to hold together)
- 5 tablespoons unsalted butter, melted (I use Kerrygold for the rich flavor, but any unsalted butter works)
- Pinch of salt (optional but recommended—it balances the sweetness)
For the No-Bake Cheesecake Filling
- 16 ounces cream cheese, softened to room temperature (Philadelphia is my go-to for the smoothest texture)
- 1/2 cup granulated sugar
- 1 teaspoon vanilla extract (pure, not imitation—it makes a difference)
- 1 tablespoon fresh lemon juice (this is the secret ingredient—it cuts the richness and adds brightness without tasting like lemon)
- 1 1/2 cups heavy whipping cream, cold (you’ll whip this separately for the lightest, fluffiest filling)
For the Topping
- 1/4 cup caramel sauce (store-bought is fine—I like the one from Trader Joe’s or Stonewall Kitchen)
- 1/3 cup toasted pecans, roughly chopped (toast them in a dry pan for 3-4 minutes until fragrant—don’t skip this step)
- Flaky sea salt, for sprinkling (optional but highly recommended—it makes the whole thing taste fancy)
Ingredient Selection Tips: For the creamiest filling, make sure your cream cheese is truly at room temperature. Cold cream cheese will leave you with lumps, and nobody wants lumpy cheesecake. If you’re in a hurry, cut the cream cheese into cubes and let it sit on the counter for 20 minutes—that’s usually enough.
Substitution Guidance: Need a gluten-free option? Use gluten-free chocolate sandwich cookies (like Glutino) for the crust. The filling is naturally gluten-free. For a dairy-free version, use vegan cream cheese and coconut cream (chilled and whipped) instead of heavy cream. The texture will be slightly different, but it’s still delicious. If you don’t have pecans, walnuts or even crushed pretzels work beautifully for that salty-sweet crunch.
Equipment Needed
You don’t need a lot of fancy tools for this Easy No-Bake Thanksgiving Cookie Cake. Here’s what you’ll need:
- 9-inch springform pan (the removable sides make it easy to get clean slices—worth the investment if you make a lot of cheesecakes)
- Food processor or a sturdy zip-top bag and rolling pin (for crushing the Oreos into fine crumbs)
- Electric hand mixer or stand mixer with whisk attachment (you’ll need this to whip the cream and beat the cream cheese)
- Large mixing bowls (at least two—one for the crust, one for the filling)
- Rubber spatula (for scraping down the bowl and folding the whipped cream into the cream cheese mixture)
- Measuring cups and spoons
- Plastic wrap (to cover the cake while it chills)
If you don’t have a springform pan, you can use a 9-inch pie dish instead. The slices won’t be as neat, but it’ll taste just as good. I’ve also made this in an 8×8-inch square baking dish—it works fine, just adjust the chilling time slightly. And if you don’t have a food processor? Put the Oreos in a zip-top bag, seal it, and go to town with a rolling pin. It’s a great way to work out any Thanksgiving stress.
Preparation Method
Let’s get into the nitty-gritty. This recipe is straightforward, but a few details make the difference between a good cookie cake and a great one.
Step 1: Make the Oreo Crust
Start by crushing the Oreos into fine crumbs. If you’re using a food processor, pulse the cookies for about 30 seconds until they look like dark sand. If you’re using the bag-and-rolling-pin method, give it a solid 5 minutes of enthusiastic crushing. You want the crumbs to be uniform—no big chunks, or the crust won’t hold together.
Transfer the crumbs to a medium bowl. Pour in the melted butter and the pinch of salt, and stir with a fork until every crumb is coated. The mixture should look like wet sand and hold together when you squeeze it in your fist. If it’s too dry, add another tablespoon of melted butter.
Press the mixture firmly into the bottom of your springform pan. Use the bottom of a measuring cup or a flat glass to really compact it—this is key. A loose crust will crumble when you slice the cake. Tuck the edges slightly up the sides of the pan, about half an inch, to create a little rim. Pop the pan in the fridge to set while you make the filling.
Step 2: Whip the Cream
In a large mixing bowl, pour the cold heavy whipping cream. Using an electric hand mixer or stand mixer with the whisk attachment, beat the cream on medium-high speed. You’re looking for stiff peaks—when you lift the beaters, the cream should stand up straight without drooping. This usually takes about 3-4 minutes. Don’t overwhip, or you’ll end up with butter. Trust me, I’ve done it. It’s not pretty.
Set the whipped cream aside in the fridge while you make the cream cheese base.
Step 3: Make the Cream Cheese Base
In another large bowl, beat the softened cream cheese with the granulated sugar until smooth and fluffy. This takes about 2 minutes with a hand mixer on medium speed. Scrape down the sides of the bowl with your rubber spatula halfway through. Add the vanilla extract and the lemon juice, and beat for another 30 seconds until everything is combined.
Here’s the important part: taste the mixture. It should be sweet, tangy, and smooth. If it tastes flat, add another tiny splash of lemon juice. If it’s not sweet enough, add a tablespoon more sugar. This is your chance to adjust before you fold in the whipped cream.
Step 4: Fold It All Together
Take the whipped cream out of the fridge. Add about a third of it to the cream cheese mixture, and gently fold it in with your rubber spatula. Don’t stir—use a cutting motion through the center, then scoop from the bottom and fold over. Once the first third is mostly incorporated, add the rest of the whipped cream and fold until no white streaks remain. The mixture should be light, airy, and uniform.
Step 5: Assemble and Chill
Take the crust out of the fridge. Spoon the filling onto the crust and spread it evenly with your spatula. Give the pan a few gentle taps on the counter to release any air bubbles. Cover the pan with plastic wrap and refrigerate for at least 6 hours, but overnight is better. The longer it chills, the cleaner your slices will be.
Step 6: Add the Topping
About 30 minutes before serving, take the cake out of the fridge. Drizzle the caramel sauce over the top in a zigzag pattern. Sprinkle the toasted pecans evenly over the caramel. Finish with a light sprinkle of flaky sea salt—just a pinch. Let the cake sit at room temperature for 15-20 minutes before slicing. This makes the filling slightly softer and easier to cut.
Sensory Cue: When you slice into the cake, the crust should offer a slight resistance, then give way to the silky filling. The caramel should drip lazily down the sides. The pecans should add a satisfying crunch. If you close your eyes after the first bite, you’re doing it right.
Cooking Tips & Techniques
I’ve made this Easy No-Bake Thanksgiving Cookie Cake enough times to have a few battle scars. Here’s what I’ve learned the hard way so you don’t have to.
Don’t skip the lemon juice. I know it sounds weird in a no-bake cheesecake, but it’s not there for flavor—it’s there to react with the cream cheese and create a firmer, sliceable texture. Without it, your filling will be too soft. I learned this the first time I made it, and I ended up serving it as a dip. Which, honestly, wasn’t the worst thing in the world, but it wasn’t cake.
Room temperature cream cheese is non-negotiable. I’ve tried the microwave trick to soften cold cream cheese, and it always ends up with hot spots that melt the butter in the crust. Just let it sit on the counter for an hour. Plan ahead. Your future self will thank you.
Press the crust firmly. This is the most common mistake people make with no-bake crusts. If it’s too loose, the slices will fall apart. Use the bottom of a glass or a measuring cup and really lean into it. I mean it. Press until you think it’s too much, then press one more time.
Multitasking tip: While the cream cheese softens, crush the Oreos and press the crust. While the crust chills in the fridge, whip the cream. By the time you’re ready to mix the filling, the crust is set and the cream is ready. You can have the whole thing assembled in under 30 minutes if you work in order.
For the cleanest slices: Run your knife under hot water, dry it, then slice. Repeat between each cut. It’s a small extra step, but it makes the slices look professional. And if you’re serving this at Thanksgiving, you want it to look like it belongs on the cover of a magazine.
Variations & Adaptations
One of the best things about this Quick No-Bake Thanksgiving Cookie Cake is how easy it is to change up. Here are a few ways I’ve adapted it over the years.
Pumpkin Spice Version: Add 1/2 cup pumpkin puree and 1 teaspoon pumpkin pie spice to the cream cheese mixture before folding in the whipped cream. Reduce the heavy cream by 1/4 cup to compensate for the extra moisture. This version is perfect for fall and tastes like Thanksgiving in a slice. I made this for a Friendsgiving last year, and it disappeared in 10 minutes.
Chocolate Lovers’ Twist: Melt 4 ounces of semi-sweet chocolate and let it cool slightly. Fold it into the cream cheese mixture along with the whipped cream. Top with chocolate shavings instead of caramel. It’s richer, more decadent, and honestly, it’s my husband’s favorite version.
Gluten-Free Adaptation: Use gluten-free chocolate sandwich cookies for the crust (I’ve tested this with the Glutino brand, and it works perfectly). The filling is naturally gluten-free, so you’re good there. Just double-check your caramel sauce—some brands use wheat-based thickeners.
Lighter Version: Use Neufchâtel cream cheese (it has a third less fat) and replace half the heavy cream with Greek yogurt. The texture will be slightly less rich, but it’s still creamy and satisfying. I’ve made this version for my mom, who’s watching her calories, and she didn’t even notice the difference.
Individual Mini Cakes: Press the crust into the bottom of 8-10 small mason jars or ramekins, then spoon the filling on top. These are perfect for portion control and make a great presentation at a potluck. Plus, no slicing required.
Serving & Storage Suggestions
This Easy No-Bake Thanksgiving Cookie Cake is best served cold, straight from the fridge. Let it sit at room temperature for about 15 minutes before slicing—this softens the filling just enough to make it creamy without losing its structure.
Presentation Tip: Before adding the caramel and pecans, run a thin knife around the edge of the springform pan to loosen the cake. Release the latch and lift off the sides. Use a wide spatula to transfer the cake to a serving platter. Add the toppings right before serving so the pecans stay crunchy and the caramel doesn’t soak in.
What to Serve With It: A dollop of fresh whipped cream on each slice is never a bad idea. For a truly over-the-top dessert, serve it alongside a warm apple crisp or a slice of pumpkin pie. The contrast between the cold, creamy cake and the warm, spiced pie is incredible. And if you’re feeling fancy, a cup of hot coffee or a glass of bourbon pairs beautifully with the chocolate and caramel flavors.
Storage Instructions: Cover the cake tightly with plastic wrap or transfer slices to an airtight container. It will keep in the refrigerator for up to 5 days. The crust will soften slightly over time, but the flavor actually gets better after a day or two. I honestly think this cake is even better on day two—the flavors meld together, and the texture becomes perfectly uniform.
Freezer Instructions: You can freeze this cake for up to 3 months. Wrap the entire cake (or individual slices) in plastic wrap, then a layer of aluminum foil. Thaw overnight in the refrigerator before serving. Add the caramel and pecans after thawing, not before—the pecans will get soggy if frozen on top.
Reheating Note: Don’t. This is a no-bake dessert for a reason. Serve it cold. If you want a warm dessert, make the pumpkin spice variation and serve it with warm caramel sauce on top.
Nutritional Information & Benefits
Let’s be real—this is a dessert, not a health food. But here’s the approximate nutritional breakdown for one slice (based on 12 servings):
- Calories: 420
- Fat: 32g
- Carbohydrates: 32g
- Protein: 6g
- Sugar: 24g
Health Highlights: The cream cheese provides a decent amount of protein and calcium, and the pecans are packed with healthy fats, fiber, and antioxidants. The lemon juice adds a touch of vitamin C. Is it a superfood? No. But it’s a treat, and treats are good for the soul.
Dietary Considerations: This recipe contains dairy, gluten (from the Oreos), and tree nuts (from the pecans). For a gluten-free version, use gluten-free sandwich cookies. For a dairy-free version, use vegan cream cheese and coconut cream. For a nut-free version, skip the pecans or use toasted pumpkin seeds instead.
I’m a firm believer that dessert should be enjoyed without guilt. One slice of this cake isn’t going to derail your healthy eating habits—it’s going to make your Thanksgiving more memorable. And honestly, that’s worth every single calorie.
Conclusion
This Quick No-Bake Thanksgiving Cookie Cake is the dessert you didn’t know you needed until you’re standing in a kitchen full of chaos, trying to figure out how to get a pie in an already-full oven. It’s simple, it’s forgiving, and it tastes like you spent hours on it—even though you really didn’t.
I love this recipe because it lets me focus on what actually matters during the holidays: the people around the table, not the stress in the kitchen. And honestly, watching someone take that first bite and close their eyes with a little smile? That’s the whole point of cooking, isn’t it?
I’d love to hear how this turns out for you. Did you add a twist? Did your picky eater go back for seconds? Drop a comment below and let me know—I read every single one. And if you loved this recipe, share it with a friend who needs a little less stress in their holiday cooking. Happy Thanksgiving, and happy no-baking!
Frequently Asked Questions
Can I make this Easy No-Bake Thanksgiving Cookie Cake a day ahead?
Absolutely. In fact, I recommend it. Making it a day ahead gives the filling plenty of time to set, which means cleaner slices and better flavor. Just wait to add the caramel and pecans until right before serving.
Do I have to use Oreos for the crust?
No, but they work really well here. The chocolate flavor balances the creamy filling perfectly. If you want to switch it up, you can use chocolate graham crackers or even regular graham crackers with a tablespoon of cocoa powder mixed in.
My filling turned out too soft. What went wrong?
This usually happens for one of three reasons: the cream cheese wasn’t softened enough, the whipped cream wasn’t whipped to stiff peaks, or the lemon juice was omitted. Make sure your cream cheese is at room temperature, whip the cream until it holds its shape, and don’t skip the lemon juice—it helps the filling set.
Can I freeze this Quick No-Bake Thanksgiving Cookie Cake?
Yes! Wrap the cake tightly in plastic wrap and then aluminum foil, and freeze for up to 3 months. Thaw overnight in the refrigerator. Add the caramel and pecans after thawing for the best texture.
How do I get clean slices without the crust crumbling?
Press the crust firmly into the pan—use the bottom of a measuring cup to really compact it. Chill the crust for at least 15 minutes before adding the filling. And when you slice, use a hot knife (run it under hot water and dry it) and wipe it clean between each cut.
Pin This Recipe!
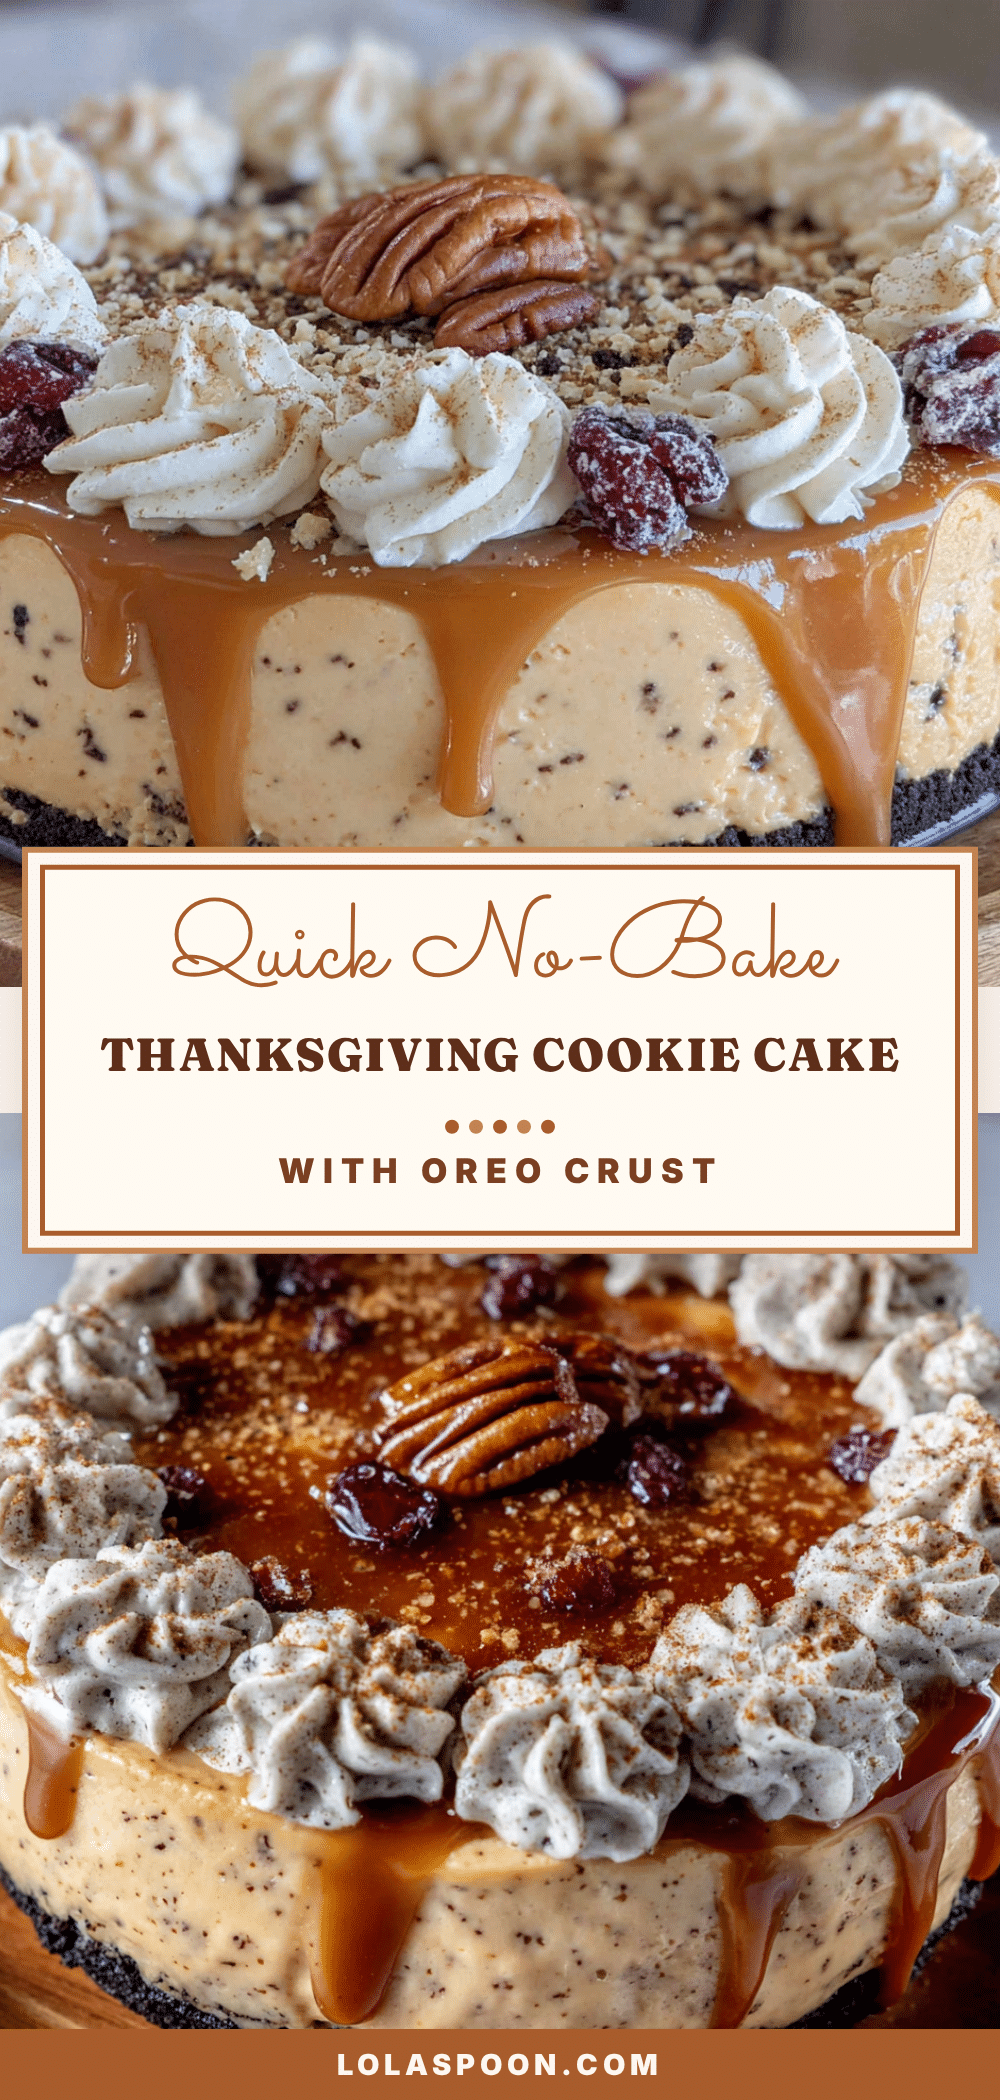
Easy No-Bake Thanksgiving Cookie Cake

A quick and easy no-bake dessert featuring an Oreo crust, creamy cheesecake filling, and a drizzle of caramel with toasted pecans. Perfect for busy holidays when oven space is limited.
- Prep Time: 20 minutes
- Cook Time: 0 minutes
- Total Time: 6 hours 20 minutes (includes chilling)
- Yield: 12 servings 1x
- Category: Dessert
- Cuisine: American
Ingredients
- 24 Oreo cookies (regular, not Double Stuf)
- 5 tablespoons unsalted butter, melted
- Pinch of salt (optional)
- 16 ounces cream cheese, softened to room temperature
- 1/2 cup granulated sugar
- 1 teaspoon vanilla extract (pure)
- 1 tablespoon fresh lemon juice
- 1 1/2 cups heavy whipping cream, cold
- 1/4 cup caramel sauce
- 1/3 cup toasted pecans, roughly chopped
- Flaky sea salt (optional)
Instructions
- Crush the Oreos into fine crumbs using a food processor or a zip-top bag and rolling pin.
- Transfer crumbs to a bowl, add melted butter and salt, and stir until every crumb is coated. Press firmly into the bottom of a 9-inch springform pan, tucking edges slightly up the sides. Refrigerate while making the filling.
- In a large bowl, beat cold heavy whipping cream with an electric mixer on medium-high speed until stiff peaks form (about 3-4 minutes). Set aside in the fridge.
- In another large bowl, beat softened cream cheese and granulated sugar until smooth and fluffy (about 2 minutes). Add vanilla extract and lemon juice, beat for 30 seconds. Taste and adjust if needed.
- Fold about one-third of the whipped cream into the cream cheese mixture using a rubber spatula. Gently fold until mostly incorporated, then add the remaining whipped cream and fold until no white streaks remain.
- Remove crust from fridge. Spoon filling onto crust and spread evenly. Tap pan gently on counter to release air bubbles. Cover with plastic wrap and refrigerate for at least 6 hours, preferably overnight.
- About 30 minutes before serving, remove cake from fridge. Drizzle caramel sauce in a zigzag pattern over the top. Sprinkle toasted pecans evenly. Finish with a light sprinkle of flaky sea salt. Let sit at room temperature for 15-20 minutes before slicing.
Notes
For the cleanest slices, run a knife under hot water, dry it, then slice. Repeat between each cut. The cake can be made a day ahead; add caramel and pecans just before serving. For a gluten-free version, use gluten-free chocolate sandwich cookies. For a dairy-free version, use vegan cream cheese and coconut cream.
Nutrition
- Serving Size: 1 slice
- Calories: 420
- Sugar: 24
- Sodium: 320
- Fat: 32
- Saturated Fat: 18
- Carbohydrates: 32
- Fiber: 1
- Protein: 6
Keywords: no-bake, Thanksgiving, cookie cake, Oreo crust, cheesecake, easy dessert, holiday dessert


