This was supposed to be a simple tray of stuffing. The kind you bake alongside the bird, soaking up all those beautiful drippings. I had my grandmother’s recipe memorized—the one with the stale bread cubes and the precise pinch of dried thyme. But somewhere between chopping the onions and realizing my oven was already crammed full of a roasting chicken, sweet potatoes, and a casserole that my neighbor Linda had insisted I try, the plan fell apart. Honestly, I just stood there, staring at the mound of seasoned bread mixture on my counter, feeling that familiar knot of panic tighten in my chest.
I grabbed the wrong baking dish—a mini muffin tin instead of a casserole pan. The oven was at the wrong temperature—way too hot, actually, because I’d just finished broiling something. And I was already running late for a friend who was coming over to help me test recipes. So, in a moment of pure “I don’t care anymore,” I just grabbed handfuls of the stuffing mixture, rolled them into little balls, and tossed them onto a sheet pan. I figured they’d be a sad, crispy mess, but at least they’d cook faster. What came out of the oven was nothing like the plan. It was better.
They were golden brown on the outside, impossibly tender on the inside, and each bite had this perfect little crust that held everything together. The sage was fragrant, the sausage was juicy, and that little bit of extra surface area meant every single ball had a crunchy edge. I mean, I was genuinely shocked. My friend walked in as I was pulling them out, took one look, and grabbed three before I could even set the pan down. “These are the best thing you’ve ever made,” she said, her mouth half-full. And you know what? She wasn’t wrong. That happy accident—that moment of kitchen chaos—is the only reason these Sausage and Sage Stuffing Balls exist. And now, I can’t imagine making stuffing any other way.
Why You’ll Love This Recipe
Let me tell you, these Sausage and Sage Stuffing Balls are the kind of recipe that makes you feel like a genius with almost zero effort. I’ve tested this about a dozen times now—tweaking the moisture level, the bake time, even the type of sausage—and I can confidently say this version is the one. It’s been family-approved at three different holiday dinners and one very random Tuesday night when I just needed something cozy.
- Quick & Easy: From start to finish, these come together in about 35 minutes. Perfect for those nights when you want something that tastes like you spent hours in the kitchen, but you really didn’t.
- Simple Ingredients: You probably have most of this stuff in your pantry right now. No hunting down obscure spices or making a special trip to a fancy grocery store.
- Perfect for Any Occasion: Thanksgiving, Christmas, a cozy Sunday dinner, or even as a game-day snack. They’re versatile like that.
- Crowd-Pleaser: I’ve served these to picky kids, foodie adults, and my uncle who “doesn’t like stuffing.” They disappeared every single time.
- Unbelievably Delicious: The texture is what gets everyone. That crispy outside with the soft, savory inside? It’s next-level comfort food.
What makes this different from regular stuffing is the shape. Rolling the mixture into balls creates way more surface area for browning. You get that satisfying crunch in every single bite, not just on the top layer. Plus, they’re portion-controlled, which means no fighting over the corner pieces. It’s comfort food reimagined—faster, easier, and with the same soul-soothing satisfaction that makes you close your eyes after the first bite.
What Ingredients You Will Need
This recipe uses simple, wholesome ingredients to deliver bold flavor and satisfying texture without the fuss. Most of these are pantry staples, which makes this dish perfect for last-minute cravings or holiday prep.
For the Stuffing Balls
- 1 lb (450g) bulk pork sausage – I prefer a mild or breakfast-style sausage for the best flavor. Johnsonville or Jimmy Dean work great here. If you can find it, a sage-infused sausage adds even more depth.
- 4 cups (about 200g) day-old bread cubes – Use a sturdy bread like sourdough or French bread. Fresh bread will work, but day-old soaks up the moisture better without turning to mush.
- 1 medium yellow onion, finely diced – About 1 cup. The onion adds sweetness and moisture.
- 2 celery stalks, finely diced – About 1/2 cup. Celery gives that classic stuffing crunch and freshness.
- 3 cloves garlic, minced – Because garlic makes everything better.
- 2 tablespoons fresh sage, chopped – This is non-negotiable for me. Fresh sage has a woodsy, earthy flavor that dried just can’t match. If you only have dried, use 2 teaspoons.
- 1 tablespoon fresh thyme leaves – Or 1 teaspoon dried thyme.
- 1/2 cup (120ml) low-sodium chicken broth – Adds moisture without making the balls soggy. You might need a little more depending on your bread.
- 1 large egg, lightly beaten – This is the binder that holds everything together. Don’t skip it.
- 2 tablespoons unsalted butter, melted – For brushing on top before baking. It adds richness and helps with browning.
- Salt and freshly ground black pepper, to taste – Go easy on the salt since the sausage is already seasoned.
For Garnish (Optional)
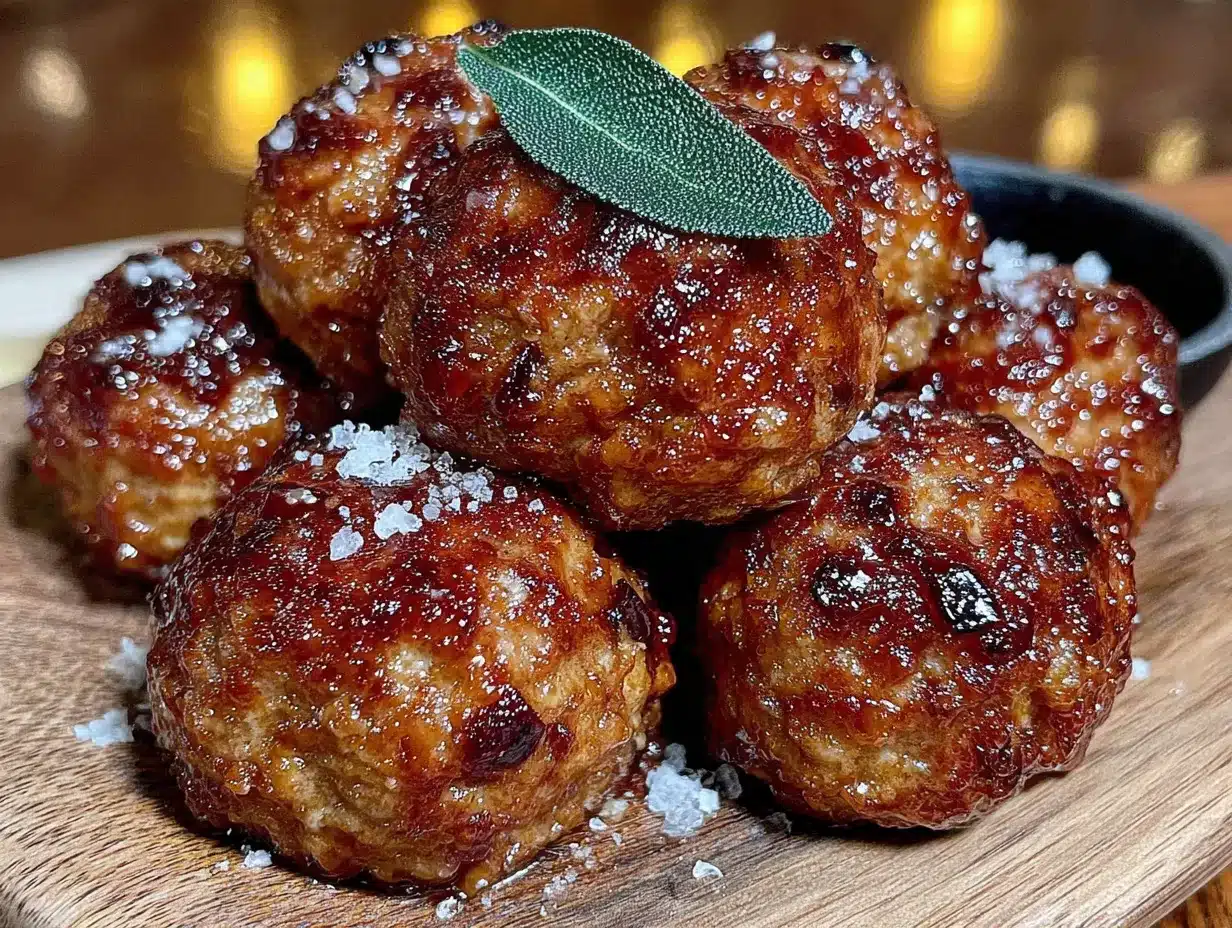
- Fresh sage leaves – For a pretty presentation.
- Flaky sea salt – A sprinkle right before serving adds a nice crunch.
Ingredient Tip: If you’re using a very dry bread, you might need to add an extra tablespoon or two of broth. The mixture should be moist but not wet—think damp sand that holds together when squeezed.
Equipment Needed
You don’t need anything fancy for this recipe, which is part of its charm. Here’s what you’ll need:
- Large mixing bowl – For combining all the ingredients.
- Baking sheet – A standard half-sheet pan works perfectly. Line it with parchment paper for easy cleanup.
- Parchment paper – Optional, but it makes life so much easier.
- Chef’s knife and cutting board – For dicing the onion, celery, and herbs.
- Measuring cups and spoons – Accuracy matters, especially with the broth.
- Small cookie scoop or tablespoon – For portioning the mixture into evenly sized balls. I use a 1.5-tablespoon scoop, and it works like a charm.
- Pastry brush – For brushing the melted butter on top.
- Cooling rack – Placing the baked balls on a rack keeps them from getting soggy on the bottom.
Budget-Friendly Tip: No cookie scoop? Just use your hands. Lightly wet your palms to prevent sticking, and roll the mixture into balls. It’s a little more rustic, but honestly, I kind of prefer the look.
Preparation Method
Making these Sausage and Sage Stuffing Balls is straightforward, but a few little tricks make all the difference. Follow these steps, and you’ll have a batch of golden, crispy, irresistible balls every single time.
- Preheat your oven to 400°F (200°C). Line a baking sheet with parchment paper. This high heat is key for getting that crispy exterior without drying out the inside.
- Cook the sausage. In a large skillet over medium-high heat, cook the sausage, breaking it up with a wooden spoon, until it’s browned and cooked through—about 6-8 minutes. Don’t drain all the fat; leave about a tablespoon in the pan for flavor. Transfer the cooked sausage to a large mixing bowl and let it cool for a few minutes.
- Sauté the aromatics. In the same skillet (with that leftover sausage fat), add the diced onion and celery. Cook over medium heat for 4-5 minutes until they’re softened and translucent. Add the minced garlic and cook for another minute until fragrant. Scrape everything into the bowl with the sausage.
- Combine the dry ingredients. Add the bread cubes, fresh sage, and fresh thyme to the bowl. Toss everything together with a spatula or your hands until the bread is evenly distributed. The warmth from the sausage and vegetables will start to soften the bread slightly.
- Add the wet ingredients. In a small bowl, whisk together the chicken broth and the beaten egg. Pour this mixture over the bread mixture. Toss gently but thoroughly until everything is evenly moistened. The bread should be soft but not soggy. If it seems dry, add another tablespoon of broth. Let the mixture sit for 5 minutes so the bread can absorb the liquid.
- Season and shape. Taste the mixture (yes, it’s safe since the sausage is cooked) and adjust salt and pepper. Remember, the sausage is salty, so go easy. Using a small cookie scoop or your hands, form the mixture into 1.5-inch balls. You should get about 20-24 balls. Place them on the prepared baking sheet, spacing them about an inch apart so they brown evenly.
- Brush with butter. Melt the 2 tablespoons of unsalted butter and brush it over the tops of each stuffing ball. This is what gives them that gorgeous golden crust. Don’t skip this step—it’s magic.
- Bake to perfection. Bake for 18-22 minutes, rotating the pan halfway through. The balls should be deep golden brown and crispy on the outside. If you want them extra crispy, you can broil them for 1-2 minutes at the end, but watch them closely so they don’t burn.
- Rest and serve. Let the stuffing balls cool on the baking sheet for 5 minutes. This helps them set so they don’t fall apart. Transfer to a serving platter, garnish with fresh sage leaves and a sprinkle of flaky sea salt if you’re feeling fancy, and serve warm.
Sensory Cue: When the balls are done, the kitchen will smell like the coziest Thanksgiving dinner you’ve ever had—sage, sausage, and butter all mingling together. The tops should be a rich amber color, and when you gently press one, it should feel firm but give slightly.
Cooking Tips & Techniques
After making these Sausage and Sage Stuffing Balls more times than I can count, I’ve picked up a few tricks that make the process smoother and the results more consistent.
Don’t overmix. This is the biggest mistake I made the first few times. You want to combine the ingredients until they’re just incorporated. Overmixing breaks down the bread too much and gives you dense, gluey balls instead of light, tender ones. Think of it like making meatballs—gentle hands, gentle mixing.
Test the moisture level. Before you shape all the balls, make a small test ball and squeeze it gently. If it holds together without cracking, you’re good. If it falls apart, add another tablespoon of broth. If it feels too wet and sticky, add a few more bread cubes. This little test has saved me more than once.
Use a trigger-release scoop. I know I mentioned this in the equipment section, but it’s worth repeating. A cookie scoop ensures every ball is the same size, which means they cook evenly. No more tiny burnt ones and giant undercooked ones. If you’re using your hands, try to make them as uniform as possible.
Chill if you have time. If you’re making these ahead, you can shape the balls and refrigerate them on the baking sheet for up to 2 hours before baking. This helps them firm up and hold their shape even better. Just add an extra 2-3 minutes to the baking time if they’re cold from the fridge.
My biggest failure: The first time I made these, I used fresh bread that was too soft and skipped the egg. They turned into flat, sad discs that fell apart when I tried to flip them. It was a mess. The egg is crucial for structure, and day-old bread makes all the difference. Learn from my mistakes!
Variations & Adaptations
One of the best things about this recipe is how easy it is to adapt. Here are some variations I’ve tried and loved:
Dietary Adaptations
- Gluten-Free: Swap the regular bread cubes for gluten-free bread. Look for a sturdy variety—something like a gluten-free sourdough or ciabatta works best. You might need to adjust the broth amount since gluten-free bread absorbs liquid differently.
- Vegetarian: Use a plant-based sausage alternative and vegetable broth. I’ve tried this with Beyond Meat sausage, and it works surprisingly well. Just make sure to add a little extra oil since plant-based sausage has less fat.
- Dairy-Free: Substitute the butter with olive oil or a dairy-free butter alternative. The flavor will be slightly different, but still delicious.
Flavor Twists
- Apple & Sage: Add 1/2 cup of finely diced apple (Granny Smith or Honeycrisp) to the onion mixture. The sweetness pairs beautifully with the sage and sausage.
- Cranberry & Pecan: Fold in 1/3 cup of dried cranberries and 1/4 cup of chopped pecans after mixing. This is my favorite holiday variation—it feels extra festive.
- Spicy Kick: Use hot Italian sausage instead of mild, and add a pinch of red pepper flakes. Perfect for those who like a little heat.
Method Variations
- Air Fryer: Cook at 375°F (190°C) for 10-12 minutes, shaking the basket halfway through. They get incredibly crispy this way.
- Make-Ahead: Prepare the mixture up to 24 hours in advance and store it in the fridge. Shape and bake just before serving.
I once made a batch with leftover cornbread instead of regular bread, and it was honestly incredible. The cornbread added a subtle sweetness that worked perfectly with the sage. If you have leftover cornbread from another meal, give it a try!
Serving & Storage Suggestions
These Sausage and Sage Stuffing Balls are best served warm, straight from the oven, when the outsides are still crispy and the insides are tender. But they’re pretty forgiving, so don’t stress if you need to make them ahead.
Serving Temperature: Serve them hot or at room temperature. If you’re serving them as part of a holiday spread, they hold their heat surprisingly well on a platter for about 20 minutes.
Presentation: Arrange them on a wooden board or a white platter for maximum visual appeal. Garnish with fresh sage leaves and a sprinkle of flaky sea salt. A small bowl of warm gravy on the side for dipping is never a bad idea.
Complementary Dishes: These stuffing balls pair beautifully with roasted chicken, turkey, or pork. For a vegetarian meal, serve them alongside a hearty salad or roasted root vegetables. They also work great as an appetizer with a side of cranberry sauce or honey mustard for dipping.
Storage: Store leftover stuffing balls in an airtight container in the refrigerator for up to 4 days. The texture will soften slightly, but the flavor only gets better as the herbs meld together.
Reheating: For best results, reheat them in a 350°F (175°C) oven for 8-10 minutes. This restores some of the crispiness. You can also reheat them in an air fryer at 350°F for 4-5 minutes. The microwave works in a pinch, but the texture will be softer.
Freezing: These freeze beautifully. Place the baked and cooled stuffing balls on a baking sheet in a single layer and freeze until solid (about 2 hours). Transfer to a freezer-safe bag or container for up to 3 months. To reheat, bake from frozen at 350°F for 15-18 minutes, or until heated through.
Nutritional Information & Benefits
While these Sausage and Sage Stuffing Balls are definitely a comfort food, they do have some redeeming nutritional qualities. Here’s a rough estimate per serving (about 4 balls):
| Nutrient | Amount |
|---|---|
| Calories | 320 |
| Protein | 18g |
| Fat | 20g |
| Saturated Fat | 8g |
| Carbohydrates | 22g |
| Fiber | 2g |
| Sugar | 3g |
| Sodium | 680mg |
Health Benefits: The sage in this recipe isn’t just for flavor—it’s also packed with antioxidants and has anti-inflammatory properties. Celery provides a good dose of vitamin K and fiber, while the protein from the sausage helps keep you full and satisfied.
Dietary Considerations: This recipe is naturally nut-free and can easily be made gluten-free or dairy-free with simple substitutions. It’s not low-carb due to the bread, but if you’re watching your carbs, you could try using a low-carb bread alternative.
Allergen Note: This recipe contains gluten (from the bread) and eggs. If you have allergies, please check your sausage ingredients as some brands may contain additional allergens.
I personally love that these stuffing balls feel indulgent but aren’t overly heavy. They’re the kind of food that warms you from the inside out without making you feel like you need a nap immediately afterward. Balance, right?
Conclusion
So there you have it—the story of a kitchen disaster that turned into one of my most-requested recipes. These Sausage and Sage Stuffing Balls are proof that sometimes the best things in life come from happy accidents. They’re crispy, savory, incredibly satisfying, and they come together in a fraction of the time it takes to make traditional stuffing.
I really hope you give these a try, whether it’s for a big holiday gathering or just a random Tuesday when you need something cozy. Don’t be afraid to make them your own—swap in your favorite sausage, add some dried fruit, or go crazy with the herbs. That’s the beauty of a recipe like this; it’s forgiving and adaptable.
If you do make them, I’d love to hear how they turned out! Drop a comment below and let me know if you had any happy accidents of your own. And if you’re looking for more cozy comfort food, you might also love my creamy mushroom wild rice soup or my honey garlic roasted carrots for the perfect holiday side. Happy cooking, friends!
Frequently Asked Questions
Can I make these stuffing balls ahead of time?
Absolutely! You can prepare the mixture up to 24 hours in advance and store it in the refrigerator. Shape and bake just before serving for the best texture. Alternatively, you can bake them fully, let them cool, and reheat them in the oven at 350°F for 8-10 minutes.
Can I use dried herbs instead of fresh?
Yes, you can. Use about 2 teaspoons of dried sage and 1 teaspoon of dried thyme instead of the fresh amounts listed. Keep in mind that dried herbs are more potent, so you might want to start with a little less and adjust to taste.
Why did my stuffing balls fall apart?
This usually happens for one of three reasons: not enough binder (the egg), too little moisture (the broth), or the mixture wasn’t allowed to rest before shaping. Make sure you let the mixture sit for 5 minutes after adding the wet ingredients so the bread can absorb the liquid. If they’re still falling apart, add another tablespoon of broth or an extra tablespoon of beaten egg.
Can I cook these in an air fryer?
Yes! Preheat your air fryer to 375°F (190°C) and cook the stuffing balls in a single layer for 10-12 minutes, shaking the basket halfway through. They get incredibly crispy this way. You might need to work in batches depending on the size of your air fryer.
Can I freeze these stuffing balls?
Definitely. Freeze the baked and cooled stuffing balls on a baking sheet until solid, then transfer to a freezer bag. They’ll keep for up to 3 months. To reheat, bake from frozen at 350°F for 15-18 minutes. No need to thaw first!
Pin This Recipe!
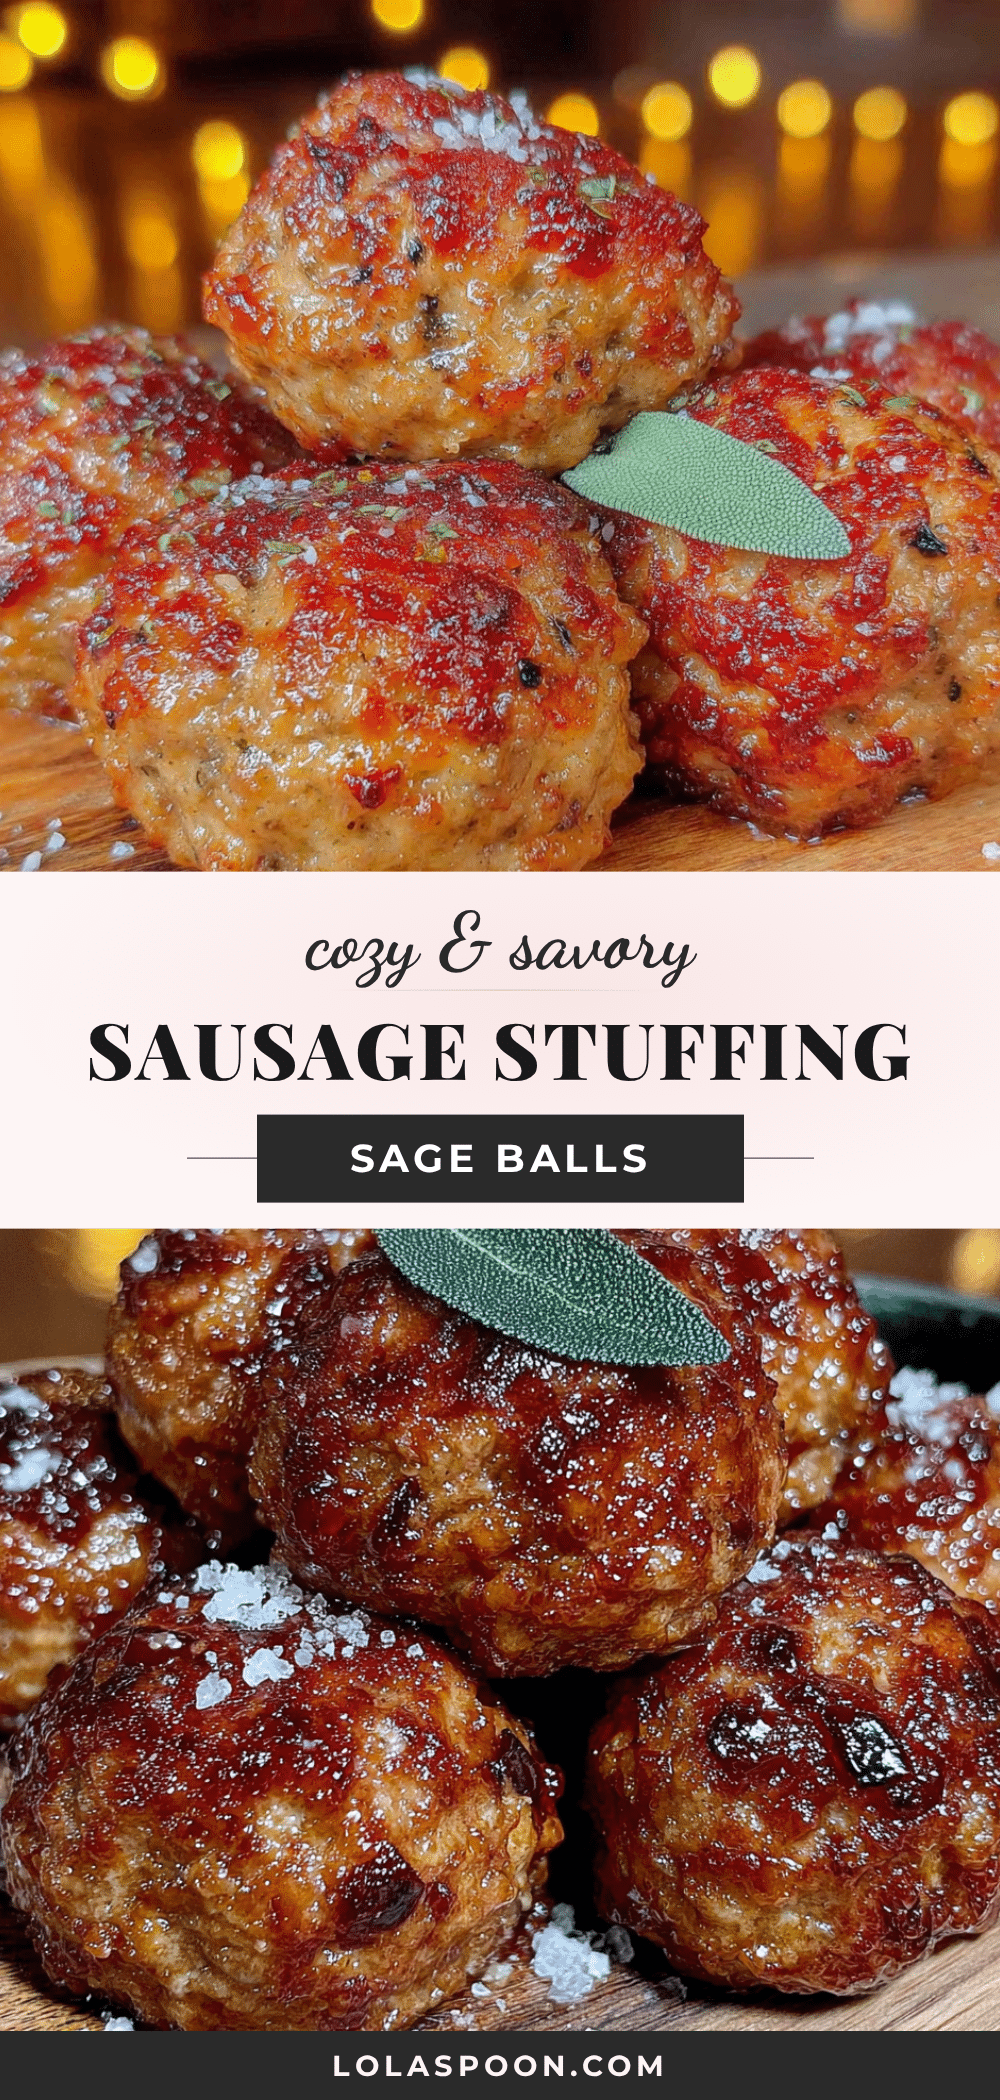
Best Easy Sausage and Sage Stuffing Balls Recipe

These Sausage and Sage Stuffing Balls are a happy accident turned into a family favorite. They are golden brown on the outside, tender on the inside, and packed with savory flavor, making them the perfect side dish or appetizer for any occasion.
- Prep Time: 15 minutes
- Cook Time: 20 minutes
- Total Time: 35 minutes
- Yield: 4 servings 1x
- Category: Side Dish
- Cuisine: American
Ingredients
- 1 lb (450g) bulk pork sausage
- 4 cups (about 200g) day-old bread cubes
- 1 medium yellow onion, finely diced
- 2 celery stalks, finely diced
- 3 cloves garlic, minced
- 2 tablespoons fresh sage, chopped
- 1 tablespoon fresh thyme leaves
- 1/2 cup (120ml) low-sodium chicken broth
- 1 large egg, lightly beaten
- 2 tablespoons unsalted butter, melted
- Salt and freshly ground black pepper, to taste
- Fresh sage leaves (for garnish, optional)
- Flaky sea salt (for garnish, optional)
Instructions
- Preheat your oven to 400°F (200°C). Line a baking sheet with parchment paper.
- In a large skillet over medium-high heat, cook the sausage, breaking it up with a wooden spoon, until browned and cooked through, about 6-8 minutes. Leave about a tablespoon of fat in the pan. Transfer the cooked sausage to a large mixing bowl and let it cool for a few minutes.
- In the same skillet, add the diced onion and celery. Cook over medium heat for 4-5 minutes until softened and translucent. Add the minced garlic and cook for another minute until fragrant. Scrape everything into the bowl with the sausage.
- Add the bread cubes, fresh sage, and fresh thyme to the bowl. Toss everything together until the bread is evenly distributed.
- In a small bowl, whisk together the chicken broth and the beaten egg. Pour this mixture over the bread mixture. Toss gently but thoroughly until everything is evenly moistened. Let the mixture sit for 5 minutes so the bread can absorb the liquid.
- Taste the mixture and adjust salt and pepper. Using a small cookie scoop or your hands, form the mixture into 1.5-inch balls. You should get about 20-24 balls. Place them on the prepared baking sheet, spacing them about an inch apart.
- Brush the melted butter over the tops of each stuffing ball.
- Bake for 18-22 minutes, rotating the pan halfway through, until deep golden brown and crispy on the outside. For extra crispiness, broil for 1-2 minutes at the end, watching closely.
- Let the stuffing balls cool on the baking sheet for 5 minutes. Transfer to a serving platter, garnish with fresh sage leaves and a sprinkle of flaky sea salt if desired, and serve warm.
Notes
If using very dry bread, add an extra tablespoon or two of broth. The mixture should be moist but not wet. For best results, use day-old bread and do not overmix. Chilling the shaped balls for up to 2 hours before baking helps them hold their shape.
Nutrition
- Serving Size: 4 balls
- Calories: 320
- Sugar: 3
- Sodium: 680
- Fat: 20
- Saturated Fat: 8
- Carbohydrates: 22
- Fiber: 2
- Protein: 18
Keywords: stuffing balls, sausage stuffing, sage stuffing, Thanksgiving side, easy stuffing recipe, holiday appetizer


