This was supposed to be a full-sized, picture-perfect pumpkin pie for the Thanksgiving table. I had the deep-dish pie plate ready, the homemade crust chilling in the fridge, and a mental image of that golden, crack-free surface that makes everyone ooh and aah. But somewhere between wrestling a toddler into pajamas and answering my fourth “what’s for snack?” of the afternoon, I grabbed the wrong pan—a mini muffin tin instead of the pie plate. The crust was already pressed in before I realized my mistake, and I was already running late. Honestly, I almost cried. I thought I’d ruined dessert. But I just filled those tiny little crusts anyway, figuring we’d have some sort of sad, crumbly mess to pick at after the turkey. What came out of the oven was nothing like the plan—and so much better. Those little tarts were perfect. My kids ate them without a single complaint, holding them in their hands like they were the best thing ever invented. And you know what? They kind of were. That happy, panicked mistake turned into our new favorite Thanksgiving tradition, and I’ve never looked back at a big pie the same way since. Maybe you’ve been there—the kitchen chaos, the unplanned detour, the thing that somehow works out better than the original plan. That’s this recipe. It’s the little tart that could.
Why You’ll Love This Recipe
Let’s face it—Thanksgiving with kids is a beautiful, chaotic mess. You want them to enjoy the meal, but a big slice of pie can be intimidating, messy, and honestly, a little boring for little taste buds. These mini pumpkin pie tarts solve all of that in one adorable, bite-sized package.
- Quick & Easy: From start to finish, these tarts come together in under 40 minutes. No rolling out dough, no blind baking, no fuss. Perfect for busy parents who still want to bring something special to the table.
- Simple Ingredients: You likely already have everything in your kitchen. Canned pumpkin, pantry spices, and store-bought pie crust or puff pastry. No fancy grocery trips needed—I promise.
- Perfect for Thanksgiving: These little tarts are the ultimate kid-friendly dessert. They’re easy to hold, fun to eat, and make everyone feel included in the feast. No more fighting over who gets the bigger slice.
- Crowd-Pleaser: I’ve brought these to three different Thanksgivings now, and they disappear faster than the big pie every single time. Kids and adults alike gobble them up.
- Unbelievably Delicious: The creamy, spiced filling against the flaky, buttery crust is pure comfort. And because they’re mini, you can eat two (or three) without any guilt.
What makes this recipe different from the rest? It’s not just another pumpkin pie recipe scaled down. It’s the texture—the way the filling sets up perfectly creamy without being too dense. It’s the ratio of crust to filling—just right, so every bite has that perfect crunch and smoothness. And it’s the fact that you don’t need a single special tool or technique to make them. This is your best version of pumpkin pie, made easier and cuter for the ones you love.
This recipe isn’t just good—it is the kind that makes you close your eyes after the first bite. It’s comfort food reimagined—healthier (well, relatively), faster, but with the same soul-soothing satisfaction. Perfect for impressing your in-laws without stress, or turning a simple family dinner into something memorable.
What Ingredients You Will Need
This recipe uses simple, wholesome ingredients to deliver bold flavor and satisfying texture without the fuss. Most of these are pantry staples, especially if you’re already gearing up for Thanksgiving baking.
For the Crust
- 1 package (14 ounces) refrigerated pie crusts (I recommend Pillsbury for consistent flakiness, but any brand works—or use homemade if you’re feeling ambitious)
- 1 tablespoon unsalted butter, melted (for brushing the crust edges—adds a beautiful golden color and extra richness)
For the Pumpkin Filling
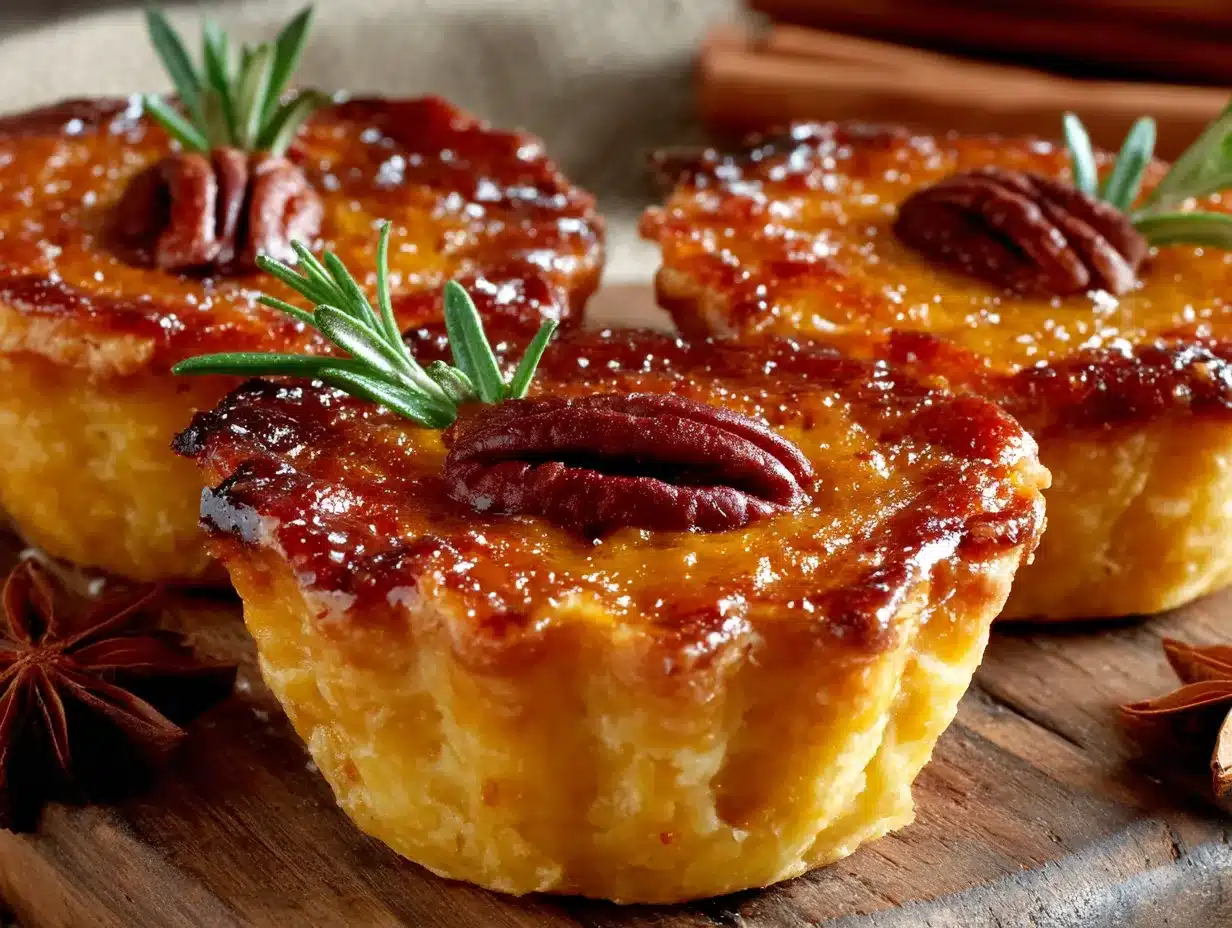
- 1 can (15 ounces) pure pumpkin puree (not pumpkin pie filling—look for 100% pumpkin, like Libby’s, for the best texture and flavor)
- 1/2 cup granulated sugar (adds sweetness without overpowering the pumpkin)
- 1/4 cup packed light brown sugar (adds a hint of molasses depth—you can use dark brown for a richer flavor)
- 1 large egg (room temperature is best for a smooth, even filling)
- 1 teaspoon vanilla extract (pure vanilla, not imitation, if you have it)
- 1 teaspoon ground cinnamon (the backbone of pumpkin pie spice)
- 1/2 teaspoon ground ginger (adds warmth—freshly ground is lovely, but pre-ground works perfectly)
- 1/4 teaspoon ground nutmeg (freshly grated if you’re fancy, but pre-ground is fine)
- 1/4 teaspoon ground cloves (go easy—a little goes a long way)
- 1/4 teaspoon salt (enhances all the flavors—don’t skip it)
- 1/2 cup heavy cream (adds richness and a silky texture—you can substitute half-and-half or full-fat coconut milk for a dairy-free option)
For the Topping (Optional but Recommended)
- Whipped cream or coconut whipped cream (for serving)
- Ground cinnamon or nutmeg (for dusting)
- Mini chocolate chips or caramel drizzle (for a fun twist—my kids love the chocolate chip version)
Equipment Needed
You don’t need a fancy kitchen to make these tarts. Here’s what you’ll need:
- Standard 12-cup mini muffin tin (the nonstick kind works best—I’ve used both metal and silicone, and metal gives a crisper crust)
- Rolling pin (for rolling out the pie crust—a wine bottle works in a pinch, I’ve been there)
- 2.5-inch round cookie cutter or a small glass (for cutting the crust rounds—a shot glass or biscuit cutter works too)
- Small bowl (for mixing the filling)
- Whisk (for combining the filling ingredients smoothly)
- Measuring cups and spoons (accuracy matters for the spices)
- Spatula (for scraping every last bit of filling into the tarts—waste not, want not)
- Pastry brush (for brushing the melted butter on the crust edges—a clean, unused paintbrush works if you’re desperate)
- Cooling rack (for letting the tarts cool evenly—a wire rack is ideal, but a clean dish towel works too)
If you don’t have a mini muffin tin, you can use a regular muffin tin and make slightly larger tarts—just adjust the baking time by a few minutes. I’ve also used a tartlet pan with fluted edges for a fancier look, but the mini muffin tin gives you the perfect bite-sized shape.
Preparation Method
Let’s get to the fun part—making these little beauties. Follow these steps, and you’ll have a tray of perfect mini pumpkin pie tarts in no time.
- Preheat your oven to 375°F (190°C). Position the rack in the center of the oven for even baking. While the oven heats, take your pie crust out of the fridge and let it sit at room temperature for about 5 minutes—this makes it easier to roll out without cracking.
- Roll out the pie crust. On a lightly floured surface, roll each pie crust to about 1/8-inch thickness. If the crust sticks, dust a little more flour underneath. Don’t overwork the dough—you want it flaky, not tough. I once rolled mine too thin, and the tarts collapsed—so aim for that sweet spot.
- Cut out the crust rounds. Using a 2.5-inch round cookie cutter or a small glass, cut out as many rounds as you can from the rolled crust. Reroll the scraps once to get a few more rounds—you should end up with about 24 rounds total. Press each round gently into the cups of a mini muffin tin, making sure the crust comes up the sides evenly. Don’t worry if the edges are a little uneven—it adds character.
- Brush the crust edges with melted butter. This step is optional but highly recommended. It gives the crust a beautiful golden color and a richer flavor. Use a pastry brush to lightly coat the edges of each crust cup.
- Make the pumpkin filling. In a small bowl, whisk together the pumpkin puree, granulated sugar, brown sugar, egg, vanilla extract, cinnamon, ginger, nutmeg, cloves, and salt until smooth. Then whisk in the heavy cream until fully incorporated. The mixture should be silky and slightly thick—if it looks curdled, you might have overmixed, but don’t panic; it’ll still bake up fine.
- Fill the crust cups. Spoon the filling into each crust cup, filling them almost to the top—leave about 1/8 inch of space for the filling to rise slightly. A small cookie scoop or a teaspoon works perfectly for this. I usually fill them a little over halfway, then go back and top them off evenly so they all bake at the same rate.
- Bake the tarts. Place the mini muffin tin in the preheated oven and bake for 18-22 minutes, or until the filling is set around the edges but still slightly jiggly in the center. The crust should be golden brown and flaky. Every oven is different—mine runs a little hot, so I start checking at 18 minutes. The tarts will continue to set as they cool, so don’t overbake them.
- Cool the tarts. Remove the tin from the oven and let the tarts cool in the pan for 10 minutes. Then carefully transfer them to a cooling rack to cool completely. If you try to remove them too early, they might fall apart—trust me, I learned this the hard way. Once they’re cool, they’ll pop right out with a gentle twist.
- Add toppings and serve. Once the tarts are completely cool, top each one with a dollop of whipped cream, a dusting of cinnamon, or any other toppings you like. Serve at room temperature or slightly chilled—they’re delicious either way.
Cooking Tips & Techniques
I’ve made these tarts more times than I can count, and I’ve learned a few things along the way. Here are my best tips for success:
- Don’t overmix the filling. Whisk just until everything is combined—overmixing can incorporate too much air, which can cause the filling to puff up and crack during baking. A few lumps are fine; they’ll smooth out as the tarts bake.
- Use room temperature ingredients. Cold egg or cream can make the filling lumpy and uneven. Let them sit on the counter for 15 minutes before you start mixing. If you’re in a rush, place the egg in a bowl of warm water for 5 minutes.
- Watch the baking time closely. Mini tarts bake much faster than a full pie. Start checking at 18 minutes—the edges should be set, but the center should still have a slight wobble. Overbaked tarts will be dry and crumbly, and nobody wants that.
- Let them cool completely. I know it’s tempting to dive in while they’re warm, but the filling needs time to set properly. If you try to remove them from the tin too soon, they’ll fall apart. Patience, my friend—it pays off.
- Double the recipe for a crowd. These tarts disappear fast. If you’re serving more than six people, I recommend making two batches. They’re so easy, you can whip up a second batch while the first one bakes.
One of my biggest failures with this recipe happened when I tried to use a gluten-free pie crust. It crumbled apart, and the filling leaked everywhere. Lesson learned: if you’re going gluten-free, use a sturdy, pre-rolled gluten-free crust and press it firmly into the tin. Or better yet, make a crustless version in a greased mini muffin tin—it works surprisingly well.
Variations & Adaptations
These mini tarts are incredibly versatile. Here are some of my favorite ways to switch them up:
- Gluten-Free Version: Use a gluten-free pie crust blend or make a crustless version by greasing the mini muffin tin well and filling the cups directly with the pumpkin mixture. The crustless version bakes in about 15 minutes and is just as delicious.
- Dairy-Free Version: Substitute the heavy cream with full-fat coconut milk or oat cream. Use a dairy-free pie crust (many store-bought brands are accidentally vegan). The coconut milk adds a subtle tropical note that pairs surprisingly well with pumpkin spice.
- Chocolate Pumpkin Tarts: Add 1/4 cup mini chocolate chips to the filling before baking, or place a small square of dark chocolate in the bottom of each crust cup before adding the filling. The chocolate melts into a gooey surprise—my kids go crazy for this version.
- Maple Pecan Twist: Replace the brown sugar with maple syrup and top each tart with a pecan half before baking. The maple flavor deepens as it bakes, and the pecan adds a lovely crunch.
- Savory Version: Skip the sugar and spices, and add 1/2 cup shredded cheddar cheese, 1/4 teaspoon black pepper, and a pinch of cayenne to the pumpkin mixture. Bake as directed, and serve as a fun Thanksgiving appetizer or snack.
I once made a batch with pumpkin puree that was a little watery because I didn’t drain it properly. The filling was runny, and the tarts didn’t set well. Now I always pat the pumpkin puree with a paper towel before mixing—it removes excess moisture and ensures a perfectly creamy texture.
Serving & Storage Suggestions
These mini tarts are best served at room temperature or slightly chilled. I like to arrange them on a platter with a generous dollop of whipped cream on each one and a light dusting of cinnamon. For a fun Thanksgiving presentation, place them on a wooden board with mini pumpkins and fall leaves around them—it makes for a gorgeous centerpiece.
Storage: Store the tarts in an airtight container in the refrigerator for up to 5 days. The crust will soften slightly over time, but they’ll still taste amazing. If you want to keep the crust crisp, store them uncovered in the fridge for the first hour, then cover loosely with plastic wrap.
Freezing: These tarts freeze beautifully. Place them on a baking sheet and freeze until solid (about 2 hours), then transfer them to a freezer-safe bag or container. They’ll keep for up to 3 months. To serve, thaw them in the refrigerator overnight or at room temperature for about 30 minutes. Add fresh whipped cream after thawing.
Reheating: If you prefer warm tarts, pop them in a 300°F (150°C) oven for 5-7 minutes, or until warmed through. The microwave works too, but the crust will lose its flakiness. I’ve found that the flavors actually deepen after a day in the fridge—the spices meld together beautifully, making them even more delicious the next day.
Nutritional Information & Benefits
Here’s the estimated nutritional breakdown for one mini tart (without whipped cream or toppings):
| Nutrient | Amount Per Tart |
|---|---|
| Calories | 110 |
| Total Fat | 6g |
| Saturated Fat | 3g |
| Cholesterol | 25mg |
| Sodium | 95mg |
| Total Carbohydrates | 13g |
| Dietary Fiber | 1g |
| Sugars | 8g |
| Protein | 2g |
Pumpkin is packed with vitamin A, which supports eye health and immune function—perfect for keeping those little ones healthy during the holiday season. The fiber from the pumpkin and the whole-grain crust (if you use one) helps with digestion and keeps everyone feeling full and satisfied. These tarts are also lower in sugar than a traditional slice of pumpkin pie, making them a smarter choice for kids without sacrificing flavor.
If you’re watching your sugar intake, you can reduce the sugar to 1/4 cup total (using all granulated) or swap in a natural sweetener like monk fruit or stevia. The texture will be slightly different, but the flavor will still be delightful.
Conclusion
These mini pumpkin pie tarts are everything I love about Thanksgiving—warm, comforting, and made with love. They started as a mistake, but they’ve become a tradition that my family looks forward to every year. The best part? They’re so simple that my kids can help make them. We spend an afternoon in the kitchen together, pressing crusts into the tin and sneaking bites of filling, and that’s the kind of memory that sticks.
I hope you give these tarts a try, whether it’s for Thanksgiving, a fall gathering, or just a cozy Tuesday night. Customize them however you like—add chocolate, swap the spices, make them your own. And when you do, I’d love to hear about it. Drop a comment below, share a photo on Pinterest, or tag me in your creations. Let’s make this holiday season a little sweeter, one mini tart at a time.
Happy baking, friends. You’ve got this.
Frequently Asked Questions
Can I make these mini pumpkin pie tarts ahead of time?
Absolutely! You can make them up to 2 days in advance. Store them in an airtight container in the refrigerator, and add the whipped cream just before serving. They actually taste better the next day as the flavors meld together.
Can I use a homemade pie crust instead of store-bought?
Yes, definitely. Homemade pie crust works beautifully—just roll it out to about 1/8-inch thickness and cut it into rounds. Keep in mind that homemade crust may shrink slightly more than store-bought, so press it firmly into the muffin tin cups.
How do I prevent the crust from getting soggy?
To avoid a soggy crust, make sure your pumpkin puree is not watery. Pat it dry with a paper towel before mixing. Also, don’t overfill the crust cups—leave a little space for the filling to expand. And most importantly, let the tarts cool completely in the pan before removing them to allow the crust to set.
Can I use a different type of squash for the filling?
Yes! Butternut squash, acorn squash, or even sweet potato can be used in place of pumpkin. Just roast or steam the squash until tender, then puree it until smooth. You may need to adjust the sugar and spices slightly depending on the sweetness of the squash.
What if I don’t have a mini muffin tin?
No problem! You can use a regular 12-cup muffin tin to make larger tarts. Just increase the baking time to 25-30 minutes, and check for doneness by looking for set edges and a slightly jiggly center. You’ll get about 8-10 larger tarts instead of 24 mini ones.
Pin This Recipe!
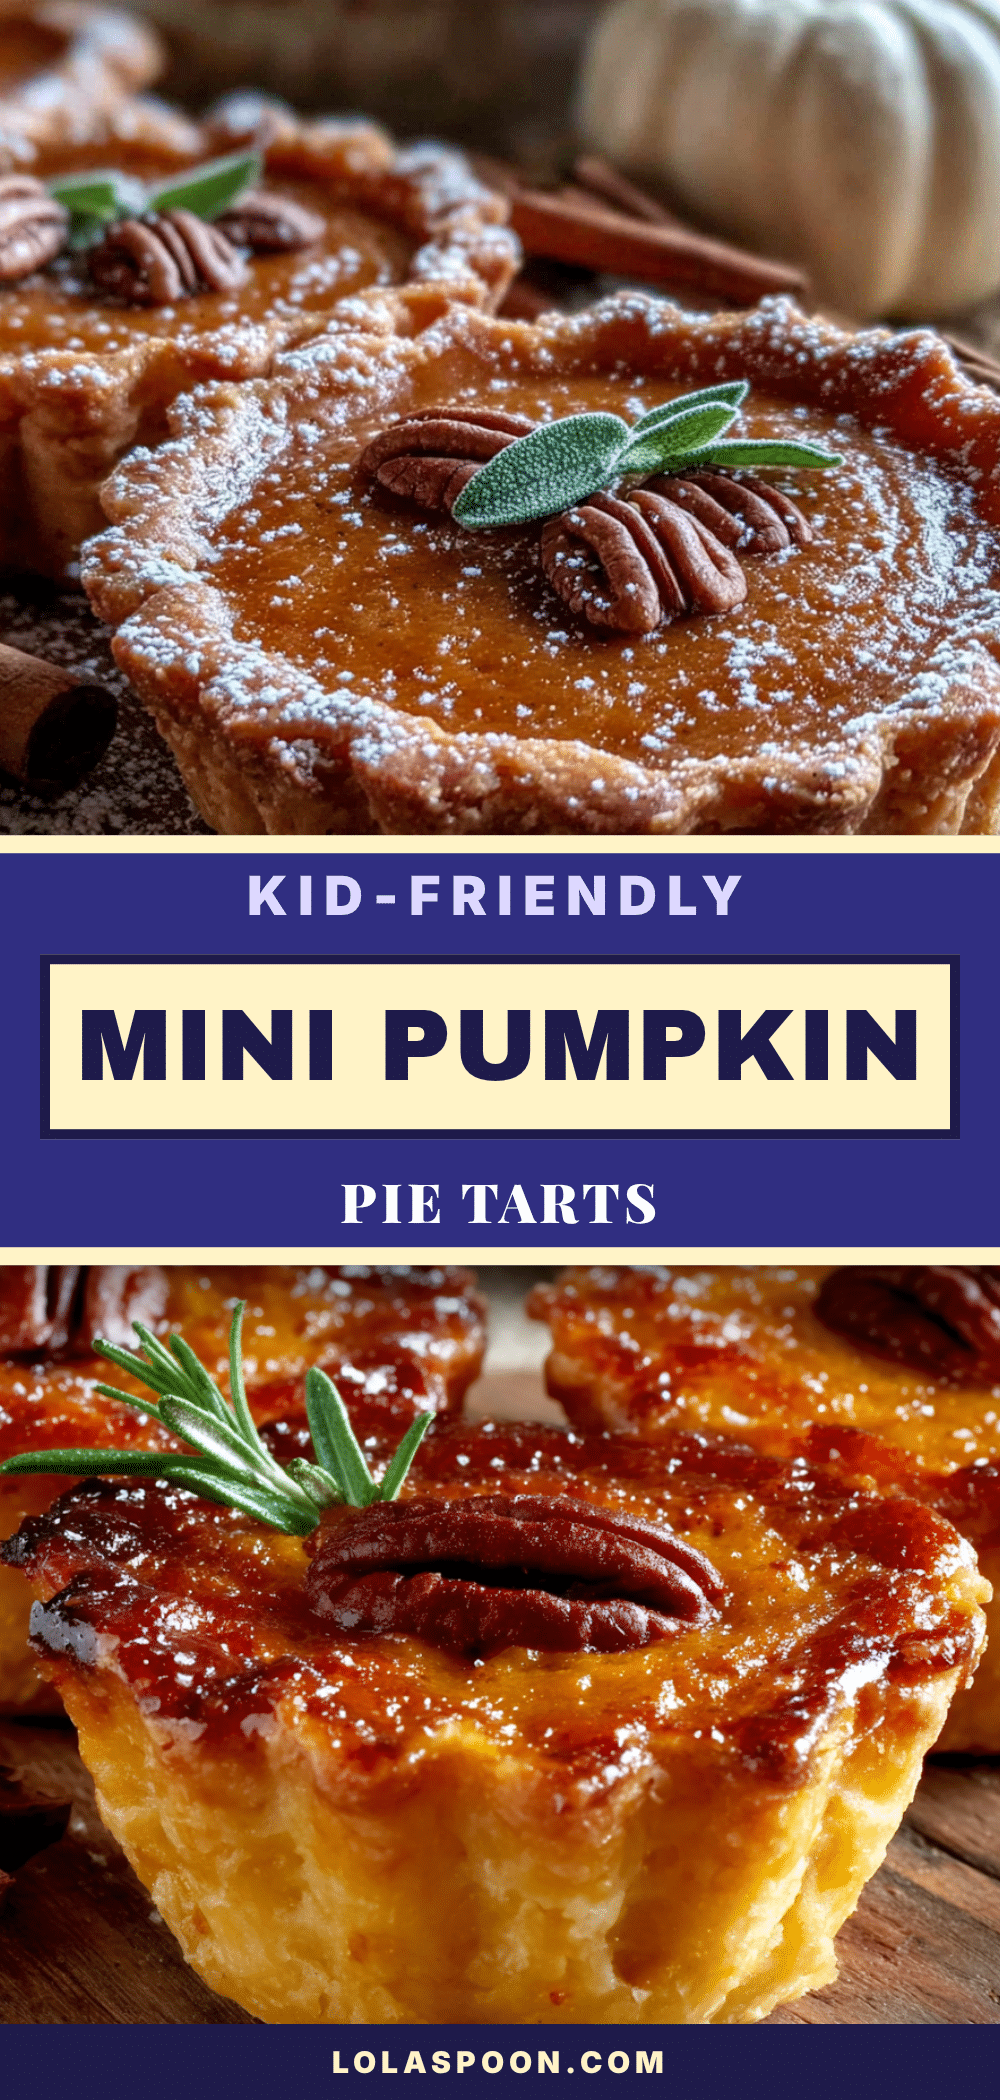
Best Easy Mini Pumpkin Pie Tarts for Kids
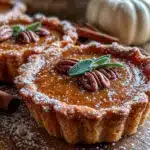
These adorable mini pumpkin pie tarts are the perfect kid-friendly Thanksgiving dessert. Made with simple ingredients and ready in under 40 minutes, they’re easy to hold, fun to eat, and disappear faster than a full-sized pie.
- Prep Time: 15 minutes
- Cook Time: 20 minutes
- Total Time: 35 minutes
- Yield: 24 servings 1x
- Category: Dessert
- Cuisine: American
Ingredients
- 1 package (14 ounces) refrigerated pie crusts (such as Pillsbury)
- 1 tablespoon unsalted butter, melted
- 1 can (15 ounces) pure pumpkin puree (not pumpkin pie filling)
- 1/2 cup granulated sugar
- 1/4 cup packed light brown sugar
- 1 large egg, room temperature
- 1 teaspoon vanilla extract
- 1 teaspoon ground cinnamon
- 1/2 teaspoon ground ginger
- 1/4 teaspoon ground nutmeg
- 1/4 teaspoon ground cloves
- 1/4 teaspoon salt
- 1/2 cup heavy cream
- Whipped cream or coconut whipped cream (for serving, optional)
- Ground cinnamon or nutmeg (for dusting, optional)
- Mini chocolate chips or caramel drizzle (for serving, optional)
Instructions
- Preheat your oven to 375°F (190°C). Position the rack in the center of the oven. Let the pie crust sit at room temperature for about 5 minutes.
- On a lightly floured surface, roll each pie crust to about 1/8-inch thickness.
- Using a 2.5-inch round cookie cutter or a small glass, cut out rounds from the rolled crust. Reroll scraps once to get about 24 rounds total. Press each round gently into the cups of a mini muffin tin, ensuring the crust comes up the sides evenly.
- Brush the crust edges with melted butter (optional but recommended).
- In a small bowl, whisk together the pumpkin puree, granulated sugar, brown sugar, egg, vanilla extract, cinnamon, ginger, nutmeg, cloves, and salt until smooth. Then whisk in the heavy cream until fully incorporated.
- Spoon the filling into each crust cup, filling almost to the top (leave about 1/8 inch of space).
- Bake for 18-22 minutes, or until the filling is set around the edges but still slightly jiggly in the center. The crust should be golden brown.
- Let the tarts cool in the pan for 10 minutes, then carefully transfer them to a cooling rack to cool completely.
- Once completely cool, top each tart with whipped cream, a dusting of cinnamon, or other desired toppings. Serve at room temperature or slightly chilled.
Notes
Don’t overmix the filling to avoid cracks. Use room temperature ingredients for a smooth filling. Start checking for doneness at 18 minutes. Let tarts cool completely before removing from the tin. For a gluten-free version, use a gluten-free pie crust or make crustless tarts. For dairy-free, substitute heavy cream with full-fat coconut milk or oat cream. Tarts can be stored in an airtight container in the refrigerator for up to 5 days or frozen for up to 3 months.
Nutrition
- Serving Size: 1 mini tart
- Calories: 110
- Sugar: 8
- Sodium: 95
- Fat: 6
- Saturated Fat: 3
- Carbohydrates: 13
- Fiber: 1
- Protein: 2
Keywords: mini pumpkin pie tarts, kid-friendly Thanksgiving dessert, easy pumpkin tarts, mini pumpkin pies, pumpkin pie bites