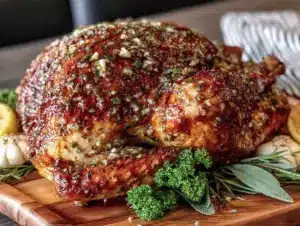
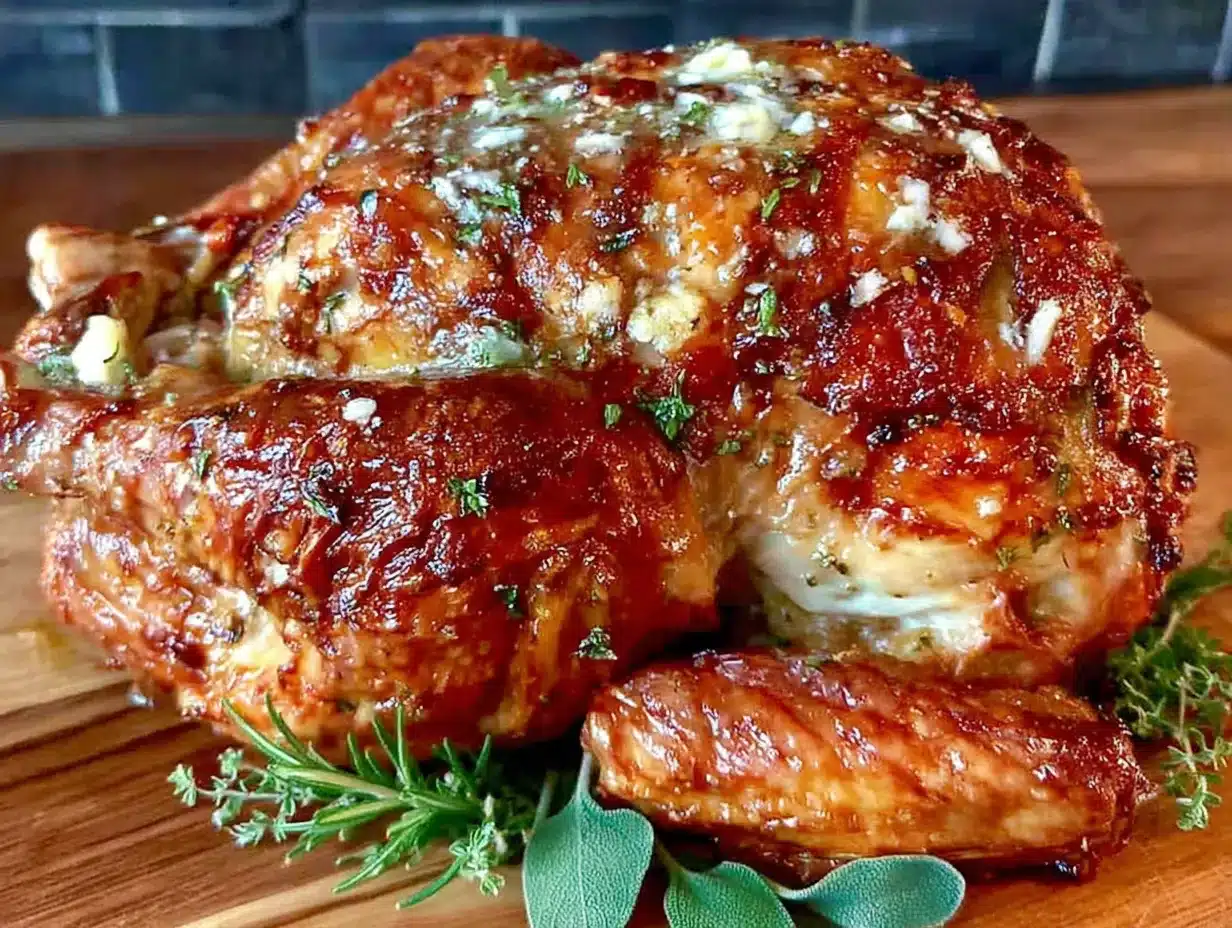
There used to be a little French bistro tucked away on a side street in Portland, called Le Coq d’Or, that made a roast turkey that defied all logic. I mean, turkey is supposed to be the dry, obligatory centerpiece you drown in gravy just to get it down, right? Not theirs. Theirs was bronzed like a piece of antique furniture, the skin crackling like thin glass, and the meat so impossibly juicy it practically fell apart under the weight of a fork. When they closed their doors three years ago—a “retirement,” the sign said—I felt a genuine pang of loss. I spent the next two Thanksgivings chasing that ghost. After seven tries—one of which involved a turkey that looked like it had been in a tanning bed too long and a kitchen that smelled faintly of burnt herbs for a week—I finally cracked the code. This is that recipe.
It all comes down to a simple, almost stupidly easy trick: you don’t just rub the butter under the skin; you massage it in, working it deep into the breast and thighs like you’re trying to convince the bird to relax. And the butter itself isn’t just butter—it’s a compound butter loaded with fresh herbs, a little garlic, and a pinch of lemon zest. It’s the kind of thing that makes you wonder why you ever bothered with anything else. Honestly, the first time I pulled this turkey out of the oven and saw that golden, herb-flecked skin, I let out a little yelp. My daughter, who was nine at the time, looked at me like I’d lost my mind. But then she took a bite, and she didn’t say a word—she just closed her eyes. That’s the moment you know you’ve got it. Maybe you’ve been there—that specific silence at the table that means everyone is too busy enjoying the food to talk.
Why You’ll Love This Recipe
This isn’t just another turkey recipe you’ll forget by the time the dishes are done. This is the one that gets written down on a notecard and passed around. It’s the one your sister-in-law will ask for, and the one you’ll actually be happy to share because it’s so foolproof.
- Foolproof Juiciness: The herb butter acts as a protective barrier, basting the meat from the inside out. You get a deeply flavorful, moist bird every single time, even if you accidentally leave it in the oven a few minutes too long.
- Simple, Pantry-Friendly Ingredients: No need to hunt down exotic spices or specialty items. Fresh herbs, butter, garlic, and a lemon are all you need to create a show-stopping centerpiece. This is a recipe built for a sensible budget.
- Perfect for a Family Feast: This turkey is the undisputed star of a holiday table, but it’s also forgiving enough for a Sunday dinner. It pleases picky eaters (who can resist that crispy skin?) and impresses the in-laws without making you sweat.
- Leftovers That Don’t Disappoint: Let’s be honest, half the reason we make a big turkey is for the leftovers. This herb butter method ensures the meat stays moist even after a night in the fridge. Your turkey sandwiches will be legendary.
- Next-Level Flavor: The combination of fresh rosemary, thyme, and sage with rich butter and a hint of lemon is a classic for a reason. It’s not trying to be trendy; it’s just trying to be the best-tasting turkey you’ve ever made.
What makes this recipe different from the rest? It’s the technique. Most recipes tell you to rub the butter on top of the skin. That’s fine, but it doesn’t get the flavor into the meat. By working the butter directly under the skin, you’re essentially creating a self-basting system. The butter melts, the herbs infuse the meat, and the skin roasts up perfectly crisp. It’s a small shift in technique that makes a world of difference. This isn’t just good; it’s the kind of turkey that makes you close your eyes after the first bite. It’s comfort food for the soul—rich, satisfying, and made with love.
What Ingredients You Will Need
This recipe relies on simple, high-quality ingredients to deliver that unforgettable flavor. You probably have most of these in your kitchen already, which is exactly how a family-friendly recipe should be. Here’s what you’ll need and why each one matters.
- 1 whole turkey (12-14 pounds), completely thawed: A 12-14 pound bird is the sweet spot for a family of 6-8 with plenty of leftovers. Make sure it’s fully thawed—a partially frozen turkey will cook unevenly. Plan for 24 hours of thawing in the fridge for every 4-5 pounds of turkey. I always buy a little bigger than I think I need; leftover turkey is a gift.
- 1 cup (2 sticks) unsalted butter, softened: Unsalted butter is key here because it lets you control the salt level. Salted butter can make the final dish too salty, especially since we’re adding salt separately. Let the butter sit out for a good hour to get truly soft—you want it to be spreadable, not melty. I prefer Kerrygold for its rich flavor, but any good-quality unsalted butter works.
- ¼ cup fresh rosemary, finely chopped: Rosemary has a piney, slightly peppery flavor that stands up beautifully to the richness of the turkey. Fresh is non-negotiable here; dried rosemary is too woody and intense. Strip the leaves from the stem before chopping.
- ¼ cup fresh thyme leaves: Thyme is more subtle than rosemary, with an earthy, slightly floral note. It adds a layer of complexity without overpowering the bird. Just run your fingers down the stem to strip the leaves off.
- ¼ cup fresh sage, finely chopped: Sage is the quintessential Thanksgiving herb. It has a warm, slightly peppery flavor that pairs perfectly with poultry. Be sure to chop it finely—whole sage leaves can be a bit too intense in a single bite.
- 4 cloves garlic, minced: Garlic adds a savory depth that just makes everything better. Don’t skip it, and don’t use the jarred stuff—freshly minced garlic has a pungency that really shines.
- 1 lemon, zested and juiced: The zest adds a bright, citrusy note that cuts through the richness of the butter and turkey. The juice is used to deglaze the pan for a simple, flavorful gravy. Zest the lemon before you juice it—it’s much easier that way.
- 2 teaspoons kosher salt, plus more for the cavity: Kosher salt is my go-to for roasting. It’s flakier than table salt, which means it distributes more evenly. You’ll use it both in the butter and to season the inside of the turkey cavity.
- 1 teaspoon black pepper, freshly ground: Freshly ground black pepper has a much more pronounced, floral flavor than pre-ground. It adds a gentle warmth to the herb butter.
- 1 large onion, quartered: The onion goes inside the turkey cavity to add moisture and a subtle sweetness as it roasts. It’s not meant to be eaten, so don’t worry about chopping it perfectly.
- 2 carrots, roughly chopped: Along with the celery and onion, these form the base for your pan drippings, which will become a fantastic gravy. They also add a little extra flavor to the roasting juices.
- 2 celery stalks, roughly chopped: See above. This trio of vegetables is called a mirepoix, and it’s the foundation of countless soups, stews, and sauces.
- 2 cups low-sodium chicken broth: You’ll add this to the bottom of the roasting pan to keep the drippings from burning and to create a flavorful base for your gravy. Low-sodium is important so you can control the salt level.
Equipment Needed
You don’t need a professional kitchen to pull this off. A few basic, reliable tools are all it takes. Here’s what you’ll want to have on hand.
- Large roasting pan with a rack: The rack is essential—it lifts the turkey off the bottom of the pan, allowing hot air to circulate evenly and preventing the bottom from steaming. I use a simple, heavy-duty aluminum pan that I’ve had for years. A disposable one works in a pinch, but a sturdy metal one conducts heat better.
- Chef’s knife and cutting board: For chopping all those herbs and vegetables. A sharp knife makes the prep work feel much less like a chore.
- Small bowl: For mixing your herb butter. Any small bowl will do.
- Kitchen twine: For tying the turkey’s legs together. This helps the bird cook more evenly and gives it a nice, tidy shape. You can find it in the baking aisle of most grocery stores.
- Instant-read thermometer: This is your best friend. Guessing when a turkey is done is a recipe for dry meat. An instant-read thermometer takes the guesswork out of it. I prefer a digital one for its speed and accuracy. A good one costs less than $15 and will save you from a dry turkey disaster.
- Basting brush (optional): For brushing the turkey with the pan juices during the last hour of cooking. It helps build that beautiful, glossy skin. A silicone brush is easy to clean.
- Aluminum foil: For tenting the turkey if the skin is browning too quickly, and for resting the bird after it comes out of the oven.
Preparation Method
This might look like a long list of steps, but I promise, it’s mostly hands-off time. The actual work is about 30 minutes. The rest is just the oven doing its thing.
- Prep the turkey (30 minutes before roasting): Take your thawed turkey out of the fridge. Remove the giblets and neck from the cavity—they’re usually in a little bag. Save the neck for making stock if you’re feeling ambitious, or just toss it. Pat the turkey completely dry inside and out with paper towels. This is a crucial step for crispy skin. Let it sit on the counter for 30 minutes to take the chill off. A cold turkey going into a hot oven will cook unevenly.
- Make the herb butter: In your small bowl, combine the softened butter, chopped rosemary, thyme, sage, minced garlic, lemon zest, 2 teaspoons of kosher salt, and 1 teaspoon of black pepper. Mash it all together with a fork until it’s well combined. Give it a sniff—it should smell incredibly fragrant and bright.
- Loosen the skin: This is the move that makes the whole recipe. Gently slide your fingers under the skin of the turkey breast, starting at the neck cavity. Work your way down, being careful not to tear the skin. You want to create a pocket between the skin and the meat. Do the same for the thighs, if you can reach them.
- Apply the butter: Take about two-thirds of the herb butter and use your fingers to push it under the skin, spreading it evenly over the breast meat and the tops of the thighs. Massage it gently from the outside to distribute it. Then, take the remaining butter and rub it all over the outside of the skin. Don’t be shy—get every nook and cranny.
- Season the cavity and truss: Sprinkle the inside of the turkey cavity with a little salt and pepper. Stuff it with the quartered onion, the lemon halves (after you’ve zested and juiced them), and a few sprigs of fresh thyme and rosemary if you have them. Tie the legs together with kitchen twine. Tuck the wing tips under the bird’s back so they don’t burn.
- Arrange the vegetables and broth: Scatter the chopped carrots, celery, and the remaining onion pieces in the bottom of your roasting pan. Pour the 2 cups of chicken broth into the pan. Place the turkey on the rack, breast-side up.
- Roast the turkey: Preheat your oven to 425°F (220°C). Place the turkey on the lower-middle rack and roast for 30 minutes at this high temperature. This initial blast of heat helps to set the skin and get that browning started. Then, without opening the oven, reduce the temperature to 350°F (175°C). Continue roasting for about 2 to 2 ½ hours more, or until the internal temperature in the thickest part of the thigh (not touching the bone) reaches 165°F (74°C). Start checking the temperature about 30 minutes before you think it will be done.
- Baste (optional but recommended): About an hour into the roasting time, you can start basting the turkey with the pan juices every 30 minutes. This helps keep the skin moist and flavorful. If the skin is browning too quickly, tent the turkey loosely with a piece of aluminum foil.
- Rest the turkey: This is the hardest part. Once the turkey is done, carefully transfer it to a cutting board. Don’t skip the resting step! Tent it loosely with foil and let it rest for at least 30 minutes, up to 45 minutes. This allows the juices to redistribute throughout the meat. If you cut into it too soon, all those wonderful juices will run out onto the board, leaving you with a dry bird. While it rests, you can make your gravy with the pan drippings.
Cooking Tips & Techniques
I’ve made every mistake in the book so you don’t have to. Here are the things I wish someone had told me when I was starting out.
- The biggest mistake is a dry bird. It almost always comes down to overcooking. Don’t rely on the pop-up timer that comes with the turkey—those things are notoriously inaccurate. Your instant-read thermometer is the only thing you can trust. Pull the turkey out when the thigh hits 165°F (74°C). The temperature will continue to rise by about 5-10 degrees as it rests.
- Don’t skip the drying step. I know it seems fussy, but patting the turkey dry with paper towels is the single most important step for getting crispy skin. Any moisture on the surface will turn to steam in the oven, making the skin soggy. Letting it sit out for 30 minutes after drying helps the skin dry out even more.
- Plan your timing backwards. If you want to eat at 2:00 PM, work backwards from there. A 14-pound turkey needs about 3 hours of roasting time, plus 30 minutes of rest. So it needs to go in the oven around 10:30 AM. Factor in the 30 minutes of resting at room temperature before that, and you’re starting your prep around 9:30 AM. This simple timeline has saved my sanity more times than I can count.
- Don’t open the oven door constantly. Every time you open the door, heat escapes, and your cooking time gets longer. Trust the thermometer and the timer. Only open the door to baste or to check the temperature near the end.
- Use the pan drippings wisely. The vegetables and broth in the bottom of the pan aren’t just for show. After you remove the turkey, pour the drippings through a fine-mesh strainer into a fat separator or a large glass measuring cup. Let the fat rise to the top, then skim it off. The flavorful liquid left behind is the base for the most incredible gravy. Whisk it into a simple roux (butter and flour) for a gravy that will make you forget the stuff from a jar.
Variations & Adaptations
This recipe is a fantastic base, but don’t be afraid to make it your own. Here are a few ways I’ve adapted it over the years.
- Citrus-Herb Variation: Add the zest of an orange and a grapefruit to the herb butter along with the lemon zest. The combination of citrus flavors is incredibly bright and festive. I tried this one year when I had a bunch of extra citrus lying around, and it was a huge hit.
- Spicy-Sweet Glaze: About 30 minutes before the turkey is done, whisk together ¼ cup of honey, 2 tablespoons of Dijon mustard, and 1 teaspoon of smoked paprika. Brush this glaze over the turkey. It creates a sticky, sweet, and slightly smoky crust that’s absolutely addictive. Just watch it closely so the sugar in the honey doesn’t burn.
- Garlic and Herb Butter with a Twist: Swap out the rosemary for 2 tablespoons of fresh tarragon. Tarragon has a delicate anise-like flavor that pairs beautifully with poultry. It’s a little more elegant, perfect for a special occasion dinner that isn’t Thanksgiving.
- Dairy-Free Adaptation: You can easily make this dairy-free by using a high-quality vegan butter stick, like Miyoko’s or Earth Balance. The flavor will be slightly different, but the technique works perfectly. Just make sure the vegan butter is well softened before mixing.
- Spatchcock the Turkey: If you want a faster, more evenly cooked bird, try spatchcocking it. This means removing the backbone and flattening the turkey before roasting. It cooks in about half the time and gets incredibly crispy skin. You’ll need a good pair of kitchen shears to cut the backbone. The herb butter technique works perfectly with a spatchcocked bird.
Serving & Storage Suggestions
A beautiful turkey deserves a beautiful presentation and proper care for those all-important leftovers.
Serving: After the turkey has rested, transfer it to a large serving platter. Garnish with fresh sprigs of rosemary, thyme, and a few lemon slices for a pop of color. Carve it at the table for a dramatic presentation. Serve it hot alongside all your favorite sides—mashed potatoes, stuffing, green bean casserole, and, of course, plenty of gravy.
Storage: Let any leftover turkey cool completely before storing. Remove the meat from the bones and place it in an airtight container. It will keep in the refrigerator for 3-4 days. The bones and any leftover skin can be used to make a fantastic turkey stock for soups or risotto.
Reheating: The key to reheating turkey without drying it out is low and slow. Place the slices in a baking dish, add a splash of chicken broth or turkey gravy, cover with foil, and warm in a 300°F (150°C) oven for 15-20 minutes. For individual portions, you can microwave them, but add a damp paper towel over the plate to create steam and prevent dryness. The flavors actually meld and deepen overnight, so leftover turkey sandwiches the next day are often even better than the first serving.
Freezing: Cooked turkey freezes beautifully. Shred or slice the meat, place it in a freezer-safe bag or container, and press out as much air as possible. It will keep for up to 3 months. Thaw it in the refrigerator overnight before reheating.
Nutritional Information & Benefits
Turkey is a fantastic source of lean protein, making it a healthy centerpiece for a celebratory meal. A 3-ounce serving of roasted turkey breast (without skin) provides about 25 grams of protein, which is essential for muscle repair and keeping you feeling full and satisfied. It’s also a good source of B vitamins, particularly B6 and B12, which support energy metabolism and brain health. The selenium in turkey is a powerful antioxidant that helps protect your cells from damage.
While this recipe does use butter, the portion per serving is relatively small when spread across the whole bird. The fresh herbs (rosemary, thyme, sage) are packed with antioxidants and anti-inflammatory compounds. This dish is naturally gluten-free and low in carbohydrates, making it a great option for those following a low-carb or keto diet. If you’re watching your sodium, be sure to use low-sodium chicken broth and go easy on the salt in the herb butter—you can always add more at the table. As with all good things, moderation is key, and a slice of this juicy, herb-crusted turkey is a wonderful part of a balanced feast.
Conclusion
This herb butter roasted turkey isn’t just a recipe; it’s a tradition waiting to happen. It’s the kind of dish that turns a simple family dinner into a memorable occasion, and a holiday meal into something truly special. The magic is in the technique—that simple act of working the butter under the skin—which transforms an ordinary bird into something extraordinary. It’s forgiving, it’s delicious, and it’s designed to make you look like a rockstar in the kitchen without a ton of stress.
I love this recipe because it’s a reminder that the best things in life are often the simplest. A few good ingredients, a little bit of patience, and a whole lot of love are all you need. Don’t be afraid to tweak the herbs or add your own twist—that’s what cooking is all about. I’d love to hear how yours turns out! Leave a comment below and let me know if your family loved it as much as mine does. And if you have a favorite variation, please share it—I’m always looking for new ideas. Happy roasting, and here’s to a table full of good food and even better company!
Frequently Asked Questions
Can I use dried herbs instead of fresh?
You can, but the flavor won’t be as bright or vibrant. Fresh herbs are really the star here. If you must use dried, use about one-third of the amount called for, as dried herbs are more concentrated. So, for ¼ cup fresh rosemary, you’d use about 1 ½ tablespoons dried.
How do I know when my turkey is fully thawed?
The safest way is to check the internal temperature with a thermometer. A fully thawed turkey should be around 40°F (4°C) or below. You can also check for flexibility—the legs and wings should move easily. Never thaw a turkey on the counter; always do it in the refrigerator.
What if my turkey skin is browning too quickly?
This is a common issue. If the skin is getting too dark before the internal temperature is reached, simply tent the turkey loosely with a piece of aluminum foil. This will slow down the browning without stopping the cooking process. You can remove the foil for the last 15-20 minutes if you want to crisp it up again.
Can I make the herb butter ahead of time?
Absolutely! This is a great time-saver. You can make the herb butter up to 3 days in advance. Shape it into a log using plastic wrap, then store it in the refrigerator. Let it come to room temperature for about 30 minutes before using so it’s soft enough to spread.
How long can I let the turkey rest?
You can let it rest for up to 45 minutes. Any longer than that, and the meat will start to cool down too much. The resting period is crucial, so don’t skip it. A 30-minute rest is the sweet spot for a perfect, juicy bird.
Pin This Recipe!
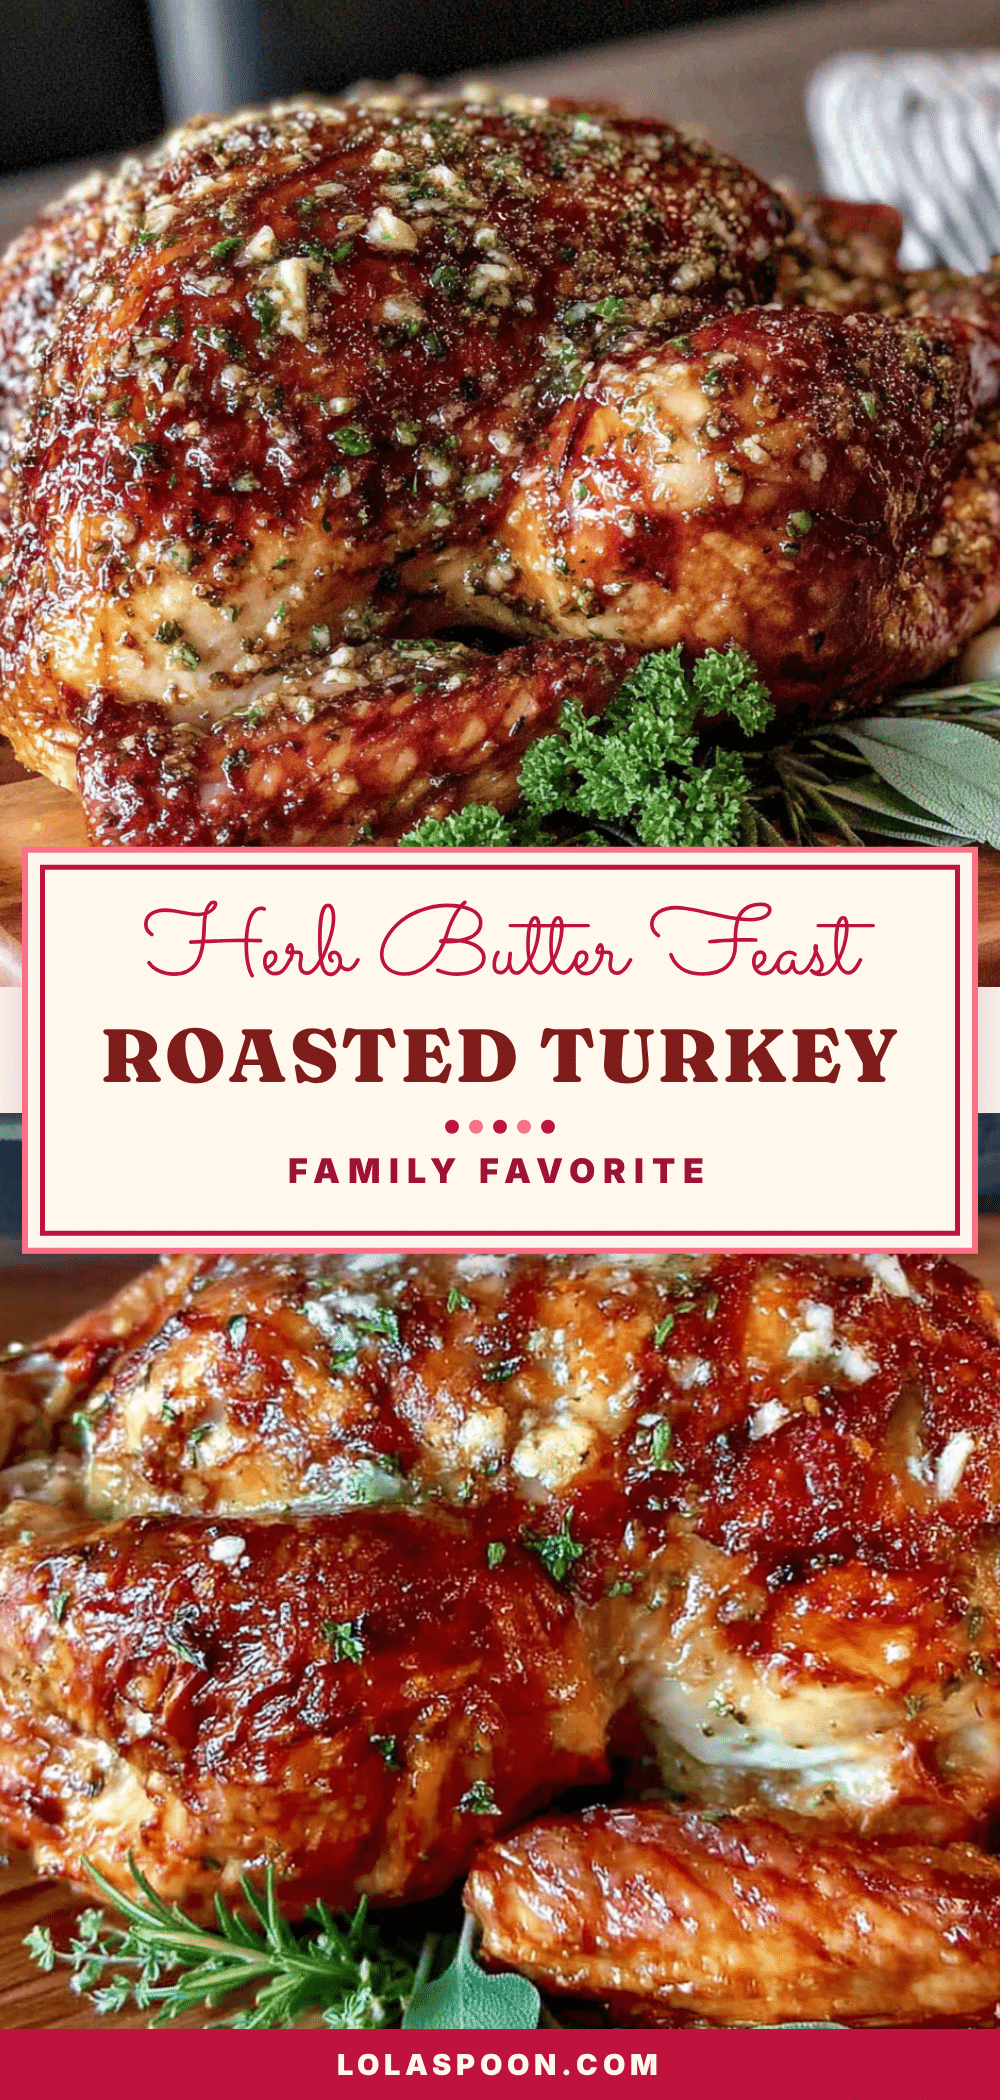
Best Herb Butter Roasted Turkey – Easy Thanksgiving Recipe
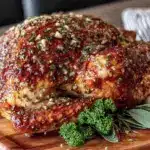
This foolproof herb butter roasted turkey delivers impossibly juicy meat and crackling-crisp skin. A simple technique of massaging herb butter under the skin creates a self-basting bird that’s perfect for Thanksgiving or any special occasion.
- Prep Time: 30 minutes
- Cook Time: 2 hours 30 minutes to 3 hours
- Total Time: 3 hours to 3 hours 45 minutes
- Yield: 6-8 servings 1x
- Category: Main Course
- Cuisine: American
Ingredients
- 1 whole turkey (12–14 pounds), completely thawed
- 1 cup (2 sticks) unsalted butter, softened
- ¼ cup fresh rosemary, finely chopped
- ¼ cup fresh thyme leaves
- ¼ cup fresh sage, finely chopped
- 4 cloves garlic, minced
- 1 lemon, zested and juiced
- 2 teaspoons kosher salt, plus more for the cavity
- 1 teaspoon black pepper, freshly ground
- 1 large onion, quartered
- 2 carrots, roughly chopped
- 2 celery stalks, roughly chopped
- 2 cups low-sodium chicken broth
Instructions
- Prep the turkey (30 minutes before roasting): Take your thawed turkey out of the fridge. Remove the giblets and neck from the cavity. Pat the turkey completely dry inside and out with paper towels. Let it sit on the counter for 30 minutes to take the chill off.
- Make the herb butter: In a small bowl, combine the softened butter, chopped rosemary, thyme, sage, minced garlic, lemon zest, 2 teaspoons of kosher salt, and 1 teaspoon of black pepper. Mash it all together with a fork until well combined.
- Loosen the skin: Gently slide your fingers under the skin of the turkey breast, starting at the neck cavity. Work your way down, being careful not to tear the skin. Create a pocket between the skin and the meat. Do the same for the thighs, if you can reach them.
- Apply the butter: Take about two-thirds of the herb butter and use your fingers to push it under the skin, spreading it evenly over the breast meat and the tops of the thighs. Massage gently from the outside to distribute. Then, take the remaining butter and rub it all over the outside of the skin.
- Season the cavity and truss: Sprinkle the inside of the turkey cavity with a little salt and pepper. Stuff it with the quartered onion, the lemon halves, and a few sprigs of fresh thyme and rosemary if you have them. Tie the legs together with kitchen twine. Tuck the wing tips under the bird’s back.
- Arrange the vegetables and broth: Scatter the chopped carrots, celery, and remaining onion pieces in the bottom of your roasting pan. Pour the 2 cups of chicken broth into the pan. Place the turkey on the rack, breast-side up.
- Roast the turkey: Preheat your oven to 425°F (220°C). Place the turkey on the lower-middle rack and roast for 30 minutes. Then, without opening the oven, reduce the temperature to 350°F (175°C). Continue roasting for about 2 to 2 ½ hours more, or until the internal temperature in the thickest part of the thigh reaches 165°F (74°C).
- Baste (optional but recommended): About an hour into the roasting time, start basting the turkey with the pan juices every 30 minutes. If the skin is browning too quickly, tent the turkey loosely with aluminum foil.
- Rest the turkey: Once the turkey is done, carefully transfer it to a cutting board. Tent it loosely with foil and let it rest for at least 30 minutes, up to 45 minutes. This allows the juices to redistribute throughout the meat.
Notes
Patting the turkey dry is crucial for crispy skin. Don’t rely on the pop-up timer; use an instant-read thermometer. Let the turkey rest for at least 30 minutes before carving to keep it juicy. The herb butter can be made up to 3 days ahead.
Nutrition
- Serving Size: 3 ounces
- Calories: 250
- Sodium: 400
- Fat: 12
- Saturated Fat: 7
- Carbohydrates: 1
- Protein: 25
Keywords: herb butter roasted turkey, Thanksgiving turkey, roasted turkey, turkey recipe, holiday turkey, juicy turkey, crispy skin turkey