It was 11:47 PM on a random Wednesday, and I had a very specific, very loud craving for a warm, gooey chocolate chip cookie. The kind that’s soft in the middle with slightly crispy edges. The problem? Every recipe I could find online made two dozen cookies. I didn’t need two dozen cookies at midnight on a Wednesday. I needed two. Maybe four. And I definitely wasn’t about to drag out my stand mixer or hand mixer for a tiny batch. Honestly, the thought of washing the mixer attachments was enough to make me consider just going to bed.
But then I looked in my pantry. I had butter, both kinds of sugar, an egg, and a bag of chocolate chips. No mixer, no problem, I thought. A little desperate, a little sleep-deprived, I grabbed a bowl and a wooden spoon. I mean, how hard could it be to cream butter and sugar by hand for just a few cookies? Let me tell you, that late-night experiment turned into my go-to recipe. The dough came together in about ten minutes flat. The cookies baked up perfectly—soft, chewy, and exactly what I needed.
I accidentally used a little too much vanilla that night (my pour got away from me), but you know what? It was the best mistake. The extra vanilla made the whole kitchen smell incredible. Maybe you’ve been there, staring into the fridge at 11 PM, wondering if a craving is worth the effort. This recipe is proof that it is. No fancy equipment, no huge batch, just perfect cookies whenever the mood strikes. I’ve been making them ever since, and I honestly think they’re better than any mixer recipe I’ve ever tried.
Why You’ll Love This Recipe
These aren’t just another chocolate chip cookie recipe. After years of testing cookie recipes for my family and friends, I can confidently say this small-batch version hits different. It’s been through countless trials in my tiny kitchen, and I’ve perfected the ratios so you get that ideal texture every single time. No mixer required means less cleanup and more cookie eating.
- Quick & Easy: From craving to cookie in under 25 minutes. Perfect for those sudden dessert emergencies or lazy Sunday afternoons.
- Simple Ingredients: You probably have everything in your kitchen right now. No weird specialty ingredients or trips to the store.
- Perfect for Solo Bakers: Living alone or just want a small treat? This makes exactly 6-8 cookies, so you’re not stuck with a week’s worth of baked goods.
- Crowd-Pleaser: I’ve brought these to small gatherings and they disappear faster than full-sized batches. Everyone asks for the recipe.
- Unbelievably Delicious: The texture is that perfect balance of crispy edges and soft, chewy centers. The flavor is rich, buttery, and deeply satisfying.
What makes this recipe different from the rest is the technique. By hand-creaming the butter and sugar, you get a more controlled texture. You can feel when it’s ready. Plus, using a mix of white and brown sugar gives that signature chewy texture with just a hint of caramel from the molasses in the brown sugar. It’s comfort food at its finest—simple, honest, and absolutely delicious.
What Ingredients You Will Need
This recipe uses straightforward, pantry-friendly ingredients that come together to create something truly special. Each one plays a specific role in achieving that perfect cookie texture and flavor.
- 4 tablespoons unsalted butter, softened (use salted butter and omit the added salt if that’s all you have, but unsalted gives you better control)
- 1/4 cup granulated sugar (adds crispness and helps with spreading)
- 1/4 cup packed light brown sugar (adds moisture, chewiness, and that subtle molasses flavor)
- 1 large egg yolk (the yolk adds richness and tenderness; save the white for scrambled eggs tomorrow)
- 1/2 teaspoon vanilla extract (I recommend pure vanilla extract for the best flavor, but imitation works in a pinch)
- 3/4 cup all-purpose flour (spoon and level it for accuracy; too much flour makes dry cookies)
- 1/4 teaspoon baking soda (helps the cookies spread and become golden)
- 1/4 teaspoon salt (balances sweetness and enhances all the flavors)
- 1/3 cup semi-sweet chocolate chips (I prefer Ghirardelli or Guittard for the best melt and flavor, but use whatever you have)
Ingredient Tips: Make sure your butter is truly softened—soft enough that your finger leaves an indent, but not melted. Melted butter will make flat, greasy cookies. If you’re in a hurry, cut the butter into small cubes and let it sit for 10 minutes. For the flour, never scoop directly from the bag. Spoon it into your measuring cup and level it off with a knife. This prevents dense, dry cookies. And if you only have dark chocolate chips or milk chocolate, go for it. The cookie dough is forgiving and welcomes any chocolate you throw at it.
Equipment Needed
The beauty of this recipe is how little equipment it requires. You don’t need a stand mixer, hand mixer, or any fancy gadgets. Just a few basic kitchen tools you probably already own.
- Medium mixing bowl (any bowl works, but a wider bowl makes mixing easier)
- Wooden spoon or sturdy spatula (for creaming the butter and sugar by hand)
- Measuring cups and spoons (accuracy matters, especially for flour and baking soda)
- Baking sheet (a standard half-sheet pan is perfect)
- Parchment paper or silicone baking mat (prevents sticking and ensures even browning)
- Cooling rack (optional but recommended for crispy edges)
- Cookie scoop or tablespoon (for evenly sized cookies)
If you don’t have a cookie scoop, just use two spoons or your hands. For the baking sheet, any light-colored pan works best—dark pans can cause the bottoms to brown too quickly. I’ve used my grandmother’s old metal sheet pan for years and it works perfectly. No need to buy anything special for these cookies.
Preparation Method
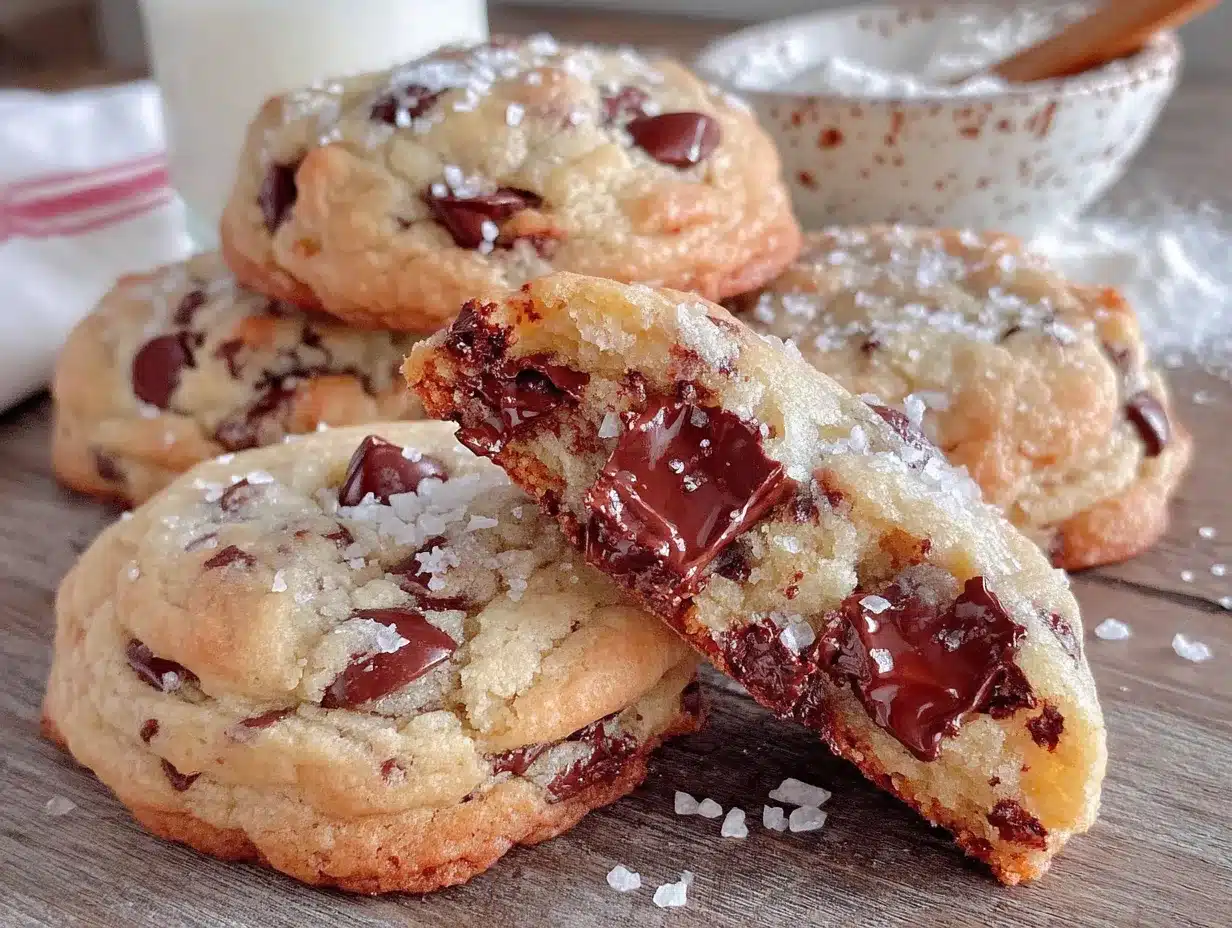
Follow these steps carefully, and you’ll have perfect cookies every time. The key is not to rush the creaming step—even without a mixer, giving the butter and sugar enough time together makes a difference.
- Preheat your oven to 350°F (175°C). Line a baking sheet with parchment paper or a silicone mat. This ensures your cookies don’t stick and the bottoms brown evenly.
- Cream the butter and sugars. In your medium bowl, combine the softened butter, granulated sugar, and brown sugar. Using your wooden spoon or spatula, mash and stir until the mixture becomes light, fluffy, and pale in color. This takes about 2-3 minutes of vigorous stirring. You’ll feel the texture change from grainy to smooth and creamy. Don’t rush this—proper creaming creates air pockets that give cookies their lift.
- Add the egg yolk and vanilla. Drop in the egg yolk and pour in the vanilla extract. Stir until completely combined. The mixture will look slightly glossy and smell amazing. If it looks curdled or separated, don’t panic—just keep stirring until it comes back together.
- Mix the dry ingredients. In a small separate bowl, whisk together the flour, baking soda, and salt. This ensures the leavening agent is evenly distributed so your cookies rise uniformly.
- Combine wet and dry ingredients. Add the flour mixture to the butter mixture. Stir gently with your spoon until just combined. Stop as soon as you no longer see streaks of flour. Overmixing at this stage develops gluten and makes tough cookies. A few lumps are totally fine.
- Fold in the chocolate chips. Add your chocolate chips and fold them in with a few gentle strokes. Make sure they’re evenly distributed throughout the dough. The dough will be thick and slightly sticky—perfectly normal.
- Portion the cookies. Using a cookie scoop or a tablespoon, scoop rounded tablespoons of dough (about 1.5 tablespoons each) onto your prepared baking sheet. Space them about 2 inches apart—they’ll spread a bit. You should get 6-8 cookies depending on how generous you are with the scooping.
- Bake for 9-11 minutes. Place the baking sheet on the middle rack of your preheated oven. Bake until the edges are golden brown and the centers still look slightly soft and underdone. The cookies will continue to set as they cool on the pan. For softer cookies, bake for 9 minutes. For crispier edges, go for 11 minutes.
- Cool on the pan for 5 minutes. This step is crucial. Let the cookies rest on the hot baking sheet for exactly 5 minutes. During this time, they finish cooking through and firm up enough to move without breaking.
- Transfer to a cooling rack. Using a spatula, carefully move the cookies to a wire rack to cool completely. If you’re impatient like me, eat one warm. Just be careful—the melted chocolate chips will be lava-hot!
Troubleshooting Tip: If your cookies spread too much and become flat, your butter was probably too soft or melted. Next time, chill the dough balls for 15 minutes before baking. If they’re too puffy and didn’t spread enough, your flour measurement was likely too generous or the butter wasn’t soft enough. Adjust accordingly next batch.
Cooking Tips & Techniques
After making these cookies more times than I can count, I’ve learned a few tricks that take them from good to absolutely irresistible. Let me share what I’ve discovered through trial and error.
The Hand-Creaming Technique: Don’t underestimate the power of your arm muscles here. When you cream butter and sugar by hand, you have more control than a mixer. You can feel when the mixture becomes light and fluffy. I like to press the mixture against the side of the bowl with my spoon, scraping and folding repeatedly. It takes about 3 minutes of steady work, but the texture payoff is real. Plus, it’s oddly meditative.
Chill the Dough (Optional but Game-Changing): If you have an extra 15-20 minutes, pop the scooped dough balls in the fridge before baking. Chilled dough spreads less, resulting in thicker, chewier cookies. I do this when I want a more bakery-style cookie. For thin and crispy edges, bake right away. The choice is yours.
Common Mistake: Overbaking: This is the number one cookie killer. Remember that cookies continue to bake from residual heat even after they come out of the oven. Pull them when the centers look slightly underdone and puffy. They’ll settle into perfectly soft centers as they cool. I’ve ruined so many batches by waiting for them to look “done” in the oven.
Multitasking Strategy: While your first batch bakes, scoop the remaining dough onto a plate and refrigerate it. This way, your second batch goes into the oven cold and bakes up perfectly. I learned this after my second batch always turned out flatter than the first.
Salt Sprinkle Hack: Right when the cookies come out of the oven, sprinkle a tiny pinch of flaky sea salt on top of each one. It sounds weird, but the salt cuts through the sweetness and makes the chocolate flavor pop. It’s the difference between a good cookie and a memorable one.
Variations & Adaptations
This basic dough is incredibly versatile. Once you master the base recipe, you can customize it in endless ways. Here are some of my favorite variations I’ve tested in my own kitchen.
Double Chocolate Chip: Replace 2 tablespoons of the all-purpose flour with 2 tablespoons of unsweetened cocoa powder. Use white chocolate chips or milk chocolate chips for contrast. The result is a rich, fudgy cookie that tastes like a brownie in cookie form. My friend Sarah requests these every time she visits.
Gluten-Free Version: Swap the all-purpose flour with a 1:1 gluten-free baking flour blend that contains xanthan gum. I’ve had great success with Bob’s Red Mill brand. The texture is slightly more delicate, but the flavor is spot on. Let the dough rest for 10 minutes after mixing to allow the gluten-free flour to hydrate properly.
Vegan Adaptation: Use vegan butter sticks (like Earth Balance) and replace the egg yolk with 1 tablespoon of aquafaba (the liquid from a can of chickpeas) mixed with 1/2 teaspoon of cornstarch. The cookies will be slightly less rich but still deliciously chewy. I was skeptical about aquafaba until I tried it, and honestly, it works.
Add-In Ideas: Beyond chocolate chips, try folding in 1/4 cup of chopped nuts (walnuts or pecans work great), dried cherries, or even crushed pretzels for a sweet-salty crunch. My personal favorite is adding 1/4 teaspoon of cinnamon to the flour mixture for a warm, spicy note that pairs beautifully with dark chocolate.
Flavor Twist: Add 1/2 teaspoon of instant espresso powder dissolved in the vanilla extract. The coffee doesn’t make the cookies taste like coffee—it just deepens and enhances the chocolate flavor. This is a trick I learned from a pastry chef friend, and it’s never let me down.
Serving & Storage Suggestions
These cookies are best enjoyed warm, fresh from the oven, when the chocolate is still melty and the edges are crisp. But let’s be realistic—sometimes you want to save some for later. Here’s how to handle both situations.
Serving Temperature: Serve these cookies at room temperature or slightly warm. If they’ve cooled completely, pop one in the microwave for 10 seconds to revive that just-baked texture. For a real treat, serve them with a glass of cold milk, a scoop of vanilla ice cream, or alongside a hot cup of coffee.
Presentation Ideas: Stack them on a small plate or arrange them in a single layer on a wooden board. A light dusting of powdered sugar or a drizzle of melted chocolate makes them look bakery-worthy. For gifting, layer them in a small tin or mason jar with parchment paper between layers.
Storage Instructions: Store leftover cookies in an airtight container at room temperature for up to 3 days. To keep them soft, add a slice of bread to the container—the cookies will absorb the moisture from the bread and stay chewy. Replace the bread slice every day.
Freezing Instructions: You can freeze both baked cookies and raw dough. For baked cookies, freeze in a single layer on a baking sheet, then transfer to a freezer bag. They’ll keep for up to 3 months. Thaw at room temperature for 15 minutes. For raw dough, scoop into balls, freeze on a baking sheet, then transfer to a freezer bag. Bake from frozen, adding 2-3 minutes to the baking time.
Flavor Development: Interestingly, these cookies taste even better the next day. The flavors meld together and the texture becomes perfectly chewy. If you can resist eating them all on day one, day two is a real treat.
Nutritional Information & Benefits
While these are definitely a treat, knowing what’s in them helps you enjoy them mindfully. Here’s the estimated nutritional breakdown for one cookie (based on 8 cookies per batch).
| Nutrient | Amount Per Cookie |
|---|---|
| Calories | 185 |
| Total Fat | 10g |
| Saturated Fat | 6g |
| Cholesterol | 35mg |
| Sodium | 115mg |
| Total Carbohydrates | 23g |
| Dietary Fiber | 1g |
| Sugars | 14g |
| Protein | 2g |
Health Benefits: Dark chocolate chips contain antioxidants called flavonoids, which can support heart health. The butter provides vitamin A, and the egg yolk offers choline, which is important for brain function. While this isn’t health food, using quality ingredients means you’re getting real, recognizable nutrients rather than processed additives. Plus, the small batch size naturally encourages portion control—you can enjoy a couple cookies without having a whole tray staring at you.
Dietary Considerations: This recipe contains gluten, dairy, and eggs. For a gluten-free version, see the variations section. For a dairy-free version, use vegan butter and dairy-free chocolate chips. The recipe is naturally nut-free if you skip any nut add-ins, making it safe for school lunches or nut-free households.
Conclusion
These easy small-batch chocolate chip cookies have become a staple in my kitchen for one simple reason: they work every single time. No mixer, no fuss, no huge batch that goes stale before you finish it. Just perfectly chewy, buttery cookies with melty chocolate in every bite. Whether you’re baking at midnight on a Tuesday or whipping up a quick dessert for a small dinner party, this recipe delivers.
I love that this recipe feels like a secret weapon—something I can pull out whenever a craving hits without any planning or prep. It’s the kind of recipe that makes you feel like a genius in the kitchen, even though it’s ridiculously simple. And honestly, isn’t that the best kind of recipe?
Now I want to hear from you. Have you tried making cookies without a mixer? What’s your favorite add-in or variation? Drop a comment below and let me know how these turned out for you. And if you loved them, share this recipe with a friend who needs a little cookie magic in their life. Happy baking!
Frequently Asked Questions
Can I use salted butter instead of unsalted?
Absolutely. Just omit the 1/4 teaspoon of added salt from the recipe. The cookies will still turn out perfectly. If you’re using salted butter and want a little extra saltiness, add just a tiny pinch of flaky salt on top after baking.
Why do my cookies always turn out flat?
Flat cookies usually mean the butter was too soft or melted, or the dough wasn’t chilled before baking. Make sure your butter is softened but still cool to the touch. If your kitchen is warm, chill the scooped dough for 15 minutes before baking. Also, check that your baking soda is fresh—old baking soda loses its leavening power.
Can I double this recipe?
Yes, this recipe doubles beautifully. Just double all the ingredients. You can still make it without a mixer—it just takes a little more arm work. If doubling, you might want to bake in two batches to avoid overcrowding the baking sheet.
How do I know when the cookies are done baking?
Look for golden brown edges with centers that still look slightly soft, puffy, and underdone. The cookies will continue to bake on the hot pan for the first few minutes out of the oven. If you wait until the centers look fully set, they’ll be overbaked and crunchy.
Can I make the dough ahead of time?
Definitely. You can refrigerate the dough for up to 48 hours. In fact, letting the dough rest in the fridge overnight develops deeper flavor and results in chewier cookies. Just let the dough sit at room temperature for 5-10 minutes before scooping if it’s too firm to handle.
Pin This Recipe!
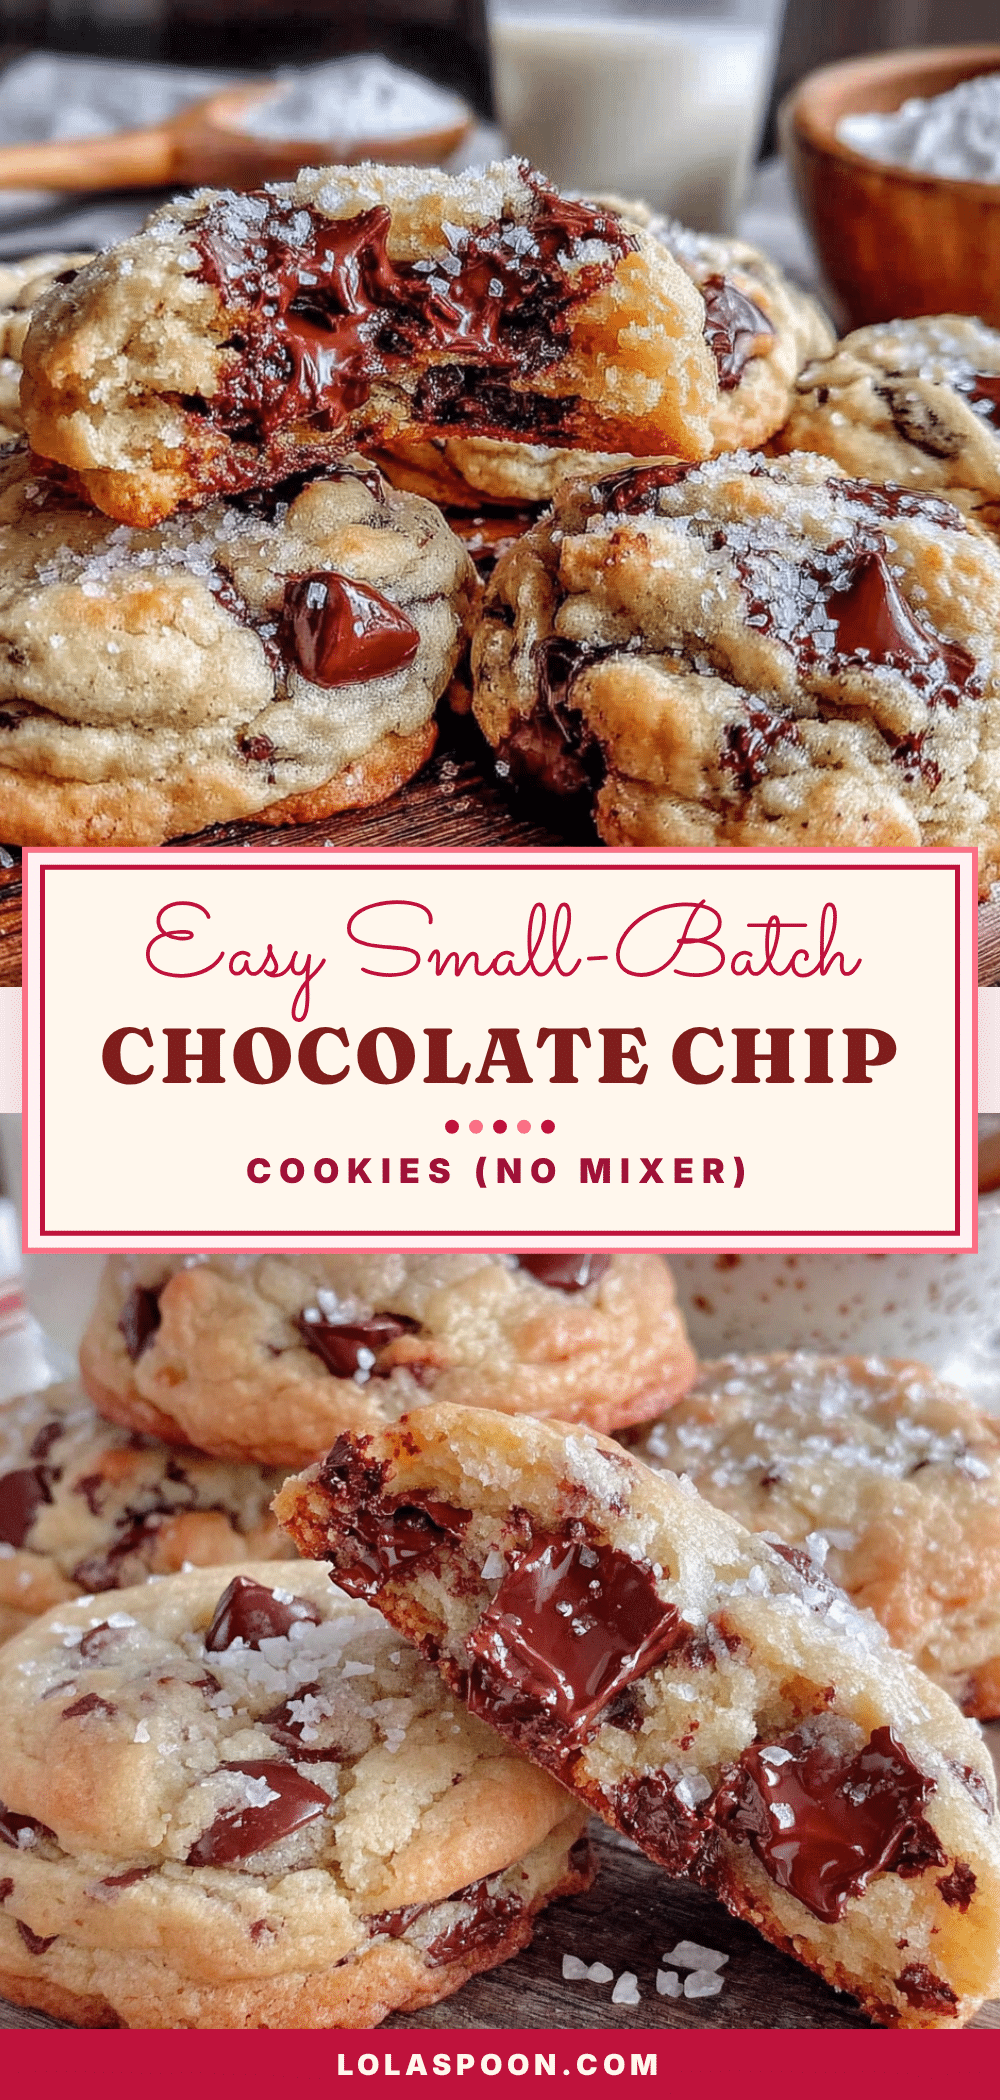
Easy Small-Batch Chocolate Chip Cookies (No Mixer)
These easy small-batch chocolate chip cookies are soft, chewy, and made without a mixer. Perfect for late-night cravings or small gatherings, they come together in under 25 minutes with simple pantry ingredients.
- Prep Time: 10 minutes
- Cook Time: 10 minutes
- Total Time: 20 minutes
- Yield: 6-8 cookies 1x
- Category: Dessert
- Cuisine: American
Ingredients
- 4 tablespoons unsalted butter, softened
- 1/4 cup granulated sugar
- 1/4 cup packed light brown sugar
- 1 large egg yolk
- 1/2 teaspoon vanilla extract
- 3/4 cup all-purpose flour
- 1/4 teaspoon baking soda
- 1/4 teaspoon salt
- 1/3 cup semi-sweet chocolate chips
Instructions
- Preheat your oven to 350°F (175°C). Line a baking sheet with parchment paper or a silicone mat.
- In a medium bowl, cream together the softened butter, granulated sugar, and brown sugar using a wooden spoon or spatula until light, fluffy, and pale in color, about 2-3 minutes.
- Add the egg yolk and vanilla extract, stirring until completely combined and glossy.
- In a small separate bowl, whisk together the flour, baking soda, and salt.
- Add the flour mixture to the butter mixture and stir gently until just combined. Do not overmix.
- Fold in the chocolate chips until evenly distributed.
- Scoop rounded tablespoons of dough (about 1.5 tablespoons each) onto the prepared baking sheet, spacing them about 2 inches apart. You should get 6-8 cookies.
- Bake for 9-11 minutes, until the edges are golden brown and the centers still look slightly soft and underdone.
- Let the cookies cool on the baking sheet for 5 minutes, then transfer to a wire rack to cool completely.
Notes
For thicker, chewier cookies, chill the dough balls for 15 minutes before baking. For a flavor boost, sprinkle a tiny pinch of flaky sea salt on top of each cookie right after baking. Store leftovers in an airtight container at room temperature for up to 3 days. To keep them soft, add a slice of bread to the container.
Nutrition
- Serving Size: 1 cookie
- Calories: 185
- Sugar: 14
- Sodium: 115
- Fat: 10
- Saturated Fat: 6
- Carbohydrates: 23
- Fiber: 1
- Protein: 2
Keywords: small-batch chocolate chip cookies, no mixer cookies, easy cookie recipe, soft chewy cookies, midnight snack cookies