My neighbor Jen wasn’t trying to impress me. I’d stopped by to borrow a ladder—ours had mysteriously vanished after a garage sale—and the smell hit me before I even got through her screen door. It was warm and toasty and nutty, but not like bread or cookies. It was something else entirely. Something that made me forget about the ladder completely.
Jen was standing at her kitchen counter, pulling a tray out of her air fryer, and she looked up like I’d caught her doing something slightly embarrassing. “Oh, these are just pumpkin seeds,” she said, shrugging. “From the kids’ jack-o’-lanterns. I was just messing around.” She dumped them into a bowl and pushed them toward me. I grabbed a handful while they were still warm, and honestly? I almost ate the whole bowl standing there in her kitchen. They were that good.
I mean, I’d roasted pumpkin seeds before. We all have. But these were different. They were crunchy all the way through, not chewy in the middle like my oven attempts always turn out. They had this perfect salty crust and a deep, nutty flavor that made me want to keep eating them by the fistful. Jen didn’t seem to think she’d done anything special. She was already moving on to unloading her dishwasher, completely unaware that she’d just changed how I think about a snack I’d been making wrong for years.
Maybe you’ve been there—where someone makes something so simple and so perfect that you can’t stop thinking about it. That was me, standing in Jen’s kitchen with pumpkin seed crumbs all over my shirt. I asked her what she did. She said, “Air fryer. Salt. That’s it.” And let me tell you, the minute I got home (with the ladder, eventually), I grabbed a pumpkin, and I haven’t made them any other way since.
Why You’ll Love This Recipe
Let’s be real for a second. There are a lot of pumpkin seed recipes out there, and most of them are fine. But this one? This one is the one you’ll actually make again. Here’s why:
- Quick & Easy: From start to finish, we’re talking 15 minutes. That’s it. No soaking, no drying overnight, no complicated steps. Just rinse, toss, and air fry.
- Simple Ingredients: You need exactly three things: pumpkin seeds, oil, and salt. That’s not a grocery list. That’s a Tuesday afternoon.
- Perfect for Fall: Whether you’re carving pumpkins for Halloween or just craving something cozy, these seeds are the snack that seasonal dreams are made of.
- Crowd-Pleaser: I’ve brought these to gatherings and watched people hover around the bowl like they’re guarding treasure. Kids love them. Adults love them. Everyone loves them.
- Unbelievably Crispy: The air fryer does something magical here. It gets the seeds crunchy all the way through without burning the outside. No more chewy, sad seeds that get stuck in your teeth.
What makes this recipe different from every other pumpkin seed recipe out there is the method. The air fryer creates a consistent, even heat that crisps every single seed perfectly. No rotating pans, no watching the oven like a hawk. And the sea salt? It’s not just salt—it’s the flaky, crunchy kind that sticks to the seeds and makes every bite pop. This isn’t just another version of roasted pumpkin seeds. It’s the version you’ll come back to year after year.
Honestly, this recipe is comfort food at its simplest. It’s the kind of snack that makes you close your eyes after the first bite. It’s fall in a bowl, and you deserve it.
What Ingredients You Will Need
This recipe uses the most straightforward ingredients you can imagine. Nothing fancy, nothing hard to find. Just three simple things that come together to make something truly special. Here’s what you’ll need:
- Fresh Pumpkin Seeds: About 1 cup, straight from your pumpkin. You can use seeds from any variety of pumpkin or winter squash. Sugar pumpkins tend to have smaller, more tender seeds, while carving pumpkins give you bigger, crunchier ones. Both work great. If you’re buying pre-hulled seeds (pepitas), those work too, but the texture is different—they’re thinner and cook faster. I prefer using seeds straight from a pumpkin for that authentic, hearty crunch.
- Olive Oil or Avocado Oil: 1 tablespoon. You need just enough to coat the seeds so the salt sticks. I usually use olive oil because it’s what I always have, but avocado oil works beautifully too. It has a higher smoke point, which means it handles the air fryer heat really well. Avoid butter here—it burns too easily in the air fryer. Trust me, I learned that the hard way.
- Flaky Sea Salt: 1 teaspoon, plus more to taste. This is the star of the show. I use Maldon sea salt because the flakes are big and crunchy and stick to the seeds perfectly. Regular table salt works in a pinch, but you’ll want to use less since it’s much finer and saltier. If you only have kosher salt, that’s fine too—just grind it a little between your fingers before sprinkling.
That’s it. Three ingredients. No sugar, no spice, no complicated seasonings. Just pure, simple, crispy goodness. If you want to get fancy, you can add other seasonings later (I’ll share some ideas in the variations section), but the base recipe is beautifully plain and perfect as is.
One thing I’ve learned from making these over and over: the quality of your salt matters more than you think. Cheap table salt just dissolves and disappears. Good flaky salt stays on the seeds and gives you little bursts of salty crunch with every bite. It’s worth the extra dollar or two.
Equipment Needed
You don’t need much for this recipe, which is part of why I love it. Here’s what you’ll need:
- Air Fryer: Any model works. I use a 5.8-quart Cosori, but I’ve made these in a smaller 3-quart Ninja too. The cooking time might vary slightly depending on your model, so keep an eye on them the first time. If you don’t have an air fryer, you can use a convection oven—just spread the seeds on a baking sheet and bake at 350°F for about 12-15 minutes, stirring halfway through.
- Colander or Strainer: For rinsing the seeds. A fine-mesh strainer works best because it catches even the tiny seeds.
- Paper Towels or a Clean Kitchen Towel: For drying the seeds. You want them as dry as possible before they go in the air fryer. Wet seeds won’t get crispy.
- Mixing Bowl: Any medium bowl works for tossing the seeds with oil and salt.
- Measuring Spoons: For the oil and salt. Eyeballing works too, but measuring helps the first time.
That’s genuinely it. No special gadgets, no expensive equipment. If you have an air fryer and a bowl, you’re ready to go. I’ve made these in my sister’s tiny apartment kitchen with a borrowed air fryer and a cereal bowl, and they turned out just as good.
Preparation Method
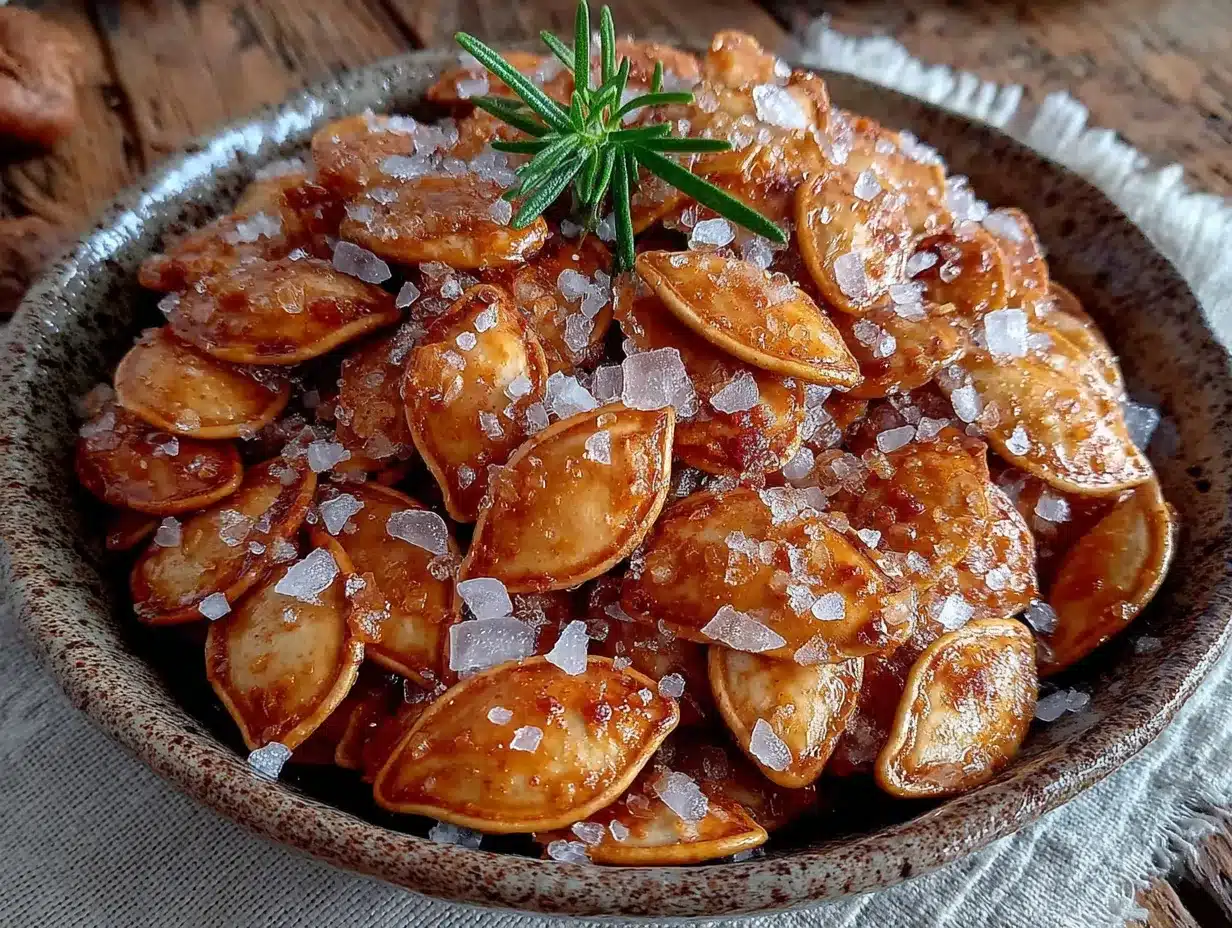
Alright, let’s get into the actual making of these seeds. Follow these steps, and you’ll have the crispiest, most addictive pumpkin seeds of your life.
- Separate the seeds from the pumpkin guts. This is the messy part, and honestly, it’s kind of fun. Scoop out the seeds and the stringy pulp into a bowl. Then, pick out the seeds and put them in your colander. Don’t worry about getting every bit of pulp off right now—the rinsing step will take care of that. I usually do this over the sink because it gets everywhere.
- Rinse the seeds thoroughly. Put your seeds in the colander and run cold water over them. Use your fingers to rub the seeds together gently, which helps loosen any remaining pumpkin strings. Keep rinsing until the water runs clear and the seeds feel clean. This usually takes about a minute. You’ll see the orange pulp wash away, and suddenly you’re left with beautiful, clean white seeds.
- Dry the seeds completely. This is the most important step, and I cannot stress this enough. Spread the rinsed seeds out on a clean kitchen towel or a layer of paper towels. Pat them dry with another towel on top. Then, let them sit for about 5 minutes to air dry. If they’re even slightly damp, they’ll steam instead of crisp in the air fryer. I once skipped this step because I was in a hurry, and I ended up with sad, chewy seeds that nobody wanted to eat. Learn from my mistake.
- Preheat your air fryer to 350°F (175°C). Most air fryers need about 3 minutes to preheat. Do this while your seeds are drying so everything’s ready to go. If your air fryer doesn’t have a preheat setting, just run it empty for 3 minutes.
- Toss the seeds with oil and salt. Put your dried seeds in a mixing bowl. Add 1 tablespoon of oil and 1 teaspoon of flaky sea salt. Use your hands or a spoon to toss everything together until every seed is coated. You want them all shiny and speckled with salt. Don’t dump all the salt in one spot—distribute it evenly.
- Spread the seeds in the air fryer basket. Pour the seasoned seeds into the air fryer basket in a single layer. Don’t pile them up. If you have a lot of seeds, work in batches. Crowding the basket means uneven cooking, and some seeds will be underdone while others burn. I usually do about 1 cup of seeds per batch in my 5.8-quart air fryer.
- Air fry at 350°F for 5 minutes. Set your timer and let them go. You’ll start to smell that amazing toasty aroma almost immediately. Don’t walk away—you’ll want to check on them.
- Shake the basket and cook for another 3-5 minutes. After 5 minutes, pull out the basket and give it a good shake. This redistributes the seeds so they cook evenly. Put the basket back in and cook for another 3-5 minutes. Start checking at the 3-minute mark. The seeds should be golden brown and sound hollow when you shake the basket. They’ll continue to crisp up as they cool, so don’t overdo it.
- Let them cool completely. This is the hardest part because they smell amazing and you want to eat them immediately. But trust me—let them cool for at least 5 minutes. They get crunchier as they cool. I’ve burned my mouth more times than I’d like to admit because I couldn’t wait. Spread them on a plate or a baking sheet to cool faster.
- Taste and adjust salt. Once they’re cool enough to handle, taste one. Need more salt? Sprinkle a little more flaky salt on top. Remember, you can always add more, but you can’t take it away.
That’s it. Ten simple steps, and you’ve got a bowl of the crispiest, saltiest, most satisfying pumpkin seeds you’ve ever had. The whole process takes about 15 minutes from start to finish, including the rinsing and drying.
Cooking Tips & Techniques
I’ve made these seeds probably twenty times now, and I’ve learned a few things along the way. Here are my best tips for perfect results every time:
Dry your seeds like your life depends on it. I know I already said this, but it’s worth repeating. Moisture is the enemy of crispiness. If your seeds are even a little damp, they’ll steam in the air fryer and come out chewy. I’ve started drying mine, then letting them sit on the counter for 10 minutes while I clean up the kitchen. That extra air-drying time makes a real difference.
Don’t skip the oil. Some recipes say you can air fry seeds without oil, and technically you can. But they won’t be as crispy, and the salt won’t stick. A light coating of oil helps the seeds get golden and crunchy and gives the salt something to cling to. You don’t need much—just enough to make them look shiny.
Watch them closely at the end. Air fryers vary wildly in temperature and cooking time. Your seeds might be perfect at 8 minutes total, or they might need 10. The difference between perfectly toasted and burnt is about 30 seconds. I start checking at the 6-minute mark and watch them like a hawk after that. You’ll know they’re done when they’re golden brown and make a hollow, clicking sound when you shake the basket.
Work in batches if you have a lot of seeds. I know it’s tempting to dump all your seeds in at once, but overcrowding leads to uneven cooking. The seeds on the bottom steam while the ones on top burn. A single layer is the way to go. If you’re making seeds from multiple pumpkins, just do a few batches. It takes an extra 10 minutes, and it’s worth it.
Let them cool before you store them. If you put warm seeds in an airtight container, the steam will make them soggy. Let them cool completely on a baking sheet or plate. I usually leave them out for about 30 minutes before transferring them to a jar or bag. They stay crispy for up to a week this way.
One mistake I made the first few times: I used too much salt. It’s easy to go overboard because the seeds look so pale and you think they need more seasoning. But remember, the salt concentrates as the seeds cook and shrink. Start with less than you think you need. You can always add more at the end.
Variations & Adaptations
The basic sea salt version is perfect, but sometimes you want to mix things up. Here are some variations I’ve tried and loved:
Spicy Chili Lime Seeds: Before air frying, toss the seeds with the oil and salt, plus 1/2 teaspoon chili powder, 1/4 teaspoon cayenne pepper, and the zest of one lime. After cooking, squeeze a little fresh lime juice over the top. These are amazing for game day or any time you want a little heat. My husband, who puts hot sauce on everything, declared these his favorite.
Sweet Cinnamon Seeds: Skip the salt and toss the seeds with 1 tablespoon melted coconut oil, 1 tablespoon brown sugar, and 1 teaspoon cinnamon. Air fry at 325°F for 8-10 minutes (the sugar burns faster, so lower heat is better). These taste like fall in a bowl. I’ve sprinkled them on oatmeal and yogurt, and they’re incredible.
Everything Bagel Seasoning Seeds: Toss the seeds with oil, then sprinkle with 1-2 tablespoons of everything bagel seasoning (the kind with sesame seeds, poppy seeds, garlic, and onion). Air fry as directed. These are dangerously addictive. I’ve brought them to parties and watched people stand by the bowl for the entire evening.
Garlic Parmesan Seeds: Add 1/2 teaspoon garlic powder and 2 tablespoons grated Parmesan cheese to the oil and salt mixture. Toss everything together and air fry. The Parmesan gets crispy and cheesy, and the garlic adds a savory depth that’s hard to resist. My kids, who are picky eaters, devoured these in about 5 minutes.
Maple Rosemary Seeds: A personal favorite. Toss the seeds with 1 tablespoon olive oil, 1 tablespoon maple syrup, 1 teaspoon fresh chopped rosemary, and a pinch of salt. Air fry at 325°F for 8-10 minutes. The combination of sweet maple and earthy rosemary is absolutely stunning. I make these for Thanksgiving every year, and they’re always the first thing to disappear.
You can really experiment with any seasoning blend you love. Taco seasoning, ranch seasoning, curry powder—they all work. Just remember to adjust the salt if your seasoning mix already contains salt. Start with less and add more at the end.
Serving & Storage Suggestions
These seeds are incredibly versatile. Here’s how I like to serve and store them:
Serving: I serve these at room temperature in a big bowl, right on the counter where everyone can grab handfuls. They’re perfect as a snack on their own, but they also shine as a topping. Sprinkle them over salads for extra crunch, add them to soups (they’re amazing on butternut squash soup), or use them to top oatmeal or yogurt bowls. I’ve even crushed them up and used them as a crust for chicken or fish. The possibilities are endless.
For a party or gathering, I like to put them out in a few small bowls around the room. They’re the kind of snack that people keep coming back to. I’ve also packaged them in little bags as party favors for Halloween gatherings. Everyone loves them.
Storage: Once the seeds are completely cool, transfer them to an airtight container. A glass jar or a zip-top bag works perfectly. Store them at room temperature in a cool, dry place. They’ll stay crispy for up to a week. After that, they start to lose their crunch, but they’re still good for another week or so. I’ve never had a batch last longer than a week because we eat them too quickly.
If your seeds do get a little soft over time, you can re-crisp them in the air fryer. Just spread them in the basket and air fry at 350°F for 2-3 minutes. Let them cool, and they’ll be crunchy again.
Freezing: You can freeze these seeds too. Let them cool completely, then transfer them to a freezer-safe bag or container. They’ll keep for up to 3 months. To thaw, just let them sit at room temperature for about 10 minutes. They might lose a tiny bit of crunch, but they’re still delicious.
One thing I’ve noticed: the flavors actually get better after a day or two. The salt and seasonings settle into the seeds, and they become even more flavorful. So don’t worry if you’re making them ahead of time. They might be even better the next day.
Nutritional Information & Benefits
Pumpkin seeds are a nutritional powerhouse, and this recipe keeps them healthy and simple. Here’s what you’re getting:
Estimated Nutritional Values (per 1/4 cup serving):
- Calories: 180
- Protein: 9g
- Fat: 15g (mostly healthy unsaturated fats)
- Carbohydrates: 4g
- Fiber: 2g
- Sugar: 0g
- Sodium: 300mg (varies based on salt amount)
Health Benefits: Pumpkin seeds are packed with magnesium, zinc, iron, and healthy fats. Magnesium supports muscle function and sleep quality. Zinc is great for your immune system, especially during fall and winter when colds are everywhere. The healthy fats help keep you full and satisfied. And the fiber supports good digestion.
Dietary Considerations: This recipe is naturally gluten-free, dairy-free, and low-carb. It’s also vegetarian and vegan as written. If you’re watching your sodium, you can reduce the salt or use a salt substitute. For a lower-fat version, you can skip the oil, but the seeds won’t be quite as crispy. They’ll still be good, just not as crunchy.
Potential Allergens: Pumpkin seeds themselves are not common allergens, but they are seeds, so anyone with seed allergies should be cautious. The oil and salt are allergen-free. If you’re making any of the variations, check for allergens in the added ingredients (Parmesan contains dairy, for example).
I love that this snack is actually good for you. It’s one of those rare recipes that satisfies a craving for something salty and crunchy while also delivering real nutritional value. You can feel good about eating a handful—or two.
Conclusion
If you’ve been making pumpkin seeds the old-fashioned way—boiling them, drying them overnight, roasting them in the oven—I’m here to tell you there’s a better way. The air fryer changes everything. It’s faster, easier, and gives you consistently crispy results every single time.
This recipe is proof that the simplest things are often the best. Three ingredients. Fifteen minutes. A bowl of the most addictive, crunchy, salty snack you’ve ever had. It’s the kind of recipe that makes you wonder why you ever did it any other way.
I hope you give these a try, whether you’re carving pumpkins for Halloween or just craving something warm and crunchy on a cool fall afternoon. Play around with the seasonings. Make them your own. And if you come up with a variation I haven’t tried, I’d love to hear about it.
Drop a comment below and let me know how yours turned out! Did you stick with classic sea salt, or did you try something wild? Share your creations, and don’t forget to tag me if you post them online. Happy snacking, friends. You’ve got this.
Frequently Asked Questions
Can I use store-bought pumpkin seeds instead of fresh ones?
Absolutely. If you’re using pre-hulled pumpkin seeds (pepitas), they’ll cook faster because they’re thinner. Check them at the 5-minute mark instead of 8. They’ll still be delicious, just a little different in texture. Fresh seeds from a pumpkin have a heartier crunch, but store-bought works great in a pinch.
Do I have to boil the seeds before air frying?
Nope. That’s one of the best things about this recipe. Traditional oven-roasted recipes often call for boiling the seeds first to help them get crispy, but the air fryer’s hot, circulating air does the job without that extra step. Just rinse, dry, season, and go. It saves you about 20 minutes.
Why are my pumpkin seeds not crispy?
This usually happens for one of two reasons: they weren’t dry enough before cooking, or they were overcrowded in the air fryer basket. Make sure you pat them completely dry with a towel and let them air dry for a few minutes. And always spread them in a single layer with space between each seed. If they’re piled up, they’ll steam instead of crisp.
Can I make these in a regular oven?
Yes, you can. Spread the seasoned seeds on a baking sheet in a single layer and bake at 350°F for 12-15 minutes, stirring halfway through. Keep a close eye on them toward the end because they can go from golden to burnt quickly. They won’t be quite as crispy as the air fryer version, but they’ll still be delicious.
How long do these stay fresh?
Stored in an airtight container at room temperature, they’ll stay crispy for about a week. After that, they start to soften but are still safe to eat for another week or so. If they get soft, you can re-crisp them in the air fryer for 2-3 minutes at 350°F. Just let them cool before storing again.
Pin This Recipe!
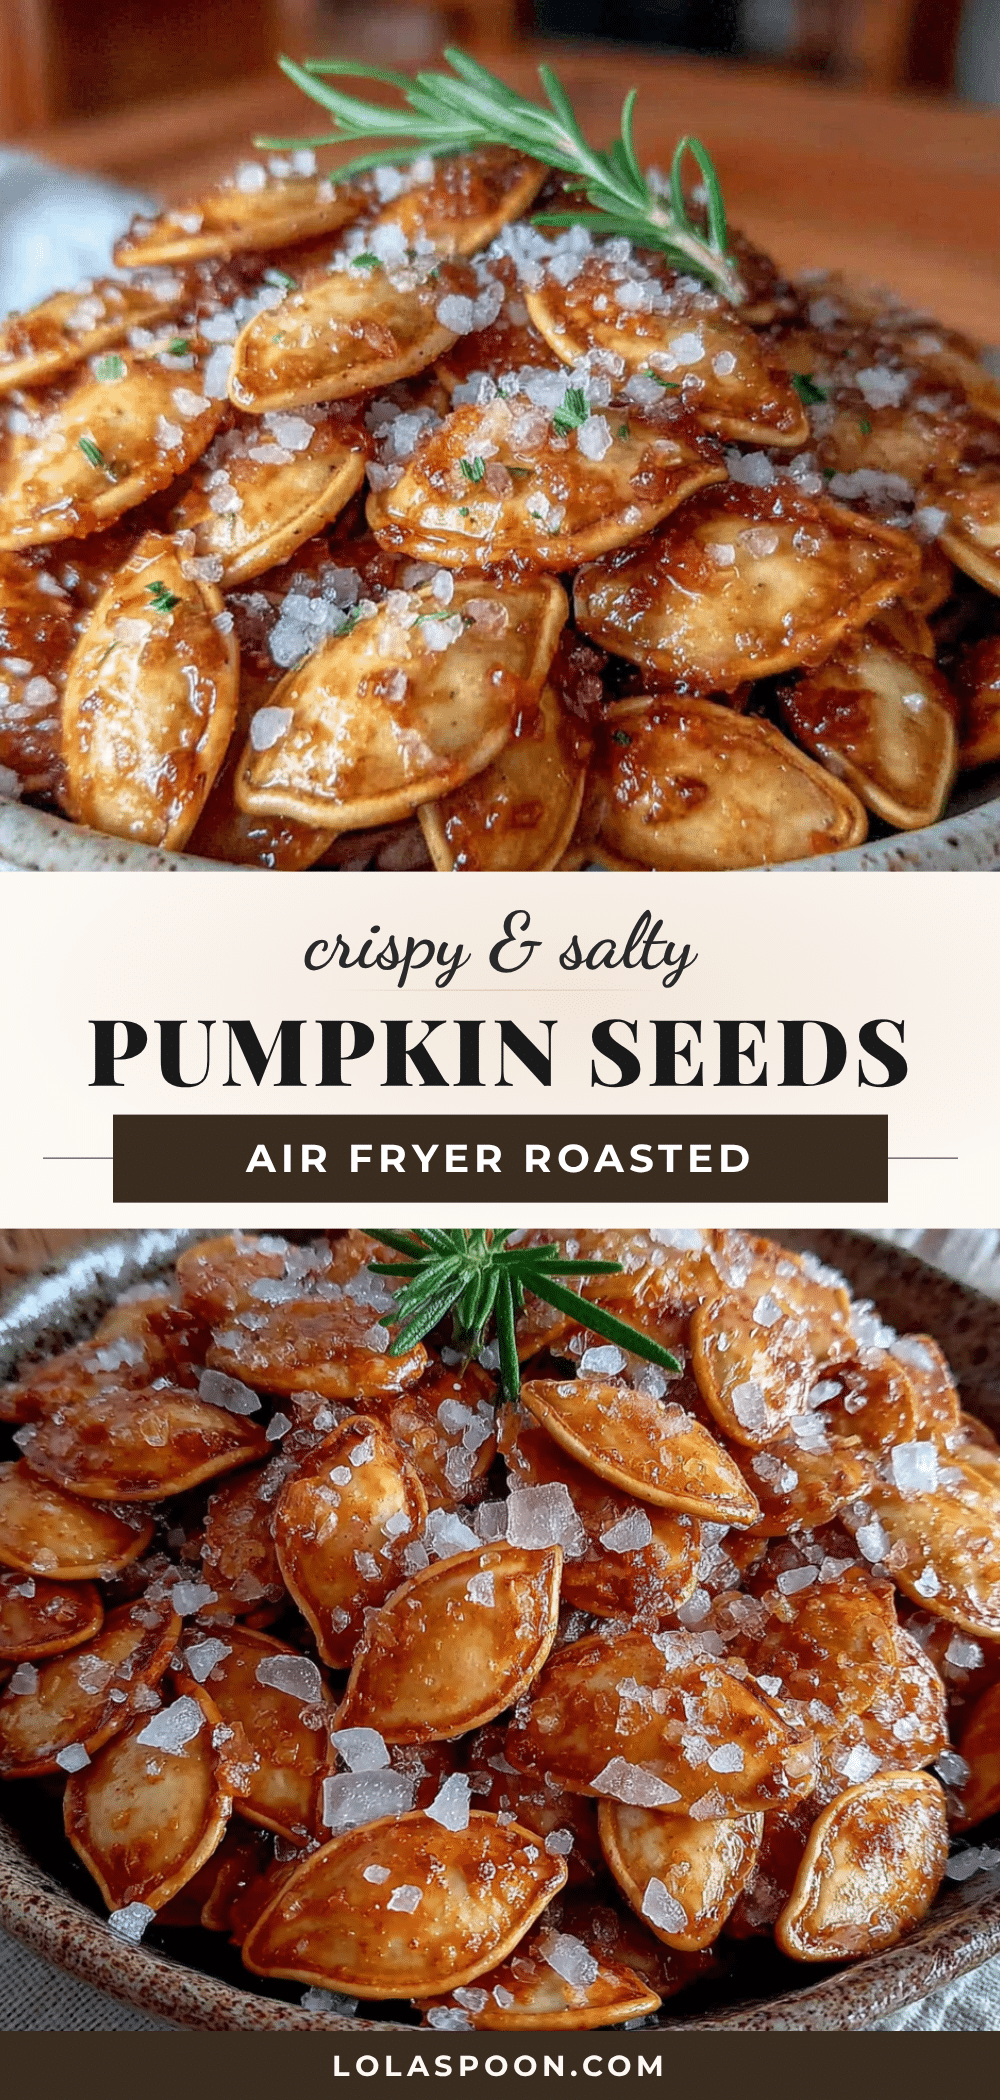
Crispy Air Fryer Pumpkin Seeds: Easy 15-Minute Recipe

Learn how to make perfectly crispy air fryer pumpkin seeds in just 15 minutes with only three ingredients. This easy recipe delivers crunchy, salty seeds every time, perfect for fall snacking.
- Prep Time: 5 minutes
- Cook Time: 10 minutes
- Total Time: 15 minutes
- Yield: 4 servings 1x
- Category: Snack
- Cuisine: American
Ingredients
- 1 cup fresh pumpkin seeds
- 1 tablespoon olive oil or avocado oil
- 1 teaspoon flaky sea salt (plus more to taste)
Instructions
- Separate the seeds from the pumpkin guts. Scoop out the seeds and stringy pulp into a bowl, then pick out the seeds and place them in a colander.
- Rinse the seeds thoroughly under cold water, rubbing them gently to remove any remaining pumpkin strings, until the water runs clear.
- Dry the seeds completely by spreading them on a clean kitchen towel or paper towels, patting dry, and letting them air dry for about 5 minutes.
- Preheat your air fryer to 350°F (175°C) for about 3 minutes.
- Toss the dried seeds in a mixing bowl with 1 tablespoon of oil and 1 teaspoon of flaky sea salt until every seed is coated.
- Spread the seasoned seeds in the air fryer basket in a single layer. Do not overcrowd; work in batches if needed.
- Air fry at 350°F for 5 minutes.
- Shake the basket and cook for another 3-5 minutes, checking at the 3-minute mark. Seeds should be golden brown and sound hollow when shaken.
- Let the seeds cool completely for at least 5 minutes (they get crunchier as they cool).
- Taste and adjust salt if needed.
Notes
Dry the seeds thoroughly to ensure crispiness. Do not overcrowd the air fryer basket. Watch closely at the end to prevent burning. Let cool completely before storing. For variations, try spicy chili lime, sweet cinnamon, everything bagel, garlic parmesan, or maple rosemary seasonings.
Nutrition
- Serving Size: 1/4 cup
- Calories: 180
- Sodium: 300
- Fat: 15
- Saturated Fat: 2
- Carbohydrates: 4
- Fiber: 2
- Protein: 9
Keywords: air fryer pumpkin seeds, crispy pumpkin seeds, easy pumpkin seeds, fall snack, healthy snack, gluten-free, vegan