There used to be a tiny pop-up bakery in an old laundromat downtown called “The Midnight Muffin” that made the most ridiculous, wonderful Halloween treats. When they closed after just one season, I was genuinely heartbroken. My kids still talk about the “witch finger cookies” we bought there—but it was their savory cheese straws, twisted to look like severed fingers, that I couldn’t stop thinking about. After seven tries—a few were too crumbly, one batch looked more like alien tentacles—I finally got it. These kid-approved severed finger cheese straws are the result of my obsession, and honestly, they’re even better than I remember.
The first time I made them for our annual spooky family dinner, my youngest shrieked with delighted horror. “Mom, you made real fingers!” she yelled, grabbing one before I could even plate them. That moment—seeing her face light up with that perfect mix of grossed-out and thrilled—made every failed batch worth it. You know that feeling when you nail a recipe that becomes an instant tradition? That’s these cheese straws.
What I love most is how they bridge the gap between “fun Halloween food” and “something the whole family will actually eat.” They’re cheesy, buttery, and just a little bit spicy—with a crunch that’s downright addictive. The almond “fingernails” add that creepy touch without being weird to eat. I mean, who doesn’t love roasted almonds on a cheese straw? Let me tell you, these disappear faster than candy at a parade.
Why You’ll Love This Recipe
These severed finger cheese straws aren’t just a gimmick—they’re genuinely delicious and surprisingly easy to make. Here’s why they’ve become the star of our spooky family dinner every year:
- Quick & Easy : Comes together in under 40 minutes, with just 15 minutes of hands-on prep. Perfect for busy Halloween weeknights or last-minute party planning.
- Simple Ingredients : No fancy grocery trips needed. You likely already have flour, butter, cheese, and an egg in your kitchen right now.
- Perfect for Spooky Occasions : Great for Halloween parties, spooky family dinners, or just a fun after-school snack that’ll make the neighbors talk.
- Crowd-Pleaser : Always gets rave reviews from kids and adults alike. Even the pickiest eaters can’t resist the cheesy, buttery crunch.
- Unbelievably Delicious : The texture is perfectly crisp on the outside with a tender, flaky interior. The smoked paprika adds a subtle warmth that makes these unforgettable.
What makes this recipe different from all those other cheese straws you’ve seen? It’s the technique. I spent weeks perfecting the dough consistency so these fingers hold their shape during baking—no spreading, no losing the “knuckle” indentations. And that almond fingernail trick? It’s not just for show. The roasted almond adds a nutty crunch that complements the sharp cheddar beautifully. This isn’t just another Halloween recipe—it’s your best version, tried and true from my kitchen to yours.
These cheese straws are the kind of recipe that makes you close your eyes after the first bite. It’s comfort food with a spooky twist—faster than making cookies, but with the same soul-soothing satisfaction. Perfect for impressing guests without stress, or turning a simple family dinner into something your kids will remember for years.
What Ingredients You Will Need
This recipe uses simple, wholesome ingredients to deliver bold flavor and satisfying texture without the fuss. Most of these are pantry staples, which makes these cheese straws perfect for spontaneous spooky baking sessions.
- All-purpose flour, 2 cups (250g) – Provides structure and that perfect flaky texture. I prefer King Arthur Flour for consistent results.
- Cold unsalted butter, 1 cup (226g), cut into small cubes – The key to flaky, tender straws. Keep it cold until the last second for best results.
- Sharp cheddar cheese, 2 cups (200g), finely grated – Use block cheese and grate it yourself. Pre-shredded cheese has anti-caking agents that affect texture. Extra-sharp gives the best flavor.
- Large egg, 1, beaten – Binds the dough and helps create that golden crust.
- Cold water, 2-3 tablespoons (30-45ml) – Adds just enough moisture to bring the dough together without making it tough.
- Smoked paprika, 1 teaspoon – Adds that subtle smoky warmth and gives the straws a slightly creepy “aged” color. Sweet paprika works too, but smoked is better.
- Garlic powder, 1/2 teaspoon – A little savory depth that makes these irresistible. Don’t skip it.
- Salt, 1/2 teaspoon – Enhances all the flavors. I use fine sea salt.
- Whole almonds, 24-30, blanched – These become the “fingernails.” Blanched almonds look more realistic, but roasted salted almonds work too if that’s what you have.
- Ketchup or red food coloring (optional) – For adding a “bloody” touch at the base of the fingernails. Totally optional, but kids love it.
For the best results, use high-quality sharp cheddar. I recommend Cabot or Kerrygold for their superior melt and flavor. The butter should be European-style if you can find it—it has a higher fat content that makes the straws extra flaky. And please, grate your own cheese. I know it’s tempting to buy the bagged stuff, but trust me on this one—the texture difference is night and day.
If you’re making these for someone with dairy sensitivities, you can substitute the butter with a high-quality vegan butter and use a dairy-free cheddar-style shred. The texture won’t be quite as flaky, but the flavor will still be fantastic. For a gluten-free version, swap the all-purpose flour with a 1:1 gluten-free baking blend—just add an extra tablespoon of cold water if the dough feels dry.
Equipment Needed
You don’t need any fancy equipment for these severed finger cheese straws, which is part of their charm. Here’s what you’ll need:
- Large mixing bowl – For combining the dry ingredients and cutting in the butter. A wide bowl makes it easier to work.
- Pastry cutter or two forks – For cutting the butter into the flour. I’ve used both, and honestly, a pastry cutter is faster, but forks work fine in a pinch.
- Rolling pin – For rolling the dough to the right thickness. No rolling pin? A clean wine bottle works surprisingly well.
- Sharp knife or pizza cutter – For cutting the dough into finger-sized strips. A pizza cutter gives cleaner edges.
- Baking sheet – Line it with parchment paper for easy cleanup. I use a half-sheet pan.
- Parchment paper – Non-stick and makes cleanup a breeze. You can use a silicone baking mat instead.
- Small brush – For applying the egg wash. A pastry brush is ideal, but a clean paintbrush works too—just make sure it’s never been used for paint!
- Cooling rack – For cooling the straws so they stay crisp. If you don’t have one, transfer them to a plate after a few minutes.
Budget-friendly tip: Skip the expensive pastry cutter and use two forks or even your fingers. The key is to work quickly so the butter stays cold. I’ve made these in a tiny apartment kitchen with nothing but a butter knife and my hands, and they turned out perfectly.
Preparation Method
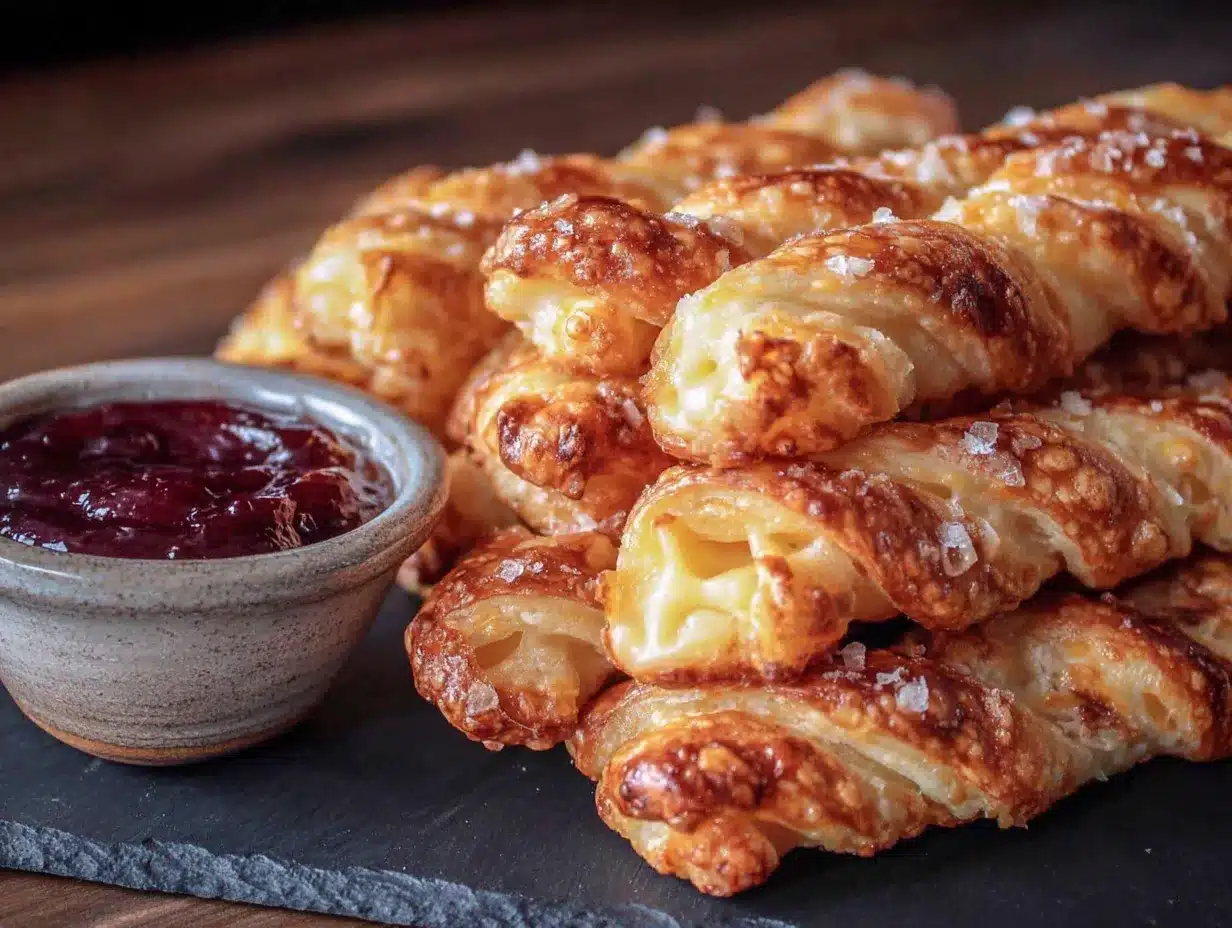
Let’s get creepy! Follow these steps carefully, and you’ll have the most realistic (and delicious) severed finger cheese straws your family has ever seen.
- Preheat your oven to 375°F (190°C) and line your baking sheet with parchment paper. This ensures even baking and easy cleanup. While the oven heats, pop your butter cubes back in the fridge—they need to stay cold.
- In your large mixing bowl, whisk together the flour, smoked paprika, garlic powder, and salt. Make sure the spices are evenly distributed. I like to use a fork for this—it breaks up any clumps better than a whisk.
- Add the cold butter cubes to the flour mixture. Using your pastry cutter or two forks, cut the butter into the flour until the mixture resembles coarse crumbs with pea-sized butter pieces. This should take about 2-3 minutes. Don’t overwork it—those little butter pieces are what create the flaky layers. If the butter starts to soften, pop the bowl in the fridge for 5 minutes.
- Add the grated cheddar cheese and toss gently to combine. Use your hands for this—it’s faster and you can feel if the cheese is evenly distributed. The mixture should look like crumbly, cheesy sand at this point.
- Add the beaten egg and 2 tablespoons of cold water. Mix with a fork until the dough starts to come together. If it seems dry, add the remaining tablespoon of water. The dough should hold together when squeezed but shouldn’t be sticky. I learned this the hard way—add water one tablespoon at a time!
- Turn the dough out onto a lightly floured surface and gently bring it together into a disc. Don’t knead it—just press it together until it forms a cohesive ball. Wrap it in plastic wrap and refrigerate for 15 minutes. This rest is crucial—it relaxes the gluten and keeps the butter cold.
- After the rest, roll the dough into a rectangle about 1/4-inch (6mm) thick. Don’t worry about perfect edges—you’ll be cutting them anyway. If the dough cracks at the edges, just press it back together with your fingers. It’s very forgiving.
- Using a sharp knife or pizza cutter, cut the dough into strips about 4 inches (10cm) long and 1/2 inch (1.25cm) wide. You should get about 24-30 strips, depending on how thick you cut them. For the most realistic “fingers,” vary the widths slightly—real fingers aren’t all the same size!
- Gently roll each strip between your palms to round the edges slightly. This gives them that finger-like shape. Don’t roll too hard or you’ll flatten them. I like to make one end slightly wider (the “knuckle” end) and taper the other slightly (where the fingernail goes).
- Place the shaped “fingers” on your prepared baking sheet, spacing them about 1 inch (2.5cm) apart. They won’t spread much, but a little space helps them bake evenly. Use a small knife or the back of a chopstick to create 2-3 “knuckle” indentations on each finger. Press gently—you want them to look realistic, not cut through the dough.
- Press a blanched almond onto the tapered end of each finger to create the “fingernail.” Push it in just enough so it stays put during baking. If you’re using the ketchup or red food coloring, dab a tiny bit at the base of the almond for a “bloody” cuticle effect. My kids insist on this step—the grosser, the better!
- Brush each finger lightly with a little beaten egg or milk for a golden finish. This gives them that appetizing sheen. Be careful not to brush the almonds—they’ll brown too quickly.
- Bake for 18-22 minutes, or until the cheese straws are golden brown and firm to the touch. The almonds should be lightly toasted. Rotate the baking sheet halfway through for even browning. Your kitchen will smell amazing at this point—like a cheesy, buttery dream.
- Let the cheese straws cool on the baking sheet for 5 minutes, then transfer to a cooling rack. They’ll crisp up as they cool. Don’t skip this step—if you move them too soon, they might break. Trust me, I’ve lost a few “fingers” this way!
Cooking Tips & Techniques
After making these severed finger cheese straws more times than I care to admit, I’ve collected a few tips that make all the difference. Let me save you from my mistakes.
Keep everything cold. This is the number one rule for flaky cheese straws. If your butter melts into the flour before baking, you’ll end up with tough, dense straws instead of tender, flaky ones. I keep my butter in the freezer for 10 minutes before starting, and if my kitchen is warm, I refrigerate the dough between steps. One time I got distracted by a phone call, and by the time I came back, the butter had softened—the resulting straws were sad, flat little things.
Don’t overwork the dough. I know it’s tempting to keep mixing until everything looks perfectly combined, but overworking develops gluten and makes the straws tough. Mix just until the dough holds together, and handle it as little as possible. The first time I made these, I kneaded the dough like bread—big mistake. They came out like hockey pucks.
Grate your own cheese. I cannot stress this enough. Pre-shredded cheese is coated with potato starch or cellulose to prevent clumping, which interferes with melting and texture. Freshly grated cheddar melts smoothly and creates that beautiful, tender crumb. Plus, it tastes better. I always grate extra and sneak a few bites while I work.
Make the knuckle indentations deep enough. They’ll puff up a little during baking, so press firmly. If you’re unsure, err on the side of deeper—you can always press them again right after baking while the straws are still warm. My first batch had barely visible knuckles, and my son asked why I made “smooth alien fingers.” Lesson learned.
Work in batches if needed. These cheese straws are best baked fresh, but if you’re making a large batch, refrigerate the shaped but unbaked straws on the baking sheet while the first batch bakes. This keeps the butter cold and ensures even results. I’ve even frozen shaped, unbaked straws for up to a month—just add 2-3 minutes to the baking time.
Variations & Adaptations
These severed finger cheese straws are endlessly customizable. Here are some variations I’ve tried and loved:
Spicy “Monster Fingers” : Add 1/2 teaspoon of cayenne pepper or red pepper flakes to the flour mixture. The heat pairs beautifully with the sharp cheddar and smoked paprika. My husband loves these, though the kids find them a little too spicy. I make a separate batch with just a pinch of cayenne for the grown-ups.
Herb-Infused “Witch Fingers” : Mix in 1 tablespoon of finely chopped fresh rosemary or thyme. The herbs add an earthy, savory note that makes these feel more sophisticated. I made these for a Halloween cocktail party, and they were gone in 10 minutes. The rosemary looks like little “warts” on the fingers—perfectly creepy!
Gluten-Free Version : Substitute the all-purpose flour with a 1:1 gluten-free baking blend that contains xanthan gum. Add an extra tablespoon of cold water if the dough feels dry. The texture will be slightly more crumbly, but the flavor is still fantastic. My gluten-sensitive friend requests these every year.
Vegan “Fingers” : Use a high-quality vegan butter and dairy-free cheddar-style shreds. I’ve had good results with Miyoko’s butter and Violife cheddar. The dough will be a bit softer, so chill it for an extra 10 minutes before rolling. The almonds are naturally vegan, so you’re good there.
“Bloody” Fingers : For an extra-gruesome touch, dip the baked fingernail end in a little ketchup or sriracha mixed with a drop of red food coloring. My kids go absolutely wild for this version. Just be warned—they look disturbingly realistic, which is exactly the point!
Serving & Storage Suggestions
These severed finger cheese straws are best served warm, right after baking, when they’re at their crispiest. Arrange them on a platter with a few sprigs of rosemary or parsley to look like “fingers reaching out of the ground.” For an extra creepy presentation, stand them upright in a small glass or vase filled with black beans or crushed Oreo “dirt.”
They pair beautifully with a bowl of warm marinara sauce or ranch dressing for dipping—the red sauce adds to the “bloody” theme. For a full spooky dinner, serve them alongside a batch of spooky spiderweb pizza or mummy hot dog bites. It’s a meal that’ll have your kids giggling and eating everything on their plates.
For storage, place cooled cheese straws in an airtight container at room temperature for up to 3 days. They’ll lose some of their crispness over time, but they’re still delicious. To re-crisp them, pop them in a 300°F (150°C) oven for 5 minutes. I do not recommend microwaving—they’ll turn soggy and sad.
You can also freeze the baked cheese straws for up to 2 months. Place them in a single layer in a freezer-safe container with parchment between layers. Thaw at room temperature and re-crisp in the oven before serving. The flavor actually improves slightly after freezing—the spices have time to meld.
One thing I love about these cheese straws is that they actually taste better the next day. The flavors deepen and meld, and while they lose a bit of crunch, they become almost shortbread-like in texture. I’ve been known to hide a few in my desk drawer for a mid-afternoon snack.
Nutritional Information & Benefits
Each serving (about 3 cheese straws) contains approximately:
- Calories: 220
- Total Fat: 16g
- Saturated Fat: 10g
- Cholesterol: 55mg
- Sodium: 280mg
- Total Carbohydrates: 12g
- Dietary Fiber: 1g
- Sugars: 1g
- Protein: 8g
These cheese straws are a good source of calcium and protein from the cheddar cheese and almonds. The almonds also provide healthy monounsaturated fats and vitamin E, which supports skin health. While they’re not exactly health food, they’re a more nutritious option than many Halloween treats—no artificial colors or preservatives here.
If you’re watching your sodium intake, you can reduce the added salt to 1/4 teaspoon. The sharp cheddar provides plenty of salty flavor on its own. For a lower-fat version, use a reduced-fat cheddar, though note that the texture will be slightly less tender.
These cheese straws are naturally vegetarian and can be made gluten-free or vegan with the substitutions mentioned above. They contain dairy, eggs, and almonds—be sure to check for allergies before serving at a party.
Conclusion
These kid-approved severed finger cheese straws have become the highlight of our spooky family dinner every single year. They’re fun, they’re delicious, and they’re surprisingly easy to make—even on a busy weeknight when you’re juggling homework and Halloween costume emergencies. The combination of sharp cheddar, smoky paprika, and buttery, flaky pastry is absolutely addictive, and the creepy finger presentation never fails to get a reaction.
What I love most about this recipe is how it brings people together. There’s something magical about watching kids squeal with delighted horror, then grab another handful because they just can’t stop eating them. It’s the kind of recipe that creates memories—the kind your kids will talk about for years. “Remember when Mom made those finger things?”
I encourage you to make these your own. Add extra spice, try different cheeses, or experiment with the presentation. And please, come back and tell me how they turned out! Drop a comment below, share a photo of your creepy creations, or tag me on social media. I’d love to see your version of these severed finger cheese straws. Happy haunting—and happy eating!
Frequently Asked Questions
Can I make these cheese straws ahead of time?
Absolutely! You can prepare the dough up to 3 days in advance and keep it wrapped in the refrigerator. You can also shape the unbaked cheese straws and freeze them on a baking sheet, then transfer to a freezer bag for up to a month. Bake directly from frozen, adding 2-3 minutes to the baking time.
Why did my cheese straws spread and lose their finger shape?
This usually happens when the butter is too warm. Make sure your butter is very cold, and if your kitchen is warm, refrigerate the shaped straws for 10 minutes before baking. Also, ensure your oven is fully preheated—a hot oven helps the straws set quickly before the butter melts.
Can I use a different type of cheese?
Yes! While sharp cheddar gives the best flavor and color, you can experiment with other cheeses. Gouda adds a smoky sweetness, Parmesan makes them extra savory, and pepper jack adds a spicy kick. Just make sure to use a cheese that melts well—avoid very dry cheeses like aged Parmesan on its own.
How do I make the fingernails look more realistic?
Use blanched almonds for the most natural look. You can also trim the almonds to a more rounded shape with a sharp knife. For added realism, dab a tiny bit of red food coloring or ketchup at the base of the almond to create a “cuticle” effect. My kids insist this is the most important step!
Can I make these without a pastry cutter?
Absolutely! You can use two forks, a food processor (pulse just until combined), or even your hands. If using your hands, work quickly to keep the butter cold, and stop as soon as the mixture looks like coarse crumbs. The less you handle the dough, the flakier your cheese straws will be.
Pin This Recipe!
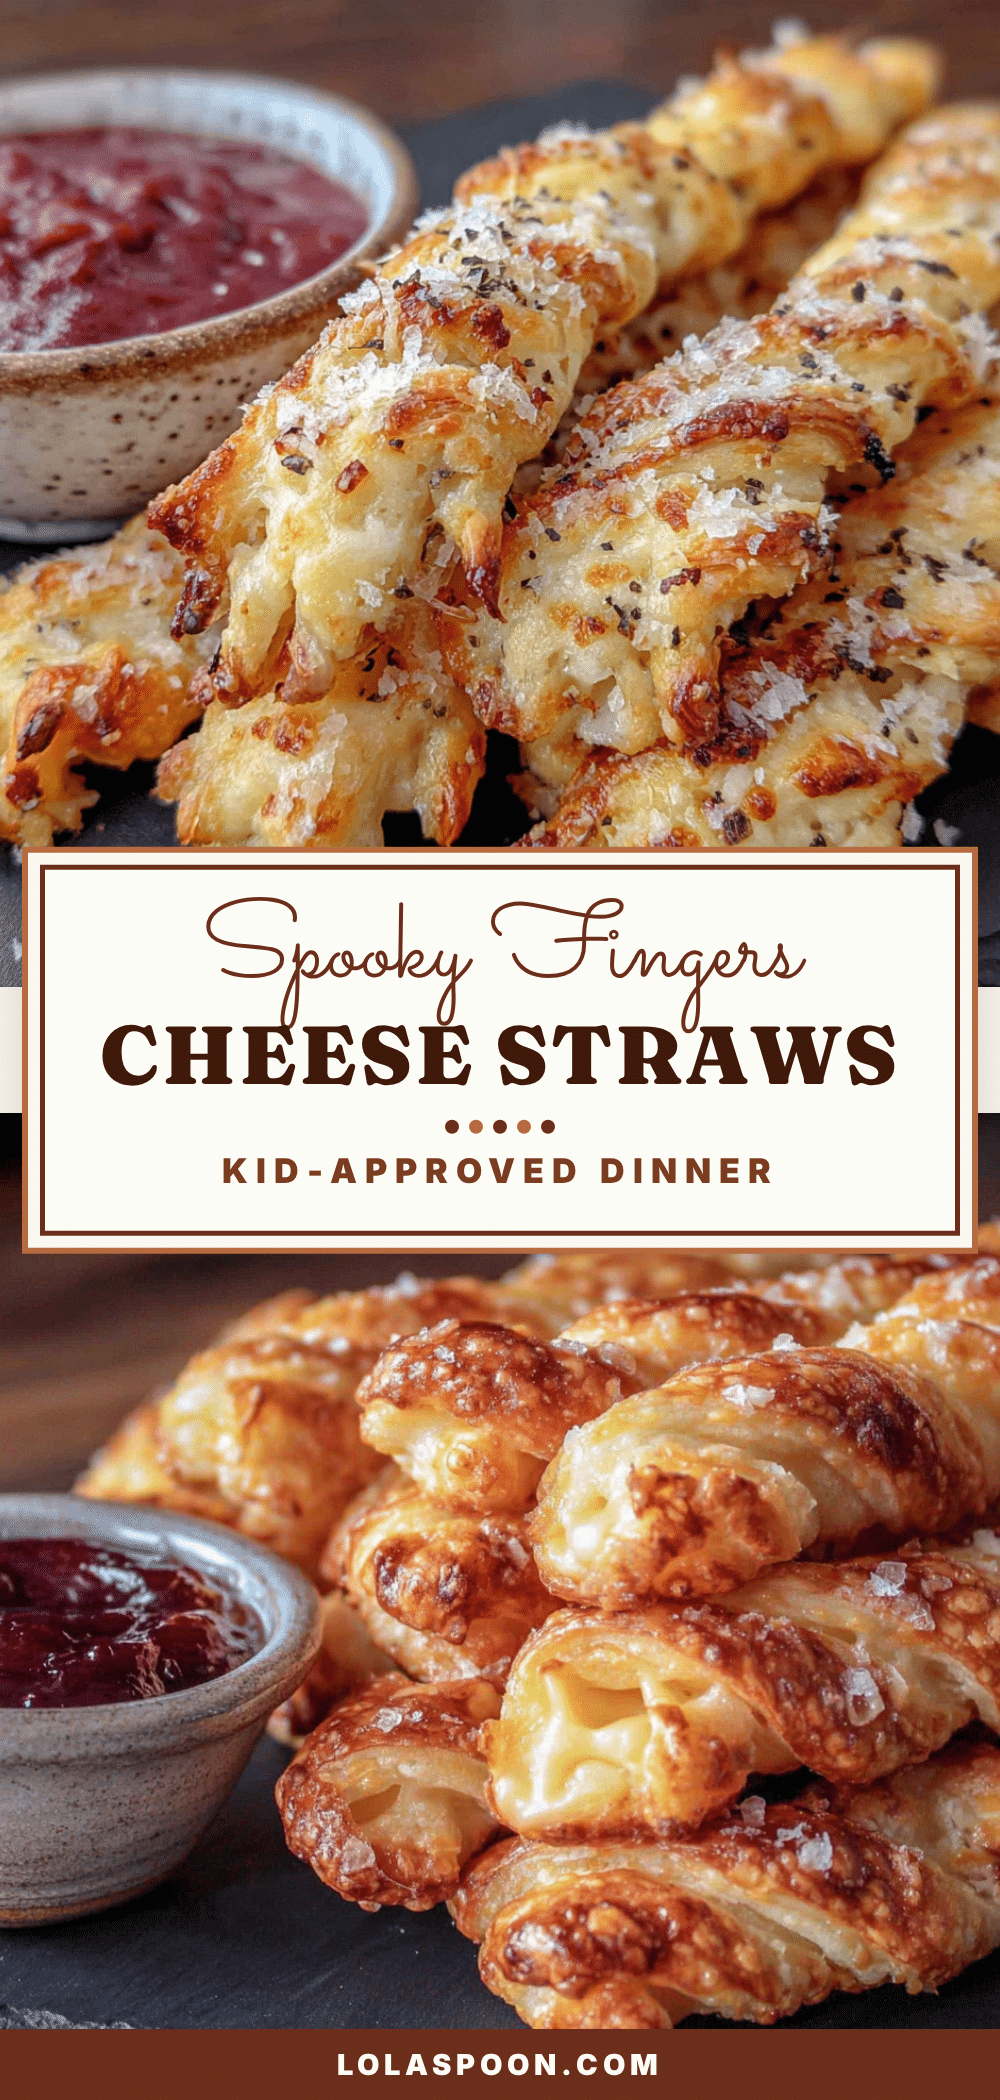
Perfect Severed Finger Cheese Straws Recipe for Spooky Dinner
These kid-approved severed finger cheese straws are cheesy, buttery, and just a little bit spicy—with a crunch that’s downright addictive. The almond ‘fingernails’ add a creepy touch without being weird to eat, making them the star of any spooky family dinner.
- Prep Time: 15 minutes
- Cook Time: 20 minutes
- Total Time: 35 minutes
- Yield: 8 servings 1x
- Category: Appetizer
- Cuisine: American
Ingredients
- 2 cups (250g) all-purpose flour
- 1 cup (226g) cold unsalted butter, cut into small cubes
- 2 cups (200g) sharp cheddar cheese, finely grated
- 1 large egg, beaten
- 2–3 tablespoons (30-45ml) cold water
- 1 teaspoon smoked paprika
- 1/2 teaspoon garlic powder
- 1/2 teaspoon salt
- 24–30 whole blanched almonds
- Ketchup or red food coloring (optional)
Instructions
- Preheat your oven to 375°F (190°C) and line your baking sheet with parchment paper. Keep butter cubes in the fridge until needed.
- In a large mixing bowl, whisk together the flour, smoked paprika, garlic powder, and salt until evenly distributed.
- Add the cold butter cubes to the flour mixture. Using a pastry cutter or two forks, cut the butter into the flour until the mixture resembles coarse crumbs with pea-sized butter pieces (about 2-3 minutes). If butter softens, refrigerate the bowl for 5 minutes.
- Add the grated cheddar cheese and toss gently to combine using your hands until the mixture looks like crumbly, cheesy sand.
- Add the beaten egg and 2 tablespoons of cold water. Mix with a fork until the dough starts to come together. If dry, add the remaining tablespoon of water. The dough should hold together when squeezed but not be sticky.
- Turn the dough out onto a lightly floured surface and gently bring it together into a disc. Do not knead. Wrap in plastic wrap and refrigerate for 15 minutes.
- After the rest, roll the dough into a rectangle about 1/4-inch (6mm) thick. If edges crack, press them back together with fingers.
- Using a sharp knife or pizza cutter, cut the dough into strips about 4 inches (10cm) long and 1/2 inch (1.25cm) wide. You should get about 24-30 strips. Vary widths slightly for realism.
- Gently roll each strip between your palms to round the edges slightly, making one end slightly wider (knuckle end) and tapering the other (fingernail end).
- Place the shaped ‘fingers’ on the prepared baking sheet, spacing them about 1 inch (2.5cm) apart. Use a small knife or chopstick to create 2-3 ‘knuckle’ indentations on each finger, pressing gently.
- Press a blanched almond onto the tapered end of each finger to create the ‘fingernail.’ If using, dab a tiny bit of ketchup or red food coloring at the base of the almond for a ‘bloody’ cuticle effect.
- Brush each finger lightly with a little beaten egg or milk for a golden finish, being careful not to brush the almonds.
- Bake for 18-22 minutes, or until golden brown and firm to the touch. Rotate the baking sheet halfway through for even browning.
- Let the cheese straws cool on the baking sheet for 5 minutes, then transfer to a cooling rack to crisp up.
Notes
Keep everything cold for flaky results. Grate your own cheese for best texture. Make knuckle indentations deep enough as they puff during baking. For best results, refrigerate shaped unbaked straws if kitchen is warm. Can be frozen unbaked for up to a month.
Nutrition
- Serving Size: 3 cheese straws
- Calories: 220
- Sugar: 1
- Sodium: 280
- Fat: 16
- Saturated Fat: 10
- Carbohydrates: 12
- Fiber: 1
- Protein: 8
Keywords: Halloween, cheese straws, severed fingers, spooky, appetizer, party food, kid-friendly


