The woman at the community garden booth watched me stare at her basket of pumpkin seeds for a good minute before she finally spoke. “You’re thinking about roasting them, aren’t you?” she asked, not unkindly. I admitted I was—but I’d always ended up with either burnt little pebbles or soggy, salty disappointments. She laughed and said, “Honey, you’re overthinking it. Let me tell you how my grandmother did it.” She didn’t hand me a recipe card or tell me to write anything down. She just talked while she sorted through her squash, describing how the seeds needed to be cleaned until they squeaked, how a little cinnamon changed everything, and why you never, ever use high heat. I nodded along, trying to memorize every word, but honestly, I forgot half of it by the time I got home. What I remembered was the feeling—that this wasn’t some complicated kitchen project. It was just good food, shared between two people who loved to cook. This healthy cinnamon sugar baked pumpkin seeds recipe is my version of what she taught me that afternoon. It’s sweet, it’s crunchy, and it somehow makes you feel like you’re eating dessert while actually snacking on something pretty good for you. Maybe you’ve been there—staring at a pile of pumpkin guts, wondering why your seeds never turn out right. Let me show you what I learned.
Why You’ll Love This Recipe
Let me tell you why this healthy pumpkin seeds recipe has become my go-to fall snack, and honestly, my year-round craving. I’ve tested this method at least a dozen times, tweaking temperatures and spice ratios until everything clicked.
- Quick & Easy: From pumpkin to snack in under 30 minutes. Most of that time is just baking—you’re barely doing any work.
- Simple Ingredients: You need pumpkin seeds, coconut oil, cinnamon, and a touch of maple syrup. That’s it. No weird health store ingredients you’ll never use again.
- Perfect for Meal Prep: Make a big batch on Sunday, and you’ve got crunchy snacks all week. They’re great for lunchboxes, afternoon slumps, or movie nights.
- Crowd-Pleaser: I brought these to a potluck once, and someone asked if they were candied nuts. Kids love them, adults love them, and nobody guesses they’re actually pretty healthy.
- Unbelievably Delicious: The cinnamon-sugar coating gets all caramelized and crunchy, but the seeds stay light and toasty. It’s that perfect balance of sweet and savory that keeps you reaching for more.
What makes this different from every other roasted pumpkin seed recipe out there? It’s the low-and-slow method with a coconut oil base. Most recipes blast seeds at 400°F and end up with burnt edges. This gentle bake lets the cinnamon and maple syrup sink in without scorching. Plus, using coconut oil instead of butter keeps it dairy-free and adds this subtle richness you can’t quite place but totally love.
This is the kind of recipe that makes you feel good about snacking. It’s not about deprivation—it’s about having something genuinely delicious that also happens to be packed with magnesium, zinc, and healthy fats. You get the crunch, the sweetness, and zero guilt. Honestly, that’s the dream right there.
What Ingredients You Will Need
This recipe uses simple, wholesome ingredients that you probably already have in your kitchen. The magic happens when these five ingredients come together in just the right balance.
- Fresh pumpkin seeds (1 cup / 120g): Straight from a pumpkin is best, but store-bought raw pumpkin seeds work perfectly too. If using fresh, rinse them well and pat completely dry. Wet seeds steam instead of roast, and nobody wants soggy seeds.
- Coconut oil (1 tablespoon, melted): Use refined coconut oil if you don’t want any coconut taste, or unrefined for a subtle tropical note. Melt it gently—microwave in 10-second bursts or set the jar in warm water. I personally love the flavor unrefined adds to the cinnamon.
- Maple syrup (1 tablespoon): Real maple syrup, not pancake syrup. It adds natural sweetness and helps the cinnamon stick. If you’re out of maple syrup, honey works, but the flavor will be slightly different. For a sugar-free version, try monk fruit syrup.
- Ground cinnamon (1 teaspoon): This is the star of the show. Use fresh cinnamon if you can—it makes a noticeable difference. I love Saigon cinnamon for its warm, bold flavor, but regular cinnamon works great too.
- Salt (¼ teaspoon): A pinch of flaky sea salt balances all that sweetness. Don’t skip it—salt makes the cinnamon pop and keeps the seeds from tasting flat.
That’s the base, but feel free to play around. Sometimes I add a pinch of nutmeg or a dash of vanilla extract when I’m feeling fancy. The key is keeping the ratio of wet to dry ingredients right—too much syrup and your seeds get sticky instead of crunchy.
Equipment Needed
You don’t need much for this recipe, which is part of why I love it. Here’s what you’ll want to have on hand:
- Baking sheet: A standard half-sheet pan works perfectly. Line it with parchment paper for easy cleanup—trust me, the caramelized syrup can be a pain to scrub off.
- Mixing bowl: Any medium bowl will do. I use a glass one so I can see when the seeds are evenly coated.
- Colander: For rinsing seeds if you’re scooping them fresh from a pumpkin. A fine-mesh strainer works even better.
- Kitchen towel: You’ll need this to pat the seeds dry. Paper towels work too, but a clean dish towel is more sustainable.
- Spatula: For spreading seeds on the baking sheet. A silicone spatula makes scraping every last bit of cinnamon mixture easy.
- Measuring spoons: Accuracy matters here—too much oil and the seeds get greasy, too little and the coating won’t stick.
If you don’t have parchment paper, you can use a silicone baking mat. I’ve used both, and honestly, the silicone mat gives slightly better browning on the bottom. But parchment is easier to clean up, so pick your priority.
Preparation Method
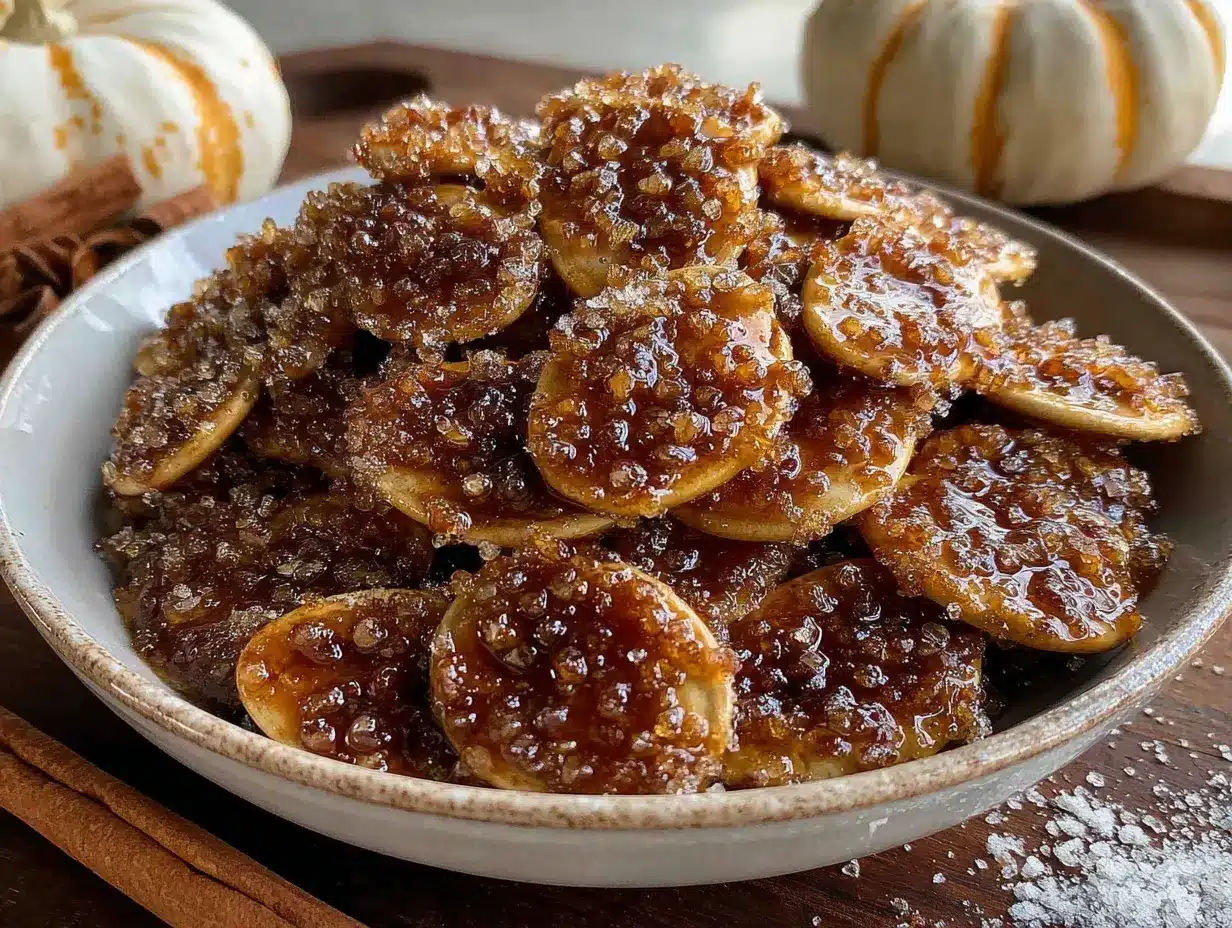
Making these healthy cinnamon sugar baked pumpkin seeds is almost too easy. But there are a few little tricks that make the difference between okay seeds and “I can’t stop eating these” seeds.
- Preheat your oven to 300°F (150°C). This is important—don’t be tempted to crank it higher. Low heat is what gives you that even, crunchy texture without burning the sugar. While the oven heats, get your seeds ready.
- Clean the seeds thoroughly. If you’re using fresh pumpkin seeds, separate them from the stringy pulp. Put them in a colander and rinse under cool water, rubbing them gently to remove any remaining pumpkin guts. You want them clean but not scrubbed raw. Drain well.
- Dry the seeds completely. This step is non-negotiable. Spread the clean seeds on a kitchen towel and pat them dry. Let them sit for 5-10 minutes if they’re still damp. Wet seeds will steam in the oven and turn out chewy instead of crunchy. I learned this the hard way after making a batch that tasted like sadness.
- Mix the coating. In your mixing bowl, combine the melted coconut oil, maple syrup, cinnamon, and salt. Whisk them together until smooth. The mixture should look like thin caramel—if it’s too thick, add a tiny splash of water.
- Coat the seeds. Add the dried pumpkin seeds to the bowl and stir until every seed is glistening. Use a spatula to scrape the sides and make sure nothing is wasted. This takes about a minute of stirring.
- Spread on the baking sheet. Pour the coated seeds onto your parchment-lined baking sheet. Spread them into a single layer—no overlapping. If seeds are piled on top of each other, they’ll steam instead of roast. Use your spatula to nudge them apart.
- Bake for 20-25 minutes. Put the sheet in the oven and set a timer for 10 minutes. At the 10-minute mark, pull the sheet out and stir the seeds with your spatula. This helps them toast evenly. Spread them back into a single layer and return to the oven.
- Check for doneness. After another 10-12 minutes, check the seeds. They should be golden brown and smell incredibly fragrant—like cinnamon toast. The coating will look slightly caramelized. If they need more time, check every 2 minutes after the 20-minute mark.
- Cool completely. Here’s the hardest part: let the seeds cool on the baking sheet for at least 15 minutes. They’ll continue crisping up as they cool. If you try to eat them right away, they’ll seem soft—but trust the process. Once cool, they should be perfectly crunchy.
- Break apart any clumps. Sometimes seeds stick together where the syrup caramelized. That’s fine—just gently break them apart with your fingers. Those little clusters are actually the best part, in my opinion.
Cooking Tips & Techniques
After making this recipe more times than I can count, I’ve picked up a few tricks that make a real difference. Let me share what I’ve learned, including the mistakes I made so you don’t have to.
Don’t skip the drying step. I know it’s tempting to just rinse and toss them in the oven, but wet seeds are the enemy of crunch. One time I was in a hurry and only patted them half-dry. The result was a batch of chewy, sad seeds that nobody wanted to eat. Take the extra five minutes.
Watch the last few minutes closely. Sugar-based coatings can go from perfectly caramelized to burnt in under a minute. Set your timer, but also use your nose. When you smell that warm cinnamon toast aroma, start checking. The seeds should be golden, not dark brown.
Use room temperature ingredients. If your coconut oil is solid, melt it gently and let it cool slightly before mixing. If you add cold seeds to warm oil, the coating doesn’t stick as well. Let everything come to room temp for the best coverage.
Double the batch if you’re smart. These seeds disappear fast. I always make at least two cups at a time because one batch barely lasts two days in my house. The recipe scales perfectly—just use a larger baking sheet or two sheets.
Stir halfway through. This isn’t optional. The edges of the pan get hotter than the center, so stirring ensures even toasting. I set my phone timer so I don’t forget—I’ve ruined too many batches by getting distracted.
Variations & Adaptations
One of the best things about this healthy pumpkin seeds recipe is how easy it is to customize. Here are some variations I’ve tried and loved:
- Spicy Cinnamon: Add ¼ teaspoon of cayenne pepper or chipotle powder to the coating. The heat sneaks up on you and pairs beautifully with the sweet cinnamon. My husband thinks this version is addictive.
- Pumpkin Pie Spice: Replace the cinnamon with 1½ teaspoons of pumpkin pie spice blend. You get all those warm fall flavors—nutmeg, ginger, allspice—in every bite. This is my favorite for holiday snacking.
- Vegan and Gluten-Free: This recipe is already both! Coconut oil and maple syrup keep it plant-based, and pumpkin seeds are naturally gluten-free. Just double-check your cinnamon if you’re highly sensitive.
- Savory Sweet: Reduce the maple syrup to 1½ teaspoons and add ½ teaspoon of smoked paprika and a pinch of garlic powder. It’s not quite sweet, not quite savory—it’s that perfect in-between snack.
- Air Fryer Method: Cook at 300°F for 8-10 minutes, shaking the basket halfway through. The air fryer gives an even crunch with less time. Just watch closely because air fryers run hot.
I once tried a version with cocoa powder and a tiny bit of espresso powder mixed in. It tasted like a healthy mocha latte in seed form. Not everyone loved it, but I thought it was genius. Don’t be afraid to experiment—worst case, you’ve got a weird batch of seeds, and that’s not the end of the world.
Serving & Storage Suggestions
These seeds are incredibly versatile, which is probably why I make them so often. Here’s how to enjoy and store them:
Serve them warm or at room temperature. They’re amazing straight from the oven, but honestly, I prefer them fully cooled when the crunch really sets in. Sprinkle them over yogurt bowls, oatmeal, or salads for texture. They’re also fantastic on their own as a snack—I keep a small bowl on my desk while I work.
Pair with complementary flavors. These seeds love apples, pears, and anything with caramel or vanilla. Try them on top of roasted butternut squash soup for a sweet-crunchy contrast. Or mix them into a trail mix with dried cranberries and dark chocolate chips.
Store in an airtight container. Once completely cool, transfer the seeds to a glass jar or zip-top bag. Keep them at room temperature for up to two weeks—if they last that long. I’ve never had a batch go stale because we eat them too fast.
Freeze for longer storage. If you make a big batch, freeze the seeds in a freezer-safe bag for up to three months. They thaw at room temperature in about 10 minutes and keep their crunch perfectly. Just make sure they’re completely cool before freezing to prevent ice crystals.
Revive stale seeds. If somehow your seeds lose their crunch, spread them on a baking sheet and warm them in a 300°F oven for 3-4 minutes. Let them cool, and they’ll crisp right back up. It’s like magic.
One thing I love about this recipe is how the flavors deepen after a day or two. The cinnamon and maple meld together, and the seeds get even more flavorful. So don’t worry if they seem mild right out of the oven—give them a day, and they’ll be even better.
Nutritional Information & Benefits
These seeds aren’t just delicious—they’re genuinely good for you. Here’s the breakdown for a ¼-cup serving (about 30g):
- Calories: Approximately 180
- Protein: 8g
- Healthy Fats: 14g (mostly unsaturated)
- Fiber: 2g
- Sugar: 4g (from maple syrup, no refined sugar)
- Magnesium: 37% of your daily needs
- Zinc: 23% of your daily needs
Pumpkin seeds are packed with magnesium, which supports muscle function and sleep quality. The zinc content is great for immune health, especially during cold season. And because we’re using coconut oil and maple syrup instead of butter and white sugar, you’re getting healthier fats and natural sweetness.
This recipe fits into most dietary patterns—it’s naturally gluten-free, dairy-free, and vegan. The only potential allergen is coconut oil, so if you have a coconut allergy, swap in avocado oil or ghee (if not vegan).
I love knowing that when I reach for a handful of these seeds, I’m actually nourishing my body. It makes the snacking feel intentional, not mindless. And honestly, that’s a win in my book.
Conclusion
This healthy cinnamon sugar baked pumpkin seeds recipe has become a staple in my kitchen for good reason. It’s simple, it’s forgiving, and it turns something you might throw away into something you’ll crave. The woman at the garden club would probably laugh to see how many batches I’ve made since that conversation—but I think she’d be happy I finally got it right.
I hope you’ll try this recipe and make it your own. Maybe you’ll add extra cinnamon like I do, or maybe you’ll discover a new spice combination that becomes your signature. That’s the beauty of simple recipes—they leave room for your personality to shine through.
If you make these seeds, I’d love to hear about it. Drop a comment below and tell me how they turned out, or share your favorite variation. And if you’re looking for another healthy snack idea, check out my healthy baked apple chips—they’re just as easy and just as addictive.
Happy snacking, friends. You’ve got this.
Frequently Asked Questions
Can I use store-bought raw pumpkin seeds?
Absolutely! Store-bought raw pumpkin seeds (also called pepitas) work perfectly. Just skip the cleaning and drying steps—they’re ready to go straight from the bag. The only difference is they might be slightly smaller than fresh seeds, so check them a few minutes early.
Why did my seeds turn out chewy instead of crunchy?
Chewy seeds usually mean they weren’t dry enough before baking, or they were overcrowded on the sheet. Make sure to pat them completely dry and spread them in a single layer with space between each seed. Also, let them cool completely on the baking sheet—they crisp up as they cool.
Can I use honey instead of maple syrup?
Yes, honey works great as a substitute. Use the same amount (1 tablespoon). Keep in mind that honey has a stronger flavor, so the final taste will be slightly different. If using honey, watch the seeds closely in the last few minutes—honey can burn faster than maple syrup.
How long do these seeds stay fresh?
Stored in an airtight container at room temperature, they stay fresh and crunchy for up to two weeks. If they start to lose their crunch, pop them in a 300°F oven for 3-4 minutes and they’ll crisp right back up. I’ve never had a batch last longer than a week in my house, though!
Can I make these without oil?
You can, but the texture won’t be the same. The oil helps the coating stick and gives the seeds that satisfying crunch. If you need to reduce fat, try using just ½ tablespoon of coconut oil and adding a splash of water to help the mixture spread. The seeds will be slightly less crispy but still tasty.
Pin This Recipe!
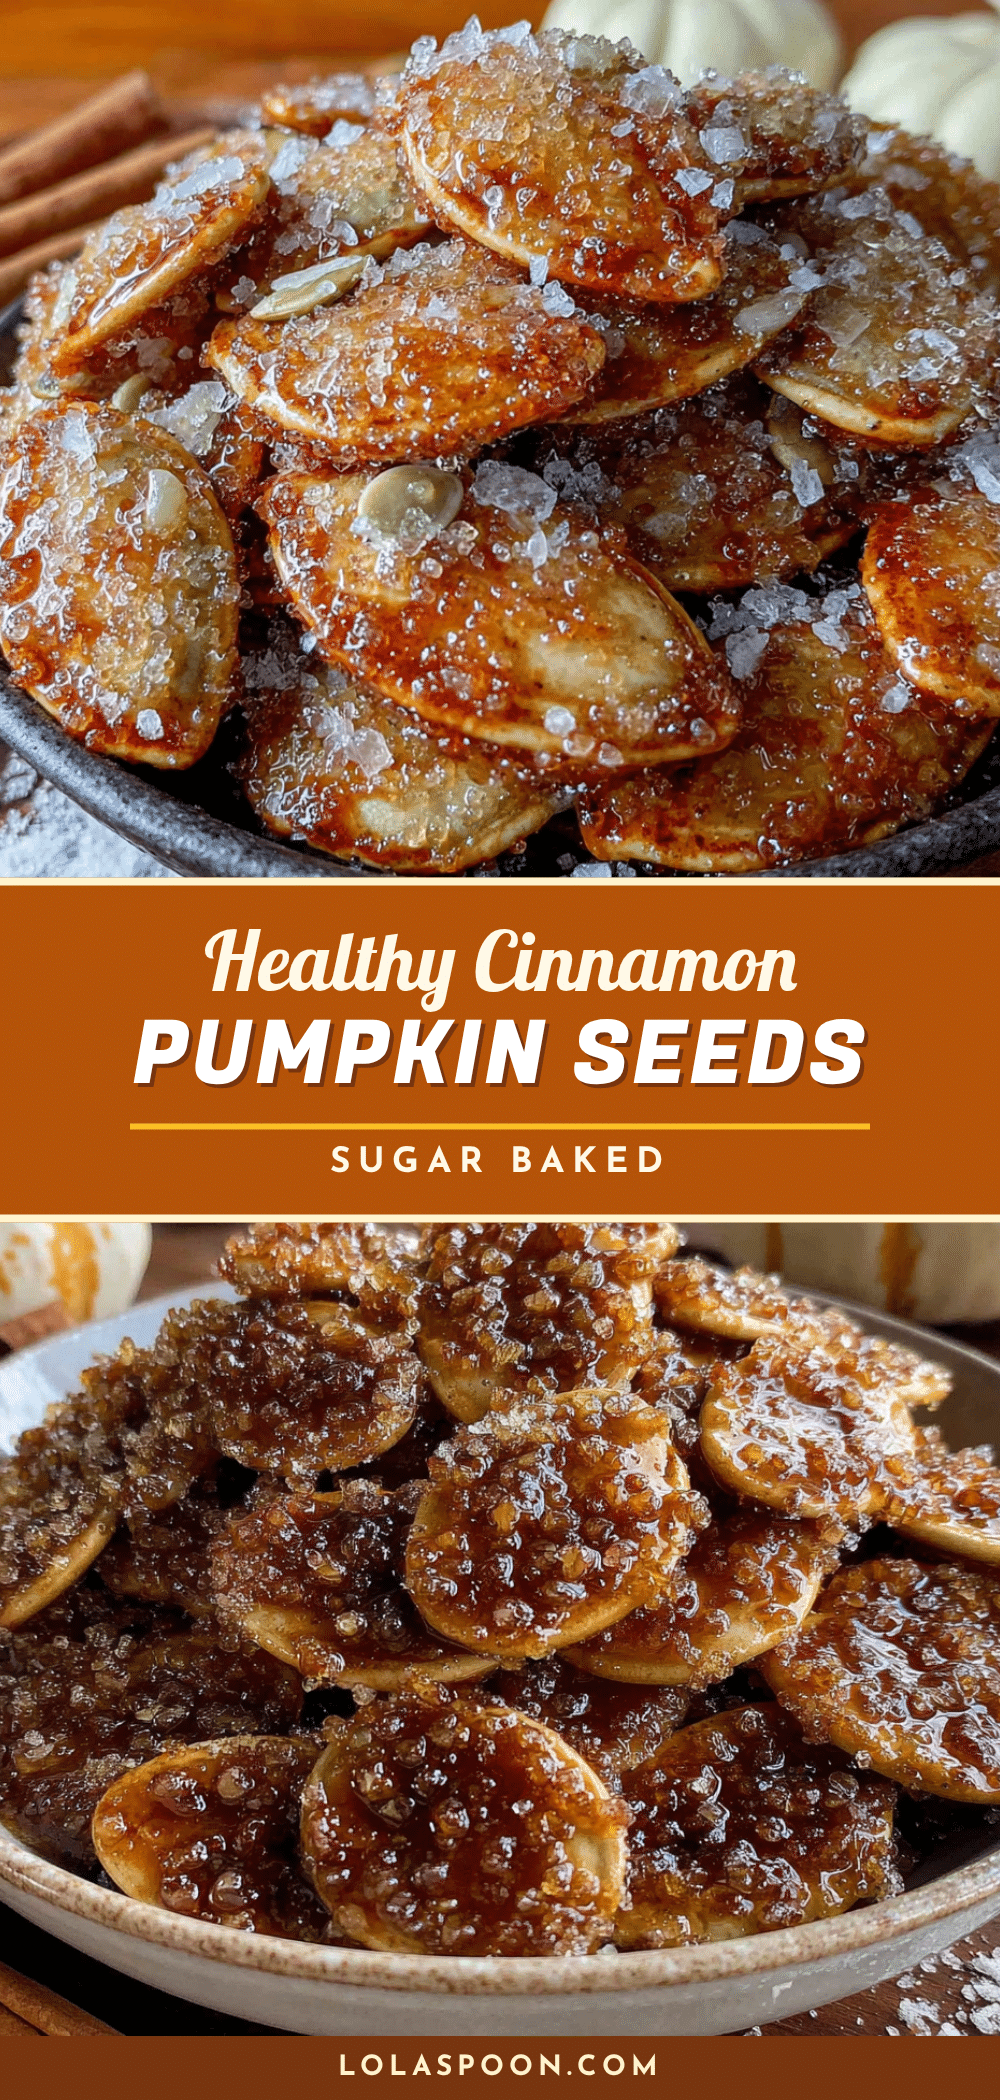
Best Easy Healthy Pumpkin Seeds Recipe
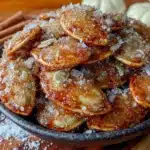
This healthy cinnamon sugar baked pumpkin seeds recipe is sweet, crunchy, and makes you feel like you’re eating dessert while snacking on something good for you. A low-and-slow method with coconut oil creates perfectly caramelized seeds without burning.
- Prep Time: 10 minutes
- Cook Time: 25 minutes
- Total Time: 35 minutes
- Yield: 4 servings 1x
- Category: Snack
- Cuisine: American
Ingredients
- 1 cup (120g) fresh pumpkin seeds (or store-bought raw pumpkin seeds)
- 1 tablespoon coconut oil, melted
- 1 tablespoon maple syrup
- 1 teaspoon ground cinnamon
- ¼ teaspoon salt
Instructions
- Preheat your oven to 300°F (150°C).
- Clean the seeds thoroughly: If using fresh pumpkin seeds, separate them from the stringy pulp. Rinse under cool water in a colander, rubbing gently to remove remaining pulp. Drain well.
- Dry the seeds completely: Spread the clean seeds on a kitchen towel and pat them dry. Let them sit for 5-10 minutes if still damp.
- Mix the coating: In a mixing bowl, combine the melted coconut oil, maple syrup, cinnamon, and salt. Whisk until smooth.
- Coat the seeds: Add the dried pumpkin seeds to the bowl and stir until every seed is glistening. Use a spatula to scrape the sides.
- Spread on the baking sheet: Pour the coated seeds onto a parchment-lined baking sheet. Spread them into a single layer with no overlapping.
- Bake for 20-25 minutes: After 10 minutes, stir the seeds with a spatula to ensure even toasting. Spread back into a single layer and return to the oven.
- Check for doneness: After another 10-12 minutes, the seeds should be golden brown and fragrant. Check every 2 minutes after the 20-minute mark if needed.
- Cool completely: Let the seeds cool on the baking sheet for at least 15 minutes. They will continue crisping up as they cool.
- Break apart any clumps: Gently break apart any seeds that stuck together with your fingers.
Notes
Don’t skip drying the seeds completely—wet seeds lead to chewy results. Watch the last few minutes closely as sugar-based coatings can burn quickly. Stir halfway through baking for even toasting. Seeds will crisp up as they cool. Store in an airtight container at room temperature for up to two weeks. For longer storage, freeze for up to three months.
Nutrition
- Serving Size: ¼ cup (about 30g)
- Calories: 180
- Sugar: 4
- Sodium: 150
- Fat: 14
- Saturated Fat: 4
- Carbohydrates: 8
- Fiber: 2
- Protein: 8
Keywords: pumpkin seeds, healthy snack, cinnamon sugar, baked seeds, fall recipe, vegan, gluten-free