The office holiday cookie swap was in three hours and I’d completely forgotten. I mean, I’d remembered it existed — the email had been sitting in my inbox for weeks with a cheerful subject line about “festive treats” and “sign-up sheets.” But between the kids’ school concerts, the last-minute gift wrapping, and that one neighbor who decided to string up 12,000 lights on their house (honestly, impressive but terrifying), the cookie swap had slipped my mind completely.
Everyone else would be bringing those elaborate, multi-day projects. You know the ones — the perfectly piped French macarons, the intricate gingerbread houses that looked like architectural marvels, the cookies that had been chilled, rolled, cut, decorated, and probably blessed by a pastry chef. And me? I had a box of red velvet cake mix in the pantry, a block of cream cheese that was about to expire, and roughly two hours before I needed to walk out the door with something that didn’t look like a last-minute panic.
Let me tell you, I was ready to just show up with a store-bought tin and call it a day. But then I spotted the lollipop sticks left over from my daughter’s birthday party, and something clicked. Cake pops. Red velvet cake pops. Festive, adorable, and — here’s the kicker — actually pretty quick to pull together if you don’t overthink it. I baked the cake in record time, crumbled it while it was still warm (burned my fingertips, totally worth it), and rolled those little balls with the desperate energy of someone who had nothing to lose.
And here’s the part I still can’t quite believe. My red velvet cake pops won the cookie swap. Not the macarons, not the gingerbread mansion, not the lady who brought those cookies dipped in gold leaf. My slightly lopsided, hand-rolled, cream cheese-infused little pops on sticks. People actually asked for the recipe. Maybe you’ve been there — that moment when your kitchen chaos turns into something unexpectedly wonderful. That’s this recipe. It’s the one that saves you when you’ve got no time, no plan, and somehow still want to show up with something that feels like Christmas.
Why You’ll Love This Recipe
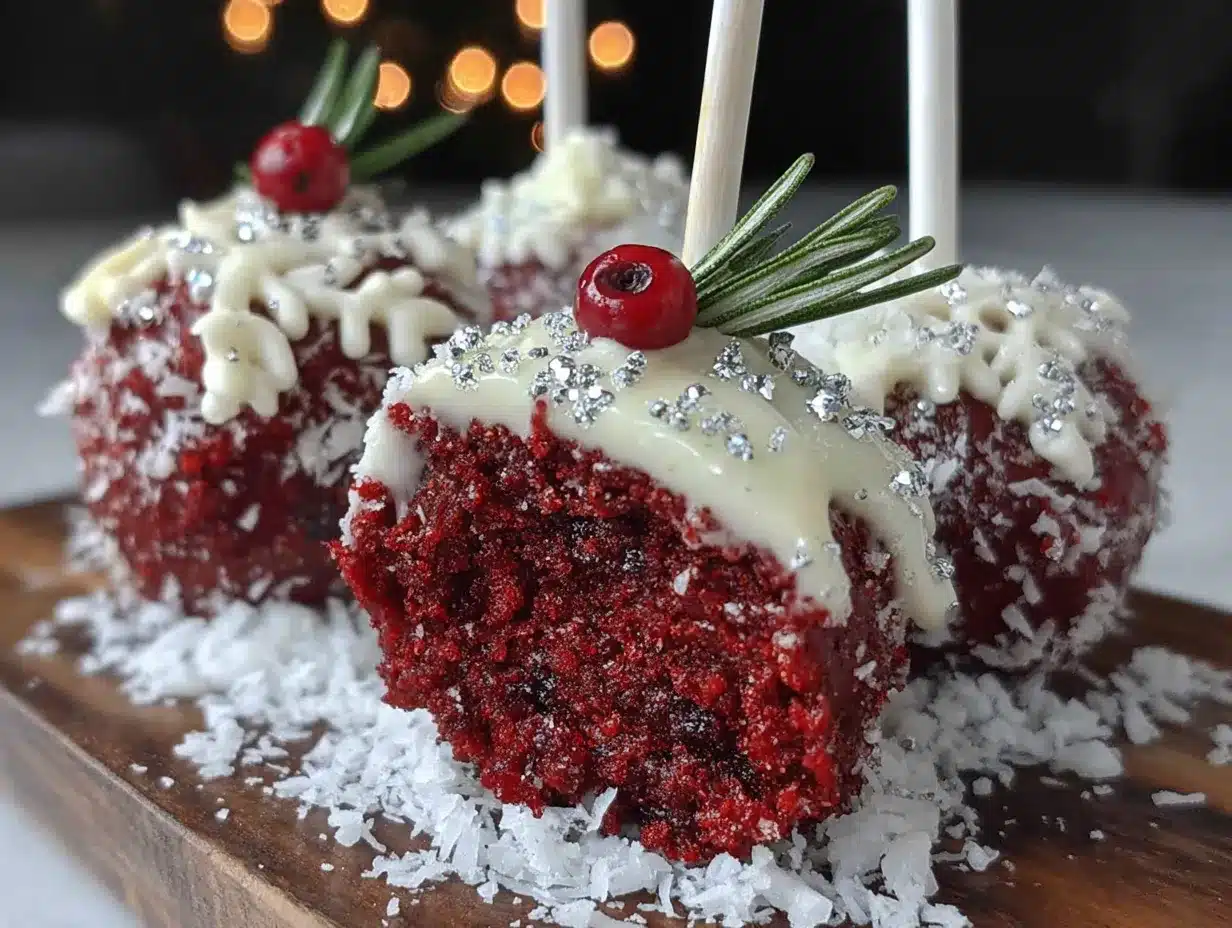
These festive red velvet Christmas cake pops on a stick aren’t just another holiday dessert. They’re the kind of treat that makes people stop mid-conversation and ask, “Wait, you made these?” And honestly, the best part is how little effort they actually take. I’ve tested this recipe about six times now (someone had to eat the test batches, right?), and I’ve ironed out every possible hiccup so you don’t have to learn the hard way.
Here’s what makes these cake pops stand out:
- Quick & Easy : From start to finish, you’re looking at about two hours — and most of that is chill time in the fridge. The actual hands-on work is maybe 30 minutes.
- Simple Ingredients : No hunting down obscure baking supplies. Cake mix, cream cheese, candy melts, and a few pantry staples. That’s it.
- Perfect for Christmas Parties : They’re portable, they’re adorable on a platter, and everyone loves eating dessert on a stick. No plates needed.
- Crowd-Pleaser : I’ve brought these to three different holiday gatherings now, and they disappear every single time. Kids especially go wild for them.
- Unbelievably Delicious : The cream cheese frosting inside keeps the cake moist and tangy, while the candy coating gives that satisfying snap when you bite in.
What makes this recipe different from all those other cake pop tutorials out there? It’s the cream cheese factor. Most recipes use buttercream or canned frosting, which can make the cake balls too sweet or too soft. Cream cheese frosting gives you that classic red velvet tang and keeps the texture just right for rolling. Plus, I’ve figured out the exact chilling times so your pops don’t slide off the sticks. Trust me, I’ve had my share of cake pop disasters — and this version works every time.
This is the kind of recipe that makes you look like a holiday hero without the holiday stress. It’s comfort food on a stick — festive, fun, and just fancy enough to impress.
What Ingredients You Will Need
This recipe uses simple, mostly pantry-friendly ingredients to create something that looks far more complicated than it actually is. I’ve tested a few different combinations, and this lineup gives you the best texture and flavor without any fuss.
For the Cake Base
- 1 box red velvet cake mix (I prefer Duncan Hines or Betty Crocker for consistent results — the color is always vibrant)
- 3 large eggs (room temperature helps everything mix more evenly)
- 1 cup water
- 1/3 cup vegetable oil
For the Cream Cheese Frosting
- 4 oz cream cheese, softened (full-fat works best for texture, but Neufchâtel is fine too)
- 2 tablespoons unsalted butter, softened
- 1 cup powdered sugar
- 1/2 teaspoon vanilla extract
- Pinch of salt (trust me on this — it balances the sweetness)
For Coating and Decorating
- 12 oz white candy melts or white chocolate chips (I use Ghirardelli white melting wafers for the smoothest coating)
- 1-2 tablespoons coconut oil or shortening (helps thin the coating for dipping)
- Red and green sprinkles (festive holiday mix works great)
- 20-24 lollipop sticks
- Optional: red gel food coloring (if you want a deeper red coating)
A few notes on ingredient selection. For the cake mix, I’ve tried generic brands and the color just isn’t as vibrant — you want that deep red that screams Christmas. The cream cheese needs to be truly softened, not just out of the fridge cold, or you’ll end up with lumpy frosting. And for the candy melts, I learned the hard way that cheap ones seize up and get clumpy. Spend the extra dollar on good melting wafers; your dipping experience will be so much smoother.
If you’re looking for substitutions, you can use a from-scratch red velvet cake recipe if you’re feeling ambitious. For a gluten-free version, use a gluten-free red velvet cake mix — just check the box instructions as baking times may vary slightly. And if white chocolate isn’t your thing, dark or milk chocolate candy melts work beautifully too. I’ve done a batch with dark chocolate coating and it was like a fancy truffle situation. Highly recommend.
Equipment Needed
You don’t need a professional bakery setup for these cake pops, but a few key tools make the process much smoother. Here’s what I use:
- 9×13 baking pan (or two 8-inch rounds — whatever you have)
- Large mixing bowls (one for the cake batter, one for crumbling)
- Electric hand mixer or stand mixer (for the frosting)
- Cookie scoop or tablespoon measure (for uniform cake balls)
- Baking sheet lined with parchment paper
- Small microwave-safe bowl (for melting candy coating)
- Styrofoam block or cardboard box (to hold cake pops upright while they set)
- Lollipop sticks (available at craft stores or online)
If you don’t have a cookie scoop, just use your hands — I actually prefer hand-rolling because you can feel if the mixture is too dry or too wet. For the styrofoam block, I’ve used everything from a flower arranging foam block to a shoebox with holes poked in it. Get creative. The first time I made these, I used an egg carton flipped upside down with holes cut in it. Desperate times.
Preparation Method
Alright, let’s get into the nitty-gritty. I’ve broken this down into clear steps so you don’t miss anything. Take your time with the chilling steps — they’re the secret to cake pops that actually stay on the stick.
Step 1: Bake the Cake
Preheat your oven to 350°F (175°C). Grease your 9×13 pan lightly. In a large bowl, combine the red velvet cake mix, eggs, water, and vegetable oil. Mix on medium speed for about 2 minutes until smooth and well combined. Pour the batter into the prepared pan and bake for 25-30 minutes, or until a toothpick inserted in the center comes out clean. Let the cake cool completely in the pan — this is important. If it’s even slightly warm, the frosting will melt and you’ll have a sticky mess.
Step 2: Make the Cream Cheese Frosting
While the cake cools, beat the softened cream cheese and butter together until smooth and creamy — about 2 minutes. Add the powdered sugar, vanilla extract, and pinch of salt. Beat on low speed until combined, then increase to medium for another minute until fluffy. Don’t overmix or it’ll get too thin. Set aside.
Step 3: Crumble the Cake
Once the cake is completely cool, crumble it into a large bowl. You want fine, even crumbs — no big chunks. I use my hands for this, and honestly, it’s kind of therapeutic. Just get in there and crumble. You should have about 4-5 cups of crumbs.
Step 4: Mix and Form the Cake Balls
Add the cream cheese frosting to the cake crumbs, about 3/4 cup to start. Mix with a spatula or your hands until the mixture holds together when pressed. You want it moist but not greasy — if it’s too dry, add a little more frosting; if it’s too wet, add more crumbs. Roll the mixture into 1-inch balls (about 1.5 tablespoons each) and place them on a parchment-lined baking sheet. You should get 20-24 balls. Refrigerate for at least 30 minutes — this is non-negotiable. Cold cake balls are easier to dip.
Step 5: Insert the Sticks
After the cake balls have chilled, melt about 2 tablespoons of your candy coating in the microwave (15-second intervals, stirring each time). Dip the tip of each lollipop stick into the melted coating, then insert it about halfway into a cake ball. This acts like glue. Return the pops to the fridge for another 15-20 minutes to set.
Step 6: Dip and Decorate
Melt the remaining candy coating in a deep, microwave-safe bowl. Add 1 tablespoon of coconut oil or shortening to thin it out — this makes dipping much smoother. Dip each cake pop into the coating, gently tapping off the excess. Before the coating sets, sprinkle with festive red and green sprinkles. Stick the pops into your styrofoam block to dry upright. Let them set completely — about 30 minutes at room temperature.
One thing I learned the hard way: don’t twist the cake pop while dipping. Just dip straight in and pull straight out. Twisting can crack the cake ball. Also, if your coating starts to thicken, pop it back in the microwave for 10 seconds.
Cooking Tips & Techniques
After making these cake pops more times than I care to count, I’ve collected a few tips that make the process smoother. Listen, my first batch was a disaster — cake balls falling off sticks, coating cracking, sprinkles sliding off. It was a mess. But that’s how you learn.
Chill time is your best friend. I cannot stress this enough. Every time I’ve rushed the chilling step, I’ve regretted it. The cake balls need to be cold and firm before dipping. If they’re room temperature, they’ll fall apart in the coating. Plan for at least 45 minutes total chill time — 30 minutes before inserting sticks, then 15 more after.
Don’t skip the oil in the coating. Coconut oil or shortening thins out the candy melts so they coat evenly without clumping. Without it, you’ll get thick, gloppy coating that looks messy. Just a tablespoon makes a world of difference.
Use a deep container for dipping. A tall, narrow glass or a small deep bowl works best. You want to be able to submerge the cake ball completely without the stick hitting the bottom. I use a 2-cup measuring cup — it’s the perfect depth.
Work in small batches. Only take 3-4 cake pops out of the fridge at a time. If they warm up too much while you’re dipping, they’ll start to soften and slide off the sticks. Keep the rest chilled until you’re ready for them.
Tap, don’t shake. After dipping, gently tap the stick against the side of the bowl to remove excess coating. Don’t shake or twirl — that’s how you end up with coating all over your hands and the floor. Trust me on this one.
Variations & Adaptations
One of the best things about this recipe is how easy it is to customize. I’ve played around with different flavors and coatings, and here are some of my favorite variations.
Chocolate Lover’s Version: Swap the white candy coating for dark or milk chocolate melts. The rich chocolate pairs beautifully with the tangy red velvet. I did this for a friend’s birthday party and they were gone in 10 minutes. Add some crushed peppermint on top for a festive twist.
Vegan Adaptation: Use a vegan red velvet cake mix, replace eggs with flax eggs (1 tablespoon ground flax + 3 tablespoons water per egg), and use vegan cream cheese and butter for the frosting. For the coating, look for vegan white chocolate chips. The texture is slightly different — a bit denser — but still delicious.
Gluten-Free Version: Use a gluten-free red velvet cake mix. Most brands work well, just follow the box instructions. Everything else in the recipe is naturally gluten-free, so no other swaps needed. I’ve tested this with King Arthur’s gluten-free mix and it turned out great.
Flavor Twist: Add 1/2 teaspoon of peppermint extract to the cream cheese frosting for a minty red velvet combo. It’s like a Christmas dream. Or try adding a teaspoon of orange zest for a bright, citrusy note that cuts through the richness.
Different Occasions: These cake pops aren’t just for Christmas. Use pink sprinkles for Valentine’s Day, green for St. Patrick’s Day, or pastel colors for Easter. The red velvet base works year-round — just change the decorations to match the holiday.
Serving & Storage Suggestions
These festive red velvet Christmas cake pops look amazing on a holiday dessert table. I like to arrange them in a tall glass jar or a styrofoam block covered in festive wrapping paper. They’re perfect for parties because guests can just grab one without needing plates or forks.
For serving, let them come to room temperature for about 10 minutes after taking them out of the fridge. The coating softens slightly and the cake inside becomes perfectly tender. Serve them alongside hot cocoa, eggnog, or a strong cup of coffee — the contrast is lovely.
Storage: Store leftover cake pops in an airtight container in the refrigerator for up to 5 days. Place them in a single layer with parchment paper between layers if stacking. They actually taste better on day two — the flavors meld together beautifully.
Freezing: You can freeze undipped cake balls for up to 3 months. Just roll them, place them on a baking sheet, freeze until solid, then transfer to a freezer bag. When you’re ready to decorate, thaw them in the fridge overnight, then dip as usual. I often make a double batch and freeze half for last-minute holiday emergencies.
Reheating: These are meant to be served cold or at room temperature, so no reheating needed. If the coating gets a little dull after refrigeration, let them sit out for 15 minutes — they’ll regain their shine.
One thing I love is how the cream cheese flavor develops overnight. The tanginess becomes more pronounced, balancing the sweetness of the coating. So if you can make them a day ahead, do it. Your future self will thank you.
Nutritional Information & Benefits
Let’s be real — cake pops are a treat, not a health food. But knowing what’s in them helps you enjoy them mindfully. Here’s the approximate nutritional breakdown per cake pop (based on 24 pops):
- Calories: 180-200
- Fat: 9g
- Carbohydrates: 25g
- Sugar: 18g
- Protein: 3g
That said, there are a few redeeming qualities. Cream cheese adds a small amount of calcium and protein. Red velvet cake mix typically contains a bit of cocoa powder, which has antioxidants. And if you use dark chocolate coating instead of white, you’ll get even more antioxidants and less sugar.
For those with dietary concerns, this recipe contains gluten (unless you use a gluten-free mix), dairy (cream cheese, butter, white chocolate), and eggs. It’s not suitable for vegans in its standard form, but the adaptations above work well. If you’re watching your sugar intake, you can reduce the amount of sprinkles or skip them entirely — the coating is already sweet enough.
Personally, I see these as a once-in-a-while indulgence. They’re for celebrations, for holiday gatherings, for those moments when you want something special. And honestly, the joy they bring is worth every calorie.
Conclusion
These festive red velvet Christmas cake pops on a stick are proof that you don’t need hours in the kitchen to create something memorable. They’re the recipe that saved me from showing up empty-handed to that cookie swap, and they’ve become a holiday staple in my home ever since.
What I love most about them is how forgiving they are. If your cake balls aren’t perfectly round, that’s fine. If the coating drips a little, that’s character. If the sprinkles land in a lopsided pattern, it just looks more homemade and charming. There’s no pressure for perfection here — just good food and good memories.
I’d love to hear how yours turn out. Did you try a variation? Did your kids help with the decorating? Did they disappear at your party as fast as mine did? Leave a comment below and share your cake pop adventures. And if you’re looking for more holiday dessert ideas, check out our Christmas dessert recipes collection for more festive inspiration.
Happy baking, and may your holidays be filled with sweet treats and happy moments!
Frequently Asked Questions
Can I use a homemade red velvet cake recipe instead of a box mix?
Absolutely! If you have a favorite from-scratch red velvet recipe, go for it. Just make sure the cake is fully cooled before crumbling. The texture might be slightly different, but it’ll work perfectly. I’ve done it both ways, and honestly, the box mix is just more convenient for busy holiday baking.
Why did my cake pops fall off the sticks?
This usually happens for one of two reasons: the cake balls weren’t chilled enough before inserting the sticks, or the coating was too thick. Make sure you chill the cake balls for at least 30 minutes, dip the stick tip in melted coating before inserting, and chill again for 15 minutes after inserting. Also, thin your coating with a little coconut oil for smoother dipping.
Can I make these cake pops ahead of time?
Yes! You can make the undipped cake balls up to 3 days ahead and keep them in the fridge. Or freeze them for up to 3 months. Dip and decorate them the day before you plan to serve them for the best results. They actually taste even better after the flavors have had time to meld.
How do I get smooth, crack-free coating on my cake pops?
The key is temperature and consistency. Make sure your cake balls are cold but not frozen — frozen can cause the coating to crack. Thin your coating with coconut oil so it’s fluid but not runny. And tap off excess gently. If your coating starts to thicken while you work, microwave it for 10 seconds to thin it out again.
Can I use chocolate chips instead of candy melts?
You can, but chocolate chips don’t melt as smoothly and may need a bit of coconut oil to thin them out. Candy melts are designed for dipping and give a smoother finish. If using chocolate chips, add 1-2 teaspoons of coconut oil per cup of chips and melt slowly in the microwave, stirring every 15 seconds.
Pin This Recipe!
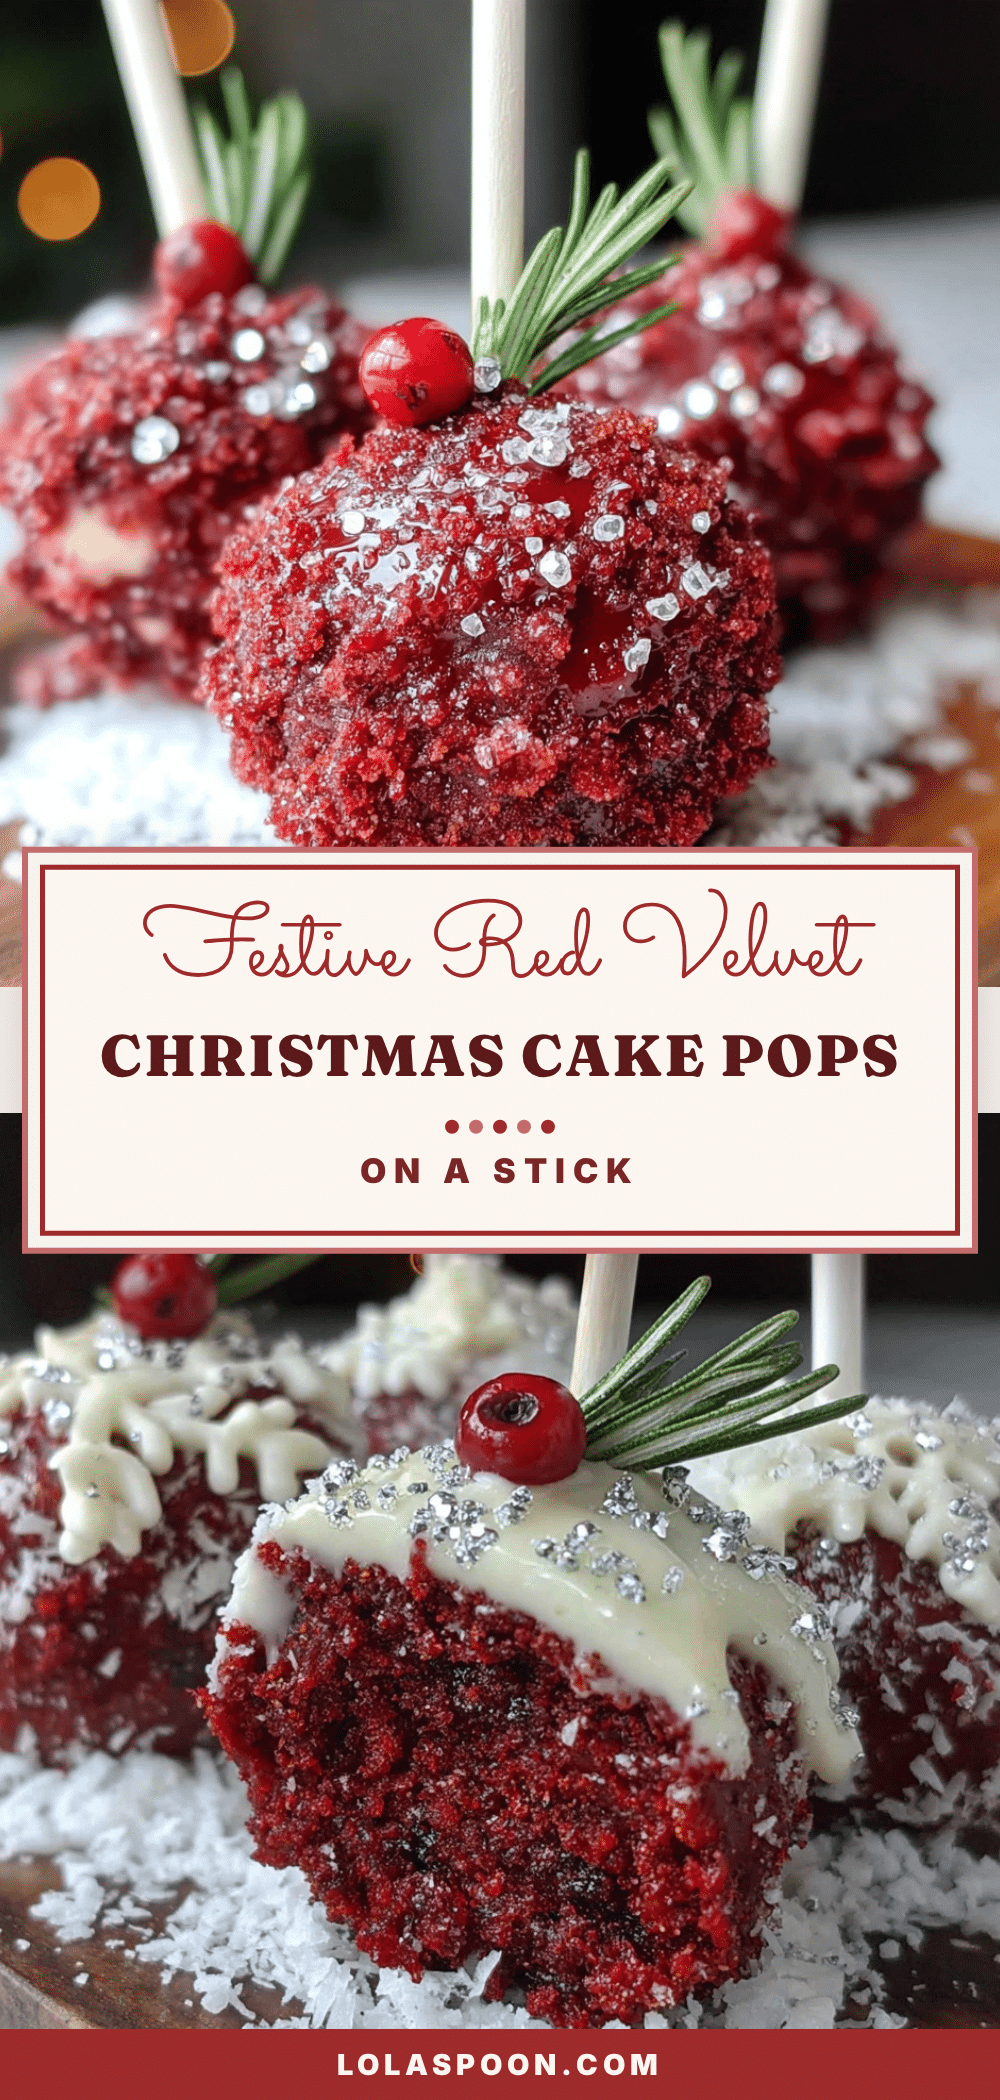
Best Easy Red Velvet Cake Pops Recipe for Christmas
These festive red velvet cake pops are quick, easy, and perfect for holiday parties. Made with a boxed cake mix and cream cheese frosting, they’re a crowd-pleaser that looks impressive with minimal effort.
- Prep Time: 30 minutes
- Cook Time: 30 minutes
- Total Time: 2 hours (includes chilling time)
- Yield: 20-24 cake pops 1x
- Category: Dessert
- Cuisine: American
Ingredients
- 1 box red velvet cake mix (Duncan Hines or Betty Crocker recommended)
- 3 large eggs, room temperature
- 1 cup water
- 1/3 cup vegetable oil
- 4 oz cream cheese, softened
- 2 tablespoons unsalted butter, softened
- 1 cup powdered sugar
- 1/2 teaspoon vanilla extract
- Pinch of salt
- 12 oz white candy melts or white chocolate chips (Ghirardelli recommended)
- 1–2 tablespoons coconut oil or shortening
- Red and green sprinkles
- 20–24 lollipop sticks
- Optional: red gel food coloring
Instructions
- Preheat oven to 350°F (175°C). Grease a 9×13 baking pan.
- In a large bowl, combine red velvet cake mix, eggs, water, and vegetable oil. Mix on medium speed for 2 minutes until smooth.
- Pour batter into prepared pan and bake for 25-30 minutes, or until a toothpick inserted in the center comes out clean. Cool completely in the pan.
- While cake cools, beat softened cream cheese and butter together until smooth and creamy, about 2 minutes.
- Add powdered sugar, vanilla extract, and salt. Beat on low until combined, then increase to medium for 1 minute until fluffy. Set aside.
- Once cake is completely cool, crumble it into a large bowl into fine, even crumbs.
- Add 3/4 cup cream cheese frosting to the cake crumbs. Mix until the mixture holds together when pressed. Roll into 1-inch balls (about 1.5 tablespoons each) and place on a parchment-lined baking sheet. Refrigerate for at least 30 minutes.
- Melt 2 tablespoons of candy coating in the microwave (15-second intervals, stirring each time). Dip the tip of each lollipop stick into the melted coating, then insert halfway into a cake ball. Return to fridge for 15-20 minutes.
- Melt remaining candy coating in a deep microwave-safe bowl. Add 1 tablespoon coconut oil or shortening to thin. Dip each cake pop into the coating, gently tapping off excess. Before coating sets, sprinkle with festive sprinkles.
- Place pops upright in a styrofoam block to dry completely, about 30 minutes at room temperature.
Notes
Chill time is crucial for cake pops to stay on sticks. Don’t skip the oil in the coating for smooth dipping. Work in small batches, keeping remaining cake balls chilled. Tap off excess coating gently; do not twist. Cake pops can be made ahead and stored in the refrigerator for up to 5 days or frozen for up to 3 months.
Nutrition
- Serving Size: 1 cake pop
- Calories: 190
- Sugar: 18
- Sodium: 180
- Fat: 9
- Saturated Fat: 4
- Carbohydrates: 25
- Protein: 3
Keywords: red velvet cake pops, Christmas cake pops, holiday dessert, easy cake pops, cream cheese cake pops


