I used to think pie was a waste of a perfectly good apple. Honestly, for years I did. Give me a crisp, a crumble, a simple roasted apple with a scoop of ice cream—anything but a pie. The soggy bottom, the overly sweet, gummy filling, the crust that crumbles into sad dust. I’d been burned one too many times by store-bought and well-meaning but flawed homemade versions. So I declared myself firmly in the anti-pie camp. It was a whole thing.
Then, last fall, my neighbor Carol showed up at my door holding a pie plate like it was a winning lottery ticket. “I made too much,” she said, thrusting it into my hands. “You’re doing me a favor.” The crust was a deep, golden brown, woven into a lattice that looked impossibly intricate. Steam was still curling from a little star-shaped vent in the center. I took it inside, fully prepared to be polite and toss it after one bite. That first forkful was a humbling experience, let me tell you. The crust shattered—literally shattered—into buttery, flaky shards. The apples inside were tender but not mushy, swimming in a syrup that tasted of warm cinnamon and brown sugar, with just a hint of something bright. I stood at my kitchen counter and ate a quarter of the pie standing up. Maybe you’ve been there, caught in the act of proving yourself wrong with a mouthful of pastry. Carol caught me the next day trying to casually ask for the recipe, and the smug little smile on her face was well-earned. This is that pie.
Why You’ll Love This Recipe
This isn’t just another apple pie recipe. This is the one that turns skeptics into believers and makes you the hero of the dessert table. I’ve tested this version more times than I can count, tweaking the apple-to-spice ratio, the butter temperature, and the resting time until it was absolutely foolproof. It’s the kind of recipe that feels impressive but is surprisingly manageable, even for a beginner.
- Show-Stopping Presentation: The lattice crust isn’t just for looks—it creates the perfect flaky-to-filling ratio in every single bite. Your guests will think you spent all day on it.
- Perfectly Spiced Filling: We’re not just dumping in cinnamon. The blend of warm spices and a secret splash of lemon juice keeps the apple flavor front and center, never muddled.
- No Soggy Bottoms: A pre-cooked filling and a hot baking sheet are your secret weapons. This crust stays crisp and golden, even after a day in the fridge.
- Crowd-Pleasing Comfort: It’s the ultimate ending to a fall dinner party or holiday gathering. Serve it warm with vanilla ice cream, and watch it disappear.
- Make-Ahead Friendly: You can prep the dough and even assemble the pie a day ahead. When your guests arrive, you’re relaxed and ready to bake.
This pie has that magical quality—it makes you close your eyes after the first bite. It’s comfort, nostalgia, and a little bit of culinary magic, all wrapped up in a buttery, flaky crust.
What Ingredients You Will Need
This recipe uses classic, humble ingredients to create something truly spectacular. The magic is in the technique, not a long list of fancy items. Most of these are probably in your pantry right now.
For the All-Butter Pie Crust (makes enough for a double crust with lattice):
- 2 ½ cups (315g) all-purpose flour (I prefer King Arthur for its consistent protein content)
- 1 teaspoon (5g) fine sea salt
- 1 tablespoon (12g) granulated sugar
- 1 cup (226g) unsalted butter, very cold, cut into ½-inch cubes
- ½ cup (120ml) ice water, plus more as needed
For the Cinnamon Apple Filling:
- 3 pounds (about 6-7 large) mixed apples, such as Granny Smith, Honeycrisp, and Braeburn (a mix of tart and sweet is key)
- ¾ cup (150g) packed light brown sugar
- ¼ cup (50g) granulated sugar
- 2 tablespoons (16g) all-purpose flour
- 1 tablespoon (8g) cornstarch
- 2 teaspoons (5g) ground cinnamon
- ½ teaspoon (1g) ground nutmeg (freshly grated is best)
- ¼ teaspoon (0.5g) ground allspice
- ¼ teaspoon (1g) fine sea salt
- 2 tablespoons (30ml) fresh lemon juice (from about 1 lemon)
- 1 teaspoon (5ml) vanilla extract
- 2 tablespoons (28g) unsalted butter, cut into small pieces
For the Assembly & Topping:
- 1 large egg, beaten with 1 tablespoon of water (for egg wash)
- 1 tablespoon (12g) coarse turbinado or demerara sugar, for sprinkling
The apple selection is where you can really shine. I like using a 50/50 mix of Granny Smith (for structure and tartness) and Honeycrisp (for sweetness and a tender bite). The flour and cornstarch work together to create a thick, glossy syrup that won’t make your pie a soupy mess. Trust me on the lemon juice—it’s not for tartness, it’s for brightness. It wakes up all the other flavors.
Equipment Needed
You don’t need a ton of fancy gear to pull off this pie, but a few key tools will make your life much easier.
- 9-inch Pie Plate: A standard glass or ceramic deep-dish plate works beautifully. I use a Pyrex one—it lets you see how the bottom crust is browning.
- Rolling Pin: A French-style tapered pin gives you great control, but any rolling pin will do. No rolling pin? A clean wine bottle works in a pinch!
- Pastry Blender or Food Processor: For cutting the butter into the flour. I used to use two knives, but a pastry blender is faster and keeps the butter colder.
- Large Baking Sheet: Line it with foil or parchment. You’ll bake the pie on this to catch any bubbly drips.
- Sharp Chef’s Knife & Cutting Board: For prepping all those apples.
- Large Mixing Bowls: One for the dough, one for the filling.
- Plastic Wrap: Essential for chilling the dough.
- Pizza Cutter or Sharp Knife: For cutting the lattice strips. A pizza cutter makes it a breeze.
- Pastry Brush: For applying the egg wash.
If you don’t have a pastry blender, don’t sweat it. You can freeze the butter and grate it into the flour using a box grater. This is a great budget-friendly trick that works just as well!
Preparation Method
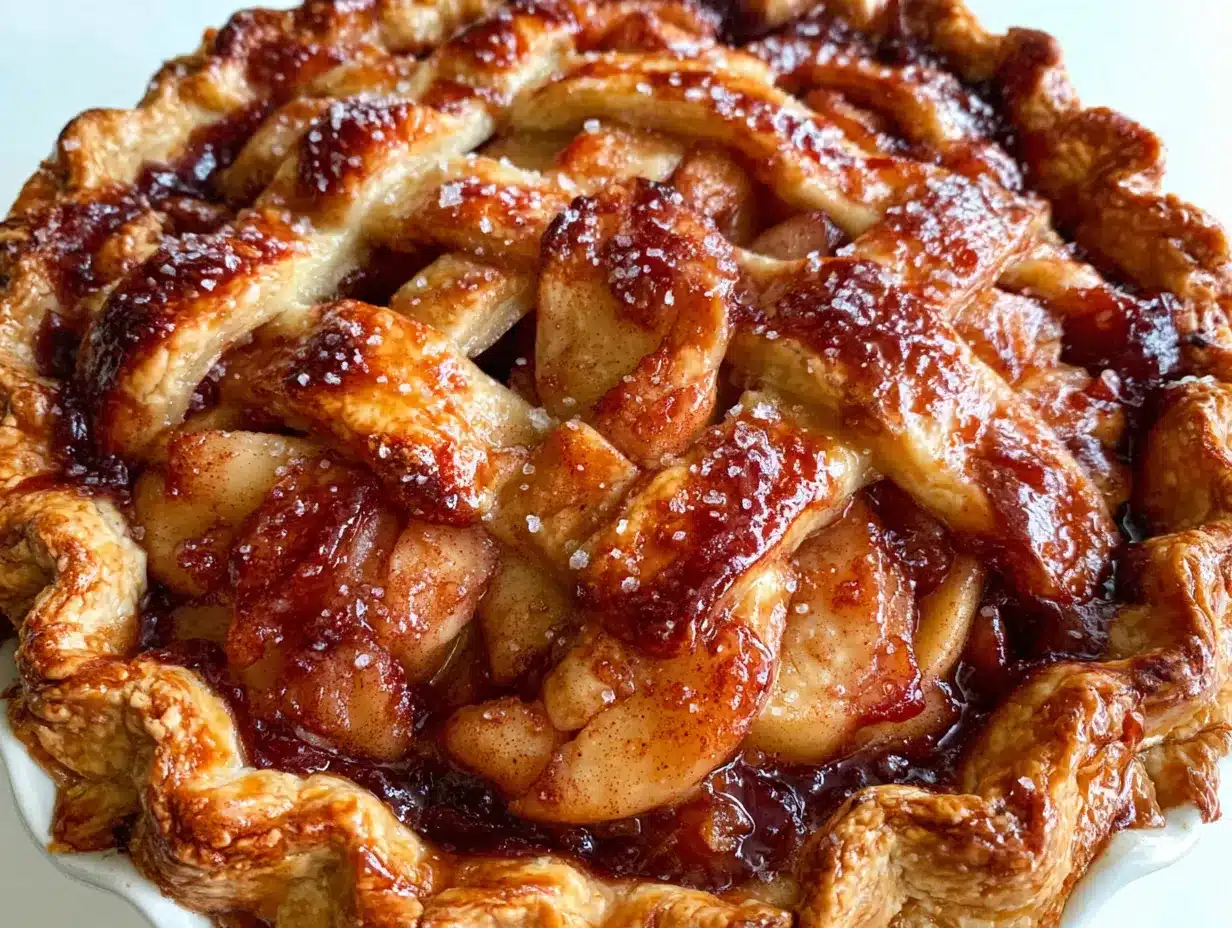
Let’s get to the good part. Take your time, and don’t rush the chilling steps. Your patience will be rewarded.
- Make the Dough (at least 2 hours before baking): In a large bowl, whisk together the flour, salt, and sugar. Add the cold butter cubes. Using a pastry blender or your fingertips, work the butter into the flour until the mixture looks like coarse meal with some pea-sized butter lumps remaining. You want visible bits of butter—that’s what creates the flaky layers. Drizzle ½ cup of ice water over the mixture and stir with a fork until the dough just starts to come together. It should look shaggy, not smooth. If it’s too dry, add more ice water, one tablespoon at a time. Turn the dough out onto a lightly floured surface, divide it in half, and flatten each half into a 1-inch thick disk. Wrap tightly in plastic wrap and refrigerate for at least 2 hours, or up to 3 days.
- Prepare the Apple Filling: While the dough chills, peel, core, and slice the apples into ¼-inch thick slices. You want them uniform so they cook evenly. In a large bowl, toss the apple slices with the brown sugar, granulated sugar, flour, cornstarch, cinnamon, nutmeg, allspice, salt, lemon juice, and vanilla extract. Let this mixture sit at room temperature for at least 30 minutes, stirring occasionally. This maceration step draws out the apples’ natural juices, which will then thicken into that perfect syrup during baking. I usually do this while I’m cleaning up the kitchen.
- Pre-cook the Filling (The Secret to No Soggy Bottoms): This is the step that changes everything. Pour the apple mixture and all its juices into a large skillet or pot. Cook over medium heat, stirring frequently, for about 8-10 minutes, until the apples have softened slightly and the juices have thickened into a syrupy glaze. Remove from heat and stir in the 2 tablespoons of butter. Let the filling cool completely to room temperature. You can speed this up by spreading it on a baking sheet. A warm filling will melt your butter crust before it even hits the oven!
- Roll Out the Bottom Crust: On a lightly floured surface, roll out one disk of dough into a 12-inch circle, about ⅛-inch thick. Carefully transfer it to your 9-inch pie plate, gently pressing it into the bottom and up the sides. Leave the overhang. Pop it in the fridge while you prepare the lattice.
- Roll Out the Top Crust & Cut Strips: Roll out the second disk of dough into a 12-inch circle. Using a pizza cutter or a sharp knife, cut the dough into 10-12 strips, each about ¾ to 1-inch wide. You can get creative here—some people like a wider strip in the center for a bolder look.
- Assemble the Pie & Weave the Lattice: Pour the cooled apple filling into the chilled bottom crust. It will be heaping, and that’s perfect. Now, for the lattice. Place 5-6 strips vertically across the pie, spacing them about an inch apart. Fold back every other strip halfway. Place a horizontal strip across the unfolded strips. Unfold the folded strips back over the new strip. Now, fold back the strips that were not folded before. Place another horizontal strip next to the first one. Repeat this over-under pattern until the whole top is covered. It sounds complicated, but once you get into the rhythm, it’s almost meditative. Trim the excess dough from the strips and the bottom crust, leaving about a ½-inch overhang. Fold the overhang under itself and crimp the edges with your fingers or a fork for a decorative finish.
- Chill, Egg Wash, and Sugar: Place the assembled pie in the fridge for at least 20 minutes. This re-chills the butter, which is crucial for flaky layers. Meanwhile, preheat your oven to 425°F (220°C). Just before baking, brush the entire top crust and edges with the egg wash. Sprinkle generously with the coarse turbinado sugar. The sugar adds a beautiful sparkle and a satisfying crunch.
- Bake to Golden Perfection: Place the pie on the lined baking sheet and put it on the lowest rack of your oven. Bake at 425°F for 20 minutes. Then, without opening the oven, reduce the temperature to 375°F (190°C) and bake for another 35-45 minutes. The pie is done when the crust is deeply golden brown and the filling is bubbling up through the lattice vents. If the edges are browning too quickly, tent them loosely with foil. The total bake time should be about 55-65 minutes.
- The Most Important Step—Cooling: Let the pie cool on a wire rack for at least 3-4 hours. I know, the smell is torture. But if you cut into it while it’s hot, the filling will be runny. It needs time to set up into that perfect, sliceable texture. Patience, my friend.
Cooking Tips & Techniques
I’ve made every mistake in the book so you don’t have to. Here are the lessons I learned the hard way.
- Cold Butter is Non-Negotiable: The first time I made pie dough, I let the butter get too soft. The result was a tough, greasy crust. Your butter must be straight from the fridge. If your kitchen is warm, pop the flour bowl in the freezer for 10 minutes before you start.
- Don’t Overwork the Dough: When you add the water, mix it just until it comes together. Over-mixing develops the gluten, which leads to a tough, bread-like crust. A shaggy dough is a happy dough.
- Use a Hot Baking Sheet: Placing your pie on a preheated baking sheet gives the bottom crust a blast of heat, helping it set and brown before the filling can make it soggy. I put my baking sheet in the oven while it preheats.
- Embrace the Maceration: Don’t skip letting the apples sit with the sugar. This step is what draws out the liquid and allows you to pre-cook it. If you skip this, you’ll end up with a watery gap between your crust and filling.
- My Biggest Failure: I once tried to rush the cooling process by putting the pie in the fridge. The crust went from flaky to soggy in minutes. The texture was a total loss. Let it cool on the counter, no shortcuts.
Timing is everything on a dinner party night. Make the dough two days ahead. Pre-cook the filling the morning of. Assemble the pie, then pop it in the fridge. All you have to do later is brush it with egg wash and bake it while your guests are having appetizers. The smell will drive them crazy in the best way.
Variations & Adaptations
This recipe is a fantastic base, but don’t be afraid to make it your own. Here are a few ways I’ve played with it over the years.
- Spice It Up: Swap the allspice for a pinch of cardamom or a tiny pinch of cloves. For a savory twist, add ¼ teaspoon of black pepper to the filling. It sounds weird, but it makes the apple flavor pop.
- Boozy Apple Pie: Replace the vanilla extract with 2 tablespoons of bourbon or dark rum. Add it to the apple mixture after you take it off the heat. The alcohol burns off during baking, leaving behind a warm, complex flavor.
- Crumb Topping Instead of Lattice: Not in the mood for a lattice? No problem. After filling the pie, top it with a simple crumb topping made from ¾ cup flour, ½ cup brown sugar, and ¼ cup cold butter, cut in until crumbly. Bake as directed.
- Dietary Adaptations: For a gluten-free version, use a high-quality 1:1 gluten-free flour blend in both the crust and the filling. For a vegan pie, use cold vegan butter in the crust and skip the egg wash (brush with a little plant-based milk and sugar instead).
- Personal Variation: Last Thanksgiving, I added a cup of fresh cranberries to the apple mixture. The tart pop of the cranberries against the sweet, spiced apples was an absolute game-changer. My sister-in-law, who “doesn’t like fruit desserts,” asked for the recipe.
Serving & Storage Suggestions
This pie is a showstopper at any gathering. Here’s how to serve and store it like a pro.
- Serving: Serve the pie warm, but not hot. A slice that’s just slightly above room temperature is the sweet spot. A scoop of high-quality vanilla bean ice cream is the classic pairing, but a dollop of lightly sweetened whipped cream or a drizzle of salted caramel sauce is also incredible.
- Presentation: Place the pie on a beautiful cake stand or a wooden cutting board. Let it be the centerpiece. Dust it with a little extra cinnamon or powdered sugar just before serving for a professional touch.
- What to Serve Alongside: This pie is rich and satisfying on its own, but it pairs beautifully with a cup of strong black coffee, a hot apple cider, or a glass of bourbon. For a full fall spread, serve it after a hearty meal of roasted pork or chicken.
- Storage: Cover the pie loosely with foil or plastic wrap and store it at room temperature for up to 2 days. For longer storage, refrigerate it for up to 5 days. The crust will soften slightly in the fridge, but it will still be delicious.
- Reheating: To bring back that just-baked magic, reheat individual slices in a 350°F (175°C) oven for 10 minutes, or in the microwave for 20-30 seconds. For the whole pie, warm it in a 300°F (150°C) oven for 15-20 minutes.
The flavors actually get better on the second day as the spices meld together. If you can resist eating it all in one sitting, you’re in for a treat.
Nutritional Information & Benefits
Let’s be real—this is a dessert, and it’s meant to be enjoyed. But it’s not without its merits. A single slice (1/8 of the pie) provides a good source of fiber from the apples and a touch of vitamin C. The butter and eggs provide some fat and protein, which helps keep you satisfied. Using a mix of whole ingredients means you’re avoiding the preservatives and high-fructose corn syrup found in many store-bought pies.
- Estimated Nutritional Values (per slice, 1/8 of pie): Calories: 480, Fat: 24g, Carbohydrates: 65g, Fiber: 4g, Sugar: 38g, Protein: 5g.
- Dietary Considerations: This recipe is vegetarian. For a gluten-free or vegan version, see the variations section above. It contains dairy (butter) and gluten (flour).
- Healthier Twist: You can reduce the sugar by ¼ cup without a major impact on texture, and you can use a whole-wheat pastry flour for a bit more fiber in the crust.
My personal take? Food is about joy and connection. A slice of this pie, shared with people you love, is good for the soul. Don’t overthink the numbers.
Conclusion
So there you have it—the pie that turned me from a skeptic into a true believer. This cinnamon apple pie with its beautiful lattice crust is more than just a recipe; it’s an experience. It’s the smell that fills your kitchen, the proud smile when you set it on the table, and the happy sighs of everyone who takes a bite. It’s the dessert you bring to a potluck that gets asked for by name, the one that becomes a family tradition.
I really hope you give this one a try. Don’t be intimidated by the lattice—it’s way easier than it looks, and the result is so worth it. And honestly, even if your strips aren’t perfectly even, it will still be the most delicious pie on the block. That’s the beauty of homemade food—it’s perfect because you made it.
I’d love to hear how it turns out for you! Drop a comment below and tell me about your pie-making adventure. Did you add a twist? Did your family love it? Share a photo on social media and tag me—I can’t wait to see your beautiful creations. Happy baking, friends!
Frequently Asked Questions
Can I use pre-made pie crust for this recipe?
Absolutely, if you’re short on time. A good quality refrigerated pie crust will work in a pinch. However, the homemade all-butter crust in this recipe is what really makes it special. It’s flakier, more flavorful, and holds up much better to the lattice weave. If you use a store-bought crust, you might not get the same dramatic, buttery layers.
Why did my lattice crust break when I tried to weave it?
This usually happens if the dough is too warm or too dry. If your dough is cracking, it’s likely too dry. Sprinkle it with a tiny bit of cold water and gently press it back together. If it’s too soft and sticky, pop it back in the fridge for 20 minutes. Cold, firm dough is the key to a successful lattice.
Can I make this pie ahead of time for a party?
Yes! You have two great options. You can fully assemble the unbaked pie, wrap it well in plastic wrap, and refrigerate it for up to 24 hours. Then just brush with egg wash and bake as directed. Or, you can bake the pie a day ahead, let it cool completely, and store it at room temperature wrapped in foil. It’s actually even better the next day!
How do I keep the bottom crust from getting soggy?
The pre-cooked filling is your number one defense here. By cooking out the excess liquid from the apples before baking, you eliminate the main cause of a soggy bottom. Also, baking the pie on the lowest rack of a hot oven and on a preheated baking sheet gives the bottom crust a direct blast of heat to help it set quickly.
My pie filling is too runny after baking. What went wrong?
This is usually a result of not cooking the filling long enough on the stovetop, or not letting the pie cool sufficiently after baking. The filling needs to come to a gentle boil and thicken before it goes into the crust. And that 3-4 hour cooling time is non-negotiable! The filling continues to set as it cools. Patience is the secret ingredient here.
Pin This Recipe!
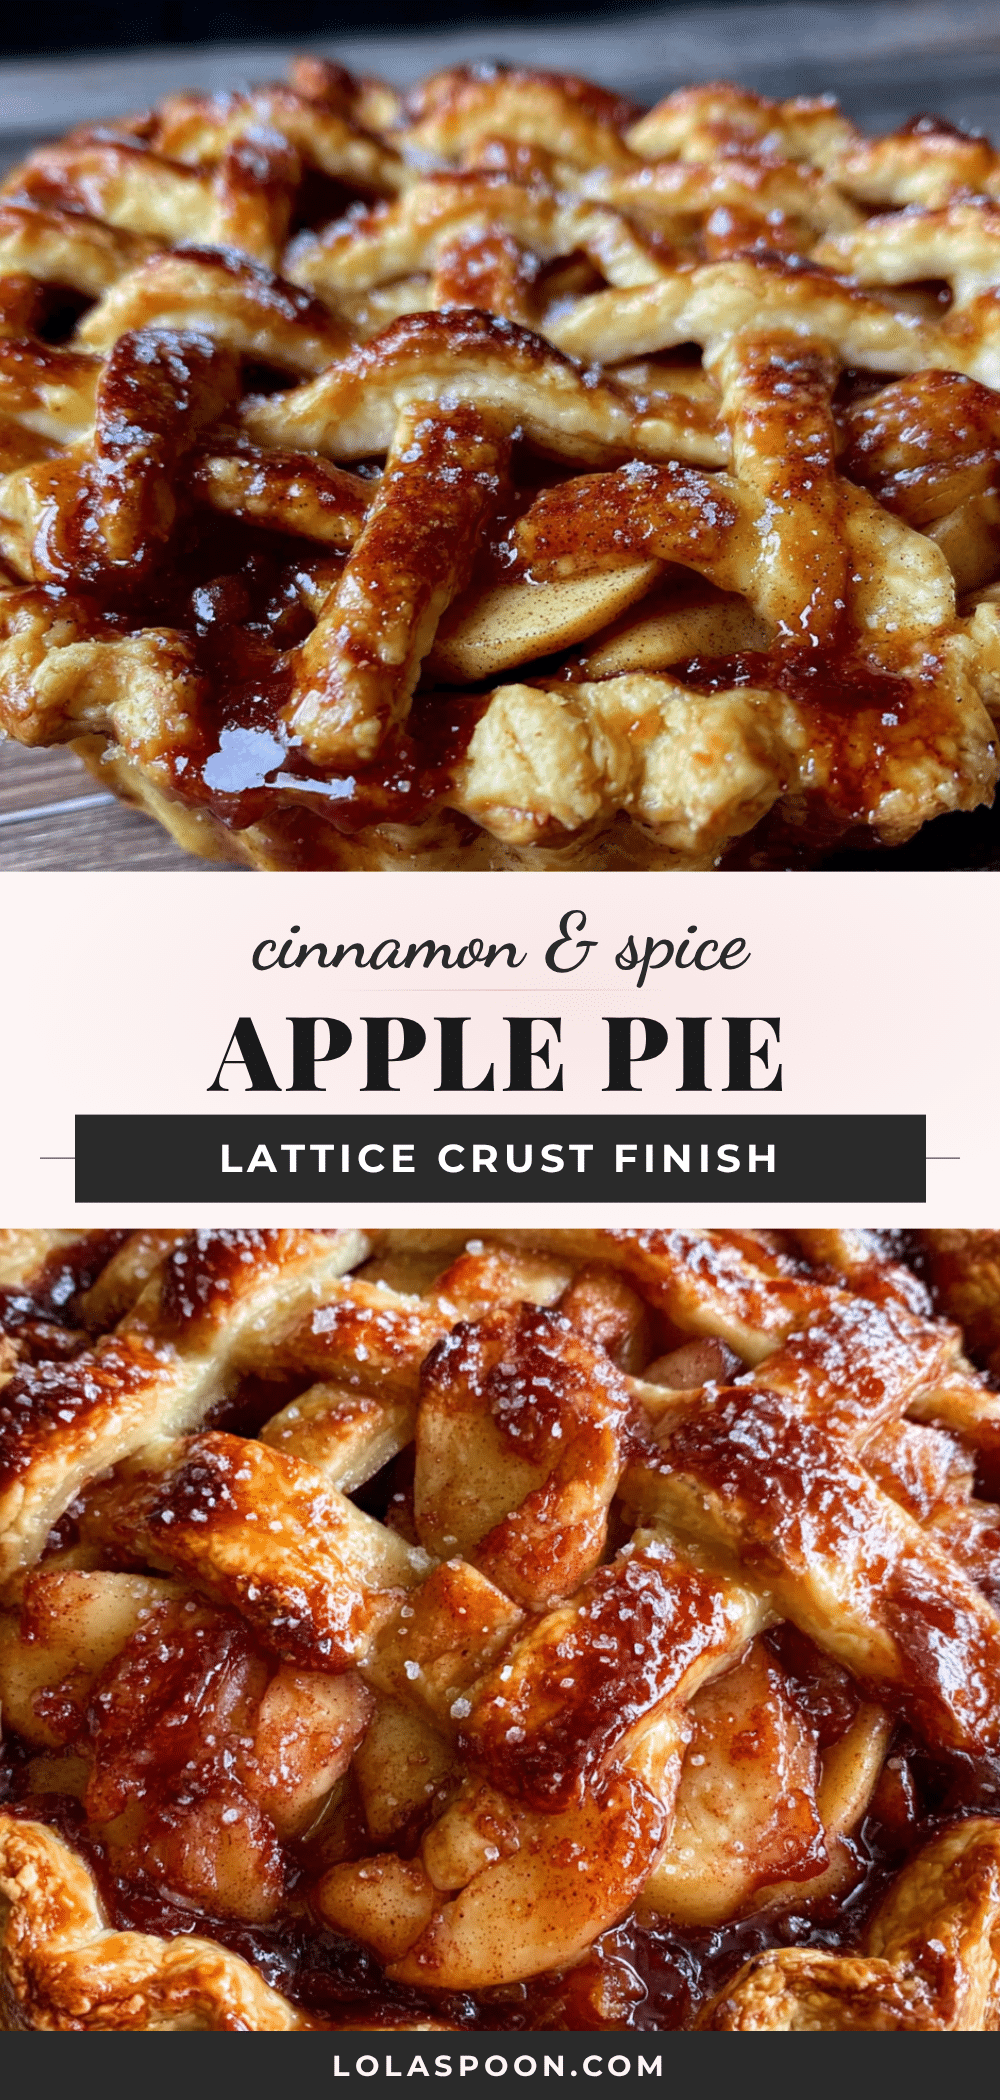
Best Homemade Cinnamon Apple Pie with Easy Lattice Crust
This is the pie that turns skeptics into believers—a perfectly spiced apple filling in a buttery, flaky lattice crust. With a pre-cooked filling and a hot baking sheet, you’ll never have a soggy bottom again.
- Prep Time: 30 minutes
- Cook Time: 55 minutes
- Total Time: 4 hours 25 minutes (includes chilling and cooling)
- Yield: 8 servings 1x
- Category: Dessert
- Cuisine: American
Ingredients
- 2 ½ cups (315g) all-purpose flour
- 1 teaspoon (5g) fine sea salt
- 1 tablespoon (12g) granulated sugar
- 1 cup (226g) unsalted butter, very cold, cut into ½-inch cubes
- ½ cup (120ml) ice water, plus more as needed
- 3 pounds (about 6-7 large) mixed apples (Granny Smith, Honeycrisp, Braeburn)
- ¾ cup (150g) packed light brown sugar
- ¼ cup (50g) granulated sugar
- 2 tablespoons (16g) all-purpose flour
- 1 tablespoon (8g) cornstarch
- 2 teaspoons (5g) ground cinnamon
- ½ teaspoon (1g) ground nutmeg
- ¼ teaspoon (0.5g) ground allspice
- ¼ teaspoon (1g) fine sea salt
- 2 tablespoons (30ml) fresh lemon juice
- 1 teaspoon (5ml) vanilla extract
- 2 tablespoons (28g) unsalted butter, cut into small pieces
- 1 large egg, beaten with 1 tablespoon of water (for egg wash)
- 1 tablespoon (12g) coarse turbinado or demerara sugar, for sprinkling
Instructions
- Make the Dough: In a large bowl, whisk together flour, salt, and sugar. Add cold butter cubes. Using a pastry blender or fingertips, work butter into flour until mixture resembles coarse meal with some pea-sized butter lumps. Drizzle ½ cup ice water over mixture and stir with a fork until dough just starts to come together. Turn out onto a lightly floured surface, divide in half, flatten each half into a 1-inch thick disk. Wrap tightly in plastic wrap and refrigerate for at least 2 hours, or up …
- Prepare the Apple Filling: Peel, core, and slice apples into ¼-inch thick slices. In a large bowl, toss apple slices with brown sugar, granulated sugar, flour, cornstarch, cinnamon, nutmeg, allspice, salt, lemon juice, and vanilla extract. Let sit at room temperature for at least 30 minutes, stirring occasionally.
- Pre-cook the Filling: Pour apple mixture and all juices into a large skillet or pot. Cook over medium heat, stirring frequently, for about 8-10 minutes, until apples have softened slightly and juices have thickened into a syrupy glaze. Remove from heat and stir in 2 tablespoons butter. Let filling cool completely to room temperature.
- Roll Out the Bottom Crust: On a lightly floured surface, roll out one disk of dough into a 12-inch circle, about ⅛-inch thick. Transfer to a 9-inch pie plate, pressing into bottom and up sides. Leave overhang. Refrigerate while preparing lattice.
- Roll Out the Top Crust & Cut Strips: Roll out second disk of dough into a 12-inch circle. Cut into 10-12 strips, each about ¾ to 1-inch wide.
- Assemble the Pie & Weave the Lattice: Pour cooled apple filling into chilled bottom crust. Place 5-6 strips vertically across pie, spacing about an inch apart. Fold back every other strip halfway. Place a horizontal strip across unfolded strips. Unfold folded strips back over new strip. Fold back strips that were not folded before. Place another horizontal strip next to the first. Repeat over-under pattern until top is covered. Trim excess dough, leaving ½-inch overhang. Fold overhang under and …
- Chill, Egg Wash, and Sugar: Place assembled pie in fridge for at least 20 minutes. Preheat oven to 425°F (220°C). Just before baking, brush entire top crust and edges with egg wash. Sprinkle generously with coarse turbinado sugar.
- Bake: Place pie on lined baking sheet on lowest rack of oven. Bake at 425°F for 20 minutes. Reduce temperature to 375°F (190°C) and bake for another 35-45 minutes, until crust is deeply golden brown and filling is bubbling. If edges brown too quickly, tent with foil. Total bake time: about 55-65 minutes.
- Cool: Let pie cool on a wire rack for at least 3-4 hours before slicing.
Notes
Cold butter is non-negotiable for a flaky crust. Don’t overwork the dough. Use a preheated baking sheet to help brown the bottom crust. Let the pie cool completely (3-4 hours) to allow the filling to set. The pie can be made ahead: assemble unbaked and refrigerate up to 24 hours, or bake a day ahead and store at room temperature.
Nutrition
- Serving Size: 1 slice (1/8 of pie)
- Calories: 480
- Sugar: 38
- Sodium: 320
- Fat: 24
- Saturated Fat: 14
- Carbohydrates: 65
- Fiber: 4
- Protein: 5
Keywords: apple pie, cinnamon apple pie, lattice crust, homemade pie, fall dessert, Thanksgiving pie, apple dessert


