There used to be a tiny chocolate shop tucked between a laundromat and a used bookstore in my old neighborhood—the kind of place with a hand-painted sign and a bell that jingled when you walked in. They made a peppermint bark that was honestly life-changing. When they closed suddenly two winters ago, I literally stood outside the locked door with my bag of their bark half-eaten, feeling genuinely lost. After twelve tries—some so bad I threw entire baking sheets in the trash—I finally got it. This is that bark, the one that makes people close their eyes and go quiet at parties.
Let me tell you, the first few attempts were rough. I used cheap chocolate that seized up, I forgot to crush the candy canes finely enough (rookie mistake), and one batch ended up looking like a crime scene. But that fourth try? That was the turning point. I had just pulled a double batch out of the fridge when my neighbor Linda knocked on my door, drawn by the smell. She took one bite, pointed at the pan, and said, “You’re bringing that to the holiday party.” And I did. It disappeared in under fifteen minutes.
What makes this bark different from the dozens of recipes floating around the internet is the layering technique and the quality of chocolate. I’m not saying you need to spend a fortune, but there’s a sweet spot between baking chocolate and those cheap melting wafers. Honestly, I think the secret is in the tempering—or more accurately, the careful not-tempering that still gives you that perfect snap. You know that feeling when something looks store-bought but tastes homemade? That’s exactly what we’re going for here.
This peppermint bark has become my signature hostess gift, my potluck contribution, my “I need to impress someone” emergency recipe. And the best part? It looks like you spent hours fussing, but really, it’s just a few ingredients and a little patience. Maybe you’ve been hunting for that one holiday treat that feels special without the stress. Let me tell you, this is it.
Why You’ll Love This Recipe
I’ve tested this peppermint bark on more friends, family members, and total strangers than I can count. The verdict is unanimous—this is the one recipe everyone asks for. Here’s why it works so well for hosting:
- Totally Foolproof: No candy thermometers, no complicated tempering. Just melt, layer, and chill. If you can stir chocolate, you can make this.
- Make-Ahead Magic: This bark actually gets better after a day or two in the fridge. You can prep it a full week before your party and cross it off your list.
- Scales Beautifully: Need to feed twenty people? Double the batch. Fifty? Triple it. This recipe handles volume like a champ.
- Impressive Without the Stress: When you break that bark into jagged pieces and arrange them on a platter, everyone thinks you’re a chocolate artisan. I’ve never once had to admit how easy it is.
- Customizable for Guests: Dark chocolate lovers, white chocolate fans, peppermint purists—this bark makes everyone happy. You can even make a dairy-free version without anyone noticing.
What really sets this apart from other peppermint bark recipes is the ratio. Most recipes drown you in white chocolate or skimp on the peppermint. I spent months tweaking the layers until I found that perfect balance where the dark chocolate is bold but not bitter, the white chocolate is creamy but not cloying, and the peppermint hits you right at the end without tasting like toothpaste. It’s the kind of recipe that makes you wonder why you ever bought the stuff in a tin.
This isn’t just a holiday treat—it’s a conversation starter, a crowd-pleaser, and honestly, a little bit of a flex. When you walk into a gathering with a box of this bark, you’re not just bringing dessert. You’re bringing the thing people will text you about the next day.
What Ingredients You Will Need
This recipe uses simple, high-quality ingredients to create that signature snap and creamy melt. Most of these are pantry staples during the holiday season, but I’ve included notes on what to look for and what to swap if needed.
For the Dark Chocolate Layer
- 12 ounces (340g) dark chocolate, chopped (I use Ghirardelli 60% cacao bars—they melt smoothly and have that deep, complex flavor that stands up to the peppermint)
- 1 teaspoon coconut oil or vegetable shortening (optional, but helps with shine and prevents blooming)
For the White Chocolate Layer
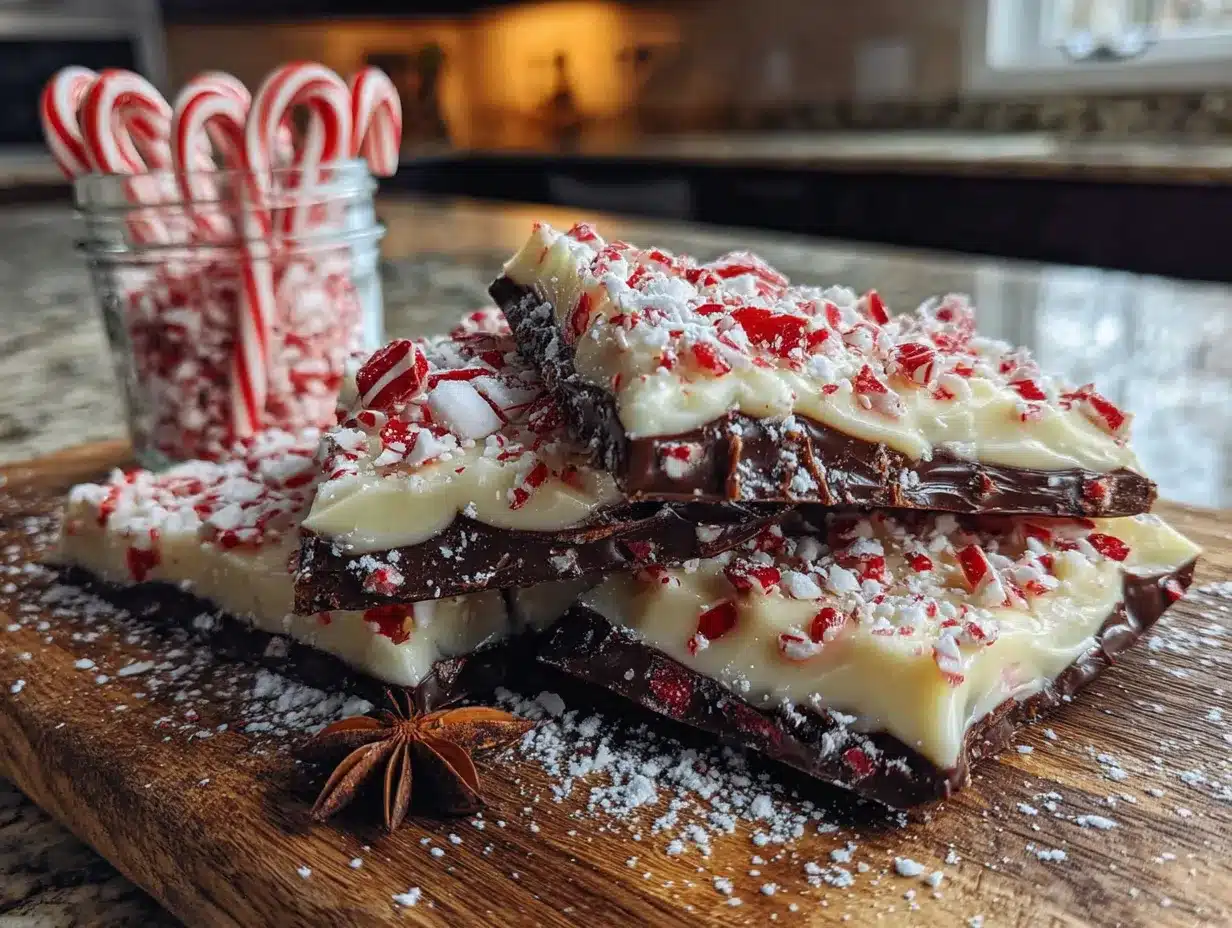
- 12 ounces (340g) high-quality white chocolate, chopped (Look for one with cocoa butter listed as an ingredient—Ghirardelli or Callebaut work beautifully. Avoid white “melting wafers” as they don’t set the same way)
- 1/2 teaspoon peppermint extract (pure extract, not peppermint oil—trust me on this)
- A few drops of red food coloring (gel works best, but liquid is fine too—this is optional if you want a swirled look)
For the Topping
- 1/2 cup (60g) crushed candy canes or peppermint candies (about 6-8 standard candy canes—crush them yourself for the best texture)
- Optional: 1/4 cup (30g) finely crushed peppermint for the middle layer (this gives an extra crunch that guests love)
Ingredient Tips from My Kitchen
Let me save you from my early mistakes. First, don’t use chocolate chips for this recipe. They contain stabilizers that prevent them from melting smoothly, and your bark will end up grainy. Buy good-quality chocolate bars or feves (those little chocolate discs) instead. Second, crush your candy canes in a sealed plastic bag with a rolling pin—don’t use a food processor unless you want peppermint dust everywhere. I learned that one the hard way when my entire kitchen looked like a snow globe.
For the white chocolate, here’s a pro tip: if you’re dairy-free, there are excellent vegan white chocolates available now (Pascha makes a great one). The texture is slightly different, but the flavor holds up beautifully. Just make sure to check the label for cocoa butter content—higher cocoa butter means smoother melting.
Equipment Needed
You don’t need fancy equipment for this recipe, which is part of its charm. Here’s what you’ll need:
- 13×9-inch (33x23cm) baking sheet or jelly roll pan (a rimmed baking sheet works perfectly—the rim keeps the chocolate contained)
- Parchment paper (non-negotiable—you need this for easy removal)
- Double boiler or microwave-safe bowls (I use a glass bowl over a saucepan of simmering water, but the microwave works in a pinch)
- Rubber spatula (for spreading the chocolate evenly)
- Sharp knife or bench scraper (for cutting clean edges, though I like the rustic look of hand-broken pieces)
- Rolling pin and zip-top bag (for crushing candy canes without making a mess)
- Offset spatula (optional, but makes spreading the white chocolate layer so much easier)
I’ve made this with a cheap baking sheet from the grocery store and it worked just fine. The only thing I’d really recommend investing in is good parchment paper—the non-stick kind saves so much frustration. And if you’re making multiple batches for holiday gifting, grab an extra baking sheet so you can work in assembly-line fashion.
Preparation Method
This is where the magic happens. Take your time with each step—rushing is the enemy of good bark.
Step 1: Prepare Your Pan
Line your 13×9-inch baking sheet with parchment paper, leaving about 2 inches of overhang on the long sides. This creates handles that make lifting the finished bark out a breeze. Smooth out any wrinkles in the paper—they’ll show up in the chocolate otherwise.
Step 2: Melt the Dark Chocolate
Chop your dark chocolate into even, small pieces (about 1/4-inch chunks). Place them in a heatproof bowl set over a saucepan of barely simmering water—make sure the bowl doesn’t touch the water. Stir gently with a rubber spatula until about 75% of the chocolate is melted, then remove from heat and continue stirring. The residual heat will melt the rest. If using coconut oil, add it now and stir until combined. You want the chocolate to be smooth, glossy, and around 88°F (31°C)—warm but not hot to the touch.
Step 3: Spread the First Layer
Pour the melted dark chocolate onto your prepared pan. Use an offset spatula or the back of a spoon to spread it into an even layer, reaching all the way to the edges. Aim for about 1/4-inch thickness. Tap the pan gently on the counter a few times to release any air bubbles. Place the pan in the refrigerator for 15-20 minutes, or until the chocolate is firm but not rock-hard—it should still have a slight give when you press it gently.
Step 4: Prepare the White Chocolate Layer
While the dark layer sets, chop your white chocolate into small pieces. Melt it the same way as the dark chocolate—gentle heat, constant stirring. White chocolate is more delicate, so be extra careful not to overheat it. If it seizes (turns grainy and stiff), you’ve gone too far—start over with fresh chocolate. Once smooth, stir in the peppermint extract. If you want a swirled effect, add a few drops of red food coloring and gently swirl with a toothpick—don’t overmix, or you’ll lose the pattern.
Step 5: Add the Middle Crunch Layer (Optional but Amazing)
Here’s my secret: sprinkle about half of your crushed candy canes over the set dark chocolate layer before adding the white chocolate. This creates a hidden crunch in the middle that surprises everyone. If you’re skipping this, just move on to the next step.
Step 6: Spread the White Chocolate Layer
Pour the melted white chocolate over the dark chocolate layer. Gently spread it to the edges, being careful not to disturb the dark layer underneath. If you added the middle crunch, the white chocolate will settle around the candy pieces beautifully. Tap the pan again to level everything out.
Step 7: Add the Topping
Immediately sprinkle the remaining crushed candy canes over the white chocolate layer. Press them in gently with your fingers or the back of a spoon so they stick. Don’t wait—if the white chocolate starts to set, the candy won’t adhere properly. For a more polished look, you can add the candy in a pattern or just scatter it evenly. I prefer the chaotic, rustic look—it feels more homemade.
Step 8: Set and Break
Place the pan in the refrigerator for at least 2 hours, or until the bark is completely firm. The top should feel solid and the layers should have no give when pressed. Once set, lift the bark out using the parchment paper handles. Place it on a cutting board and let it sit at room temperature for 5 minutes—this prevents shattering. Then, either cut it into clean squares with a sharp knife or break it into rustic pieces with your hands. I prefer the broken look for parties—it looks more artisanal and somehow feels more generous.
Cooking Tips & Techniques
After more batches than I care to count, here’s what I’ve learned the hard way:
Don’t rush the chilling. I know it’s tempting to pop that pan in the freezer for 20 minutes, but trust me—slow and steady wins this race. The freezer can cause condensation on the surface, which leads to that weird, sticky texture called sugar bloom. Two hours in the fridge is non-negotiable.
Watch your white chocolate like a hawk. White chocolate is the diva of the chocolate world. It scorches at around 110°F (43°C), which is way lower than dark or milk chocolate. If you see it starting to look thick or grainy, you’ve already gone too far. The trick is to remove it from heat when it’s still about 50% melted and stir until smooth.
Crush candy canes strategically. You want a mix of fine dust and small chunks. The dust dissolves slightly into the white chocolate for that peppermint flavor throughout, while the chunks provide the crunch. I crush mine in a bag with a rolling pin, then sift out the finest powder to use in the middle layer or save for hot chocolate.
Temperature matters more than you think. If your kitchen is warm (above 72°F/22°C), your chocolate will take longer to set and might get streaky. Work in a cool room if possible, and don’t be afraid to chill the pan between layers. One time I made this on a humid summer day just to test it, and the layers kind of melted into each other. Still tasted great, but not as pretty.
Double-batch strategy. When I’m making this for a big party, I prep two pans at once. I melt the dark chocolate for both, spread both layers, then move on to the white chocolate. It saves so much cleanup time and the rhythm of it gets easier with practice.
Variations & Adaptations
This recipe is incredibly forgiving, so don’t be afraid to play around. Here are some of my favorite variations:
- Dairy-Free Version: Use dairy-free dark chocolate (most are naturally dairy-free) and a vegan white chocolate like Pascha or Enjoy Life. The texture is slightly softer but the flavor is spot-on. I’ve served this to dairy-free guests who didn’t even notice the difference.
- Mint Chocolate Chip Bark: Fold 1/4 cup mini chocolate chips into the white chocolate layer before spreading. It adds another layer of texture and looks beautiful when broken.
- Spicy Peppermint Bark: Add a pinch of cayenne pepper or cinnamon to the dark chocolate layer. The heat plays beautifully with the cool peppermint and makes for a grown-up version that always gets comments.
- Cookie Crunch Bark: Sprinkle crushed Oreos or chocolate wafer cookies between the layers alongside the candy canes. It adds a cookies-and-cream vibe that kids especially love.
- Dark Chocolate Only Version: Skip the white chocolate entirely and make a single-layer dark chocolate bark with peppermint pieces on top. It’s more intense and perfect for dark chocolate purists.
One of my favorite experiments was a holiday party where I made three versions: classic, spicy, and dairy-free. I labeled them with little flags and watched people taste-test all three. The spicy one was the surprise hit—people kept coming back for more. I’ve since started making it as a hostess gift for friends who love bold flavors.
Serving & Storage Suggestions
This bark is a showstopper on any dessert table, and how you serve it matters almost as much as how it tastes.
For parties: Arrange the broken pieces on a large white platter or wooden board. The contrast between the dark chocolate, white chocolate, and red peppermint pieces is gorgeous. I like to add a few whole candy canes as decoration and maybe some fresh mint leaves for color. Serve at room temperature—cold bark loses some of its flavor and can be hard on sensitive teeth.
What to serve alongside: This bark pairs beautifully with coffee, hot chocolate, or a peppermint martini. For a dessert spread, I put it out with shortbread cookies, chocolate truffles, and fresh fruit. It also works wonderfully as a party favor—just wrap pieces in clear cellophane bags tied with red ribbon.
Storage: Keep your bark in an airtight container in the refrigerator for up to 3 weeks. Layer pieces between sheets of parchment paper to prevent them from sticking together. If you’re stacking multiple layers, make sure each layer is fully set before adding the next. The bark also freezes beautifully for up to 3 months—just wrap it tightly in plastic wrap and then foil.
Reheating tip: You don’t actually reheat this, but if it’s been in the fridge, let it sit at room temperature for 15-20 minutes before serving. The flavors are much more pronounced at room temperature, and the texture goes from hard to perfectly snappy.
Flavor development: Here’s something interesting—this bark actually tastes better after a day or two. The peppermint flavor mellows and integrates with the chocolate, creating a more balanced taste. I always try to make mine at least 24 hours before I plan to serve it. The peppermint and chocolate sort of get to know each other, and the result is smoother and more harmonious.
Nutritional Information & Benefits
Let’s be real—this is a treat, not a health food. But that doesn’t mean it’s without its merits. Here’s what you’re getting in a typical 2-ounce (56g) serving:
- Calories: Approximately 280-320
- Fat: 18-22g (mostly from cocoa butter and cocoa solids)
- Carbohydrates: 28-32g
- Sugar: 24-28g
- Protein: 3-4g
- Fiber: 2-3g (from the dark chocolate)
Dark chocolate (60% cacao or higher) is actually a decent source of antioxidants, particularly flavonoids that support heart health. It also contains small amounts of iron, magnesium, and copper. Peppermint has been used for centuries to aid digestion—which is convenient, considering you’ll probably eat more than one piece. White chocolate doesn’t offer the same antioxidant benefits, but it does provide calcium from the milk solids. Honestly, I think the biggest benefit is the joy it brings to a gathering. There’s something about sharing homemade treats that just makes people happy, and that counts for something.
This recipe contains dairy (from the white chocolate) and may contain traces of soy and nuts depending on the chocolate brands you use. For a completely allergy-friendly version, follow the dairy-free variation and check your chocolate labels carefully.
Conclusion
This peppermint bark has become my holiday signature, and I’m honestly a little proud of that. It’s the recipe I reach for when I want to show up to a party with something that feels special but doesn’t require a whole day in the kitchen. It’s the gift I give to neighbors, coworkers, and anyone who’s done me a favor during the year. And it’s the treat I make for myself on quiet December evenings with a cup of tea and a good movie.
What I love most about this recipe is how it brings people together. I’ve watched strangers bond over the perfect piece with the most candy cane crunch. I’ve seen friends text each other photos of how they arranged their bark platters. I’ve had people I barely know ask me for the recipe at parties, and I always share it without hesitation. Because honestly, great food is meant to be shared.
So go ahead—make a batch for your next gathering. Double it, because trust me, it will disappear faster than you expect. Break it into pieces, arrange it on your prettiest plate, and watch what happens. And when someone asks you where you bought it, just smile and say, “Oh, I made it.” That moment never gets old.
I’d love to hear how yours turns out. Leave a comment below or tag me in your photos—I’m always looking for new variations to try. Happy baking, and here’s to making memories one piece of bark at a time!
Frequently Asked Questions
Can I use chocolate chips instead of chocolate bars?
You can, but I don’t recommend it. Chocolate chips contain stabilizers that help them hold their shape when baked, which means they don’t melt as smoothly. Your bark might end up grainy or streaky. Stick with good-quality chocolate bars or feves for the best results.
Why did my white chocolate seize up?
White chocolate is sensitive to heat and moisture. If it seizes (turns thick, grainy, and clumpy), it likely got too hot or came into contact with a drop of water. Always use completely dry bowls and utensils, and melt it gently over low heat. If it seizes, unfortunately, there’s no saving it—start fresh with new chocolate.
How far in advance can I make this bark?
You can make this bark up to 3 weeks ahead and store it in an airtight container in the refrigerator. It actually gets better after a day or two as the flavors meld. For longer storage, freeze it for up to 3 months—just wrap it well in plastic wrap and foil.
Can I use peppermint oil instead of extract?
You can, but be careful—peppermint oil is much more concentrated than extract. Start with just 1-2 drops and taste as you go. Too much peppermint oil can make your bark taste medicinal or even slightly bitter. I prefer extract because it’s more forgiving and gives a cleaner flavor.
My layers keep separating. What am I doing wrong?
This usually happens when the first layer isn’t fully set before you add the second, or when the two layers are at very different temperatures. Make sure your dark chocolate layer is completely firm (15-20 minutes in the fridge), and let your white chocolate cool slightly before pouring it on. If the white chocolate is too hot, it can melt the dark layer and create a messy swirl effect.
Pin This Recipe!
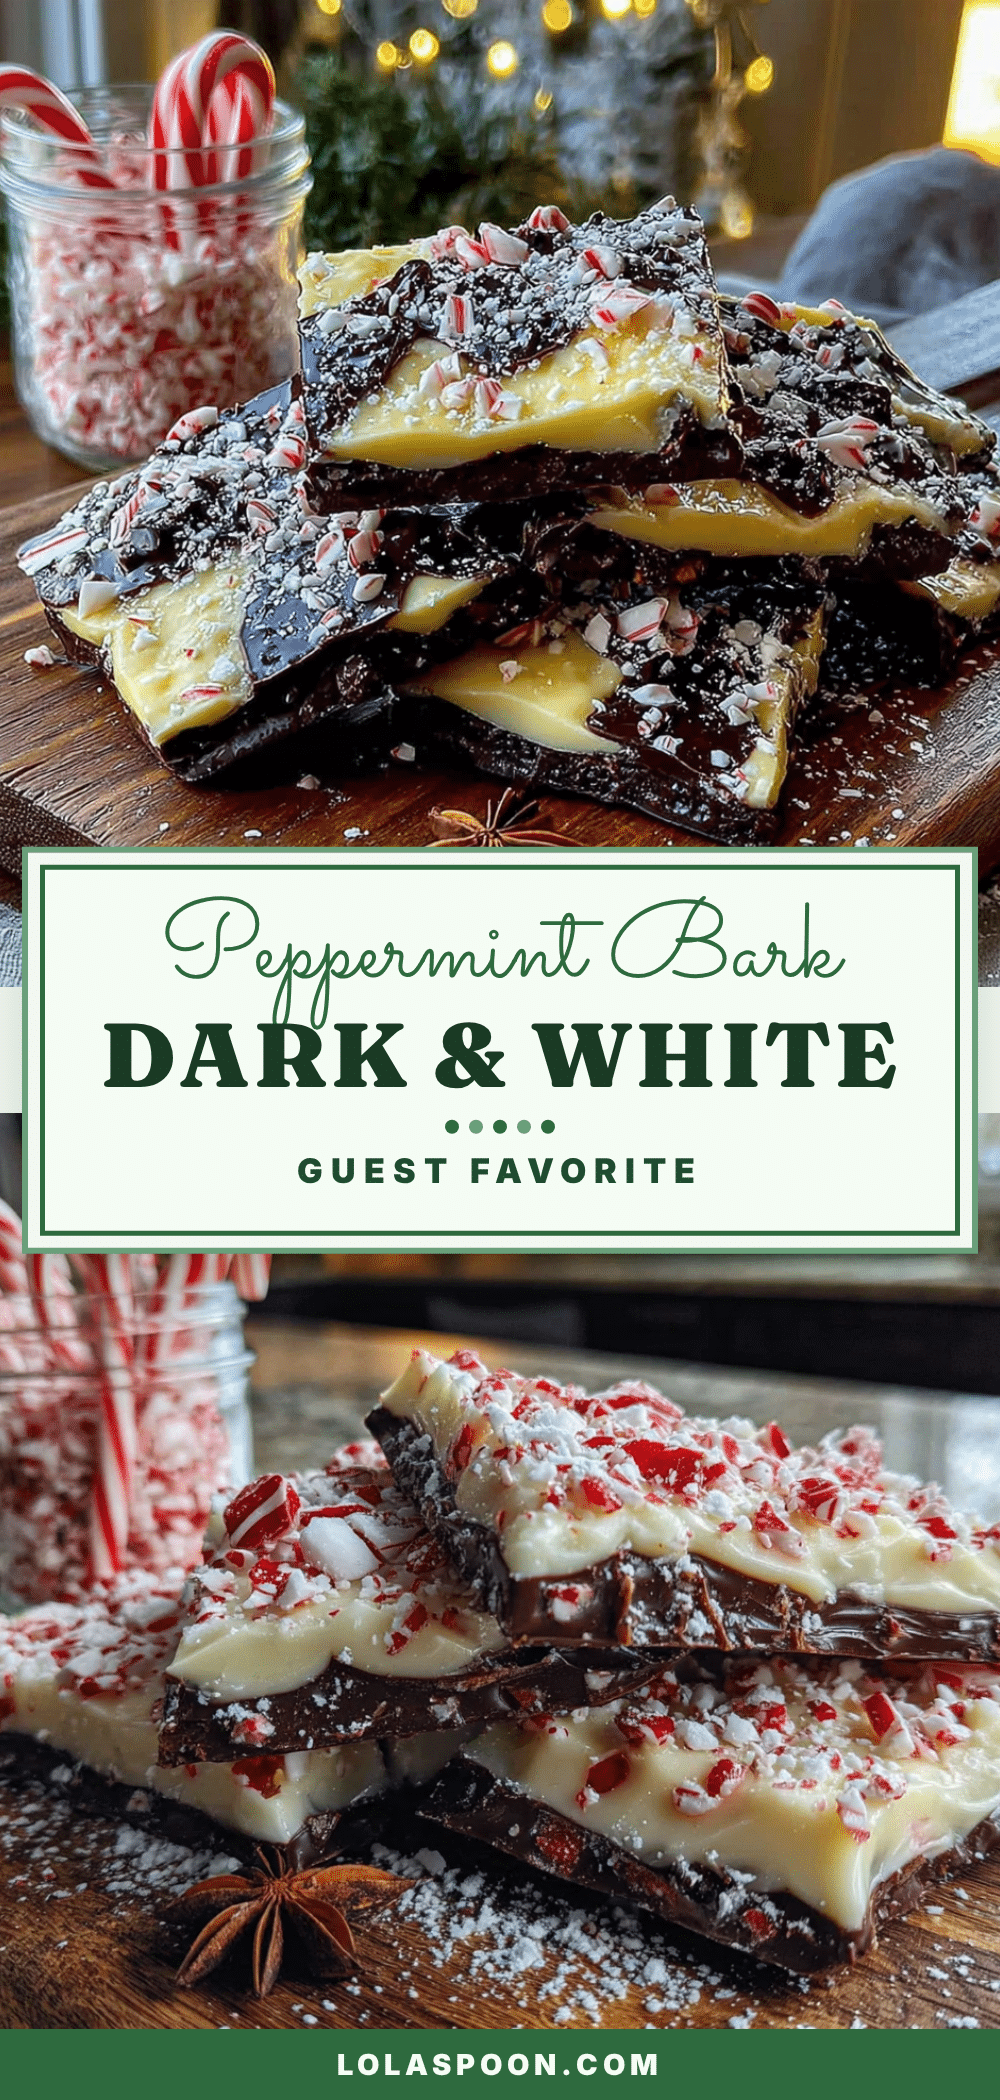
Best Homemade Peppermint Bark: Guest-Favorite Dark & White

A foolproof, make-ahead peppermint bark with perfect layers of dark and white chocolate, crushed candy canes, and a secret middle crunch. This guest-favorite recipe is impressive yet easy, making it the ultimate holiday treat for parties, gifting, or quiet December evenings.
- Prep Time: 20 minutes
- Cook Time: 10 minutes
- Total Time: 2 hours 30 minutes (includes chilling)
- Yield: 24 servings 1x
- Category: Dessert
- Cuisine: American
Ingredients
- 12 ounces (340g) dark chocolate, chopped (60% cacao, like Ghirardelli)
- 1 teaspoon coconut oil or vegetable shortening (optional, for shine)
- 12 ounces (340g) high-quality white chocolate, chopped (with cocoa butter, like Ghirardelli or Callebaut)
- 1/2 teaspoon peppermint extract (pure, not oil)
- A few drops red food coloring (gel preferred, optional for swirl)
- 1/2 cup (60g) crushed candy canes or peppermint candies (about 6–8 standard candy canes)
- 1/4 cup (30g) finely crushed peppermint for middle layer (optional)
Instructions
- Line a 13×9-inch baking sheet with parchment paper, leaving 2 inches overhang on the long sides. Smooth out wrinkles.
- Chop dark chocolate into even 1/4-inch pieces. Melt in a heatproof bowl over barely simmering water (bowl not touching water), stirring gently until 75% melted. Remove from heat and stir until fully smooth. If using coconut oil, stir it in now. The chocolate should be glossy and around 88°F (31°C).
- Pour melted dark chocolate onto prepared pan. Spread evenly with an offset spatula to about 1/4-inch thickness, reaching edges. Tap pan gently to release air bubbles. Refrigerate 15-20 minutes until firm but still slightly giving when pressed.
- While dark layer sets, chop white chocolate into small pieces. Melt gently the same way as dark chocolate, being careful not to overheat (white chocolate scorches around 110°F/43°C). Stir until smooth, then mix in peppermint extract. For a swirled effect, add a few drops red food coloring and gently swirl with a toothpick—do not overmix.
- Optional: Sprinkle half the crushed candy canes over the set dark chocolate layer for a hidden middle crunch.
- Pour melted white chocolate over the dark layer. Gently spread to edges without disturbing the dark layer. Tap pan to level.
- Immediately sprinkle remaining crushed candy canes over white chocolate layer. Press gently with fingers or spoon back to adhere.
- Refrigerate at least 2 hours until completely firm. Lift bark out using parchment handles. Let sit at room temperature 5 minutes, then cut into clean squares with a sharp knife or break into rustic pieces by hand.
Notes
Don’t rush the chilling—2 hours in the fridge is non-negotiable to avoid sugar bloom. Watch white chocolate carefully; it scorches easily. Crush candy canes in a sealed bag with a rolling pin for a mix of fine dust and small chunks. The bark actually tastes better after a day or two as flavors meld. For best results, serve at room temperature.
Nutrition
- Serving Size: 2 ounces (56g)
- Calories: 300
- Sugar: 26
- Sodium: 35
- Fat: 20
- Saturated Fat: 12
- Carbohydrates: 30
- Fiber: 2.5
- Protein: 3.5
Keywords: peppermint bark, homemade peppermint bark, holiday candy, chocolate bark, easy peppermint bark, dark and white chocolate bark, Christmas treat, giftable candy


