The neighborhood Halloween party was in six hours and I’d completely forgotten. Not just forgotten the party, but forgotten I’d volunteered to bring the dessert table’s centerpiece. My friend Jen had texted, “Can’t wait to see what you make!” and I’d responded with a thumbs-up emoji, completely blanking on the fact that I had zero plan, zero groceries, and about four hours of daylight left. Everyone else would be bringing elaborate haunted gingerbread houses and professionally-decorated cakes. I had a box of cake mix, a can of black food coloring, and a bag of pretzel sticks that were probably meant for lunch.
Honestly, I almost called in sick. But then my kid handed me a plastic spider ring from the dollar store, and something clicked. I mean, what’s more Halloween than chocolate cupcakes that look like they crawled out of a cauldron? The black cat design happened because I found a bag of licorice strings in the back of the pantry, and the spider legs were those sad pretzels. Let me tell you, I was frantically piping frosting while my cat knocked over a bottle of sprinkles, and somehow it worked. The cupcakes looked less like a panic project and more like I’d planned them for weeks.
Jen texted me a photo later that night of the empty platter. “These were gone in ten minutes,” she said. “Everyone wanted the recipe.” The best part? I had to admit I made them under pressure, with ingredients I already had, while racing against the clock. Maybe you’ve been there—scrambling for a last-minute party contribution and somehow stumbling onto something magical. That’s exactly how these Spooky Black Cat Chocolate Spider Cupcakes were born. They’re the underdog story of Halloween baking, and I keep making them because they prove you don’t need fancy supplies to steal the show.
Why You’ll Love This Recipe
Listen, I’ve tested a lot of Halloween recipes over the years, and most of them are either too complicated or taste like cardboard. These cupcakes are different. They’re the kind of treat that makes you look like a baking hero without actually having to be one. Here’s why they work:
- Quick & Easy: From start to finish, you’re looking at about 45 minutes. That includes cooling time. Perfect for those “oh no, the party is tonight” moments.
- Simple Ingredients: No trips to specialty baking stores. You probably have most of this stuff in your pantry right now. Black food coloring and candy eyes are the only “special” items.
- Perfect for Halloween: Whether it’s a school party, office potluck, or neighborhood gathering, these cupcakes scream Halloween without being too scary for little kids.
- Crowd-Pleaser: I’ve watched adults and kids alike grab these first. There’s something about the combination of chocolate and a cute spooky design that everyone loves.
- Unbelievably Delicious: Here’s the thing—they’re not just cute. The cake is moist, the frosting is rich, and the pretzel legs add this perfect salty crunch that balances the sweetness.
What makes these different from every other Halloween cupcake recipe out there? It’s the texture. I use a special trick of adding a little sour cream to the batter, which keeps the cupcakes incredibly moist for days. Plus, the black cat design is actually easier than it looks. You don’t need a piping bag or fancy tips—just a zip-top bag with the corner snipped off. And the spider legs? They’re strategically placed so they don’t snap off when you bite into them. I learned that one the hard way after my first batch turned into a pile of broken pretzels.
These cupcakes aren’t just good—they’re the kind that makes you close your eyes after the first bite. The chocolate is deep and rich, the frosting is silky, and that salty pretzel crunch? Chef’s kiss. It’s comfort food reimagined for Halloween: fun, festive, and totally satisfying without requiring a culinary degree.
What Ingredients You Will Need
This recipe uses simple, wholesome ingredients to deliver bold chocolate flavor and a spooky presentation without any fuss. Most of these are pantry staples, so you can whip these up even on short notice.
For the Cupcakes
- 1 ¾ cups all-purpose flour (spooned and leveled—don’t scoop directly from the bag)
- 1 ½ cups granulated sugar
- ¾ cup unsweetened cocoa powder (I recommend Hershey’s Special Dark for a richer flavor)
- 1 ½ teaspoons baking powder
- 1 ½ teaspoons baking soda
- 1 teaspoon salt
- 2 large eggs (room temperature—this matters for even mixing)
- 1 cup whole milk (or any milk you have on hand)
- ½ cup vegetable oil (canola or avocado oil also work)
- 2 teaspoons vanilla extract
- 1 cup boiling water (this activates the cocoa for a deeper flavor)
- ¼ cup sour cream (the secret to moist cupcakes that stay fresh)
For the Black Cat Frosting
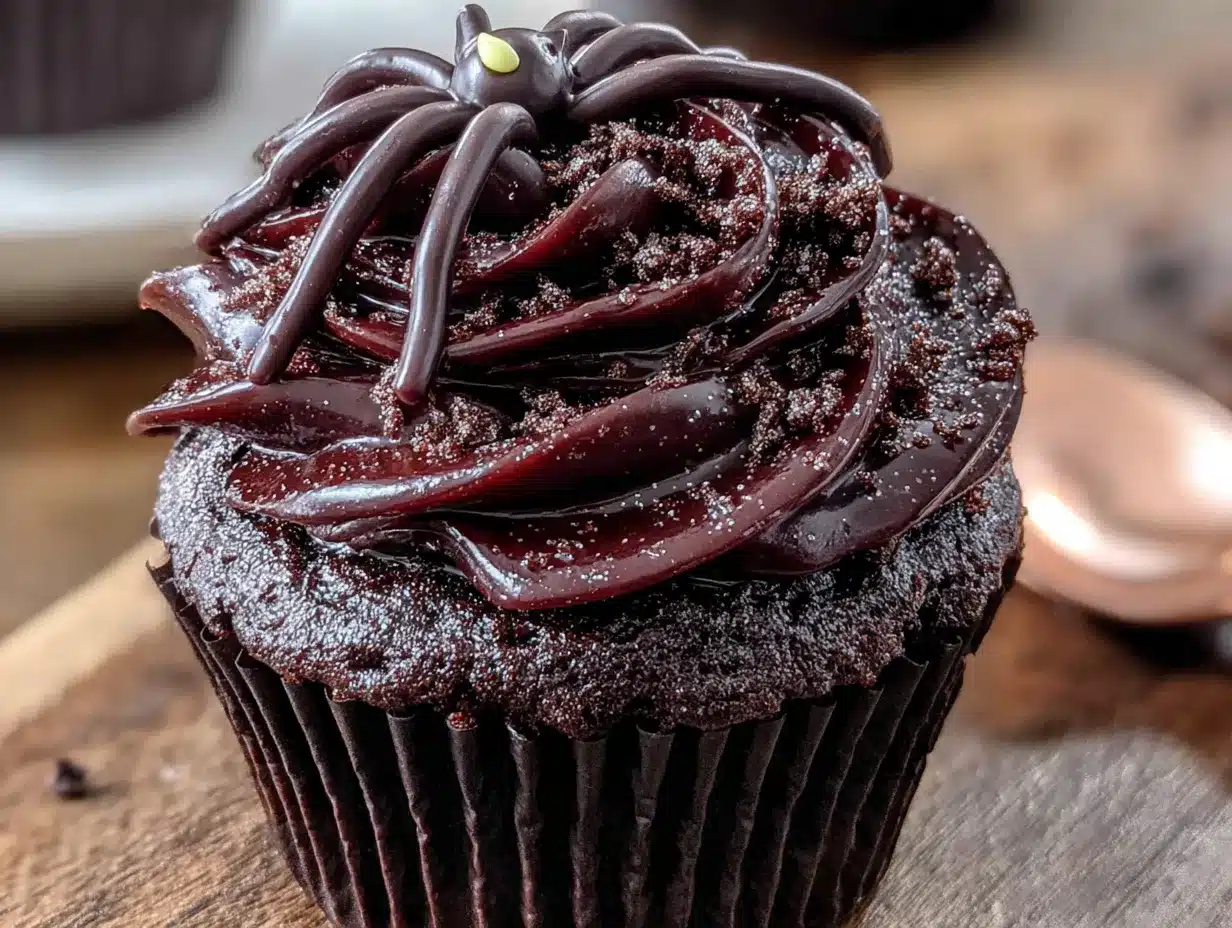
- 1 cup unsalted butter (softened to room temperature)
- 3 ½ cups powdered sugar
- ½ cup unsweetened cocoa powder
- 2 teaspoons vanilla extract
- 3-4 tablespoons heavy cream (or milk if that’s what you have)
- Black gel food coloring (I use Wilton brand—liquid coloring won’t get dark enough)
For the Spider Decorations
- 24 pretzel sticks (for spider legs—break them in half for 48 pieces)
- 48 candy eyes (the small ones work best)
- Black licorice strings (for the cat whiskers, cut into 2-inch pieces)
- Chocolate sprinkles or black sanding sugar (optional, for extra spooky texture)
Ingredient Selection Tips: For the black food coloring, gel-based is non-negotiable. Liquid food coloring will give you a grayish-purple mess, and nobody wants a sad gray cat. I’ve tried three different brands, and Wilton Color Right consistently gives the deepest black without a bitter aftertaste. For the cocoa powder, Dutch-processed makes a smoother frosting, but natural works fine too.
Substitution Guidance: Need this dairy-free? Use almond milk and vegan butter. The sour cream can be swapped with dairy-free coconut yogurt—just make sure it’s plain, not flavored. For a gluten-free version, use a 1:1 gluten-free flour blend. I’ve tested this with Bob’s Red Mill, and the texture holds up beautifully. If you don’t have pretzels for the spider legs, thin breadsticks or even broken chocolate wafers work in a pinch.
Equipment Needed
You don’t need a professional bakery setup for these. Here’s what I used, along with some lessons learned from my first few batches:
- Muffin pan (12-cup) — Standard size works best. Mini pans will change the baking time significantly.
- Paper cupcake liners — I prefer black or orange liners for the spooky vibe, but any color works.
- Large mixing bowls (2) — One for dry ingredients, one for wet.
- Whisk and rubber spatula — A hand mixer works too, but honestly, a whisk is faster for this batter.
- Wire cooling rack — Don’t skip this. Cooling on a flat surface makes the bottoms soggy.
- Piping bags or zip-top bags — I use gallon-sized freezer bags with the corner snipped off. Works perfectly and costs pennies.
- Offset spatula — For smoothing frosting, though a butter knife works in a pinch.
- Toothpicks — For testing doneness and placing candy eyes.
Budget-Friendly Options: If you don’t have a piping bag, a sturdy sandwich bag works. Just don’t overfill it—I learned that lesson when frosting exploded all over my counter. For the cooling rack, you can use the rack from your oven if you take it out and let it cool completely first. And if you don’t have an offset spatula, a butter knife dipped in hot water and dried off gives a surprisingly smooth finish.
Preparation Method
Alright, let’s get to the fun part. I’ve broken this down into clear steps with all the little tricks I’ve picked up along the way.
Step 1: Preheat and Prep
Preheat your oven to 350°F (175°C). Line your muffin pan with paper liners. I like to spray the inside of the liners lightly with non-stick spray—this keeps the cupcakes from sticking to the paper, which is especially important for dark-colored cakes.
Step 2: Mix the Dry Ingredients
In a large bowl, whisk together the flour, sugar, cocoa powder, baking powder, baking soda, and salt. Make sure there are no lumps in the cocoa powder. I sift mine if it looks clumpy. This takes about 30 seconds but makes a huge difference in the final texture.
Step 3: Combine the Wet Ingredients
In a separate bowl, whisk together the eggs, milk, oil, vanilla extract, and sour cream. Whisk until the sour cream is fully incorporated—you don’t want white streaks in the batter. The mixture should look smooth and slightly thick.
Step 4: Bring It All Together
Pour the wet ingredients into the dry ingredients and stir with a rubber spatula until just combined. A few lumps are okay—overmixing will make the cupcakes tough. Now, slowly pour in the boiling water while stirring gently. The batter will be very thin at this point, almost like soup. Don’t panic! This is normal. The hot water helps bloom the cocoa powder for a deeper chocolate flavor.
Step 5: Fill and Bake
Fill each cupcake liner about ⅔ full. I use a ¼-cup measuring scoop for consistency. Bake for 18-22 minutes, or until a toothpick inserted in the center comes out with just a few moist crumbs. The tops should spring back when lightly touched. Let them cool in the pan for 5 minutes, then transfer to a wire rack to cool completely. And I mean completely—warm frosting is a disaster waiting to happen.
Step 6: Make the Frosting
While the cupcakes cool, beat the softened butter in a large bowl until creamy, about 2 minutes. Add the powdered sugar and cocoa powder alternately with the heavy cream, starting and ending with the sugar mixture. Beat in the vanilla extract. Here’s the key: add the black gel food coloring one drop at a time, mixing thoroughly between each drop. I usually need about 10-12 drops to get a true black. Let the frosting sit for 10 minutes—the color will deepen as it rests.
Step 7: Pipe the Frosting
Transfer the frosting to a piping bag fitted with a large round tip (or just snip the corner of a zip-top bag). Pipe a generous swirl on each cooled cupcake. For the black cat design, pipe two small pointed ears on top of the swirl before it sets. Use a toothpick to gently shape them if needed.
Step 8: Add the Spider Legs
Break each pretzel stick in half to create 48 pieces. Gently insert four pieces into each side of the frosting, angling them slightly upward to look like spider legs. Work quickly before the frosting sets, or the pretzels won’t stay in place.
Step 9: Add the Eyes and Whiskers
Press two candy eyes onto the front of each cupcake. For the whiskers, insert three pieces of black licorice string on each side of the eyes. If you’re adding chocolate sprinkles or black sanding sugar, sprinkle them over the frosting while it’s still soft.
Step 10: Let Them Set
Refrigerate the decorated cupcakes for 15-20 minutes to set the frosting. This keeps the pretzels and eyes from sliding off when you transport them. After that, they’re ready to serve.
Cooking Tips & Techniques
I’ve made these cupcakes about a dozen times now, and I’ve learned a few things the hard way. Here’s what I wish someone had told me:
The Room Temperature Rule Is Real: I know, I know, nobody has time to let eggs and butter sit out. But cold ingredients don’t emulsify properly, which means your batter will be lumpy and your cupcakes dense. If you’re in a hurry, put the eggs in a bowl of warm water for 5 minutes, and microwave the butter for 10 seconds at a time until it’s soft but not melted.
Don’t Overmix the Batter: That thin batter is tempting to keep stirring, but stop as soon as the flour disappears. Overmixing develops gluten, which makes cupcakes tough and rubbery. I speak from experience—my first batch was practically edible frisbees.
The Frosting Color Trick: Black frosting is notoriously difficult to achieve. The secret? Start with dark cocoa powder, use gel coloring, and let the frosting rest. I once added so much liquid coloring trying to get it black that my frosting became soup. Gel coloring is concentrated, so a little goes a long way. And if it turns out more charcoal than black, let it sit for 30 minutes—the color will continue to develop.
Timing and Multitasking: While the cupcakes are baking and cooling, make the frosting. While the frosting is resting, break the pretzels and cut the licorice. This way, everything is ready at the same time, and you’re not scrambling with sticky fingers while the frosting hardens.
The Broken Pretzel Problem: Insert the pretzel legs at a slight downward angle, not straight out. Straight-out legs snap off the second someone picks up the cupcake. Angled legs stay put and look more natural anyway.
Variations & Adaptations
One of the best things about this recipe is how flexible it is. Here are some variations I’ve tried and loved:
Gluten-Free Version
Swap the all-purpose flour with a 1:1 gluten-free baking blend. I’ve tested this with Bob’s Red Mill, and the texture is almost identical. Just make sure your pretzels are also gluten-free—some brands use wheat flour.
Dairy-Free Version
Use almond milk or oat milk instead of whole milk, and substitute the butter with a high-quality vegan butter like Miyoko’s. The sour cream can be replaced with coconut cream. The frosting will be slightly softer, so refrigerate the finished cupcakes for an extra 10 minutes.
Spider Web Design
Instead of black cats, pipe a white frosting swirl on top of the black frosting and use a toothpick to drag it outward into a web pattern. This is actually easier than the cat design and looks just as impressive.
Extra Spooky Version
Add a drop of orange or green food coloring to the center of each cupcake before baking for a “slime” effect. Or hide a gummy worm inside the frosting for a creepy surprise. My kids love this version for Halloween parties.
Mini Cupcake Version
Use a mini muffin pan and bake for 10-12 minutes. You’ll get about 36 mini cupcakes. Use mini pretzel sticks or broken pieces for the legs, and tiny candy eyes. These are perfect for classroom parties where portion control matters.
Serving & Storage Suggestions
These cupcakes are best served at room temperature, which lets the frosting soften to that perfect creamy texture. If you’ve refrigerated them, let them sit out for 20-30 minutes before serving.
Presentation Ideas: Arrange the cupcakes on a black platter or a wooden board. Add some fake spider webs, plastic spiders, or dry ice (if you’re feeling adventurous) for a dramatic effect. I once served them on a cake stand surrounded by orange and purple sprinkles, and they looked like they belonged in a bakery window.
Complementary Dishes and Beverages: These pair beautifully with a glass of cold milk, a hot apple cider, or a pumpkin spice latte. For a Halloween party spread, serve them alongside caramel popcorn, apple slices, and warm cider.
Storage Instructions: Store undecorated cupcakes in an airtight container at room temperature for up to 3 days. Once decorated, refrigerate them in a single layer (don’t stack them—the pretzels will break). They’ll keep for up to 5 days in the fridge. The flavor actually improves after a day as the moisture from the frosting seeps into the cake.
Freezer Instructions: Freeze undecorated cupcakes in a freezer-safe bag for up to 3 months. Thaw at room temperature, then frost and decorate. Don’t freeze decorated cupcakes—the pretzels get soggy and the candy eyes fall off.
Reheating Tips: If you prefer warm cupcakes, microwave them for 10-15 seconds before serving. Just remove the candy eyes first, or they’ll melt into sad little puddles.
Nutritional Information & Benefits
Let’s be real—these are cupcakes, not health food. But that doesn’t mean they can’t fit into a balanced lifestyle. Here’s the estimated nutritional breakdown per cupcake (based on 12 servings):
- Calories: 385
- Fat: 19g
- Carbohydrates: 52g
- Protein: 4g
- Fiber: 2g
- Sugar: 36g
Health Benefits of Key Ingredients: Cocoa powder is rich in antioxidants called flavonoids, which can help reduce inflammation and improve heart health. The sour cream adds a small amount of calcium and protein. And hey, the pretzels provide a little sodium to balance out all that sugar—okay, I’m reaching, but every little bit counts!
Dietary Considerations: This recipe is naturally nut-free (assuming your kitchen is nut-free). It can be made gluten-free and dairy-free with the substitutions mentioned above. It’s not suitable for vegan diets as written, but you can use egg replacer and vegan butter for a plant-based version.
Potential Allergens: Contains wheat, dairy, and eggs. The pretzels may contain wheat and soy. Always check labels if you’re serving someone with allergies.
My Wellness Perspective: I believe in enjoying treats in moderation. These cupcakes are special occasion food—perfect for Halloween, birthdays, or any time you want to celebrate. They’re not an everyday snack, and they don’t need to be. Food is about joy and connection, and these little guys deliver both.
Conclusion
These Spooky Black Cat Chocolate Spider Cupcakes are proof that you don’t need to be a professional baker or spend hours in the kitchen to create something truly memorable. They came from a moment of panic, a handful of pantry staples, and a little bit of creative desperation. And honestly? That’s what makes them special.
I love this recipe because it’s forgiving. The cake is foolproof, the frosting is forgiving, and the decorations are meant to look a little messy—spiders aren’t supposed to be perfect. Whether you’re making these for a Halloween party, a school event, or just because you want to eat something that looks like it crawled out of a haunted house, they deliver every time.
So go ahead and make these your own. Add extra sprinkles, use different candy eyes, or skip the pretzels entirely and just enjoy a really good chocolate cupcake with black frosting. The beauty of this recipe is that it’s a starting point, not a rulebook.
I’d love to see your creations! Tag me in your photos, leave a comment below with your favorite variation, or share how these turned out for you. And if you’re like me and you forgot about the party until the last minute—welcome to the club. You’ve got this.
Frequently Asked Questions
Can I use a box cake mix for this recipe?
Absolutely. If you’re short on time, a chocolate cake mix works perfectly. Just follow the box instructions and add the sour cream trick—it makes box mix taste homemade. The decorations will look just as impressive regardless of what cake base you use.
How do I get the frosting really black?
Use gel food coloring, not liquid. Start with dark cocoa powder, add the gel coloring drop by drop, and let the frosting rest for 10-15 minutes. The color deepens as it sits. If it’s still not dark enough, add another drop or two. Patience is key here.
Can I make these ahead of time?
Yes! Bake the cupcakes up to 2 days in advance and store them unfrosted in an airtight container. Make the frosting up to 3 days ahead and keep it refrigerated. Bring the frosting to room temperature before piping. Assemble the decorations on the day you plan to serve them for the best presentation.
How do I transport these without breaking the pretzel legs?
Place each cupcake in a separate well of a cupcake carrier or a sturdy box. Don’t stack them. If you’re using a box, put a piece of crumpled parchment paper between each cupcake to prevent them from sliding. Refrigerate them for 30 minutes before transporting to firm up the frosting.
Can I use white chocolate instead of dark chocolate?
You can, but the color will be different. White chocolate frosting with black food coloring tends to turn a strange grayish-blue. If you want a lighter-colored spider, use a cream cheese frosting instead and add black coloring sparingly. The flavor will be less chocolatey but still delicious.
Pin This Recipe!
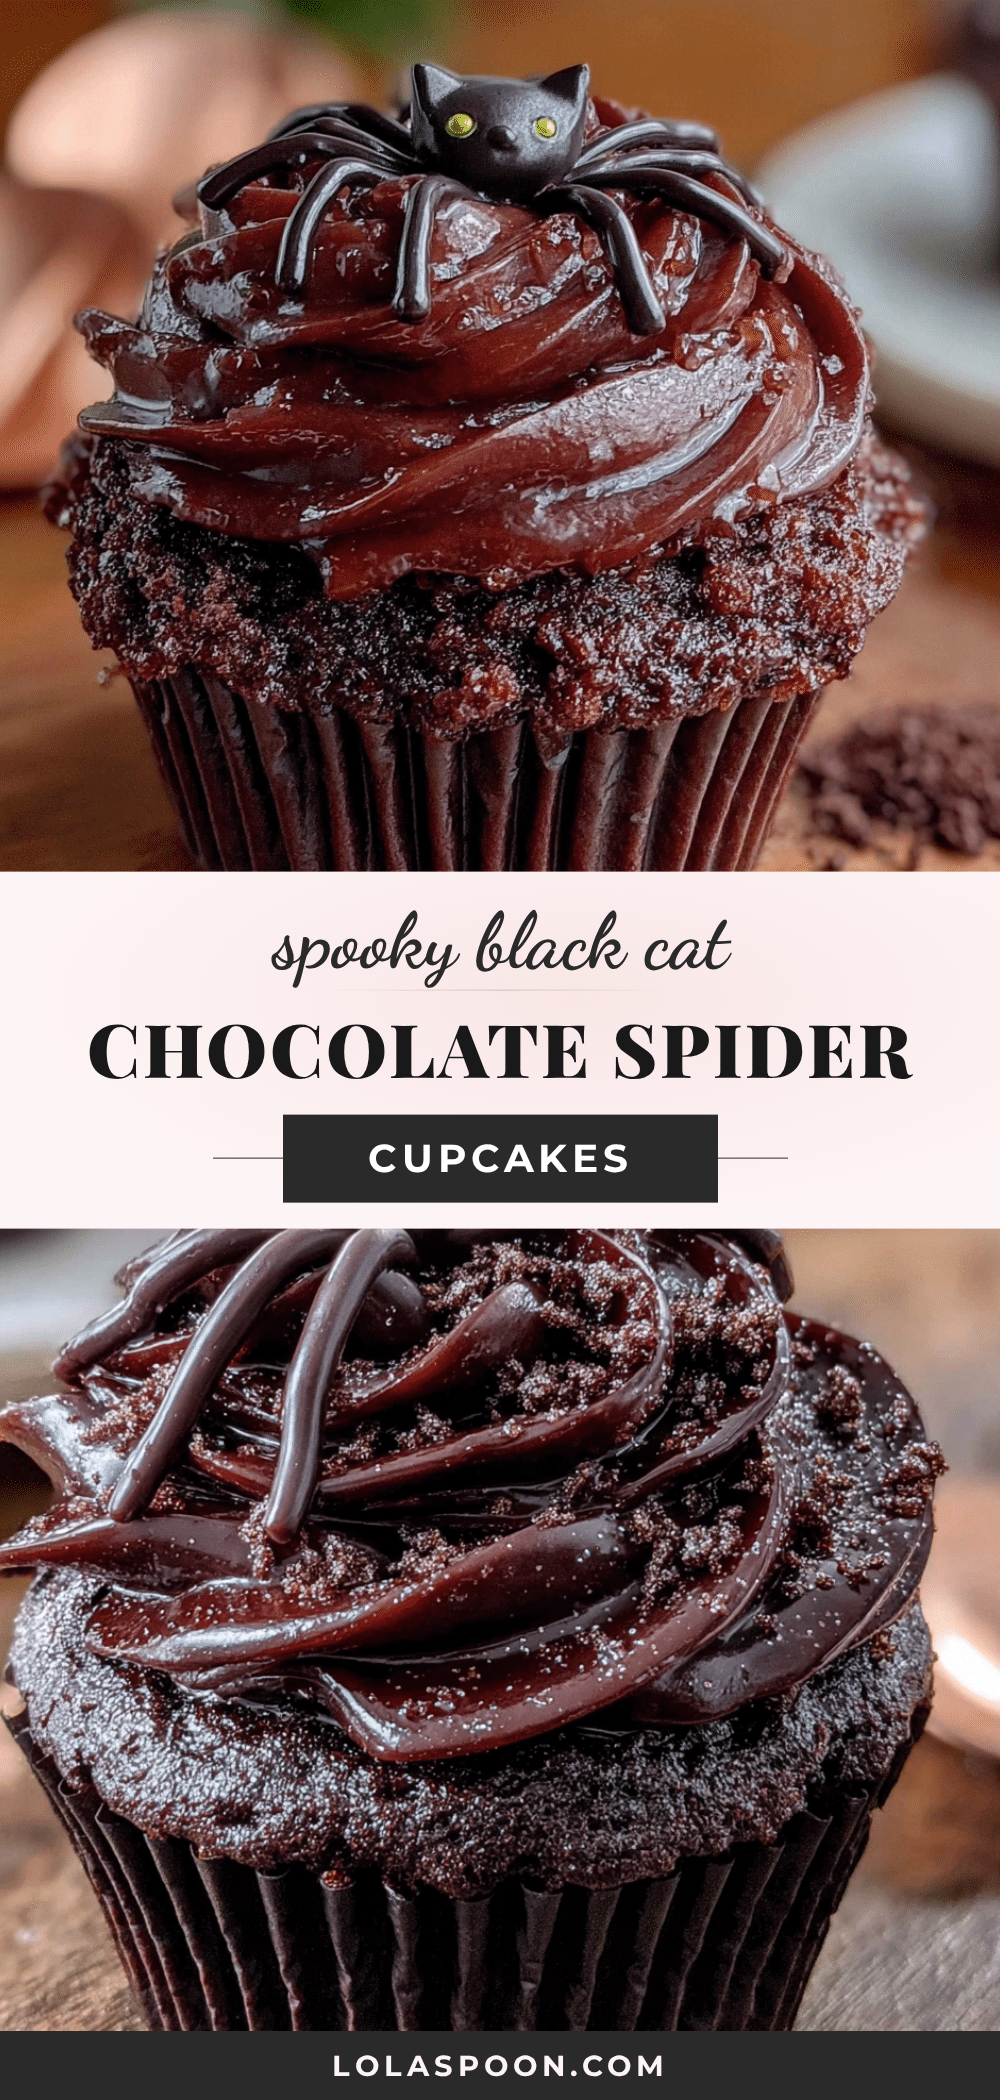
Best Spooky Black Cat Chocolate Spider Cupcakes Recipe
These spooky black cat chocolate spider cupcakes are moist, rich, and topped with a silky black frosting, pretzel spider legs, and candy eyes. Perfect for Halloween parties, they come together in about 45 minutes using simple pantry ingredients.
- Prep Time: 15 minutes
- Cook Time: 20 minutes
- Total Time: 45 minutes
- Yield: 12 servings 1x
- Category: Dessert
- Cuisine: American
Ingredients
- 1 ¾ cups all-purpose flour (spooned and leveled)
- 1 ½ cups granulated sugar
- ¾ cup unsweetened cocoa powder (Hershey’s Special Dark recommended)
- 1 ½ teaspoons baking powder
- 1 ½ teaspoons baking soda
- 1 teaspoon salt
- 2 large eggs (room temperature)
- 1 cup whole milk (or any milk)
- ½ cup vegetable oil (canola or avocado oil)
- 2 teaspoons vanilla extract
- 1 cup boiling water
- ¼ cup sour cream
- 1 cup unsalted butter (softened)
- 3 ½ cups powdered sugar
- ½ cup unsweetened cocoa powder
- 2 teaspoons vanilla extract
- 3–4 tablespoons heavy cream (or milk)
- Black gel food coloring (Wilton brand recommended)
- 24 pretzel sticks (broken in half for 48 pieces)
- 48 candy eyes (small)
- Black licorice strings (cut into 2-inch pieces)
- Chocolate sprinkles or black sanding sugar (optional)
Instructions
- Preheat oven to 350°F (175°C). Line a 12-cup muffin pan with paper liners. Lightly spray liners with non-stick spray.
- In a large bowl, whisk together flour, sugar, cocoa powder, baking powder, baking soda, and salt until no lumps remain.
- In a separate bowl, whisk together eggs, milk, oil, vanilla extract, and sour cream until smooth and slightly thick.
- Pour wet ingredients into dry ingredients and stir with a rubber spatula until just combined. A few lumps are okay. Slowly pour in boiling water while stirring gently. Batter will be thin.
- Fill each cupcake liner about ⅔ full. Bake for 18-22 minutes, until a toothpick inserted in the center comes out with a few moist crumbs. Cool in pan for 5 minutes, then transfer to a wire rack to cool completely.
- For frosting: Beat softened butter until creamy, about 2 minutes. Add powdered sugar and cocoa powder alternately with heavy cream, starting and ending with sugar mixture. Beat in vanilla extract. Add black gel food coloring drop by drop, mixing thoroughly, until desired black color is achieved. Let frosting rest for 10 minutes.
- Transfer frosting to a piping bag fitted with a large round tip (or a zip-top bag with corner snipped). Pipe a generous swirl on each cooled cupcake. For black cat design, pipe two small pointed ears on top of the swirl before it sets. Use a toothpick to shape if needed.
- Break each pretzel stick in half to create 48 pieces. Gently insert four pieces into each side of the frosting, angling slightly upward.
- Press two candy eyes onto the front of each cupcake. Insert three pieces of black licorice string on each side of the eyes for whiskers. Sprinkle with chocolate sprinkles or black sanding sugar if desired.
- Refrigerate decorated cupcakes for 15-20 minutes to set the frosting. Serve at room temperature.
Notes
For the black food coloring, use gel-based (not liquid) to achieve a true black without a bitter aftertaste. Let the frosting rest for 10 minutes after adding coloring—the color deepens. Insert pretzel legs at a slight downward angle to prevent snapping. For dairy-free, use almond milk and vegan butter; for gluten-free, use a 1:1 gluten-free flour blend.
Nutrition
- Serving Size: 1 cupcake
- Calories: 385
- Sugar: 36
- Sodium: 320
- Fat: 19
- Saturated Fat: 10
- Carbohydrates: 52
- Fiber: 2
- Protein: 4
Keywords: Halloween cupcakes, black cat cupcakes, spider cupcakes, chocolate cupcakes, spooky cupcakes, easy Halloween dessert


