The neighborhood cookie swap was in three hours and I’d completely forgotten. Everyone else would be bringing their grandmother’s famous shortbread, those perfectly layered French macarons, or some elaborate gingerbread house situation that belonged on a magazine cover. I had a half-empty jar of peanut butter, a stick of butter that was finally at room temperature, and a bag of Hershey’s Kisses I’d bought for absolutely no reason last week. Honestly, I almost called in sick. I mean, not to the cookie swap—it wasn’t that formal—but I seriously considered just showing up with a store-bought pie and accepting my fate as the neighbor who couldn’t hack it.
But something in me snapped. Maybe it was the stubborn part that refuses to be outdone by a macaron. I grabbed that peanut butter, creamed it with the butter and sugar, and threw together a batch of cookies I’d made a hundred times before but never for an audience that actually mattered. The dough came together in about ten minutes flat. I rolled it into those little balls, rolled them in sugar, and popped them in the oven while I frantically cleaned the kitchen. The timer went off, I pressed a chocolate kiss into the center of each one, and let me tell you—the sight of that warm chocolate melting into the peanut butter cookie made me stop panicking for the first time all day.
I walked into that swap with a simple tin of these peanut butter blossom cookies, feeling like I was bringing a water gun to a paintball fight. But you know what happened? They disappeared first. People kept coming back for “just one more,” and someone actually asked me if I’d cater their holiday party. The macarons sat half-eaten. The shortbread was still there. But those little peanut butter and chocolate gems? Completely gone. That’s when I learned that sometimes the simplest thing, the one you almost didn’t make, is the one everyone actually wants. And I’ve been making them for every gathering ever since.
Why You’ll Love This Recipe
Look, I’ve tested a lot of peanut butter blossom cookie recipes over the years. Some are too dry, some are too crumbly, and some just don’t have that perfect peanut butter punch. This one? It’s the Goldilocks of cookies—just right in every way. Here’s why you’ll keep coming back to it:
- Quick & Easy: From start to finish, these cookies come together in about 30 minutes. No chilling the dough, no complicated techniques. You can literally make these between answering emails and picking the kids up from school.
- Simple Ingredients: You probably already have everything in your pantry right now. Peanut butter, sugar, butter, eggs, flour—that’s it. No fancy extracts or specialty flours required.
- Perfect for Parties: These cookies are the ultimate crowd-pleaser. They look impressive with that chocolate kiss on top, but they’re secretly the easiest thing on the dessert table. Great for cookie swaps, holiday parties, potlucks, or just a Tuesday that needs some sweetness.
- Crowd-Pleaser: Kids love them, adults love them, and even picky eaters can’t resist that peanut butter and chocolate combo. I’ve never seen anyone say no to a peanut butter blossom.
- Unbelievably Delicious: The texture is what gets me every time—soft and chewy peanut butter cookie with that smooth, melty chocolate center. It’s comfort food in cookie form.
What makes this version different from the rest? It’s all about the technique. I use a specific ratio of brown sugar to white sugar that gives these cookies a deeper flavor and a softer texture. Plus, I’ve learned the hard way that the temperature of your ingredients actually matters here—room temperature butter and eggs make a real difference. This isn’t just another version of the recipe; it’s the one I’ve perfected after countless batches, failed attempts, and happy accidents. Trust me on this one.
What Ingredients You Will Need
This recipe uses simple, wholesome ingredients to deliver that classic peanut butter blossom cookie flavor we all know and love. Most of these are pantry staples, so you might not even need a trip to the store. Here’s what you’ll need:
For the Cookie Dough
- 1/2 cup unsalted butter, softened (1 stick, 113g) — I prefer using unsalted so I can control the salt level. Let it sit out for about 30 minutes before you start.
- 3/4 cup creamy peanut butter (about 190g) — I recommend Skippy or Jif for the best texture. Natural peanut butter that separates can make the cookies too greasy.
- 1/3 cup granulated sugar (about 67g) — This goes into the dough itself.
- 1/3 cup packed light brown sugar (about 73g) — The brown sugar adds moisture and that slightly caramel-like flavor that makes these cookies irresistible.
- 1 large egg, room temperature — Room temperature egg incorporates better into the dough. If you forgot to take it out, place it in a bowl of warm water for 5 minutes.
- 1 teaspoon vanilla extract — Pure vanilla extract is worth the splurge here. It enhances the peanut butter flavor beautifully.
- 1 1/2 cups all-purpose flour (about 188g) — Spoon and level your flour for the most accurate measurement. Scooping directly from the bag can pack in too much flour.
- 1 teaspoon baking soda — This helps the cookies spread just the right amount.
- 1/2 teaspoon salt — Don’t skip this! Salt balances the sweetness and makes the peanut butter flavor pop.
For Rolling and Topping
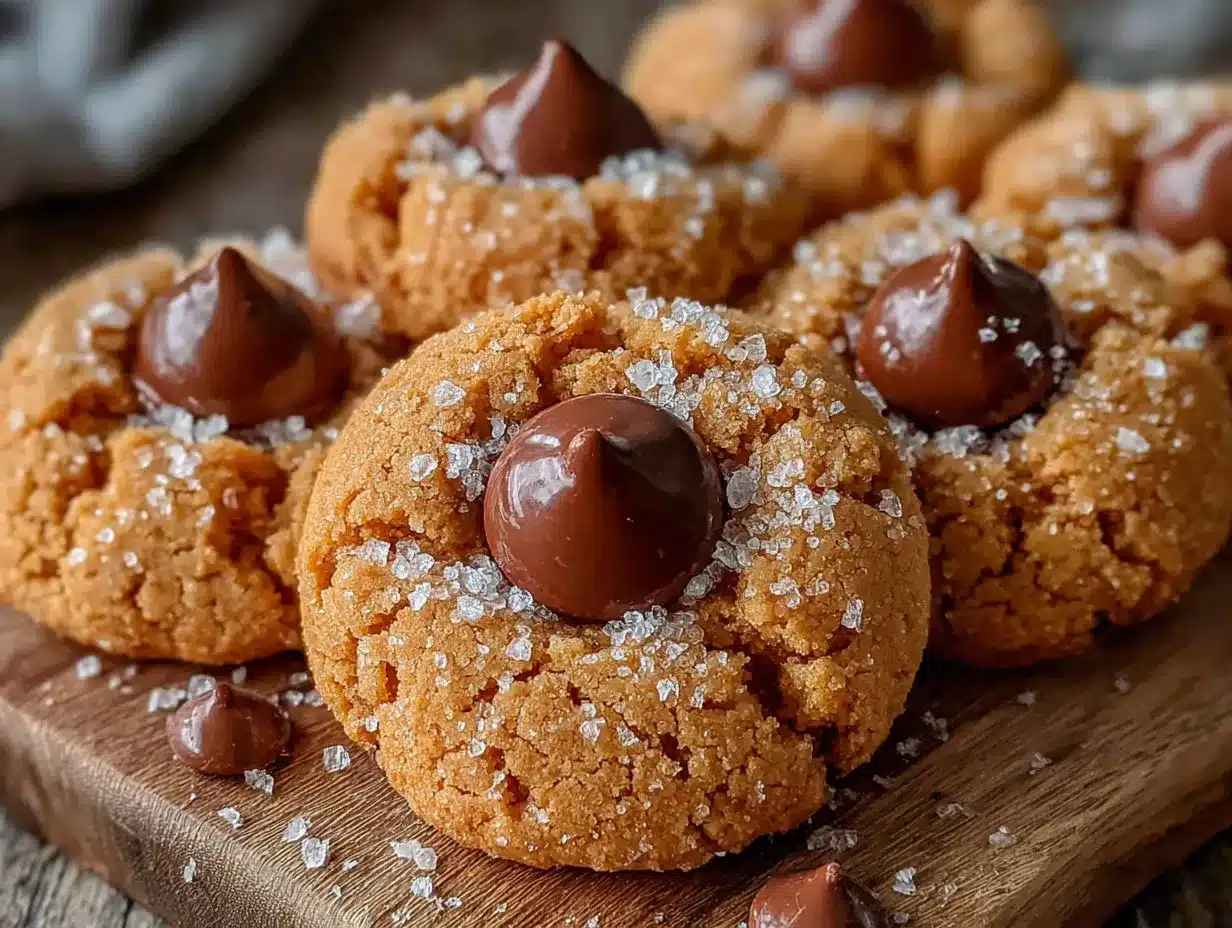
- 1/4 cup granulated sugar (about 50g) — For rolling the dough balls before baking. This gives them that sparkly, slightly crunchy exterior.
- 36 Hershey’s Kisses, unwrapped — You’ll need about one standard bag. Get them unwrapped beforehand or you’ll be frantically peeling foil while your cookies cool. I speak from experience.
Ingredient Selection Tips: When choosing your peanut butter, go for the regular processed kind—not the natural stuff that needs stirring. I’ve tried both, and the natural peanut butter makes the cookies spread too much and get greasy. Stick with Jif or Skippy for consistent results. Also, make sure your butter is truly softened but not melted. You want it to give slightly when you press it, but still hold its shape.
Substitution Guidance: If you need a dairy-free option, you can use plant-based butter sticks (like Earth Balance) in place of regular butter. For a gluten-free version, swap the all-purpose flour with a 1:1 gluten-free baking flour blend. I’ve tested this with King Arthur’s Measure for Measure blend and it works perfectly. Just note that the cookies might be slightly more tender, so handle them gently when pressing in the chocolate kisses.
Equipment Needed
You don’t need a fancy kitchen to make these peanut butter blossom cookies. Here’s what you’ll need:
- Electric mixer — A stand mixer with the paddle attachment is ideal, but a hand mixer works just fine. You could technically do this by hand with a wooden spoon, but your arm will thank you for using a mixer.
- Large mixing bowl — For creaming the butter and sugars together.
- Medium mixing bowl — For whisking the dry ingredients.
- Baking sheets — Two standard baking sheets work well. I like using light-colored aluminum sheets because they promote even browning.
- Parchment paper or silicone baking mats — These prevent sticking and make cleanup a breeze. Plus, they help the cookies bake more evenly.
- Cookie scoop or tablespoon — For portioning the dough into uniform balls. A #40 cookie scoop (about 1.5 tablespoons) is perfect for this recipe.
- Cooling rack — Essential for letting the cookies cool properly after baking.
- Small bowl — For the granulated sugar you’ll roll the dough balls in.
If you don’t have a cookie scoop, you can use two spoons to portion the dough. Just try to make them roughly the same size so they bake evenly. And if you don’t have a cooling rack, you can let the cookies cool on the baking sheet for a few minutes, then transfer them to a plate. It’s not ideal, but it works in a pinch.
Preparation Method
Alright, let’s get to the fun part. Follow these steps carefully, and you’ll have a batch of perfect peanut butter blossom cookies in no time.
- Preheat your oven to 375°F (190°C). Line two baking sheets with parchment paper or silicone baking mats. This is important—don’t skip the lining, or your cookies might stick.
- Cream the butter and sugars together. In a large mixing bowl, beat the softened butter, granulated sugar, and brown sugar together on medium speed until light and fluffy. This takes about 2-3 minutes with a stand mixer or 3-4 minutes with a hand mixer. You’ll know it’s ready when the mixture looks pale and slightly increased in volume. Scrape down the sides of the bowl halfway through.
- Add the peanut butter, egg, and vanilla. Beat in the creamy peanut butter until fully combined. Then add the egg and vanilla extract, beating until everything is smooth and well incorporated. The mixture should look cohesive and slightly glossy at this point.
- Whisk the dry ingredients together. In a separate medium bowl, whisk together the all-purpose flour, baking soda, and salt. This ensures the baking soda and salt are evenly distributed throughout the flour.
- Combine the wet and dry ingredients. Gradually add the flour mixture to the peanut butter mixture, mixing on low speed until just combined. Be careful not to overmix here—stop as soon as you no longer see streaks of flour. Overmixing can make the cookies tough.
- Portion the dough. Using a cookie scoop or tablespoon, scoop out rounded tablespoon-sized portions of dough. Roll each portion into a smooth ball between your palms. The dough should be slightly sticky but manageable. If it’s too sticky to handle, refrigerate it for 10 minutes.
- Roll in sugar. Place the 1/4 cup of granulated sugar in a small bowl. Roll each dough ball in the sugar until completely coated. This gives the cookies that beautiful sparkly exterior and a slight crunch.
- Place on baking sheets. Arrange the sugared dough balls on the prepared baking sheets, spacing them about 2 inches apart. You should fit about 12 cookies per sheet.
- Bake the cookies. Bake for 10-12 minutes, or until the cookies are lightly golden brown around the edges. The centers will still look slightly soft and puffy—that’s exactly what you want. Don’t overbake them, or they’ll be dry.
- Add the chocolate kisses immediately. As soon as you remove the baking sheets from the oven, press one Hershey’s Kiss into the center of each cookie. Press down gently until the cookie cracks slightly around the edges—this is part of the charm. The warmth from the cookie will soften the chocolate perfectly.
- Cool completely. Let the cookies cool on the baking sheet for about 5 minutes. The chocolate needs this time to set slightly. Then transfer them to a wire cooling rack to cool completely. The chocolate will firm up as they cool, creating that perfect peanut butter and chocolate bite.
Sensory Cues: When the cookies are done, you’ll notice the edges are set and lightly golden, but the centers are still soft and puffy. The kitchen will smell like warm peanut butter and vanilla—honestly, one of the best smells in the world. When you press the chocolate kiss in, you should feel a slight resistance, and the cookie should crackle just a bit around the edges. That’s how you know you did it right.
Cooking Tips & Techniques
After making these peanut butter blossom cookies more times than I can count, I’ve picked up a few tricks that make a real difference. Let me share them with you.
Don’t overbake. This is the number one mistake people make. These cookies continue to cook on the hot baking sheet even after you take them out of the oven. If you wait until they look fully golden brown all over, they’ll be overbaked and dry. Pull them out when the edges are set but the centers still look slightly underdone. Trust the process.
Work quickly with the chocolate kisses. The cookies need to be warm enough to soften the chocolate, but not so hot that the kisses completely melt and lose their shape. Have all your kisses unwrapped before you start baking. I learned this the hard way—fumbling with foil wrappers while cookies are cooling is not a fun experience. One time, I had to press kisses into cookies that had already started to set, and they just wouldn’t stick. Total disaster.
Use a cookie scoop for even sizing. Uniform cookies bake evenly. If some are bigger than others, you’ll end up with some overbaked and some underbaked. A #40 cookie scoop is my go-to for this recipe. It gives you perfect tablespoon-sized portions every time.
Let them cool properly. Don’t rush this step. The chocolate needs time to set, and the cookies need to firm up. If you try to move them too soon, the chocolate will smear and the cookies might break. Give them at least 5 minutes on the baking sheet before transferring to a cooling rack.
Room temperature ingredients matter. I know it’s tempting to use cold butter straight from the fridge, but it won’t cream properly with the sugar. Room temperature butter (about 65-67°F) traps air when creamed, which gives your cookies a lighter texture. Same goes for the egg—a cold egg can seize the butter mixture and make the dough lumpy.
Variations & Adaptations
One of the best things about this peanut butter blossom cookie recipe is how versatile it is. Here are some of my favorite variations:
Chocolate Peanut Butter Blossoms
Want to double down on the chocolate? Swap out 1/4 cup of the all-purpose flour for 1/4 cup of unsweetened cocoa powder. This gives you a chocolate peanut butter cookie base that’s absolutely divine. The chocolate kiss on top becomes a double chocolate situation. I made these for a friend’s birthday party, and they were gone in minutes.
Gluten-Free Peanut Butter Blossoms
As I mentioned earlier, a 1:1 gluten-free flour blend works beautifully here. I’ve tested this with King Arthur’s Measure for Measure blend, and the texture is remarkably similar to the original. Just be gentle when pressing in the chocolate kisses, as gluten-free cookies can be a bit more delicate.
Nut-Free Option
If you’re serving these at a school event or a party where nut allergies are a concern, you can use sunflower seed butter (like SunButter) in place of the peanut butter. The flavor will be different, but the texture works surprisingly well. Just note that sunflower seed butter can react with baking soda and turn green—it’s completely safe to eat, but it might look a little unusual.
Mini Peanut Butter Blossoms
For parties where you want bite-sized treats, use a teaspoon to portion the dough and bake for 8-9 minutes instead of 10-12. Use mini Hershey’s Kisses or even chocolate chips for the topping. These are perfect for cookie platters where you want a variety of options.
Serving & Storage Suggestions
These peanut butter blossom cookies are best served at room temperature. The chocolate should be firm but not hard, and the cookie should be soft and chewy. If you’re serving them at a party, arrange them on a platter or cake stand for a beautiful presentation. They look especially nice when grouped together with other cookies—the chocolate kiss on top makes them stand out.
What to Serve Alongside: These cookies pair beautifully with a cold glass of milk, a hot cup of coffee, or even a scoop of vanilla ice cream. For a holiday party, I like to serve them alongside classic sugar cookies and chocolate crinkle cookies for a festive cookie platter. They also work great as part of a dessert bar with brownies and blondies.
Storage Instructions: Store these cookies in an airtight container at room temperature for up to 5 days. Layer them between sheets of parchment paper to prevent the chocolate kisses from sticking together. I’ve found that they actually taste even better on day two—the flavors meld together, and the texture becomes perfectly soft.
Freezer Instructions: You can freeze the baked cookies for up to 3 months. Place them in a single layer on a baking sheet and freeze until solid, then transfer to a freezer-safe container or bag. To thaw, let them sit at room temperature for about 30 minutes. You can also freeze the unbaked dough balls (without the sugar coating) for up to 3 months. When you’re ready to bake, roll them in sugar and add a minute or two to the baking time.
Reheating Tips: If you want that just-baked experience, pop a cookie in the microwave for about 10 seconds. The chocolate will soften, and the cookie will warm up beautifully. Just don’t overdo it, or the chocolate will melt completely.
Nutritional Information & Benefits
Let’s be real—these are cookies, not health food. But that doesn’t mean you can’t enjoy them as part of a balanced diet. Here’s a rough estimate of the nutritional content per cookie (based on 36 cookies):
- Calories: Approximately 130-150
- Total Fat: 8g
- Saturated Fat: 3.5g
- Cholesterol: 15mg
- Sodium: 95mg
- Total Carbohydrates: 15g
- Sugars: 10g
- Protein: 3g
Health Benefits: Peanut butter does offer some nutritional value—it’s a good source of protein, healthy fats, and vitamin E. The chocolate contains antioxidants, and let’s be honest, sometimes you just need a little sweetness in your life. These cookies are perfect for special occasions when you want something indulgent without going overboard. One or two cookies with a glass of milk is a perfectly reasonable treat.
Dietary Considerations: This recipe contains peanuts, dairy (butter), eggs, and gluten (flour). For a nut-free version, use sunflower seed butter. For a dairy-free version, use plant-based butter. For a gluten-free version, use a 1:1 gluten-free flour blend. Always check your ingredient labels if you’re serving someone with allergies.
Conclusion
These classic peanut butter blossom cookies are proof that you don’t need fancy techniques or complicated ingredients to make something truly special. They’re the cookie that shows up to the party and steals the show without even trying. I’ve made them for cookie swaps, holiday parties, birthday gatherings, and random Tuesdays, and they never disappoint.
What I love most about this recipe is how forgiving it is. Even if you overbake them a little, even if your dough is slightly too sticky, even if you press the chocolate kiss in at a weird angle—they still taste amazing. There’s something about that peanut butter and chocolate combination that just works, no matter what.
So go ahead and give these a try. Make them for your next gathering, or make them just because it’s Wednesday. Customize them with your favorite chocolate—try dark chocolate kisses for a richer flavor, or white chocolate for a sweeter twist. And when someone asks for the recipe, because they will, tell them it’s the one you almost didn’t make. That’s always the best story.
I’d love to hear how yours turn out! Drop a comment below and let me know if you tried any variations or if these became your new go-to party cookie. Happy baking!
Frequently Asked Questions
Can I use natural peanut butter in this recipe?
I don’t recommend it. Natural peanut butter that separates can make the cookies greasy and cause them to spread too much. Stick with processed peanut butter like Jif or Skippy for the best texture and consistent results.
Why did my cookies spread too much?
This usually happens if your butter was too soft or melted, or if you didn’t use enough flour. Make sure your butter is softened but not melted, and spoon your flour into the measuring cup rather than scooping directly from the bag. Chilling the dough for 10-15 minutes can also help if your kitchen is warm.
Can I make the dough ahead of time?
Absolutely! You can refrigerate the dough for up to 3 days. Just let it sit at room temperature for about 10 minutes before rolling into balls, as it will be quite firm straight from the fridge. You can also freeze the dough balls for up to 3 months.
How do I keep the chocolate kisses from falling off?
Press the kiss into the cookie while it’s still warm from the oven. The heat will soften the chocolate slightly, helping it adhere. Let the cookies cool completely on the baking sheet before moving them—this gives the chocolate time to set. If kisses are still falling off, try pressing them in a bit more firmly.
Can I use a different chocolate on top?
Yes! While Hershey’s Kisses are the classic choice, you can use any chocolate candy that’s roughly the same size. Try dark chocolate kisses, white chocolate kisses, Rolos for a caramel center, or even chocolate chips pressed into the top. Just make sure whatever you use is added while the cookies are still warm so it softens properly.
Pin This Recipe!
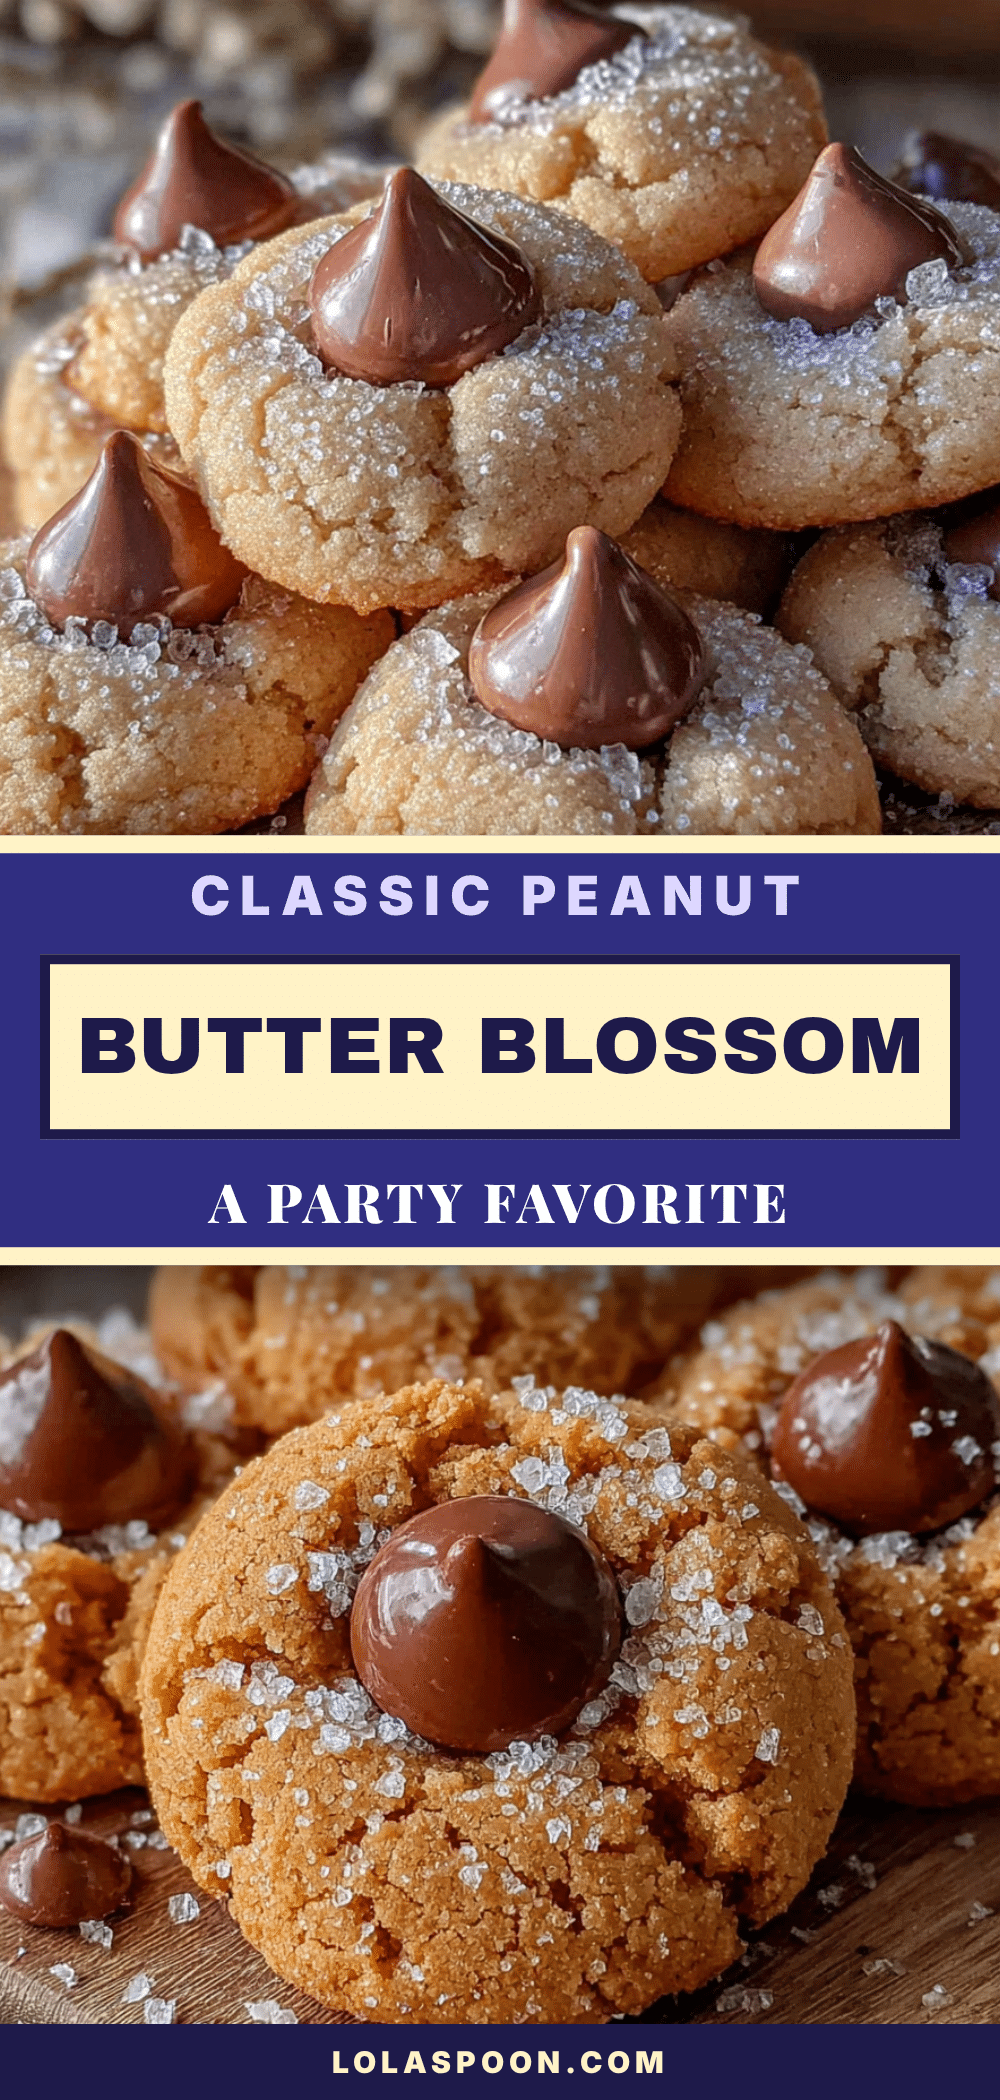
Classic Peanut Butter Blossom Cookies Party Favorite
These classic peanut butter blossom cookies are soft and chewy with a melty chocolate center. They’re quick and easy to make with simple ingredients, perfect for cookie swaps, holiday parties, or any gathering.
- Prep Time: 15 minutes
- Cook Time: 12 minutes
- Total Time: 27 minutes
- Yield: 36 cookies 1x
- Category: Dessert
- Cuisine: American
Ingredients
- 1/2 cup unsalted butter, softened (1 stick, 113g)
- 3/4 cup creamy peanut butter (about 190g)
- 1/3 cup granulated sugar (about 67g)
- 1/3 cup packed light brown sugar (about 73g)
- 1 large egg, room temperature
- 1 teaspoon vanilla extract
- 1 1/2 cups all-purpose flour (about 188g)
- 1 teaspoon baking soda
- 1/2 teaspoon salt
- 1/4 cup granulated sugar (about 50g), for rolling
- 36 Hershey’s Kisses, unwrapped
Instructions
- Preheat your oven to 375°F (190°C). Line two baking sheets with parchment paper or silicone baking mats.
- In a large mixing bowl, beat the softened butter, granulated sugar, and brown sugar together on medium speed until light and fluffy, about 2-3 minutes with a stand mixer or 3-4 minutes with a hand mixer. Scrape down the sides of the bowl halfway through.
- Beat in the creamy peanut butter until fully combined. Then add the egg and vanilla extract, beating until everything is smooth and well incorporated.
- In a separate medium bowl, whisk together the all-purpose flour, baking soda, and salt.
- Gradually add the flour mixture to the peanut butter mixture, mixing on low speed until just combined. Be careful not to overmix.
- Using a cookie scoop or tablespoon, scoop out rounded tablespoon-sized portions of dough. Roll each portion into a smooth ball between your palms.
- Place the 1/4 cup of granulated sugar in a small bowl. Roll each dough ball in the sugar until completely coated.
- Arrange the sugared dough balls on the prepared baking sheets, spacing them about 2 inches apart. You should fit about 12 cookies per sheet.
- Bake for 10-12 minutes, or until the cookies are lightly golden brown around the edges. The centers will still look slightly soft and puffy.
- As soon as you remove the baking sheets from the oven, press one Hershey’s Kiss into the center of each cookie. Press down gently until the cookie cracks slightly around the edges.
- Let the cookies cool on the baking sheet for about 5 minutes. Then transfer them to a wire cooling rack to cool completely.
Notes
Don’t overbake the cookies; they continue to cook on the hot baking sheet. Have all Hershey’s Kisses unwrapped before baking. Use room temperature ingredients for best results. For dairy-free, use plant-based butter. For gluten-free, use a 1:1 gluten-free flour blend.
Nutrition
- Serving Size: 1 cookie
- Calories: 140
- Sugar: 10
- Sodium: 95
- Fat: 8
- Saturated Fat: 3.5
- Carbohydrates: 15
- Fiber: 1
- Protein: 3
Keywords: peanut butter blossom cookies, peanut butter cookies, chocolate kiss cookies, holiday cookies, cookie swap, easy cookie recipe


