I was standing in the grocery store parking lot last November, fumbling for my keys in the dark, when the air hit me just right—that specific cold snap that smells like damp earth and the faintest whisper of woodsmoke from someone’s chimney a few blocks over. And suddenly I was eight years old, standing on a step stool in my Aunt Carol’s tiny kitchen, watching her pour melted butter into a bowl of mashed bananas. She passed away three years ago now, and I haven’t been in that kitchen since. But that smell—that weird, specific parking lot smell—brought back the whole scene: the cracked ceramic bowl she always used, the way she hummed off-key, the smear of flour on her cheek. I stood there in the cold, keys in hand, trying to hold onto the feeling a little longer.
That night, I went home and tried to make her banana bread. But here’s the thing—I couldn’t remember the recipe. Not really. I remembered the butter, yes. But was there sour cream? Did she use cinnamon? I called my mom, who said, “Honey, she never wrote it down.” So I did what any slightly obsessed home cook would do—I started testing. Batch after batch. Some were too dense, some fell apart, some tasted fine but felt wrong. And then, on maybe the sixth try, I browned the butter a little darker than usual, threw everything into one bowl, and forgot to pull out the mixer entirely. And there it was. That same tender crumb. That same nutty warmth. That same feeling of standing on a step stool in a kitchen that doesn’t exist anymore.
This brown butter banana bread is the result of chasing a memory with a spatula and a lot of bananas. It’s cozy in a way that feels like a hug from someone who knew you when you were small. And honestly? It’s the easiest thing you’ll bake all week. One bowl, no mixer, maybe twenty minutes of hands-on time. Maybe you’ve been there—trying to recreate a taste you can’t quite name. This one’s for you too.
Why You’ll Love This Recipe
Let me tell you—this isn’t just another banana bread recipe floating around the internet. I’ve tested this one so many times I lost count, and every single tweak was made with intention. Here’s why it works, and why you’ll keep coming back to it:
- One Bowl, No Mixer — Seriously. You don’t need a stand mixer, a hand mixer, or even a whisk if you’re feeling lazy. A wooden spoon and a single bowl are all you need. Less dishes, more banana bread. That’s a win in my book.
- Brown Butter Magic — This isn’t just regular butter. We’re taking it to the stove and letting it bubble, foam, and turn a deep amber color. That nutty, toasty flavor changes everything. It adds a depth that plain butter just can’t touch—like the difference between a regular cookie and one that’s been baked until the edges are perfectly golden.
- Perfectly Moist, Never Dense — The trick is in the ratio of fat to flour and using really ripe bananas. I’m talking spotty, almost-black bananas. They bring natural sweetness and moisture that keeps the bread tender for days. You won’t need to add extra oil or yogurt.
- Simple Pantry Ingredients — No fancy flours, no obscure extracts. Just butter, sugar, eggs, bananas, flour, baking soda, salt, and vanilla. You probably have everything right now.
- Crowd-Pleaser Approved — I brought a loaf to a neighborhood potluck last month, and I watched a grown man close his eyes after the first bite. He wasn’t being dramatic—it’s just that good. Kids love it, adults love it, and it somehow disappears faster than anything else on the table.
- Cozy in Every Bite — There’s something about the combination of brown butter and banana that feels like a warm blanket on a cold day. It’s the kind of bread you want with a mug of coffee on a rainy morning or as a late-night snack when you need a little comfort.
This recipe is my best version—tested, tweaked, and perfected until it felt exactly right. It’s the one I make when I’m missing Aunt Carol, and the one I make when I just want something good. I think you’ll love it too.
What Ingredients You Will Need
This recipe uses simple, wholesome ingredients to deliver that deep, nutty flavor and soft, tender texture. Most of these are pantry staples, but a few deserve a little extra attention. Here’s what you’ll need:
- Unsalted butter — ½ cup (1 stick / 113g). You’ll brown this on the stove, so skip the salted butter here—you want control over the salt level. I use Kerrygold when I can, but any good unsalted butter works.
- Ripe bananas — 3 medium, about 1 ½ cups mashed (360g). The spottier, the better. If your bananas aren’t ripe enough, you can roast them in a 300°F oven for 15-20 minutes until the skins darken. Let them cool before mashing.
- Granulated sugar — ¾ cup (150g). Regular white sugar works beautifully here. It dissolves easily and helps create that slightly crisp top crust.
- Large egg — 1, at room temperature. Cold eggs can seize up the brown butter, so let yours sit out for 20 minutes or pop it in a bowl of warm water for 5 minutes.
- Vanilla extract — 1 teaspoon. Pure vanilla is best, but imitation works in a pinch. I’m partial to Nielsen-Massey, but honestly, any brand will do.
- All-purpose flour — 1 ½ cups (180g). Spoon and level it—don’t scoop straight from the bag or you’ll end up with dense bread. If you want a whole wheat version, swap half the flour for white whole wheat.
- Baking soda — 1 teaspoon. Make sure it’s fresh—test it by dropping a pinch into vinegar; it should fizz immediately.
- Salt — ½ teaspoon. Fine sea salt or table salt. This balances the sweetness and brings out the brown butter flavor.
- Optional mix-ins — ½ cup chopped walnuts or pecans, toasted (60g), or ½ cup dark chocolate chips (85g). I usually add walnuts because Aunt Carol always did, but chocolate chips make this feel like dessert.
Ingredient tips from my kitchen: For the brown butter, don’t walk away from the pan—it goes from perfect to burnt in about 30 seconds. And for the bananas, if you only have frozen ones, thaw them completely and drain off any excess liquid before mashing. Too much water will make your bread gummy.
Substitution guidance: Need this dairy-free? Use a high-quality vegan butter (I like Miyoko’s) and brown it the same way. For a gluten-free version, swap the all-purpose flour with a 1:1 gluten-free baking blend that contains xanthan gum. I’ve tested this with King Arthur’s Measure for Measure and it worked beautifully—just add an extra tablespoon of milk if the batter looks too thick.
Equipment Needed
You don’t need a fancy kitchen to make this bread. Here’s what you’ll actually use:
- Small saucepan — For browning the butter. A light-colored pan is ideal so you can see the butter change color. I use a stainless steel one, but any small pot works.
- Large mixing bowl — One bowl, that’s it. I use a ceramic one because it feels cozy, but glass or metal is fine.
- Wooden spoon or rubber spatula — For mixing. A wooden spoon gives you good leverage for mashing and stirring, but a sturdy spatula works too.
- 9×5-inch loaf pan — Standard size. If you use an 8×4-inch pan, your bread will be taller and need an extra 5-10 minutes of baking time. Metal pans work best for even browning.
- Parchment paper — Not strictly necessary, but it makes lifting the bread out so much easier. I leave an overhang on two sides for handles.
- Cooling rack — Lets air circulate so the bottom doesn’t get soggy. If you don’t have one, you can use the inverted loaf pan lid or just a clean dish towel.
- Measuring cups and spoons — For accuracy. I prefer a kitchen scale for the flour, but cups work if you spoon and level.
Budget-friendly tip: You don’t need a fancy scale or a stand mixer. Honestly, I’ve made this bread with a fork and a cereal bowl when my kitchen was being renovated. It still turned out great. The only thing I wouldn’t skip is the parchment paper—it’s cheap and saves you from scrubbing a pan.
Preparation Method
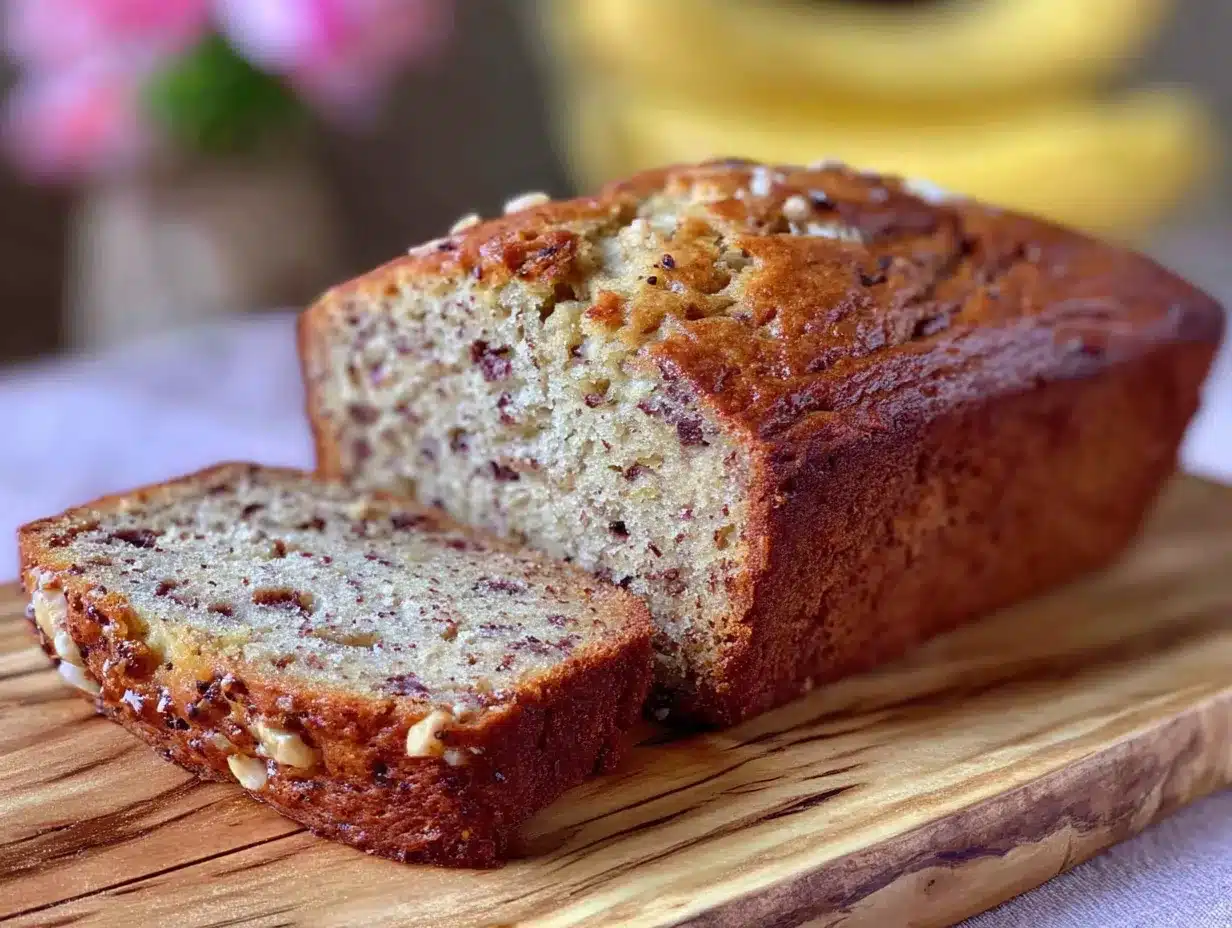
Let’s get baking. This comes together in about 20 minutes of active time, plus an hour in the oven. Here’s how to do it:
- Brown the butter. Place the ½ cup (113g) unsalted butter in a small saucepan over medium heat. Let it melt completely, swirling the pan occasionally. Once melted, it will start to foam and sputter—that’s normal. Keep cooking, swirling every 15 seconds, until you see golden-brown specks forming at the bottom of the pan and the butter smells nutty and toasty. This takes about 5-7 minutes. Immediately pour the brown butter into a heat-safe bowl (including all those brown bits—that’s the flavor!) and let it cool for 10 minutes. Don’t skip the cooling, or the hot butter will cook your egg.
- Preheat and prep. While the butter cools, preheat your oven to 350°F (175°C). Line a 9×5-inch loaf pan with parchment paper, leaving an overhang on the two long sides. Lightly grease the exposed ends with a little butter or non-stick spray.
- Mash the bananas. In your large mixing bowl, add the 3 ripe bananas (about 360g mashed). Mash them with a fork or the back of your wooden spoon until mostly smooth with a few small lumps. You want some texture—don’t turn them into baby food.
- Mix the wet ingredients. To the mashed bananas, add the cooled brown butter, ¾ cup (150g) granulated sugar, 1 large egg (room temperature), and 1 teaspoon vanilla extract. Stir with your wooden spoon or spatula until everything is well combined and smooth. The mixture should look glossy and smell amazing.
- Add the dry ingredients. Sprinkle the 1 ½ cups (180g) all-purpose flour, 1 teaspoon baking soda, and ½ teaspoon salt over the wet mixture. Stir gently—just until no streaks of flour remain. A few lumps are okay. Overmixing will make the bread tough, so stop as soon as it comes together. If you’re adding nuts or chocolate chips, fold them in now.
- Pour and bake. Scrape the batter into your prepared loaf pan and spread it into an even layer. Give the pan a gentle tap on the counter to release any air bubbles. Bake for 55-65 minutes, or until a toothpick inserted into the center comes out clean or with just a few moist crumbs. If the top is browning too quickly after 40 minutes, loosely tent the pan with aluminum foil.
- Cool completely. Let the bread cool in the pan on a wire rack for 15 minutes. Then use the parchment overhang to lift it out and transfer it to the rack to cool completely. I know it’s tempting to slice into it warm—but trust me, it needs to cool fully to set the crumb. Warm banana bread is gummy banana bread.
Sensory cues to watch for: When you’re browning the butter, listen for the change in sound—it goes from a loud, sputtering crackle to a quieter, more gentle simmer. That’s when you know it’s close. When the bread is done, the kitchen will smell like toasted nuts and caramelized bananas, and the top will be a deep golden brown with a few cracks.
My personal efficiency tip: Mash the bananas while the butter is cooling. That way, by the time the butter is cool enough to use, you’re ready to go. I’ve also been known to brown the butter the night before and keep it in the fridge—just reheat it gently for 15 seconds in the microwave before using.
Cooking Tips & Techniques
I’ve made this banana bread more times than I can count, and I’ve learned a few things the hard way. Here are the tips that make a real difference:
Don’t rush the brown butter. I know it’s tempting to crank up the heat and get it done fast, but medium heat is your friend. High heat burns the butter before the milk solids have time to toast properly. The first time I tried this, I ended up with black specks and a bitter taste—total disaster. Low and slow (well, medium and steady) is the way to go.
Measure your bananas after mashing. A recipe that says “3 bananas” is a little unreliable because banana sizes vary wildly. I always mash mine first, then measure out 1 ½ cups (360g). If you have extra, eat it on your morning oatmeal. If you’re short, add a tablespoon of milk or yogurt to make up the difference.
Room temperature ingredients matter. I know, I know—who has time to wait for an egg to come to room temperature? But here’s the thing: cold egg can seize the brown butter and make the batter lumpy. If you forgot to take it out, place the egg in a bowl of warm water for 5 minutes. Problem solved.
The toothpick test is your best friend. But don’t just stick it in the center—test in a few spots. Sometimes the center is the last to cook, but the edges might be overdone. I check at 50 minutes, then every 5 minutes after that until the toothpick comes out clean.
Let it cool, I’m begging you. I once cut into a loaf 10 minutes out of the oven because I couldn’t wait. It fell apart in my hands. The texture was gummy and sad. Cooling allows the starches to set and the moisture to redistribute. An hour of patience makes all the difference.
For a taller loaf: Use an 8×4-inch pan instead of 9×5. The batter will be deeper, so it takes a little longer to bake (add 5-10 minutes), but you get that beautiful domed top. Just keep an eye on it.
Variations & Adaptations
This recipe is a great base for experimenting. Here are a few ways I’ve changed it up depending on my mood or what I have on hand:
Chocolate Chip Brown Butter Banana Bread. Fold in ½ cup (85g) dark chocolate chips along with the flour. I like using 60% cacao chips because they balance the sweetness. My kids prefer milk chocolate, so sometimes I split the batter and do half-and-half in the same pan—just push the chips down into one side.
Vegan Brown Butter Banana Bread. Use ½ cup (113g) vegan butter (I’ve tested this with Miyoko’s and it works perfectly) and a flax egg (1 tablespoon ground flaxseed mixed with 3 tablespoons water, let sit for 5 minutes). Brown the vegan butter the same way—it takes a little longer to get those brown specks, but the flavor is still fantastic. The texture is slightly denser but just as moist.
Spiced Brown Butter Banana Bread. Add 1 teaspoon cinnamon, ½ teaspoon nutmeg, and ¼ teaspoon cloves to the flour mixture. This turns it into something that tastes like fall in a slice. I make this version around Thanksgiving and it always gets rave reviews. Sometimes I add a tablespoon of bourbon to the wet ingredients for extra warmth—don’t tell Aunt Carol.
Gluten-Free Brown Butter Banana Bread. Swap the all-purpose flour for 1 ½ cups (180g) of a good 1:1 gluten-free baking blend that contains xanthan gum. I’ve tried several, and King Arthur’s Measure for Measure gives the best texture. Add 1 tablespoon of milk or plant-based milk if the batter seems too thick. The bread will be a little more crumbly, but it’s still delicious.
Streusel Topping Variation. Mix together ¼ cup (30g) flour, ¼ cup (50g) brown sugar, 2 tablespoons cold butter (cut into small pieces), and a pinch of cinnamon. Sprinkle over the batter before baking. It adds a crunchy, buttery top that makes the bread feel extra special. I do this when I’m bringing it to a breakfast gathering.
Serving & Storage Suggestions
This banana bread is incredibly versatile. Here’s how I like to serve it and keep it fresh:
Serving temperature: At room temperature, this bread is perfect. The crumb is tender, the flavor is fully developed, and the brown butter notes really shine. If you want to warm it up, pop a slice in the toaster or microwave for 10 seconds. A little pat of salted butter on a warm slice? Absolute heaven.
What to serve with it: A cup of strong coffee or chai tea is my go-to pairing. For a more indulgent breakfast, spread a slice with mascarpone or cream cheese and drizzle with honey. It’s also fantastic as a dessert with a scoop of vanilla ice cream and a drizzle of caramel sauce. I’ve even used it as the base for a bread pudding—just cube it up, soak in a custard, and bake.
Storage instructions: Wrap the cooled loaf tightly in plastic wrap or aluminum foil and store at room temperature for up to 4 days. Do not refrigerate—it dries out the bread. If you live in a humid climate, store it in an airtight container instead of wrapping it.
Freezing instructions: This bread freezes beautifully. Wrap the cooled loaf (or individual slices) in plastic wrap, then in a layer of aluminum foil, and place in a freezer-safe bag. It keeps for up to 3 months. To thaw, leave it on the counter for a few hours or microwave a slice for 20-30 seconds. I always keep a few slices in the freezer for when that banana bread craving hits unexpectedly.
How flavors develop: Honestly, this bread tastes even better on day two. The brown butter flavor deepens, the banana flavor becomes more pronounced, and the texture gets even more moist. If you can resist eating it all on day one, you’re in for a treat.
Nutritional Information & Benefits
While this is definitely a treat, there are a few nutritional bright spots worth mentioning. Here’s the estimated breakdown per slice (based on 10 slices, without mix-ins):
- Calories: ~280
- Fat: 12g
- Saturated Fat: 7g
- Carbohydrates: 40g
- Sugar: 20g
- Fiber: 2g
- Protein: 4g
- Sodium: 260mg
Health benefits of key ingredients: Bananas are a great source of potassium and vitamin B6, which support heart health and energy metabolism. They also contain resistant starch, especially when slightly underripe, which acts as a prebiotic for gut health. Brown butter, while still butter, adds a concentrated flavor that lets you use less overall fat compared to recipes that rely on oil for moisture.
Dietary considerations: This recipe is vegetarian. For vegan and gluten-free adaptations, see the variations section above. It does contain dairy and gluten in its original form. If you’re watching your sugar intake, you can reduce the granulated sugar to ½ cup (100g) if your bananas are very ripe and sweet—the texture will be slightly less tender, but it still works.
My personal perspective: I don’t believe in calling banana bread a health food, but I do believe in balance. This is a recipe that brings joy, comfort, and a little bit of nostalgia. And honestly? That has its own kind of nutritional value.
Conclusion
This brown butter banana bread is more than just a recipe—it’s a little piece of my history, made with love and a whole lot of testing. It’s the bread I make when I want to feel connected to my aunt, when I want to fill my kitchen with that nutty, warm aroma, and when I want to eat something that genuinely makes me happy.
I hope you’ll give it a try. Don’t worry if your brown butter gets a little darker than mine or if your bananas are a touch underripe—it’s forgiving, I promise. And if you make it your own with chocolate chips or nuts or a streusel topping, that’s exactly what I’d want you to do.
I’d love to hear how it turns out! Drop a comment below and let me know if you added any fun twists, or tag me in your photos on Pinterest. There’s something special about knowing this recipe is being made in kitchens all over, one bowl at a time.
Happy baking, friend. May your butter be brown and your bananas be spotty.
Frequently Asked Questions
Can I use frozen bananas for this recipe?
Absolutely. Thaw them completely at room temperature or in the microwave, then drain off any excess liquid before mashing. Too much extra water can make the bread gummy, so don’t skip that step.
Why did my banana bread sink in the middle?
This usually happens when the bread is underbaked or when the oven temperature is too low. Make sure your oven is fully preheated to 350°F, and use the toothpick test to check for doneness. Also, avoid opening the oven door during the first 40 minutes of baking—the temperature drop can cause the center to collapse.
Can I make this recipe into muffins?
Yes! Grease a 12-cup muffin tin or line with paper liners. Divide the batter evenly among the cups (about ¾ full) and bake at 350°F for 18-22 minutes, or until a toothpick comes out clean. You’ll get about 12 muffins.
How do I know when the butter is properly browned?
Look for two things: color and smell. The butter should turn a deep amber color with brown specks at the bottom of the pan. It should smell nutty and toasty—like toasted hazelnuts. If it smells burnt or looks black, you’ve gone too far and should start over.
Can I reduce the sugar in this recipe?
You can reduce the granulated sugar to ½ cup (100g) if your bananas are very ripe and sweet. The bread will be slightly less moist and the crust won’t be as caramelized, but it will still be delicious. I wouldn’t recommend going below ½ cup.
Pin This Recipe!
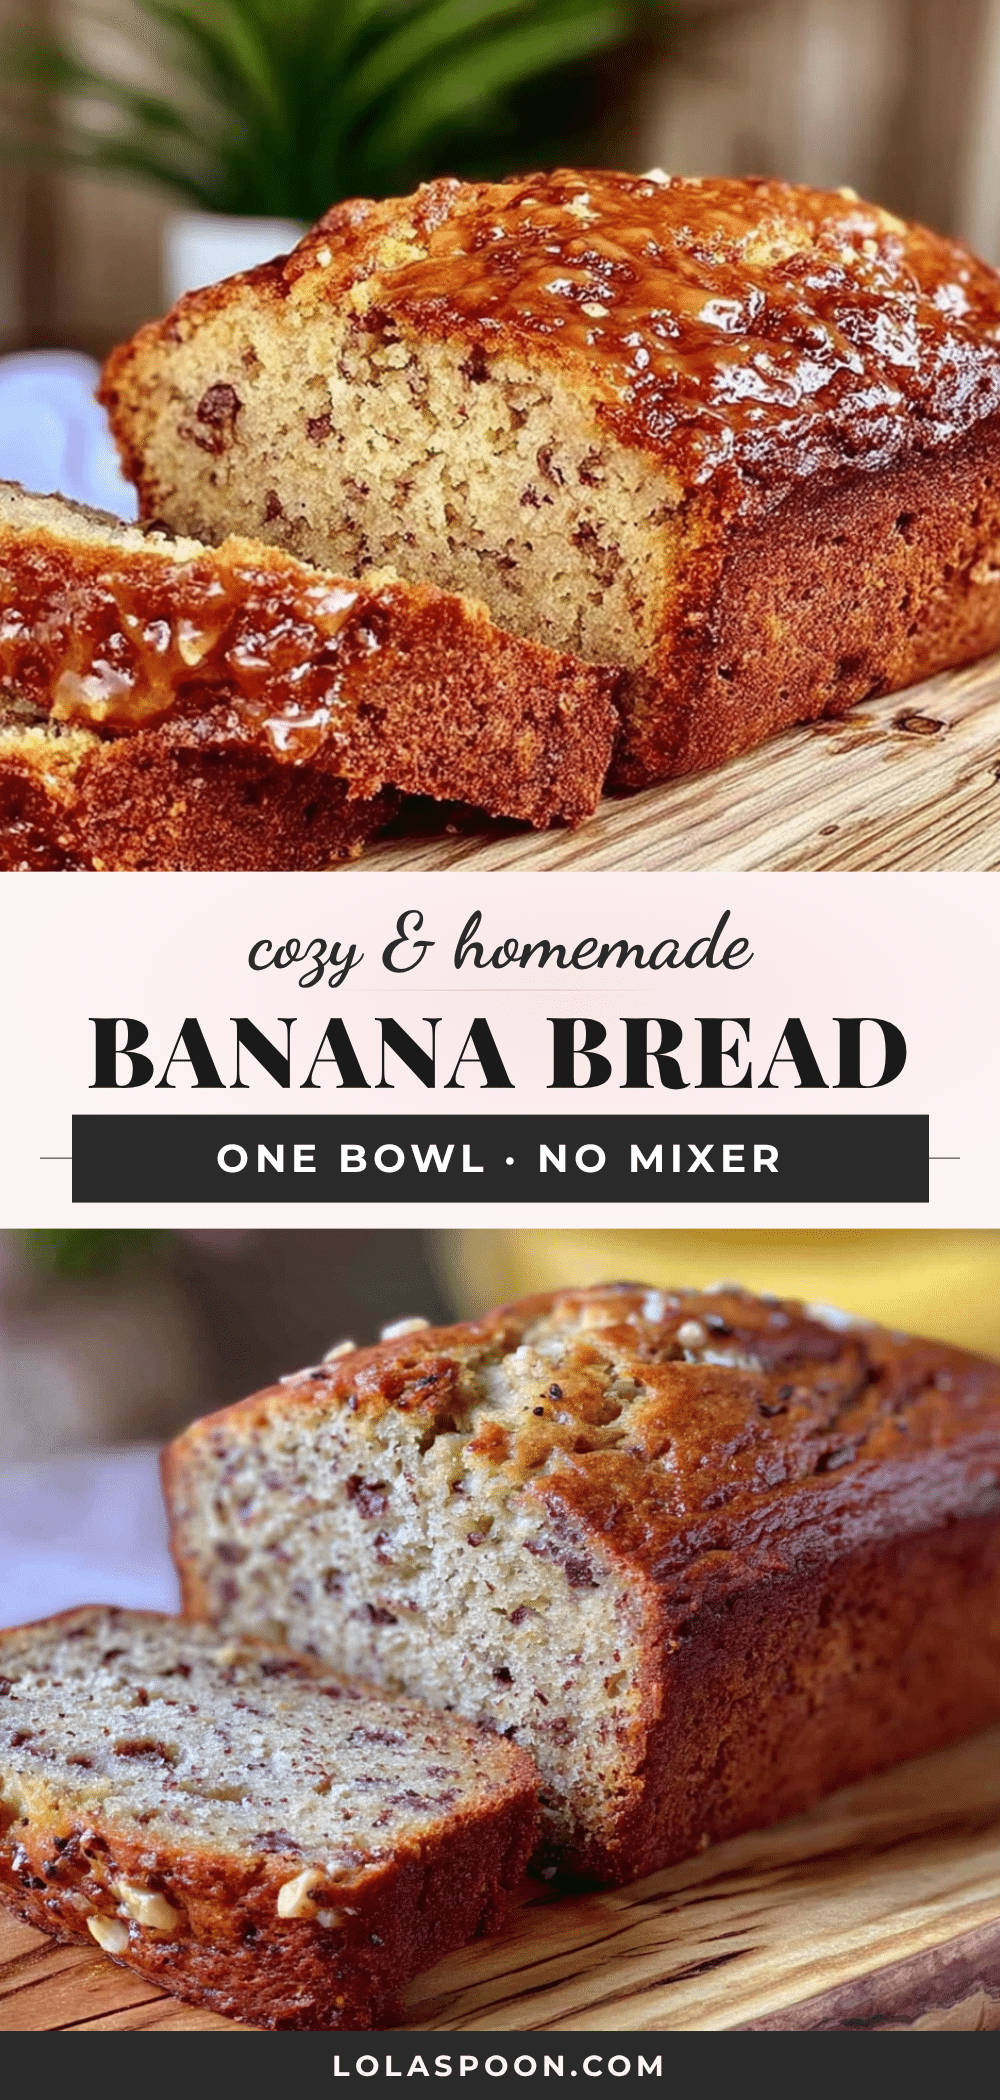
Cozy Brown Butter Banana Bread One Bowl No Mixer Easy Recipe
This brown butter banana bread is the result of chasing a memory with a spatula and a lot of bananas. It’s cozy in a way that feels like a hug from someone who knew you when you were small. One bowl, no mixer, maybe twenty minutes of hands-on time.
- Prep Time: 20 minutes
- Cook Time: 55-65 minutes
- Total Time: 1 hour 15 minutes
- Yield: 10 servings 1x
- Category: Dessert
- Cuisine: American
Ingredients
- ½ cup (1 stick / 113g) unsalted butter
- 3 medium ripe bananas (about 1 ½ cups / 360g mashed)
- ¾ cup (150g) granulated sugar
- 1 large egg, at room temperature
- 1 teaspoon vanilla extract
- 1 ½ cups (180g) all-purpose flour
- 1 teaspoon baking soda
- ½ teaspoon fine sea salt or table salt
- ½ cup (60g) chopped walnuts or pecans, toasted (optional)
- ½ cup (85g) dark chocolate chips (optional)
Instructions
- Brown the butter: Place the ½ cup (113g) unsalted butter in a small saucepan over medium heat. Let it melt completely, swirling the pan occasionally. Once melted, it will start to foam and sputter. Keep cooking, swirling every 15 seconds, until you see golden-brown specks forming at the bottom of the pan and the butter smells nutty and toasty, about 5-7 minutes. Immediately pour the brown butter into a heat-safe bowl and let it cool for 10 minutes.
- Preheat and prep: While the butter cools, preheat your oven to 350°F (175°C). Line a 9×5-inch loaf pan with parchment paper, leaving an overhang on the two long sides. Lightly grease the exposed ends with a little butter or non-stick spray.
- Mash the bananas: In your large mixing bowl, add the 3 ripe bananas (about 360g mashed). Mash them with a fork or the back of your wooden spoon until mostly smooth with a few small lumps.
- Mix the wet ingredients: To the mashed bananas, add the cooled brown butter, ¾ cup (150g) granulated sugar, 1 large egg (room temperature), and 1 teaspoon vanilla extract. Stir with your wooden spoon or spatula until everything is well combined and smooth.
- Add the dry ingredients: Sprinkle the 1 ½ cups (180g) all-purpose flour, 1 teaspoon baking soda, and ½ teaspoon salt over the wet mixture. Stir gently—just until no streaks of flour remain. A few lumps are okay. If you’re adding nuts or chocolate chips, fold them in now.
- Pour and bake: Scrape the batter into your prepared loaf pan and spread it into an even layer. Give the pan a gentle tap on the counter to release any air bubbles. Bake for 55-65 minutes, or until a toothpick inserted into the center comes out clean or with just a few moist crumbs. If the top is browning too quickly after 40 minutes, loosely tent the pan with aluminum foil.
- Cool completely: Let the bread cool in the pan on a wire rack for 15 minutes. Then use the parchment overhang to lift it out and transfer it to the rack to cool completely.
Notes
Don’t rush the brown butter; medium heat is best. Measure bananas after mashing (1 ½ cups / 360g). Room temperature ingredients matter. The toothpick test is your best friend. Let the bread cool completely before slicing. For a taller loaf, use an 8×4-inch pan and add 5-10 minutes to the baking time.
Nutrition
- Serving Size: 1 slice
- Calories: 280
- Sugar: 20
- Sodium: 260
- Fat: 12
- Saturated Fat: 7
- Carbohydrates: 40
- Fiber: 2
- Protein: 4
Keywords: brown butter banana bread, one bowl banana bread, no mixer banana bread, easy banana bread, moist banana bread


