Marta wasn’t trying to impress anyone. I’d stopped by to drop off her mail—she’d been on vacation and it was piling up—and the smell of sage and browning butter hit me before I even got through the front door. She was standing at her stove in sweatpants and a frayed T-shirt, stirring a skillet with one hand and scrolling through her phone with the other. “Oh, that,” she said when I asked what she was making. “Just some stuffing for tomorrow. It’s nothing.”
But it was something. Honestly, it was everything. The kitchen was warm and smelled like fall had walked in and made itself comfortable. I watched her pour that nutty, golden-brown butter over a heap of torn sourdough, and I knew right then I’d be making this for years. I mean, I’ve had stuffing at fancy Thanksgiving dinners—the kind with chestnuts and truffle oil and a name you can’t pronounce. But this? This was different. This was the kind of dish you make when you’re not trying to prove anything, when you just want something that tastes like home.
She let me taste a spoonful straight from the pan, and I closed my eyes. You know that feeling when something tastes exactly like a memory you didn’t know you had? That’s this stuffing. The sourdough gets all crispy on the edges but stays soft in the middle, and the brown butter gives it this deep, almost nutty richness that regular butter just can’t touch. And the sage—oh, the sage. It’s not shy about being there, but it doesn’t shout either. It just wraps around everything like a cozy blanket.
I asked Marta for the recipe, and she shrugged and scribbled it on a napkin. No measurements, no oven temperatures, just “brown some butter, tear up some bread, add a bunch of sage, bake until it smells good.” Classic Marta. I’ve been perfecting it ever since, and I’m pretty sure I’ve got it down now. Let me share it with you.
Why You’ll Love This Recipe
I’ve tested this stuffing at least a dozen times—for Friendsgiving, for a quiet Tuesday dinner, for a Christmas party where someone asked for the recipe before they even finished their first serving. It’s one of those rare dishes that works for any occasion, and here’s why you’re going to love it too:
- Rich, Nutty Flavor Without Fuss: Browning butter sounds fancy, but it’s just butter cooked until it smells amazing. It adds a depth of flavor that makes this stuffing taste like you spent hours on it—when really, you didn’t.
- Perfect Texture Every Time: The sourdough gets golden and crispy on top, while the inside stays soft and almost custard-like. It’s the best of both worlds, and I’ll show you exactly how to get that balance right.
- Simple, Real Ingredients: No cream of mushroom soup, no weird packaged mixes, no ingredient you can’t pronounce. Just bread, butter, herbs, and a few pantry staples. You probably have most of it already.
- Make-Ahead Friendly: You can prep this the day before and just pop it in the oven when you’re ready. It actually gets better as the flavors sit together overnight.
- Crowd-Pleaser Status: I’ve served this to picky kids, foodie friends, and my uncle who “doesn’t like stuffing.” Every single person went back for seconds. It’s that good.
This isn’t just another stuffing recipe. It’s the one I bring to every gathering now. It’s the one my sister texts me for every November. And after you make it once, I have a feeling it’ll become your go-to too.
What Ingredients You Will Need
This recipe uses simple, honest ingredients that work together to create something truly special. Most of these are pantry staples, and the few that aren’t are easy to find at any grocery store. Let me walk you through each one so you know exactly what to look for.
For the Brown Butter Sage Base
- 1 cup (2 sticks) unsalted butter — I use Kerrygold for its higher fat content, which gives a richer brown butter flavor. Salted butter works too, just reduce the added salt later.
- 1/4 cup fresh sage leaves, roughly chopped — Fresh is non-negotiable here. Dried sage won’t give you that same aromatic punch. Look for leaves that are bright green and fragrant, not wilted.
- 2 large yellow onions, diced — Sweet or yellow onions are best. They become soft and sweet as they cook, forming the backbone of the stuffing’s flavor.
- 4 celery stalks, diced — Celery adds that classic stuffing crunch and freshness. Dice them small so they blend in without being overwhelming.
- 4 cloves garlic, minced — Fresh garlic, not the jarred stuff. It adds a subtle warmth that plays beautifully with the sage.
For the Bread Base
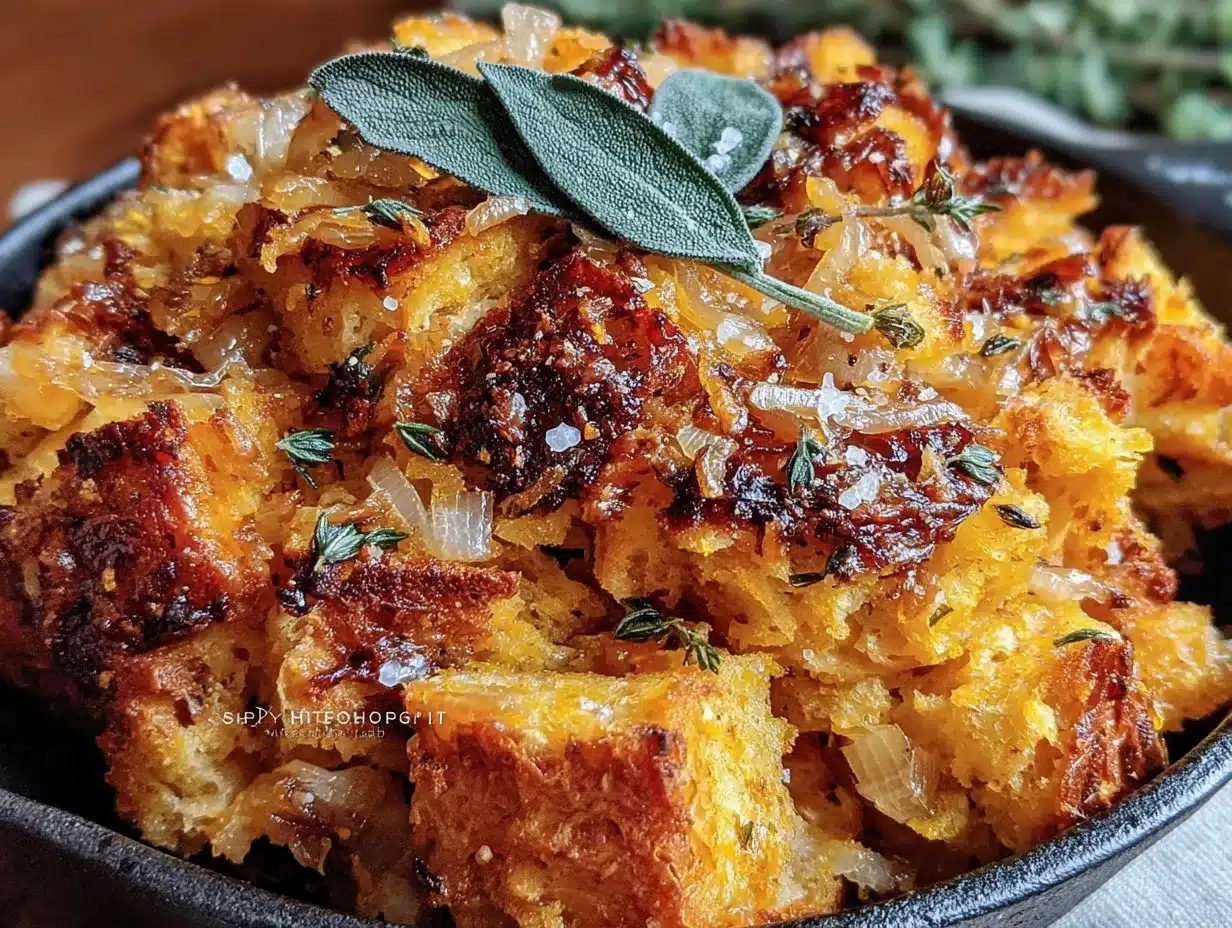
- 1 large loaf (about 1.5 pounds) day-old sourdough bread — This is the star. Day-old or even two-day-old sourdough works best because it’s dry enough to soak up all that buttery goodness without turning to mush. I prefer a rustic loaf with a good crust. If you only have fresh bread, cube it and spread it on a baking sheet at 300°F for 10-15 minutes to dry it out.
- 2 cups low-sodium chicken or vegetable broth — Low-sodium is important here so you can control the salt. Homemade broth is amazing if you have it, but a good store-bought brand like Swanson or Pacific Foods works perfectly.
- 2 large eggs, lightly beaten — These help bind everything together and create that soft, almost custard-like interior.
For Seasoning
- 1 tablespoon fresh thyme leaves — Thyme and sage are best friends. The earthiness of thyme rounds out the stronger sage flavor.
- 1 teaspoon kosher salt, plus more to taste — I use Diamond Crystal. If you’re using table salt, start with half the amount.
- 1/2 teaspoon freshly ground black pepper — Freshly ground makes a difference. Don’t skip this.
- 1/2 cup fresh parsley, chopped — Added at the end for a pop of freshness and color.
Ingredient Note: I’ve tested this with gluten-free sourdough, and it works beautifully if you need a GF option. Just make sure the bread is sturdy enough to hold up to the liquid. For a dairy-free version, use a high-quality plant-based butter—I like Miyoko’s—and be extra careful when browning it, as it can burn faster than dairy butter.
Equipment Needed
- Large skillet or sauté pan — A 12-inch skillet is ideal for browning the butter and cooking the vegetables. A stainless steel or light-colored pan helps you see when the butter turns that perfect golden-brown color.
- 9×13-inch baking dish — A standard casserole dish works perfectly. If you’re making a half batch, an 8×8-inch dish will do.
- Large mixing bowl — Big enough to fit all that bread and vegetables without spilling everywhere. I use my grandmother’s old ceramic bowl, but any large bowl works.
- Wooden spoon or silicone spatula — For stirring the butter and vegetables. A wooden spoon lets you feel when the vegetables are softening.
- Chef’s knife and cutting board — A sharp knife makes dicing onions and celery so much easier. Trust me on this one.
- Whisk — For beating the eggs and broth together.
Budget-Friendly Tip: Don’t have a 9×13 dish? Use a cast-iron skillet or even a disposable aluminum pan—they work just as well. And if you don’t have a whisk, a fork will do the job for the eggs.
Preparation Method
- Preheat your oven to 375°F (190°C). Get this going first so it’s ready when you are. Position a rack in the middle of the oven.
- Prepare the bread. Tear or cut the sourdough into roughly 1-inch cubes. You want irregular pieces—some bigger, some smaller—because that gives the stuffing a more interesting texture. Spread the cubes on a large baking sheet and toast them in the oven for about 10 minutes, just until they’re dry and slightly golden. Don’t skip this step—it’s crucial for preventing mushy stuffing. Set them aside to cool.
- Brown the butter. Place the butter in your large skillet over medium heat. Let it melt completely, then continue cooking, swirling the pan occasionally. You’ll see it start to foam, then the foam will subside, and little brown specks will appear at the bottom of the pan. This takes about 5-7 minutes. The moment it smells nutty and looks like amber, remove it from the heat. Watch it carefully—brown butter can go from perfect to burnt in seconds. I’ve definitely ruined a batch by walking away to check my phone. Don’t be like me.
- Cook the aromatics. Add the diced onions and celery to the skillet with the brown butter. Return to medium heat and cook for 8-10 minutes, stirring occasionally, until the onions are translucent and the celery has softened. Add the minced garlic and cook for one more minute—just until fragrant. Stir in the chopped sage and thyme, and cook for another minute. Your kitchen should smell incredible at this point.
- Combine the base. In your large mixing bowl, whisk together the beaten eggs and 1 1/2 cups of the broth. Add the toasted bread cubes and the vegetable-butter mixture. Toss everything gently with a wooden spoon or your hands—I use my hands because I can feel when everything’s evenly coated. The bread should be moist but not soggy. If it seems dry, add the remaining 1/2 cup of broth a little at a time.
- Season and transfer. Add the salt, pepper, and half the chopped parsley. Toss again gently. Taste a piece of bread—yes, it’s safe since the eggs are raw at this point, but just a tiny piece—and adjust seasoning if needed. Transfer the mixture to your greased 9×13 baking dish and spread it into an even layer.
- Bake to perfection. Cover the dish with foil and bake for 30 minutes. Then remove the foil and bake for another 20-25 minutes, until the top is golden brown and crispy. The edges should be dark and crunchy—those are the best parts, honestly. Let it rest for 5 minutes before serving.
- Finish with fresh parsley. Sprinkle the remaining parsley over the top right before you bring it to the table. It adds a pop of color and freshness that balances all that rich, buttery goodness.
Pro tip from my kitchen: If you’re making this ahead, stop after step 6. Cover and refrigerate the unbaked stuffing for up to 24 hours. When you’re ready, let it sit at room temperature for 30 minutes, then bake as directed. You might need to add 5-10 minutes to the covered baking time since it’s starting from cold.
Cooking Tips & Techniques
I’ve made this stuffing more times than I can count, and I’ve learned a few things the hard way. Here are my best tips so you don’t have to make the same mistakes I did.
Don’t rush the brown butter. The first time I made this, I cranked the heat to high because I was impatient. Big mistake. The butter burned before it even had a chance to brown properly. Keep it on medium heat and be patient. You’re looking for that nutty aroma and amber color. The whole process should take about 5-7 minutes. If you see black specks, you’ve gone too far—start over.
Use day-old bread. Fresh bread turns into a soggy mess. I learned this the hard way when I made stuffing for a Friendsgiving and it came out more like bread pudding. Day-old sourdough has the perfect texture—it’s dry enough to soak up the liquid without falling apart. If you only have fresh bread, cube it and let it sit out overnight, or toast it in a low oven as I mentioned earlier.
Taste as you go. I know it sounds obvious, but so many people skip this step. Taste the bread mixture before you bake it. Adjust the salt and pepper. Trust your instincts. The flavors will concentrate slightly as it bakes, but if it tastes flat now, it’ll taste flat later.
Watch the liquid ratio. You want the bread to be moist but not swimming in broth. If you add too much liquid, you’ll end up with stuffing that’s more like porridge. Start with 1 1/2 cups of broth and add more only if the bread looks dry. Different breads absorb liquid differently, so trust your eyes and hands over exact measurements.
Let it rest before serving. I know you’ll be tempted to dig in right away—I always am. But letting the stuffing rest for 5 minutes after baking allows it to set up properly. The crispy top stays crunchy, and the inside firms up just enough to hold its shape when you scoop it out.
Make extra for the crispy bits. Seriously. The corners and edges of the dish are where the magic happens. If you’re like me and love those crunchy, caramelized pieces, spread the stuffing slightly thinner in the dish or bake it in a larger pan for more surface area.
Variations & Adaptations
One of the best things about this stuffing is how easy it is to adapt. Here are a few variations I’ve tried and loved:
Add Sausage for a Heartier Version: Brown 1 pound of Italian sausage (casings removed) in the skillet before you cook the vegetables. Remove the sausage, then proceed with the recipe, adding the cooked sausage back in when you combine everything. My brother-in-law requests this version every year—he says it’s “real food,” not just a side dish.
Make it Vegetarian: Use vegetable broth instead of chicken broth, and you’re good to go. The brown butter and sage are so flavorful that you won’t miss the meat at all. I’ve served this to vegetarians who went back for thirds.
Go Gluten-Free: Substitute the sourdough with a good-quality gluten-free bread. I’ve had the best luck with GF sourdough from local bakeries—it has the right texture and tanginess. Just make sure to toast it thoroughly, as GF bread tends to be more delicate.
Add Dried Fruit for Sweetness: Toss in 1/2 cup of dried cranberries or chopped dried apricots when you combine the ingredients. The sweetness plays beautifully against the savory brown butter and sage. I did this for a Thanksgiving potluck once, and it was the first dish to disappear.
Try Different Herbs: Not a fan of sage? (I don’t understand you, but okay.) Swap it for rosemary or a mix of rosemary and thyme. You can also add a teaspoon of dried marjoram for a more complex flavor profile.
Make it Dairy-Free: Use a good plant-based butter—Miyoko’s is my favorite—and proceed as usual. Just watch the brown butter step carefully, as plant-based butters can burn faster. You might need to lower the heat slightly.
Serving & Storage Suggestions
This stuffing is at its absolute best fresh out of the oven, when the top is crispy and golden and the inside is soft and fragrant. But let me tell you about the leftovers—they’re almost better than the first serving.
Serving Temperature: Serve this stuffing warm, not piping hot. Let it rest for 5-10 minutes after baking. This allows the texture to settle and makes it easier to scoop out clean portions. I like to serve it in the baking dish family-style, with a big spoon so everyone can grab their own crispy edges.
What to Serve With It: This stuffing is a natural partner for roasted turkey or chicken, but don’t limit yourself to Thanksgiving. I’ve served it alongside a simple roast chicken on a random Tuesday, and it turned an ordinary meal into something special. It’s also amazing with pork chops, roasted vegetables, or even a big green salad for a lighter meal. For a full holiday spread, pair it with mashed potatoes, roasted Brussels sprouts, and cranberry sauce.
Storing Leftovers: Let the stuffing cool completely, then transfer it to an airtight container. It will keep in the refrigerator for up to 4 days. The flavors actually deepen as it sits—the sage and brown butter become more pronounced. I often find myself sneaking spoonfuls straight from the fridge.
Reheating Tips: The best way to reheat stuffing is in the oven. Spread it on a baking sheet and warm it at 350°F for about 10-15 minutes. This helps re-crisp the top. If you’re in a hurry, the microwave works, but you’ll lose that crunchy texture. For a quick fix, I sometimes reheat it in a skillet with a little extra butter—it gets those crispy edges back.
Freezer Instructions: You can freeze this stuffing either before or after baking. To freeze unbaked, assemble the stuffing in a freezer-safe dish, cover tightly, and freeze for up to 3 months. Thaw in the refrigerator overnight, then bake as directed. To freeze baked stuffing, let it cool completely, wrap tightly, and freeze. Reheat directly from frozen at 350°F for about 30 minutes, covered, then uncovered for 10 minutes to crisp the top.
Nutritional Information & Benefits
Let’s be real—this is stuffing, not a salad. But it does have some redeeming qualities, and knowing what’s in it helps you enjoy it mindfully.
Estimated Nutritional Values (per serving, based on 12 servings):
- Calories: 320
- Fat: 18g
- Saturated Fat: 11g
- Carbohydrates: 34g
- Fiber: 2g
- Sugar: 4g
- Protein: 7g
- Sodium: 480mg
Health Highlights: The sourdough bread offers some gut-friendly probiotics, especially if you use a traditional naturally leavened loaf. Sage is packed with antioxidants and has anti-inflammatory properties—it’s been used in traditional medicine for centuries. And believe it or not, celery is a good source of vitamin K and fiber. So while this isn’t health food, it’s made with real, whole ingredients that your body recognizes.
Dietary Considerations: This recipe contains gluten and dairy. For a gluten-free version, use GF bread. For dairy-free, use plant-based butter. It’s naturally nut-free and can be made vegetarian with vegetable broth. If you’re watching your sodium, use low-sodium broth and go easy on the added salt.
My Take: I believe in enjoying food without guilt. This stuffing is a celebration dish—it’s meant to be savored and shared. One serving won’t derail your healthy habits, and the joy of sharing good food with people you love is its own kind of nourishment.
Conclusion
This brown butter sage stuffing has become my signature dish, and it all started with Marta standing in her kitchen in sweatpants, making something extraordinary without even realizing it. That’s the beauty of this recipe—it doesn’t try to be fancy. It just is what it is: simple, honest, and absolutely delicious.
I love that this stuffing works for any occasion. Thanksgiving dinner, a cozy Sunday supper, or a random Tuesday when you need something that feels like a hug in a dish. The brown butter adds a richness you can’t get any other way, and the sage brings that unmistakable fall flavor that makes everything feel right. And the sourdough? It’s the perfect canvas for all those flavors to shine.
I hope you make this stuffing your own. Add more sage if you love it. Throw in some dried cranberries or crumbled sausage. Make it for your family and watch them go quiet as they take that first bite. That’s the moment that keeps me coming back to this recipe, time after time.
When you make it, I’d love to hear how it turned out. Drop a comment below and let me know if you added your own twist, or if it reminded you of a favorite food memory. And if you share it on social media, tag me—I love seeing your creations. Happy cooking, friend!
Frequently Asked Questions
Can I make this stuffing ahead of time?
Absolutely! Assemble the stuffing completely, cover it, and refrigerate for up to 24 hours before baking. Let it sit at room temperature for 30 minutes before putting it in the oven, and add 5-10 minutes to the covered baking time.
Can I use dried sage instead of fresh?
You can, but I really recommend fresh sage for this recipe. Dried sage has a more muted, sometimes musty flavor, and it won’t give you that same aromatic punch. If you must use dried, use about 1 tablespoon and add it with the other dried seasonings.
Why is my stuffing soggy?
Soggy stuffing usually means one of two things: your bread wasn’t dry enough, or you added too much liquid. Make sure to toast your bread cubes until they’re dry and slightly golden. And add the broth gradually—you want the bread to be moist, not swimming. If you’ve already baked it and it’s too wet, try spreading it on a baking sheet and baking it uncovered for another 10 minutes to dry it out.
Can I use a different type of bread?
Yes, but sourdough really is the best choice here. Its tanginess balances the rich brown butter, and its sturdy texture holds up perfectly. If you want to try something else, a good country loaf or ciabatta would work. Avoid soft sandwich bread—it will turn to mush.
How do I get more crispy edges?
I’m so glad you asked! For maximum crispy bits, spread the stuffing in a thinner layer in a larger baking dish, or use two smaller dishes. You can also bake it uncovered for the entire time, though you’ll need to watch it closely to prevent burning. The corners and edges are where the magic happens!
Pin This Recipe!
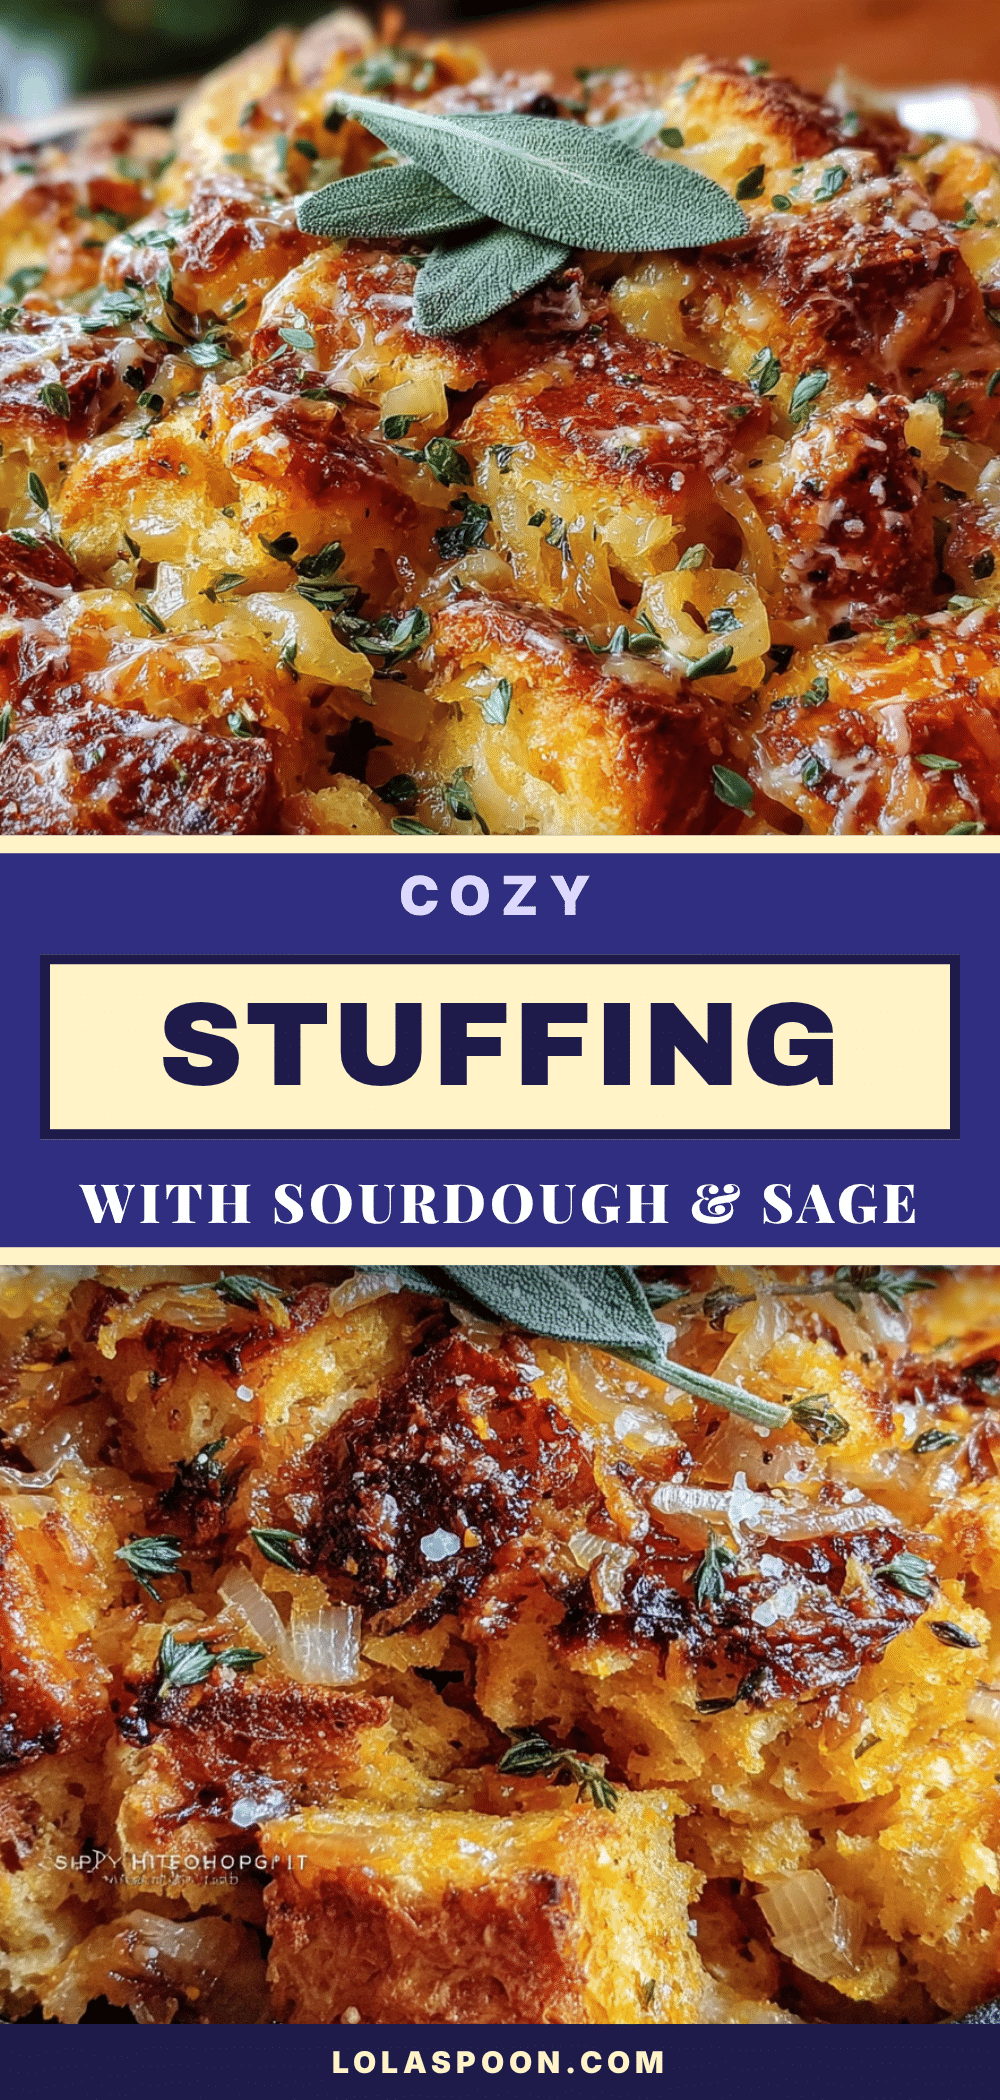
Cozy Brown Butter Sage Stuffing with Sourdough

This brown butter sage stuffing features crispy-edged sourdough with a soft, custard-like interior, all wrapped in nutty brown butter and aromatic sage. It’s a simple, honest dish that tastes like home and works for any occasion.
- Prep Time: 20 minutes
- Cook Time: 55 minutes
- Total Time: 1 hour 15 minutes
- Yield: 12 servings 1x
- Category: Side Dish
- Cuisine: American
Ingredients
- 1 cup (2 sticks) unsalted butter
- 1/4 cup fresh sage leaves, roughly chopped
- 2 large yellow onions, diced
- 4 celery stalks, diced
- 4 cloves garlic, minced
- 1 large loaf (about 1.5 pounds) day-old sourdough bread, torn into 1-inch cubes
- 2 cups low-sodium chicken or vegetable broth
- 2 large eggs, lightly beaten
- 1 tablespoon fresh thyme leaves
- 1 teaspoon kosher salt, plus more to taste
- 1/2 teaspoon freshly ground black pepper
- 1/2 cup fresh parsley, chopped
Instructions
- Preheat your oven to 375°F (190°C). Position a rack in the middle of the oven.
- Tear or cut the sourdough into roughly 1-inch cubes. Spread the cubes on a large baking sheet and toast them in the oven for about 10 minutes, until dry and slightly golden. Set aside to cool.
- Place the butter in a large skillet over medium heat. Let it melt completely, then continue cooking, swirling occasionally, until it foams, the foam subsides, and brown specks appear at the bottom. This takes about 5-7 minutes. Remove from heat when it smells nutty and looks amber.
- Add the diced onions and celery to the skillet with the brown butter. Return to medium heat and cook for 8-10 minutes, stirring occasionally, until onions are translucent and celery has softened. Add the minced garlic and cook for one more minute. Stir in the chopped sage and thyme, and cook for another minute.
- In a large mixing bowl, whisk together the beaten eggs and 1 1/2 cups of the broth. Add the toasted bread cubes and the vegetable-butter mixture. Toss gently until everything is evenly coated. If the bread seems dry, add the remaining 1/2 cup of broth a little at a time.
- Add the salt, pepper, and half the chopped parsley. Toss again gently. Transfer the mixture to a greased 9×13 baking dish and spread it into an even layer.
- Cover the dish with foil and bake for 30 minutes. Remove the foil and bake for another 20-25 minutes, until the top is golden brown and crispy. Let it rest for 5 minutes before serving.
- Sprinkle the remaining parsley over the top right before serving.
Notes
For make-ahead: Assemble the stuffing completely, cover, and refrigerate for up to 24 hours. Let sit at room temperature for 30 minutes before baking, then add 5-10 minutes to the covered baking time. For gluten-free, use gluten-free sourdough. For dairy-free, use plant-based butter like Miyoko’s.
Nutrition
- Serving Size: 1 serving
- Calories: 320
- Sugar: 4
- Sodium: 480
- Fat: 18
- Saturated Fat: 11
- Carbohydrates: 34
- Fiber: 2
- Protein: 7
Keywords: brown butter, sage, stuffing, sourdough, Thanksgiving, side dish, fall, holiday


