It was 11:17 PM on a rainy Tuesday in late October, and I had a very specific, almost aggressive craving for mac and cheese. Not the boxed kind—though I respect a blue box at 11 PM—but the real, oven-baked, soul-warming stuff. I didn’t have a block of cheddar or a bag of shredded mozzarella, but I had a single, sad butternut squash sitting on my counter that I’d bought with grand plans for soup that never materialized, and the idea that arrived was a little unhinged: what if the squash *became* the cheese sauce?
Honestly, I was skeptical. I mean, I’ve been burned by “healthy” mac and cheese recipes before. You know the ones—they promise creamy, cheesy goodness, and you end up with a bowl of pasta coated in something that tastes vaguely of sadness and boiled vegetables. But it was late, I was tired, and the rain was making everything feel a little more forgiving. So I grabbed my immersion blender, roasted that squash way past its bedtime, and started experimenting. The result was so good I actually stood in my kitchen, fork in hand, and let out a little laugh of disbelief. Maybe you’ve been there—when a kitchen gamble pays off in a way that feels almost unfair.
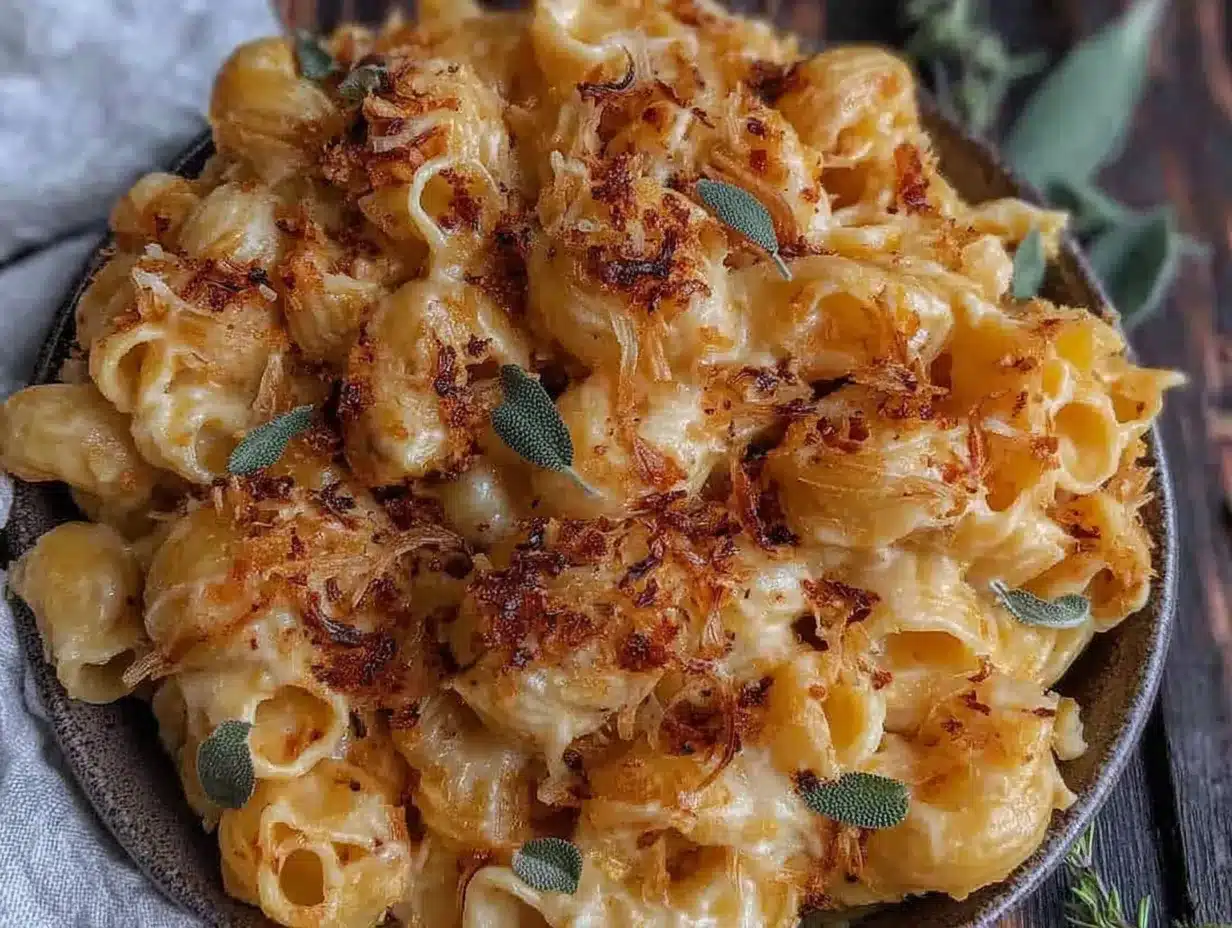
This cozy butternut squash mac and cheese with crispy sage is the recipe that came out of that late-night experiment. The squash makes the sauce unbelievably silky without a drop of heavy cream, and the nutty, earthy flavor pairs perfectly with sharp cheddar and a mountain of crispy sage leaves on top. It’s the kind of meal that makes you want to light a candle, pour a glass of wine, and pretend you have your life together—even if it’s a Tuesday and you’re eating in your pajamas. I keep making it because it feels like a hug in a bowl, and honestly, we all need more of those.
Why You’ll Love This Recipe
Let me tell you why this isn’t just another mac and cheese recipe floating around the internet. I’ve tested this version at least seven times—once with too much nutmeg (don’t ask), once with a different squash variety that was too watery, and once where I forgot the pasta entirely (a very long story). This is the one that finally worked, and it’s the one I keep coming back to.
- Quick & Easy: The whole thing comes together in about 45 minutes, and most of that is hands-off roasting time. Perfect for those nights when you want comfort food without spending all evening in the kitchen.
- Simple Ingredients: No fancy grocery trips needed. You probably already have pasta, cheese, and butter in your kitchen. The squash and sage are the only special items, and they’re easy to find at any grocery store this time of year.
- Perfect for Fall & Winter: This dish was made for cozy nights, holiday side dishes, or anytime you want to lean into the seasonal mood. It’s a showstopper on a Thanksgiving table or a quiet weeknight dinner.
- Crowd-Pleaser: I’ve served this to picky kids, skeptical in-laws, and vegetarian friends. Everyone goes back for seconds. The crispy sage on top is always the first thing to disappear.
- Unbelievably Delicious: The texture is next-level comfort food. The roasted squash creates a sauce so creamy you won’t believe there’s no heavy cream. And that crispy sage? It’s like edible confetti that makes everything better.
What makes this recipe different is the technique. Instead of making a traditional roux-based cheese sauce, we’re roasting the squash first to concentrate its natural sweetness, then blending it into a velvety puree with milk and cheese. This isn’t just another version of butternut squash mac—it’s the best version. The one that makes you close your eyes after the first bite and forget about everything else for a minute.
What Ingredients You Will Need
This recipe uses simple, wholesome ingredients to deliver bold flavor and satisfying texture without the fuss. Most of these are pantry staples or easy to find at your local market during the fall months.
For the Butternut Squash Sauce
- 1 medium butternut squash (about 2 pounds), peeled, seeded, and cubed into 1-inch pieces (look for one that feels heavy for its size—it’ll be sweeter)
- 2 tablespoons olive oil (for roasting the squash; avocado oil works too)
- 1/2 teaspoon salt (plus more to taste; I use fine sea salt)
- 1/4 teaspoon black pepper (freshly ground is best)
- 1 cup whole milk (or 2% if that’s what you have; I wouldn’t go lower than that for creaminess)
- 1/2 cup reserved pasta water (this is the secret to a silky sauce that clings to every noodle)
For the Cheese Sauce
- 2 tablespoons unsalted butter (I prefer Kerrygold for its richness, but any good butter works)
- 2 cloves garlic, minced (fresh garlic, not the jarred stuff—trust me)
- 8 ounces sharp cheddar cheese, freshly grated (about 2 cups; please grate your own, the pre-shredded stuff has anti-caking agents that ruin the texture)
- 4 ounces Gruyère cheese, freshly grated (about 1 cup; this adds that nutty, melty magic)
- 1/4 teaspoon ground nutmeg (freshly grated if you have it—it makes a difference)
- Pinch of cayenne pepper (optional, but it wakes up the flavors without making it spicy)
For the Pasta and Topping
- 1 pound pasta (I recommend cavatappi, shells, or penne—anything with nooks and crannies to hold the sauce)
- 1/4 cup fresh sage leaves (about 15-20 leaves; look for ones that are bright green and not wilting)
- 2 tablespoons butter (for frying the sage)
- 1/2 cup panko breadcrumbs (optional, for a crunchy topping; I use them about half the time)
- 1/4 cup grated Parmesan cheese (for the topping, if using panko)
If you’re dairy-free, you can substitute the milk with unsweetened oat milk and use a good-quality vegan cheddar. The texture won’t be quite as creamy, but it’s still delicious. For a gluten-free version, use your favorite gluten-free pasta and gluten-free panko.
Equipment Needed
You don’t need a fancy kitchen to pull this off. Here’s what you’ll need:
- Baking sheet (for roasting the squash; a rimmed one is best to catch any juices)
- Large pot (for boiling pasta; at least 5 quarts)
- Large skillet or Dutch oven (for making the sauce and combining everything; I love my enameled cast iron for this)
- Immersion blender or regular blender (for pureeing the squash; an immersion blender is easier for cleanup, but a regular blender works fine—just let the squash cool a bit first)
- Box grater (for grating your cheese; please don’t use pre-shredded)
- Small skillet (for frying the sage leaves)
- Baking dish (if you want to bake it; I use a 9×13 inch dish)
If you don’t have an immersion blender, no worries. A regular blender works perfectly, just work in batches and be careful with the hot liquid. I learned that lesson the hard way—let’s just say my kitchen ceiling has seen better days.
Preparation Method
- Preheat your oven to 400°F (200°C). While it’s heating up, peel and cube your butternut squash. I know, peeling squash is a workout. Pro tip: microwave the whole squash for 2 minutes first—it softens the skin just enough to make peeling easier.
- Roast the squash. Toss the cubed squash with olive oil, salt, and pepper on your baking sheet. Spread it in a single layer—don’t crowd it, or it’ll steam instead of roast. Roast for 25-30 minutes, flipping halfway through, until the edges are golden and the squash is fork-tender. The smell at this point is incredible—sweet and nutty.
- Cook your pasta. While the squash is roasting, bring a large pot of salted water to a boil. Cook your pasta according to package directions until al dente—about 1 minute less than the recommended time. Before you drain it, reserve 1 cup of that starchy pasta water. Trust me, this is liquid gold for your sauce. Drain the pasta and set it aside.
- Make the squash puree. Transfer the roasted squash to a blender or use your immersion blender right in the pot. Add the milk and 1/2 cup of the reserved pasta water. Blend until completely smooth—this should take about 30 seconds. The puree should be thick but pourable, like a creamy soup.
- Start the cheese sauce. In your large skillet or Dutch oven, melt the 2 tablespoons of butter over medium heat. Add the minced garlic and cook for about 30 seconds, until fragrant but not brown. Pour in the squash puree and stir to combine. Let it warm through for about 2 minutes.
- Add the cheese. Reduce the heat to low. Add the grated cheddar and Gruyère a handful at a time, stirring constantly until each addition is fully melted before adding more. This gradual approach prevents the sauce from breaking. Once all the cheese is in, add the nutmeg and cayenne. Taste and adjust salt and pepper—you’ll probably need a little more salt at this point.
- Combine pasta and sauce. Add the cooked pasta to the cheese sauce and stir until every piece is coated. If the sauce seems too thick, add a splash more reserved pasta water. It should be glossy and coat the back of a spoon.
- Fry the sage leaves. In a small skillet, melt the 2 tablespoons of butter over medium heat. Once it’s sizzling, add the sage leaves in a single layer. Cook for about 20-30 seconds per side, until they turn dark green and crispy. They’ll crisp up more as they cool. Transfer to a paper towel-lined plate and sprinkle with a tiny pinch of salt.
- Optional: make the crunchy topping. If you want that crispy panko topping, melt another tablespoon of butter in the same small skillet, add the panko, and toast for 2-3 minutes until golden. Stir in the grated Parmesan and remove from heat.
- Serve immediately. Spoon the mac and cheese into bowls, top with crispy sage leaves and the panko mixture if using. The sage should shatter when you bite into it—that’s how you know you did it right.
Cooking Tips & Techniques
I’ve made this recipe enough times to know where things can go wrong. Here are the lessons I learned the hard way so you don’t have to.
Don’t skip roasting the squash. I know, it’s tempting to boil it to save time. But roasting concentrates the natural sugars and gives the sauce a depth of flavor you just can’t get any other way. The caramelized edges are where the magic happens.
Grate your own cheese. I cannot stress this enough. Pre-shredded cheese is coated in cellulose and starches that prevent it from melting smoothly. Your sauce will end up grainy instead of silky. Take the extra two minutes to grate it yourself—your taste buds will thank you.
Watch your heat. Cheese sauce is temperamental. If your heat is too high, the proteins in the cheese will seize up and you’ll end up with a clumpy, greasy mess. Keep it on low heat and be patient. The first time I made this, I got distracted and cranked the heat—let’s just say I had to start over.
Reserve more pasta water than you think you need. I always save a full cup, even though I usually only use about half. The starch in the water helps bind the sauce to the pasta and gives it that restaurant-quality sheen. If your sauce seems too thick after adding the pasta, a splash of pasta water will loosen it right up.
Fry the sage at the very end. Sage leaves go from crispy to burnt in about 15 seconds. Do them right before you’re ready to serve, and keep an eye on them. They should be dark green and slightly translucent, not brown.
Variations & Adaptations
One of the best things about this recipe is how flexible it is. Here are some ways to make it your own:
Make it vegan: Use unsweetened oat milk or cashew milk, swap the butter for vegan butter, and use a high-quality vegan cheddar and Parmesan. The texture won’t be quite as creamy, but the flavor is still fantastic. I’ve made this for a vegan friend and she asked for the recipe—that’s a win in my book.
Add some protein: Stir in cooked, crumbled bacon or crispy pancetta right before serving. The salty, smoky flavor is incredible against the sweet squash. Or add shredded rotisserie chicken for a heartier meal. I did this once when I had leftover chicken and it turned into a whole new dish.
Change up the cheese: If you don’t have Gruyère, try fontina, smoked gouda, or even a good quality Monterey Jack. Each one brings a different personality to the dish. Smoked gouda is my personal favorite for a deeper, smokier flavor.
Make it gluten-free: Use your favorite gluten-free pasta and gluten-free panko for the topping. The sauce itself is naturally gluten-free, so this is an easy swap.
Try a different squash: If butternut isn’t available, use kabocha, honeynut, or even a sugar pumpkin. Each variety will give the sauce a slightly different sweetness level, but they all work beautifully.
Serving & Storage Suggestions
This mac and cheese is best served immediately, while the sauce is still warm and the sage is crispy. I like to serve it in wide, shallow bowls so the topping doesn’t get lost. A simple side salad with a bright vinaigrette is the perfect contrast—the acidity cuts through the richness beautifully.
If you’re serving this for a holiday meal, it pairs wonderfully with roasted turkey, glazed ham, or even a simple roast chicken. For a vegetarian spread, serve it alongside a hearty kale salad and some crusty bread.
Storage: Leftovers keep well in an airtight container in the refrigerator for up to 4 days. The pasta will absorb some of the sauce as it sits, so don’t be alarmed if it seems a little drier the next day.
Reheating: The best way to reheat is in a skillet over medium-low heat with a splash of milk or pasta water. Stir gently until warmed through. You can also microwave it, but the texture won’t be as good. If you want to revive the crispy sage topping, make a fresh batch—it only takes a minute and makes all the difference.
Freezing: This recipe freezes surprisingly well. Transfer it to a freezer-safe container and freeze for up to 3 months. Thaw overnight in the refrigerator, then reheat in a 350°F oven for about 20 minutes, covered, with a little milk stirred in. The sauce won’t be quite as silky as fresh, but it’s still incredibly satisfying.
Nutritional Information & Benefits
Here’s the thing—this is still mac and cheese, so it’s not exactly health food. But compared to traditional versions, this one has some real benefits worth mentioning.
| Nutrient | Per Serving (approx. 1.5 cups) |
|---|---|
| Calories | 520 |
| Protein | 22g |
| Carbohydrates | 58g |
| Fiber | 6g |
| Fat | 24g |
| Saturated Fat | 14g |
| Vitamin A | 290% DV |
| Vitamin C | 35% DV |
| Calcium | 40% DV |
Pin This Recipe!
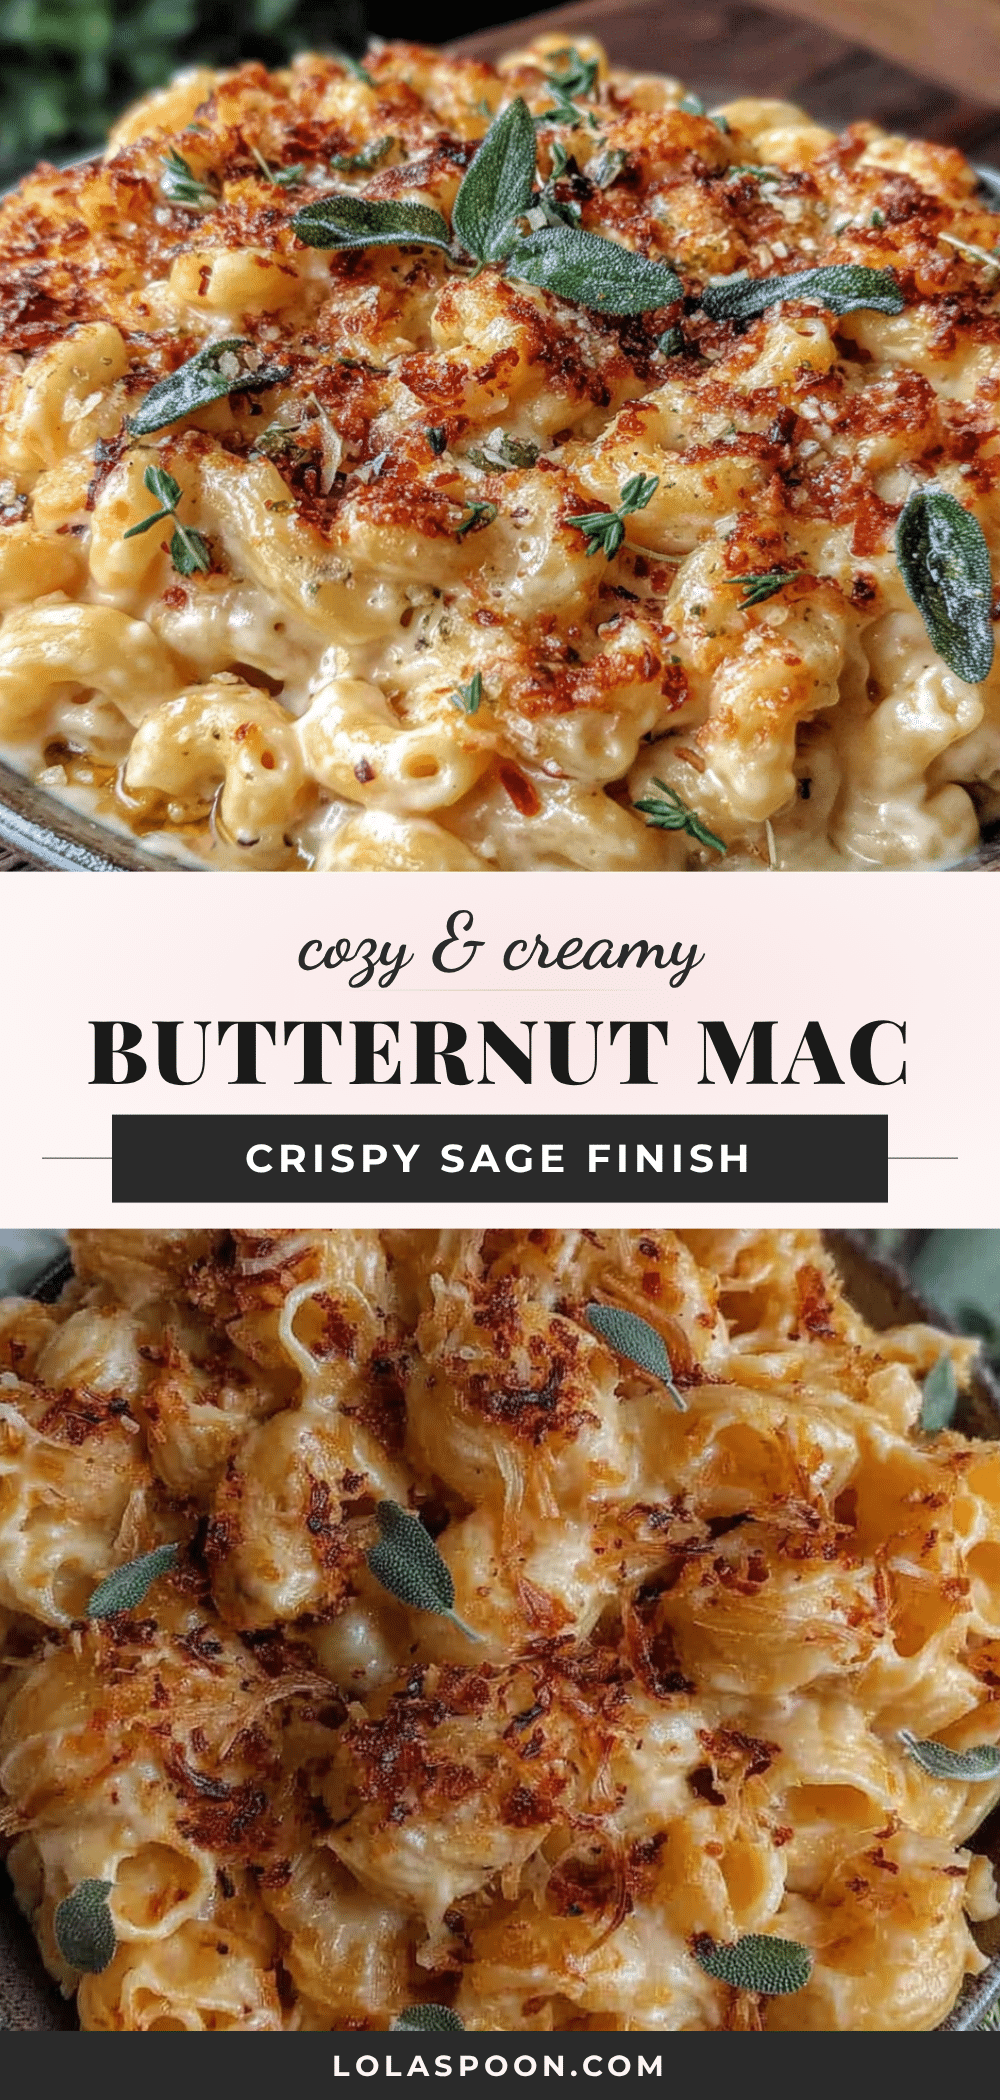
Cozy Butternut Squash Mac and Cheese with Crispy Sage

This cozy butternut squash mac and cheese with crispy sage is the recipe that came out of a late-night experiment. The squash makes the sauce unbelievably silky without a drop of heavy cream, and the nutty, earthy flavor pairs perfectly with sharp cheddar and a mountain of crispy sage leaves on top.
- Prep Time: 15 minutes
- Cook Time: 30 minutes
- Total Time: 45 minutes
- Yield: 6 servings 1x
- Category: Main Course
- Cuisine: American
Ingredients
- 1 medium butternut squash (about 2 pounds), peeled, seeded, and cubed into 1-inch pieces
- 2 tablespoons olive oil
- 1/2 teaspoon salt, plus more to taste
- 1/4 teaspoon black pepper, freshly ground
- 1 cup whole milk (or 2%)
- 1/2 cup reserved pasta water
- 2 tablespoons unsalted butter
- 2 cloves garlic, minced
- 8 ounces sharp cheddar cheese, freshly grated (about 2 cups)
- 4 ounces Gruyère cheese, freshly grated (about 1 cup)
- 1/4 teaspoon ground nutmeg
- Pinch of cayenne pepper (optional)
- 1 pound pasta (cavatappi, shells, or penne recommended)
- 1/4 cup fresh sage leaves (about 15–20 leaves)
- 2 tablespoons butter (for frying sage)
- 1/2 cup panko breadcrumbs (optional)
- 1/4 cup grated Parmesan cheese (for topping, if using panko)
Instructions
- Preheat your oven to 400°F (200°C). Peel and cube your butternut squash. Pro tip: microwave the whole squash for 2 minutes first to soften the skin for easier peeling.
- Roast the squash: Toss cubed squash with olive oil, salt, and pepper on a baking sheet. Spread in a single layer. Roast for 25-30 minutes, flipping halfway, until edges are golden and squash is fork-tender.
- Cook pasta: Bring a large pot of salted water to a boil. Cook pasta according to package directions until al dente (about 1 minute less than recommended). Reserve 1 cup of pasta water before draining. Drain and set aside.
- Make squash puree: Transfer roasted squash to a blender or use an immersion blender. Add milk and 1/2 cup reserved pasta water. Blend until completely smooth (about 30 seconds). The puree should be thick but pourable.
- Start cheese sauce: In a large skillet or Dutch oven, melt 2 tablespoons butter over medium heat. Add minced garlic and cook for 30 seconds until fragrant. Pour in squash puree and stir to combine. Let warm through for 2 minutes.
- Add cheese: Reduce heat to low. Add grated cheddar and Gruyère a handful at a time, stirring constantly until each addition is fully melted. Add nutmeg and cayenne. Taste and adjust salt and pepper.
- Combine pasta and sauce: Add cooked pasta to cheese sauce and stir until every piece is coated. If sauce seems too thick, add a splash more reserved pasta water. It should be glossy and coat the back of a spoon.
- Fry sage leaves: In a small skillet, melt 2 tablespoons butter over medium heat. Add sage leaves in a single layer. Cook for 20-30 seconds per side until dark green and crispy. Transfer to a paper towel-lined plate and sprinkle with a tiny pinch of salt.
- Optional crunchy topping: Melt another tablespoon of butter in the same small skillet, add panko, and toast for 2-3 minutes until golden. Stir in grated Parmesan and remove from heat.
- Serve immediately: Spoon mac and cheese into bowls, top with crispy sage leaves and panko mixture if using.
Notes
Don’t skip roasting the squash—it concentrates natural sugars for depth of flavor. Always grate your own cheese; pre-shredded contains anti-caking agents that ruin texture. Keep heat on low when melting cheese to prevent clumping. Reserve more pasta water than you think you need. Fry sage at the very end as it goes from crispy to burnt quickly. For dairy-free, use unsweetened oat milk, vegan butter, and vegan cheddar. For gluten-free, use gluten-free pasta and panko.
Nutrition
- Serving Size: 1.5 cups
- Calories: 520
- Sugar: 8
- Sodium: 680
- Fat: 24
- Saturated Fat: 14
- Carbohydrates: 58
- Fiber: 6
- Protein: 22
Keywords: butternut squash mac and cheese, crispy sage, fall recipe, comfort food, vegetarian mac and cheese, baked mac and cheese, easy mac and cheese


