I was standing in the frozen food aisle last November, holding a boxed pie crust like it was a stranger I’d been forced to introduce myself to. The fluorescent lights hummed overhead, and somewhere behind me, a kid was whining about wanting a different brand of chicken nuggets. And then it hit me—that specific, dusty-sweet smell of roasted pecans mixed with brown sugar. Not from the store. From my memory. Suddenly I was seven years old at my Aunt Lena’s tiny kitchen table, the one with the wobbly leg she always fixed with a matchbook, watching her grind pecans through an old hand-crank grinder that squeaked with every turn. She’d let me lick the brown sugar off the spoon, and I can still feel the granules dissolving on my tongue, the way she’d say “don’t tell your mother” with a wink. She passed five years ago, and I haven’t touched a boxed crust since that day in the aisle. Honestly, I think that memory broke something open in me—or fixed something I didn’t know was broken.
This cozy classic pumpkin pie with salted pecan crust is my attempt to hold onto that feeling. Not just the pie itself, but the whole moment: the squeak of the grinder, the sticky spoon, the way her kitchen smelled like nutmeg and old wood. Maybe you’ve been there, standing in a grocery store or scrolling through recipes, trying to find something that feels like home but not finding it. That’s why I started making this version. The filling is everything you want from a pumpkin pie—silky, spiced just right, not too sweet—but the crust? That’s where the magic lives. A buttery, toasted pecan base with just enough salt to make you pause after every bite.
I messed up the first three times I tried to recreate it. Too crumbly. Too salty. Once I forgot the butter entirely and ended up with what I can only describe as pecan gravel. But Aunt Lena’s voice was in my head: “Keep going, honey. It’s supposed to feel like work.” So I did. And this version? This is the one that finally made me close my eyes after the first bite. It’s the pie I bring to every Thanksgiving, every Friendsgiving, every random Tuesday when I need a reminder that good things take time.
Why You’ll Love This Recipe
Let me tell you why this isn’t just another pumpkin pie recipe you’ll bookmark and forget. I’ve tested this thing more times than I care to admit—twelve times, if you’re counting, and yes, my neighbors have been very patient with the pie deliveries. Every tweak came from a real mistake or a happy accident, and I’m sharing the final version so you don’t have to go through the gravel phase.
- Quick & Easy: The filling comes together in under 15 minutes. Seriously. The hardest part is waiting for it to bake and cool, which, let’s face it, is the real test of patience.
- Simple Ingredients: You probably have most of the filling ingredients in your pantry right now. Canned pumpkin, eggs, cream, sugar, and the usual spice suspects. No weird extracts or specialty purees.
- Perfect for Cozy Evenings: This is the pie you make when the weather turns cold and you need something warm and spiced to fill your kitchen with that “everything’s going to be okay” smell.
- Family-Approved: I’ve served this to picky kids, skeptical in-laws, and a friend who “doesn’t like pumpkin pie.” All of them asked for seconds. One of them asked for the recipe. That never happens.
- Unbelievably Delicious: The salted pecan crust is the game-changer here. It adds a nutty, buttery crunch and a hint of salt that makes the sweet, creamy filling taste even more balanced. It’s not just a crust—it’s the reason people will ask what you did differently.
What makes this recipe different from the hundred other pumpkin pie recipes out there? It’s the crust, plain and simple. Most pumpkin pies are judged by their filling, and sure, that matters. But the crust is usually an afterthought—a sad, soggy bottom that nobody talks about. This one is a toasted, salted, buttery pecan crust that holds its own against the filling. It’s sturdy enough to slice cleanly, flavorful enough to eat on its own (I won’t judge), and it makes the whole pie feel like something special. It’s comfort food, reimagined with a little crunch and a little salt, and it hits every single time.
What Ingredients You Will Need
This recipe uses simple, honest ingredients to build something that tastes far more complex than the sum of its parts. I’ve tested substitutions for almost everything, so I’ll note where you can swap things in and out without losing the magic.
For the Salted Pecan Crust
- 1 ½ cups pecan halves (toasted lightly before grinding—this makes a huge difference in flavor)
- ¼ cup granulated sugar (just enough sweetness to balance the salt)
- ¼ cup unsalted butter, melted (I use Kerrygold because the flavor is richer, but any good unsalted butter works)
- ½ teaspoon fine sea salt (plus a little extra for sprinkling on top before baking)
- 1 cup all-purpose flour (for structure; you can substitute a 1:1 gluten-free flour blend if needed)
- 1 large egg yolk (helps bind the crust without making it tough)
- 1 tablespoon cold water (only if the dough feels too dry—add it a teaspoon at a time)
For the Pumpkin Filling
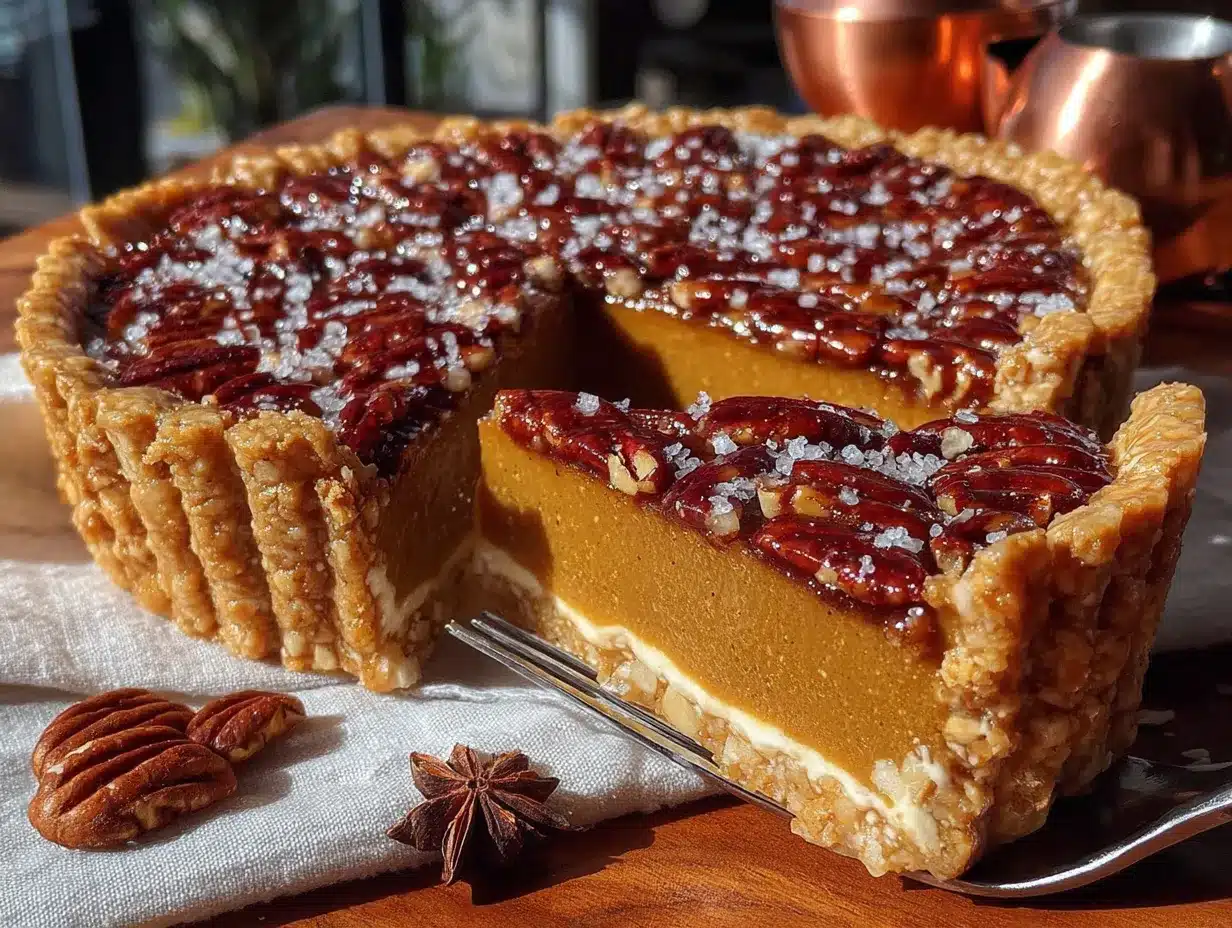
- 1 can (15 oz) pumpkin puree (not pumpkin pie filling—make sure it’s 100% pumpkin. I prefer Libby’s for consistent texture)
- ¾ cup packed light brown sugar (dark brown sugar works too, but it will give a deeper molasses flavor)
- 2 large eggs, room temperature (cold eggs can make the filling lumpy; let them sit out for 20 minutes)
- 1 cup heavy cream (you can substitute half-and-half for a lighter texture, but the pie won’t be as silky)
- 1 teaspoon vanilla extract (pure, not imitation—trust me on this)
- 1 ½ teaspoons ground cinnamon
- ½ teaspoon ground ginger
- ½ teaspoon ground nutmeg (freshly grated if you have it, but pre-ground works fine)
- ¼ teaspoon ground cloves
- ¼ teaspoon fine sea salt
A quick note on the pecans: I’ve tried this crust with both raw and pre-toasted pecans, and toasting them yourself makes a noticeable difference. Spread them on a baking sheet at 350°F for about 6-8 minutes, until they smell fragrant and look slightly darker. Let them cool completely before grinding, or you’ll end up with pecan butter instead of a crumbly crust. I learned that the hard way, and let me tell you, pecan butter crust is not a thing you want to try.
For the pumpkin puree, I always recommend sticking with a trusted brand. Some store-brand purees can be watery, which leads to a soggy filling. If you’re using fresh pumpkin, make sure to roast it and then drain it in a cheesecloth-lined sieve for at least an hour to remove excess moisture.
Equipment Needed
You don’t need a professional bakery setup for this pie, but having the right tools makes the process smoother. Here’s what I use:
- 9-inch pie dish (glass or ceramic works best—metal can over-brown the crust)
- Food processor (for grinding the pecans and mixing the crust dough; a high-speed blender works in a pinch, but be careful not to over-process)
- Mixing bowls (one large, one medium)
- Whisk (for smoothing out the filling without over-beating)
- Rolling pin (optional—you can press the crust into the dish with your fingers)
- Parchment paper (for lining the crust during blind baking)
- Pie weights or dried beans (to keep the crust from puffing up)
- Cooling rack (essential for even cooling and preventing a soggy bottom)
If you don’t have a food processor, you can chop the pecans by hand very finely and mix the crust in a bowl with a pastry cutter. It takes a little more elbow grease, but it works. And if you don’t have pie weights, dried beans are my go-to—I keep a bag of cheap pinto beans in my pantry just for this purpose. They’re reusable for years.
Preparation Method
Let’s walk through this step by step. I’ll include all the little details I wish someone had told me the first time I made this.
Step 1: Make the Salted Pecan Crust
Preheat your oven to 350°F (175°C). Spread the pecan halves on a baking sheet and toast for 6-8 minutes, until fragrant. Keep an eye on them—they go from perfectly toasted to burnt in about 30 seconds. Let them cool completely. Once cool, add the pecans, sugar, flour, and salt to your food processor. Pulse until the pecans are finely ground, almost like coarse sand. Be careful not to over-process, or you’ll get pecan butter. Add the melted butter and egg yolk, and pulse again until the mixture starts to clump together. It should hold together when you squeeze a handful. If it’s too dry, add the cold water one teaspoon at a time.
Press the dough evenly into your 9-inch pie dish, using your fingers to work it up the sides. I like to use the bottom of a measuring cup to press the crust flat and even. Prick the bottom all over with a fork to prevent bubbles. Place the crust in the freezer for 15 minutes—this helps prevent shrinking.
Step 2: Blind Bake the Crust
Line the chilled crust with parchment paper, leaving some overhang, and fill with pie weights or dried beans. Bake at 350°F (175°C) for 12 minutes. Remove the parchment and weights, then bake for another 8-10 minutes, until the crust looks dry and lightly golden. Sprinkle a tiny pinch of sea salt over the hot crust. Set aside to cool while you make the filling. (Leave the oven on at 350°F.)
Step 3: Make the Pumpkin Filling
In a large bowl, whisk together the pumpkin puree and brown sugar until smooth. Add the eggs one at a time, whisking well after each. Pour in the heavy cream and vanilla, and whisk until fully combined. In a small bowl, stir together the cinnamon, ginger, nutmeg, cloves, and salt. Add the spices to the pumpkin mixture and whisk until everything is evenly incorporated. The filling should be smooth, pourable, and a beautiful deep orange. Don’t over-whisk—you don’t want to incorporate too much air, which can cause cracks.
Step 4: Assemble and Bake
Pour the filling into the pre-baked crust, spreading it evenly. Place the pie on the center rack of your oven and bake at 350°F (175°C) for 50-55 minutes. The edges should be set and slightly puffed, but the center should still jiggle slightly when you gently shake the pie. That jiggle is your friend—it means the filling will set up silky smooth as it cools. If the crust edges are browning too quickly, tent them with foil or a pie shield around the 30-minute mark.
Step 5: Cool and Set
Place the pie on a cooling rack and let it cool completely at room temperature—this takes about 2 hours. Don’t rush this step. Putting a warm pie in the fridge will cause condensation, which makes the crust soggy. Once it’s fully cool, you can refrigerate it for at least 4 hours or overnight. The flavor actually gets better after a day in the fridge.
Cooking Tips & Techniques
I’ve made every mistake you can imagine with this pie, so let me save you the trouble. Here are the things I wish I’d known from the start.
Don’t skip the blind bake. I know it’s an extra step, and I’ve tried to shortcut it more times than I’ll admit. Every single time, I ended up with a soggy bottom crust. The blind bake gives the pecan crust a head start, so it stays crisp even after the wet filling is added. Trust the process.
Room temperature ingredients matter. Cold eggs and cold cream can seize up the filling and create lumps. I’ve tested this side by side, and the difference is noticeable. The room-temperature version is noticeably smoother. Just let your eggs and cream sit on the counter for 20 minutes before you start.
The jiggle test is your friend. Overbaked pumpkin pie is dry and cracked. Underbaked is runny. The sweet spot is when the edges are set and the center wobbles like Jell-O when you gently shake the pan. It will continue to set as it cools. I pull mine out when the center still has a slight, gentle wobble—about the size of a silver dollar. Perfect every time.
Let it cool completely. This might be the hardest step, especially when your kitchen smells like heaven. But slicing into a warm pie guarantees a runny mess. I’ve done it. I regretted it. Give it the full 2 hours on the counter, then refrigerate if you can wait that long. Overnight is even better.
Use a pie shield. The pecan crust browns faster than a traditional crust because of the nuts and sugar. If you don’t have a pie shield, cut a ring out of aluminum foil and place it over the edges halfway through baking. It’s a simple trick that saves your crust from burning.
Variations & Adaptations
One of the best things about this recipe is how flexible it is. Here are a few ways I’ve adapted it over the years, depending on who I’m feeding and what I have on hand.
Gluten-Free Version: Substitute the all-purpose flour in the crust with a 1:1 gluten-free baking blend. I’ve used Bob’s Red Mill with great results. The texture is slightly more crumbly, but the flavor is just as good. Make sure your blend includes xanthan gum for binding.
Dairy-Free Version: Replace the butter in the crust with coconut oil (refined, for no coconut flavor) or a vegan butter stick. Use full-fat canned coconut milk instead of heavy cream in the filling. The texture will be slightly less silky, but still delicious. I’ve tested this for a friend with dairy allergies, and she couldn’t tell the difference.
Spice It Up: If you like a bolder spice profile, add a pinch of black pepper or a dash of cayenne to the filling. It sounds weird, but it actually enhances the warmth of the cinnamon and ginger. I tried this on a whim after reading about it in an old cookbook, and now I add a tiny pinch every time.
Maple Pecan Crust: Replace the granulated sugar in the crust with 3 tablespoons of maple syrup. Reduce the melted butter to 3 tablespoons and skip the water. The crust will be slightly softer, but the maple flavor pairs beautifully with the pumpkin. This is my go-to for fall gatherings.
Mini Pies: Press the crust into a muffin tin instead of a pie dish, fill with the pumpkin mixture, and bake for 20-25 minutes. Perfect for parties or portion control. Just keep an eye on the baking time—mini pies cook faster.
Serving & Storage Suggestions
This pie is best served at room temperature or slightly chilled. I actually prefer it after it’s been in the fridge overnight—the flavors meld together and the texture becomes incredibly smooth. If you’re serving it straight from the fridge, let it sit on the counter for about 20 minutes first to take the chill off.
For the full cozy experience, I serve each slice with a generous dollop of lightly sweetened whipped cream. Sometimes I add a pinch of cinnamon or a drizzle of maple syrup to the cream. It’s also wonderful with a scoop of vanilla bean ice cream, especially if the pie is still slightly warm. The contrast of warm spiced filling and cold, creamy ice cream is pure comfort.
To store leftovers, cover the pie dish tightly with plastic wrap or transfer slices to an airtight container. It will keep in the refrigerator for up to 4 days. The crust will soften slightly over time, but the flavor actually improves. I’ve never had leftovers last longer than 3 days in my house, so I can’t personally vouch for longer storage.
You can also freeze this pie for up to 3 months. Let it cool completely, then wrap it tightly in plastic wrap and a layer of aluminum foil. To serve, thaw it overnight in the refrigerator and bring to room temperature before slicing. Don’t freeze a pie that’s already been thawed—the texture will suffer.
Nutritional Information & Benefits
I’m not a nutritionist, but I’ve done my homework on this recipe. Here’s an approximate breakdown per slice (based on 8 servings):
- Calories: 385
- Fat: 24g
- Carbohydrates: 39g
- Protein: 6g
- Fiber: 3g
- Sugar: 22g
Pumpkin is packed with vitamin A, which is great for eye health and immune function. It’s also a good source of fiber and potassium. Pecans are rich in healthy fats, magnesium, and antioxidants. So while this is definitely a treat, it’s not entirely devoid of nutritional value. I love that I can serve something that feels indulgent but also has some redeeming qualities.
If you’re watching your sugar intake, you can reduce the brown sugar to ½ cup without sacrificing too much sweetness. The filling will be slightly less rich, but still delicious. For a lower-carb option, you can use a sugar substitute like monk fruit sweetener in both the crust and filling, though I haven’t tested that myself.
Conclusion
This cozy classic pumpkin pie with salted pecan crust has become my signature dessert, the one I’m asked to bring to every gathering. And honestly? I never get tired of making it. Every time I press that pecan crust into the dish, I think of Aunt Lena and her squeaky grinder. Every time I pull that perfect golden pie out of the oven, I feel that same seven-year-old wonder. It’s not just a recipe anymore—it’s a way of holding onto someone I loved, one slice at a time.
I hope you give this pie a chance, whether it’s for a holiday table or just a random Tuesday that needs a little extra warmth. Don’t be afraid to make it your own—swap the spices, try the maple version, or double the crust because you can never have too much pecan crunch. And when you do make it, I’d love to hear how it turns out. Leave a comment below, tag me in your photos, or send me a message. There’s something special about knowing this recipe is being made in kitchens all over, filling them with that same cozy, spiced smell that means home.
Go ahead. Preheat that oven. You’ve got this.
Frequently Asked Questions
Can I use a store-bought crust instead?
You absolutely can, but you’ll miss out on the salted pecan flavor that makes this pie special. If you’re short on time, try using a refrigerated pie crust and adding a layer of chopped toasted pecans pressed into the bottom before filling.
Why did my crust crack?
Cracking usually happens when the crust is too dry or pressed too thin in spots. Make sure your dough holds together when squeezed, and press it evenly into the dish. If cracks appear during blind baking, patch them with a little extra dough and continue.
Can I make this pie ahead of time?
Yes! This pie actually tastes better after a day in the fridge. Make it up to 2 days ahead, cool completely, cover tightly, and refrigerate. Bring to room temperature before serving for the best texture.
How do I know when the pie is done?
Use the jiggle test. The edges should be set and slightly puffed, but the center should wobble like Jell-O when you gently shake the pan. The internal temperature should be around 175°F (80°C) if you want to use a thermometer.
Can I freeze this pie?
Yes, for up to 3 months. Cool completely, wrap tightly in plastic wrap and foil, and freeze. Thaw overnight in the refrigerator and bring to room temperature before serving. Don’t refreeze after thawing.
Pin This Recipe!
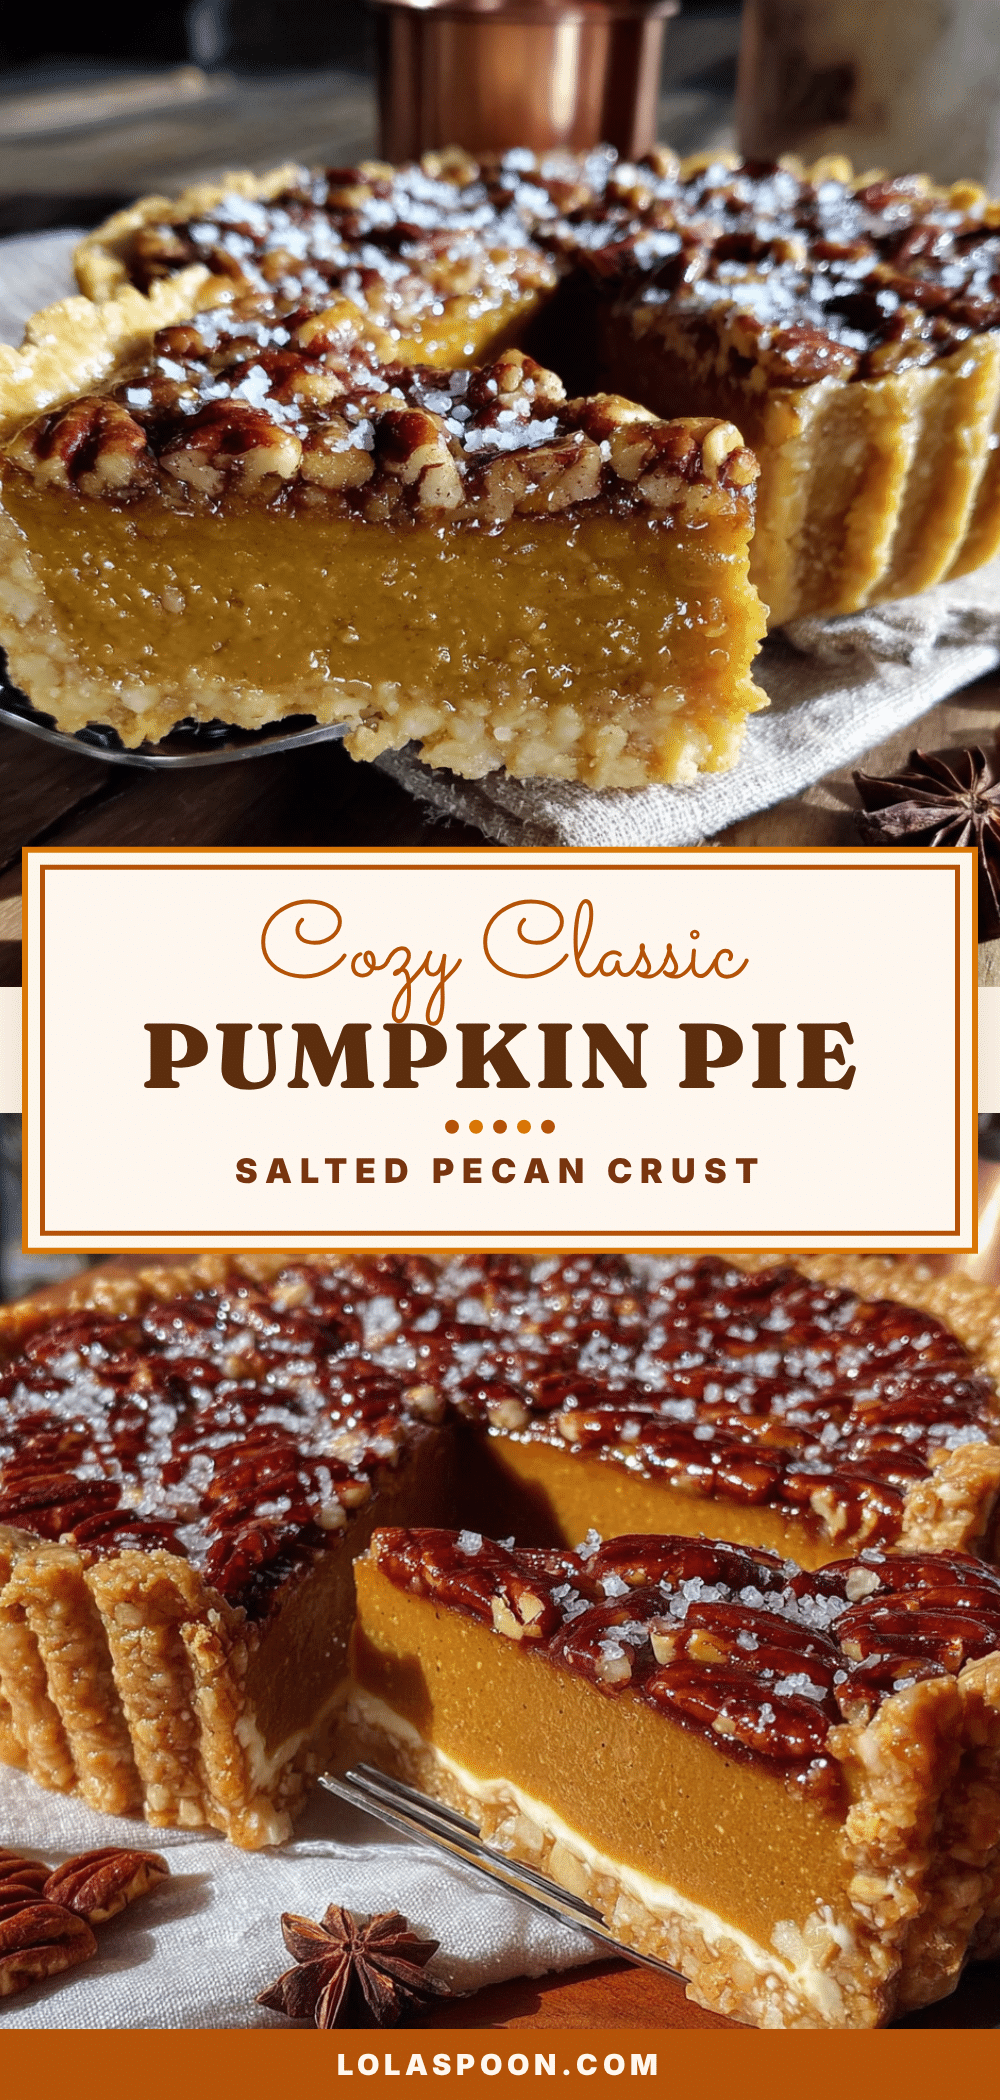
Cozy Classic Pumpkin Pie with Salted Pecan Crust

A silky, spiced pumpkin pie with a buttery, toasted pecan crust that adds a nutty crunch and a hint of salt. This recipe is a tribute to family memories and comfort food, perfect for holidays or cozy evenings.
- Prep Time: 15 minutes
- Cook Time: 50 minutes
- Total Time: 1 hour 5 minutes (plus cooling and chilling)
- Yield: 8 servings 1x
- Category: Dessert
- Cuisine: American
Ingredients
- 1 ½ cups pecan halves, toasted
- ¼ cup granulated sugar
- ¼ cup unsalted butter, melted
- ½ teaspoon fine sea salt, plus extra for sprinkling
- 1 cup all-purpose flour
- 1 large egg yolk
- 1 tablespoon cold water (if needed)
- 1 can (15 oz) pumpkin puree (100% pumpkin)
- ¾ cup packed light brown sugar
- 2 large eggs, room temperature
- 1 cup heavy cream
- 1 teaspoon vanilla extract
- 1 ½ teaspoons ground cinnamon
- ½ teaspoon ground ginger
- ½ teaspoon ground nutmeg
- ¼ teaspoon ground cloves
- ¼ teaspoon fine sea salt
Instructions
- Preheat oven to 350°F (175°C). Spread pecan halves on a baking sheet and toast for 6-8 minutes until fragrant. Let cool completely.
- In a food processor, combine cooled pecans, sugar, flour, and salt. Pulse until finely ground (like coarse sand). Add melted butter and egg yolk; pulse until mixture clumps together. If too dry, add cold water 1 teaspoon at a time.
- Press dough evenly into a 9-inch pie dish, using fingers or a measuring cup. Prick bottom with a fork. Freeze for 15 minutes.
- Line chilled crust with parchment paper and fill with pie weights or dried beans. Bake at 350°F for 12 minutes. Remove parchment and weights; bake 8-10 minutes more until dry and lightly golden. Sprinkle with a pinch of sea salt. Set aside to cool. Keep oven on.
- In a large bowl, whisk pumpkin puree and brown sugar until smooth. Add eggs one at a time, whisking well. Add heavy cream and vanilla; whisk until combined.
- In a small bowl, mix cinnamon, ginger, nutmeg, cloves, and salt. Add to pumpkin mixture and whisk until smooth. Do not over-whisk.
- Pour filling into pre-baked crust. Bake at 350°F for 50-55 minutes, until edges are set and center jiggles slightly. Tent edges with foil if browning too quickly.
- Cool completely on a rack (about 2 hours). Refrigerate for at least 4 hours or overnight before serving.
Notes
Don’t skip blind baking the crust to avoid sogginess. Use room temperature ingredients for a smooth filling. The jiggle test is key: center should wobble slightly when done. Cool completely before slicing. For best flavor, refrigerate overnight.
Nutrition
- Serving Size: 1 slice
- Calories: 385
- Sugar: 22
- Sodium: 280
- Fat: 24
- Saturated Fat: 10
- Carbohydrates: 39
- Fiber: 3
- Protein: 6
Keywords: pumpkin pie, pecan crust, salted pecan, Thanksgiving, fall dessert, classic pumpkin pie


