My neighbor, a guy named Leo who keeps to himself mostly, once told me that bread baking was a “pointless exercise in domestic theater.” He said this while leaning over the fence, watching me scrape a gluey, misshapen lump of dough into the trash can. I wanted to argue, but my hands were covered in the evidence. I just nodded, muttered something about the therapeutic value of yeast, and went back inside. That was two years ago. Last Tuesday, I saw him walking his dog past my open kitchen window while I was pulling this rosemary parmesan focaccia out of the oven. The smell—that mix of browned butter, toasted cheese, and piney rosemary—drifted right out onto the sidewalk. He stopped. His dog stopped. He didn’t say anything, but he stood there for a solid ten seconds, eyes closed, just breathing it in. I pretended not to see him. Later that night, I found a small jar of local honey on my porch with a sticky note that just said, “I was wrong.” Honestly, I laughed out loud. That focaccia has a way of making believers out of people who didn’t even know they needed converting.
I had been on a sourdough kick for months, making the same crusty boule over and over. It was good, but it felt serious. This focaccia is the opposite of serious. It’s the kind of bread you make when you want the house to smell like Sunday afternoon, even if it’s a rainy Tuesday night. It’s forgiving, it’s flexible, and it’s got that perfect balance of crisp edges and a cloud-soft interior. Maybe you’ve been there—staring at a bubbly, neglected sourdough starter in your fridge, wondering if you should just pour it out. Don’t. Let it have this moment. This recipe turned my whole bread-baking world around, and honestly, I keep making it because it proves you don’t need to be perfect to make something that stops a neighbor in his tracks.
Why You’ll Love This Recipe
This isn’t just another bread recipe you’ll pin and forget. After testing this version over a dozen times, tweaking hydration levels and fermentation times until it felt just right, I can tell you this is the one. It delivers that bakery-quality crumb without the fuss of a complicated shaping process. You don’t need a stand mixer or a bread lame. Your hands, a bowl, and a bit of patience are all it takes.
- Simple Ingredients: You likely have flour, olive oil, salt, and rosemary already. The sourdough starter is the star, but it demands nothing fancy. No commercial yeast packets required.
- Perfect for Cozy Evenings: This is the bread you make when the weather turns cold, or you’ve had a long week. The process itself is soothing—mixing, folding, watching it bubble. It’s a slow, satisfying ritual.
- Crowd-Pleaser: I’ve brought this to potlucks and dinner parties. It disappears faster than any dessert. The combination of nutty parmesan and fragrant rosemary is universally loved.
- Incredibly Forgiving: Forgot to do a fold? No problem. The dough is resilient. This recipe is designed for real life, with real interruptions. It’s hard to mess up.
What makes this focaccia different is the technique of cold-fermenting the dough overnight. It develops a depth of flavor that a same-day bread just can’t match. The sourdough tang is there, but it’s mellowed and rounded by the salty cheese and the herbaceous rosemary. It’s comfort food that feels a little bit special. The kind of bread that makes you close your eyes after the first bite, not because it’s fancy, but because it just tastes like home.
What Ingredients You Will Need
This recipe relies on a handful of quality ingredients working together. Each one plays a specific role, from building structure to layering flavor. Here’s what you’ll need, along with a few notes from my own kitchen trials.
- Bread Flour (500g / about 4 cups): I prefer King Arthur for its consistent protein content, which gives the focaccia a chewy, satisfying crumb. All-purpose flour works in a pinch, but the texture will be slightly less sturdy. If you use all-purpose, reduce the water slightly.
- Active Sourdough Starter (200g / about 1 cup): Make sure it’s bubbly and has been fed within the last 8-12 hours. A ripe starter is key for good rise and that signature tang. If your starter is sluggish, give it an extra feeding before you begin. (I’ve learned this the hard way.)
- Warm Water (350g / about 1.5 cups): Use filtered water if your tap water is heavily chlorinated, as chlorine can inhibit fermentation. The water should feel like a warm bath—around 80°F (27°C).
- Extra-Virgin Olive Oil (60g / about 1/4 cup, plus more for the pan): Don’t skimp here. The oil is crucial for that crispy, golden crust. I use a good California brand for its fruity flavor. You’ll also need a generous glug for the baking pan.
- Fine Sea Salt (10g / about 1.5 teaspoons): Salt controls fermentation and strengthens the gluten. I use Morton’s fine sea salt. If you use kosher salt, you may need to adjust the quantity slightly.
- Fresh Rosemary (3 tablespoons, finely chopped): Fresh is non-negotiable here. Dried rosemary has a different texture and can be overpowering. Strip the leaves from the woody stems and chop them finely. (Adds a piney, aromatic note.)
- Freshly Grated Parmesan Cheese (60g / about 1/2 cup, plus more for topping): Grate it yourself from a block. Pre-shredded cheese contains anti-caking agents that prevent it from melting smoothly. I like a Parmigiano-Reggiano for its nutty, salty kick.
- Flaky Sea Salt (for finishing): Maldon or another flaky salt is perfect. It adds a pop of salinity and a delightful crunch that contrasts with the soft bread.
For the topping, you’ll also want a little extra olive oil to drizzle before baking. It helps the cheese and rosemary crisp up beautifully.
Equipment Needed
You don’t need a fancy bakery setup for this. Most of these tools are probably already in your kitchen. Here’s what you’ll need, along with a few alternatives I’ve tested.
- Large Mixing Bowl: A glass or ceramic bowl works well. Avoid metal if you can, as it can sometimes react with the acidic starter.
- Digital Kitchen Scale: This is my strongest recommendation. Baking by weight is far more accurate than using cups. A $15 scale will change your baking life. (I resisted for years. I was wrong.)
- 9×13-inch Baking Pan: A metal pan gives the best crust. Glass or ceramic pans work, but the bottom won’t get as crispy. Make sure it’s at least 2 inches deep.
- Bench Scraper: Great for folding the dough and cleaning up the counter. A plastic dough scraper is cheap and incredibly useful.
- Plastic Wrap or a Shower Cap: To cover the dough during its long rise. A reusable shower cap is my favorite hack—it fits perfectly over the bowl.
- Measuring Spoons: For the salt and rosemary. Not much else to say here, but get a set with a 1/4 teaspoon.
Preparation Method
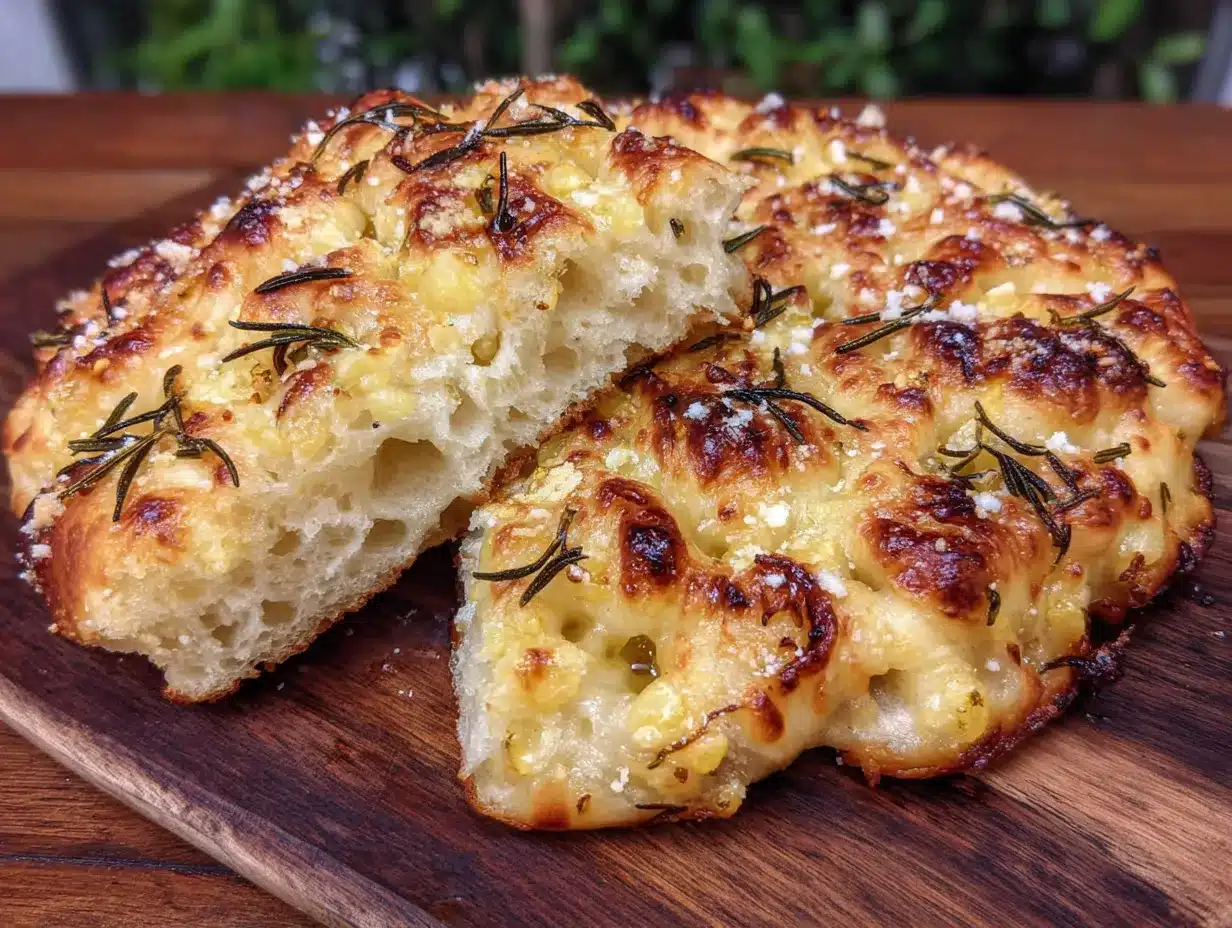
Let’s get into the process. This recipe spans two days, but the active work is minimal. Most of the time, the dough is doing the work on its own.
- Mix the Dough (Day 1, 10 minutes): In your large mixing bowl, combine the warm water and the active sourdough starter. Whisk gently until the starter is mostly dissolved. Add the bread flour and the fine sea salt. Mix with a sturdy spoon or your hand until a shaggy, sticky mass forms. There should be no dry patches of flour. Cover the bowl with plastic wrap and let it rest for 30 minutes. This is the autolyse step—it helps the flour absorb the water and starts gluten development.
- Perform the Stretch and Folds (Day 1, 5 minutes per fold): After the rest, wet your hand slightly to prevent sticking. Grab a section of the dough from one side, stretch it up, and fold it over the top of itself. Rotate the bowl a quarter turn and repeat. Do this 4-5 times until the dough feels tighter and smoother. Cover the bowl and let it rest for 30 minutes. Repeat this stretch and fold process 3 more times, with 30-minute rests in between. After the final fold, the dough should be smooth, elastic, and holding its shape. This builds the strength without kneading.
- Bulk Fermentation (Day 1, Overnight): Cover the bowl tightly with plastic wrap and place it in the refrigerator. Let it cold-ferment for 12-18 hours. This slow rise develops the complex sourdough flavor. The dough will puff up but might not double in size—that’s perfectly fine. I usually mix the dough in the evening and bake it the next morning.
- Prepare the Pan and Second Rise (Day 2, 15 minutes): The next day, take the dough out of the fridge. Generously coat your 9×13-inch baking pan with olive oil—don’t be shy. Use your fingers to spread it all over the bottom and up the sides. Gently turn the cold dough out into the pan. It will be stiff. Let it sit at room temperature, uncovered, for 30 minutes to take the chill off.
- Dimple and Add Toppings (Day 2, 10 minutes): After the rest, drizzle the dough with another tablespoon of olive oil. Using your fingertips, press deep dimples all across the surface of the dough. Push all the way down to the bottom of the pan. Don’t be gentle—this is what creates those iconic focaccia craters. Sprinkle the chopped rosemary and grated parmesan evenly over the top. Press them gently into the dimples so they stick. Sprinkle with a generous pinch of flaky sea salt.
- Final Proof (Day 2, 2-3 hours): Cover the pan loosely with plastic wrap or a clean kitchen towel. Let it rise at room temperature until the dough is puffy, bubbly, and has nearly doubled in height. This can take anywhere from 2 to 4 hours, depending on the warmth of your kitchen. Look for a jiggly, aerated texture. When it’s ready, the dough will feel light and alive when you poke it.
- Preheat and Bake (Day 2, 25-30 minutes): About 30 minutes before you’re ready to bake, preheat your oven to 425°F (220°C). Place the focaccia on the middle rack. Bake for 25-30 minutes, until the top is deep golden brown and the edges are crispy and pulling away from the pan. The cheese should be bubbling and browned in spots. If it’s browning too quickly, tent it loosely with foil for the last 5 minutes.
- Cool and Serve: Remove the pan from the oven and let the focaccia cool in the pan for 10 minutes. Then, carefully lift it out using a spatula and transfer it to a wire rack. If you try to cut it while it’s piping hot, it will be gummy inside. Patience is key. Let it cool for at least 20 minutes before slicing. The steam needs to redistribute.
Cooking Tips & Techniques
I’ve made this recipe more times than I can count, and I’ve definitely made my share of mistakes. Here are the lessons I learned the hard way, so you don’t have to.
- Don’t skip the cold ferment. I once rushed the process and tried to do everything in one day. The flavor was flat. The overnight rest in the fridge is where the magic happens. It deepens the sourdough tang and makes the texture more complex.
- Use enough oil in the pan. The first time I made focaccia, I was too stingy with the olive oil. The bread stuck to the pan like cement. A generous layer of oil ensures that golden, crispy bottom crust and makes release effortless.
- Wet your fingers for dimpling. The dough will be sticky. If you dip your fingertips in water or oil before pressing into the dough, they won’t stick. It makes the process much more pleasant and prevents you from tearing the dough.
- Watch the final proof, not the clock. The final rise time varies wildly based on your kitchen temperature. On a cold winter day, it might take 4 hours. In a warm summer kitchen, it could be ready in 90 minutes. Look for the jiggle and the bubbles. That’s your cue, not the timer.
- Let it cool completely. I know it’s tempting to tear into it right away. But if you slice into hot bread, you’ll end up with a gummy, compressed crumb. Let it rest on a wire rack. The texture improves dramatically as it cools.
Variations & Adaptations
This focaccia is a great canvas for experimentation. Here are a few ways I’ve adapted it over the years, depending on what I have on hand or who I’m feeding.
- Herb Swap: Not a rosemary fan? Try fresh thyme, oregano, or even chopped sage. Each herb brings a different personality. Thyme is more subtle, while sage feels earthier and autumnal.
- Cheese Alternatives: Parmesan is classic, but crumbled feta or grated pecorino romano work beautifully. For a melty, gooey topping, dot the surface with small cubes of mozzarella before baking. (I did this for a party once, and it was a hit.)
- Add Roasted Garlic: Roast a head of garlic until soft and sweet. Squeeze the cloves out and press them into the dimples before baking. It adds a mellow, buttery sweetness that pairs perfectly with the rosemary.
- Gluten-Free Option: I’ve tested this with a good 1-to-1 gluten-free flour blend. The texture is more cake-like and less chewy, but it’s still delicious. Reduce the water slightly, as gluten-free flours absorb liquid differently.
- Seeded Crust: Before the final proof, sprinkle the top with sesame seeds, poppy seeds, or everything bagel seasoning. It adds a lovely crunch and extra flavor dimension.
Serving & Storage Suggestions
This focaccia is incredibly versatile. Here’s how I like to serve it and keep it fresh.
- Serving Temperature: It’s best served warm or at room temperature. If you’re reheating leftovers, pop slices in a 350°F (175°C) oven for 5-7 minutes. The microwave will make it rubbery—avoid it if you can.
- What to Serve With It: This bread is perfect alongside a bowl of tomato soup or a hearty minestrone. It’s also fantastic as a sandwich bread—slice it horizontally and fill it with roasted vegetables, fresh mozzarella, and pesto. For a simple appetizer, serve it with a dish of good olive oil and balsamic vinegar for dipping.
- Storage: Store leftover focaccia in an airtight container at room temperature for up to 2 days. Do not refrigerate it, as the cold air will dry it out and make it stale faster.
- Freezing: This focaccia freezes beautifully. Cool it completely, then wrap it tightly in plastic wrap and then a layer of foil. Freeze for up to 3 months. To thaw, leave it at room temperature for an hour, then reheat in the oven.
- Flavor Development: Honestly, this bread is even better the next day. The flavors meld and mellow overnight. If you can resist eating it all fresh, save a piece for breakfast the next morning. It’s incredible toasted with a little butter.
Nutritional Information & Benefits
While this is a treat, it does offer some redeeming qualities. Here’s a quick look at the nutritional profile per serving (based on 12 servings).
- Estimated Values per Serving: Calories: 220, Fat: 8g, Carbohydrates: 32g, Protein: 7g, Fiber: 1g. Values are approximate.
- Health Benefits: The sourdough fermentation process breaks down some of the gluten and phytic acid, making the nutrients in the flour more bioavailable. This can be easier to digest for some people than conventional yeast bread.
- Dietary Considerations: This recipe contains gluten and dairy. For a dairy-free version, simply omit the parmesan and add more herbs and a sprinkle of nutritional yeast for a cheesy flavor.
- Rosemary’s Benefits: Rosemary is rich in antioxidants and anti-inflammatory compounds. It’s a flavorful way to add a little extra goodness to your meal.
- My Perspective: I don’t believe in labeling food as “good” or “bad.” This focaccia is about enjoyment and connection. It’s a bread to share with people you care about. That has its own kind of nutritional value.
Frequently Asked Questions
Can I use active dry yeast instead of a sourdough starter?
Yes, you can. Use about 1 teaspoon of active dry yeast dissolved in the warm water. Let it sit for 5 minutes until foamy, then proceed with the recipe. The flavor will be milder, and you can skip the overnight cold ferment if you want a same-day bread. Just do a 2-hour bulk rise at room temperature instead.
My dough is very sticky. Is that normal?
Absolutely. Focaccia dough is a high-hydration dough, meaning it has a lot of water. It should be sticky and loose. Resist the urge to add more flour. The stretch and folds and the long ferment will build the structure. Trust the process.
Why didn’t my focaccia get those big bubbles on top?
This usually happens for one of two reasons: the dough wasn’t proofed long enough during the final rise, or you pressed too hard when dimpling. Make sure the dough is very puffy and jiggly before baking. And when you dimple, press firmly but don’t deflate all the gas.
How do I know when my sourdough starter is ready to use?
A ripe starter should have doubled in size within 4-8 hours of feeding. It should look bubbly and frothy on top, and it should smell pleasantly sour and yeasty. If it smells like acetone or nail polish remover, it’s hungry and needs to be fed again before using.
Can I add other mix-ins to the dough itself?
Yes, but add them during the first stretch and fold. Try adding 1/2 cup of chopped sun-dried tomatoes, pitted olives, or caramelized onions. Gently fold them into the dough. Be careful not to overwork the dough at that stage.
Conclusion
This rosemary parmesan sourdough focaccia is more than just a recipe—it’s an experience. It’s the smell that fills your kitchen, the satisfaction of watching dough transform, and the joy of sharing something you made with your own hands. It’s forgiving, it’s delicious, and it’s genuinely hard to get wrong. I hope you give it a try, even if you’ve had your own bread-baking disasters in the past. Let this one be the recipe that changes your mind. When you make it, tag me in your photos or leave a comment below telling me how it turned out. I love hearing about your kitchen victories. And maybe, just maybe, you’ll find yourself leaving a jar of honey on a neighbor’s porch someday.
Pin This Recipe!
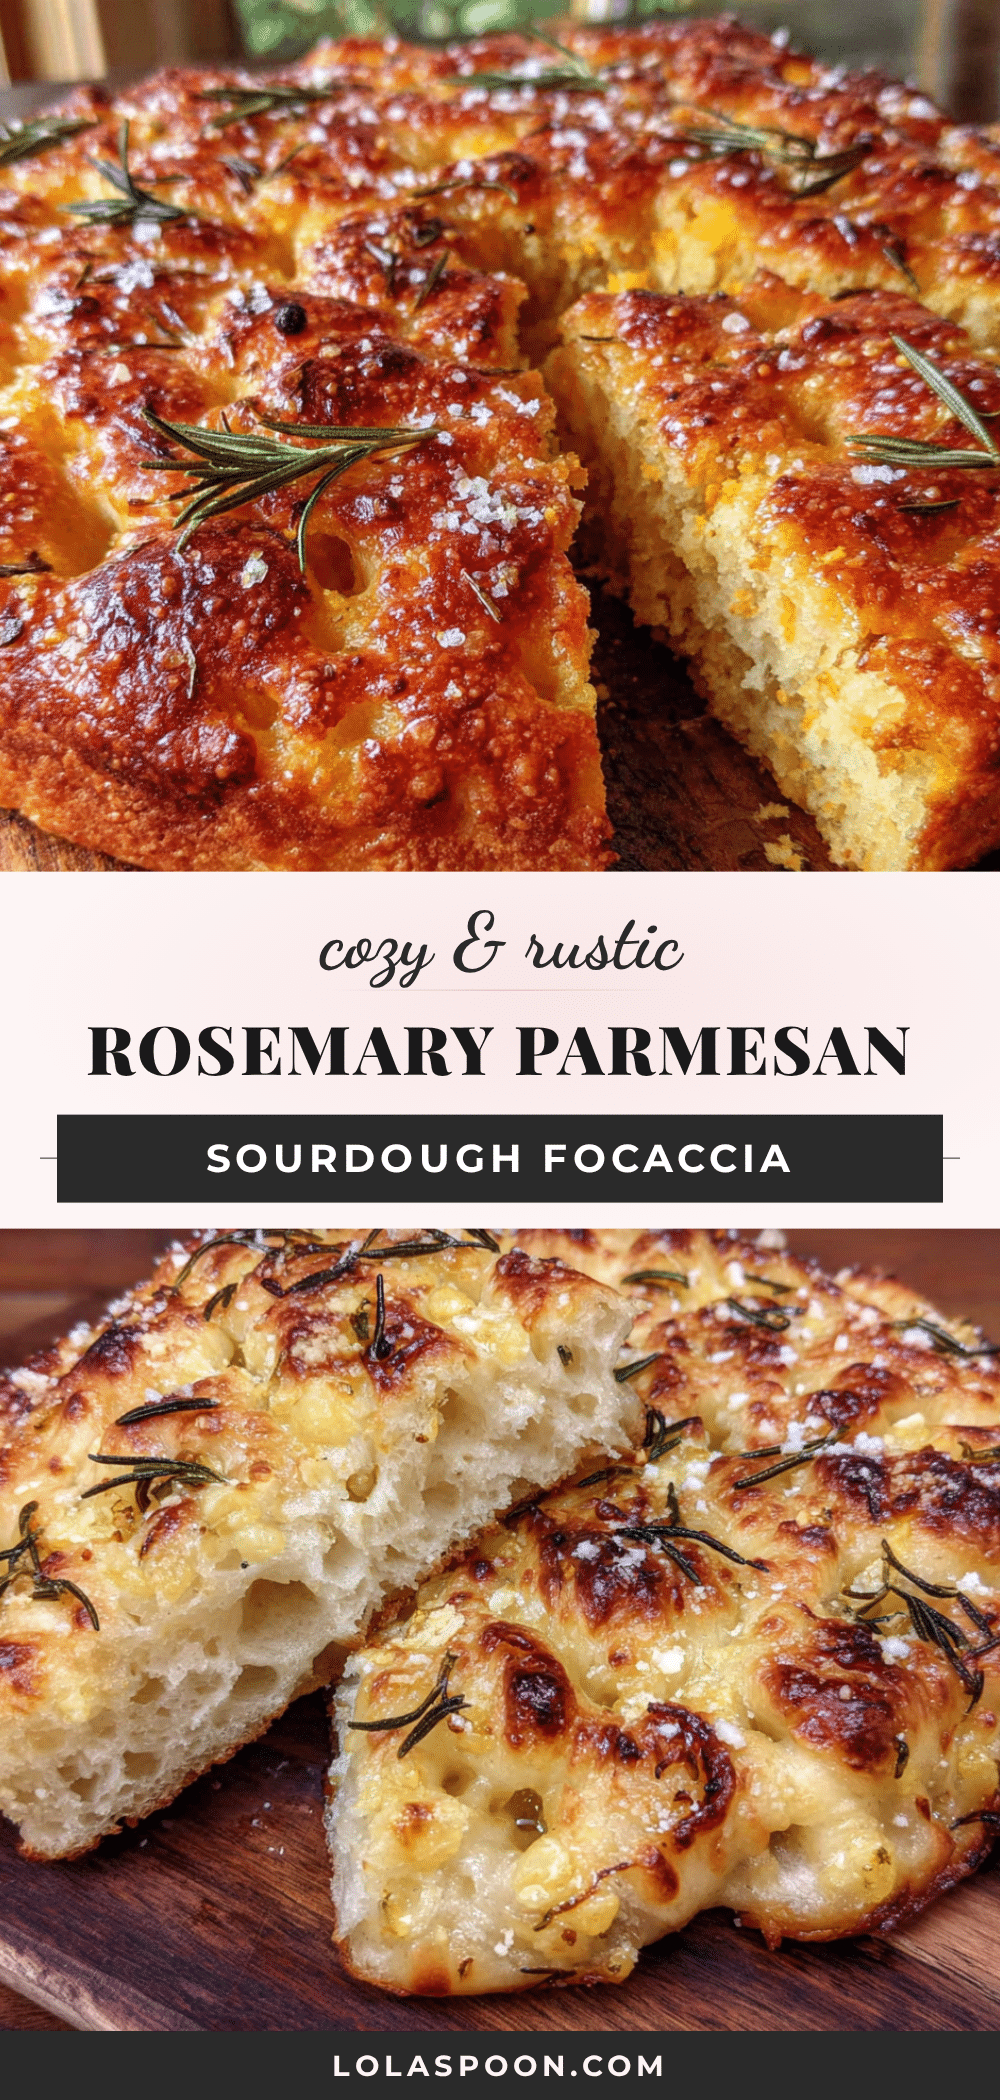
Cozy Rosemary Parmesan Sourdough Focaccia: Easy Homemade Recipe
This rosemary parmesan sourdough focaccia is a forgiving, flexible bread with crisp edges and a cloud-soft interior. It’s the perfect comfort food that fills your kitchen with the aroma of browned butter, toasted cheese, and piney rosemary.
- Prep Time: 15 minutes
- Cook Time: 30 minutes
- Total Time: 12 hours 45 minutes (includes overnight fermentation)
- Yield: 12 servings 1x
- Category: Bread
- Cuisine: Italian
Ingredients
- 500g bread flour (about 4 cups)
- 200g active sourdough starter (about 1 cup)
- 350g warm water (about 1.5 cups)
- 60g extra-virgin olive oil (about 1/4 cup), plus more for the pan
- 10g fine sea salt (about 1.5 teaspoons)
- 3 tablespoons fresh rosemary, finely chopped
- 60g freshly grated Parmesan cheese (about 1/2 cup), plus more for topping
- Flaky sea salt for finishing
Instructions
- Mix the Dough (Day 1, 10 minutes): In a large mixing bowl, combine warm water and active sourdough starter. Whisk gently until mostly dissolved. Add bread flour and fine sea salt. Mix with a sturdy spoon or your hand until a shaggy, sticky mass forms with no dry patches. Cover with plastic wrap and let rest for 30 minutes (autolyse).
- Perform the Stretch and Folds (Day 1, 5 minutes per fold): After the rest, wet your hand slightly. Grab a section of dough from one side, stretch it up, and fold it over the top. Rotate the bowl a quarter turn and repeat. Do this 4-5 times until the dough feels tighter and smoother. Cover and rest for 30 minutes. Repeat this stretch and fold process 3 more times with 30-minute rests in between.
- Bulk Fermentation (Day 1, Overnight): Cover the bowl tightly with plastic wrap and refrigerate for 12-18 hours for cold fermentation.
- Prepare the Pan and Second Rise (Day 2, 15 minutes): Generously coat a 9×13-inch baking pan with olive oil. Gently turn the cold dough into the pan. Let sit at room temperature, uncovered, for 30 minutes.
- Dimple and Add Toppings (Day 2, 10 minutes): Drizzle dough with another tablespoon of olive oil. Using your fingertips, press deep dimples all across the surface. Sprinkle chopped rosemary and grated Parmesan evenly over the top. Press them gently into the dimples. Sprinkle with flaky sea salt.
- Final Proof (Day 2, 2-3 hours): Cover the pan loosely with plastic wrap or a clean kitchen towel. Let rise at room temperature until puffy, bubbly, and nearly doubled in height (2-4 hours).
- Preheat and Bake (Day 2, 25-30 minutes): Preheat oven to 425°F (220°C). Bake on the middle rack for 25-30 minutes until deep golden brown and edges are crispy. If browning too quickly, tent with foil for the last 5 minutes.
- Cool and Serve: Let cool in the pan for 10 minutes, then transfer to a wire rack. Cool for at least 20 minutes before slicing.
Notes
Don’t skip the cold ferment for best flavor. Use enough oil in the pan to prevent sticking. Wet your fingers for dimpling. Watch the final proof, not the clock. Let cool completely before slicing to avoid a gummy texture.
Nutrition
- Serving Size: 1 slice (1/12 of rec
- Calories: 220
- Sodium: 380
- Fat: 8
- Saturated Fat: 2
- Carbohydrates: 32
- Fiber: 1
- Protein: 7
Keywords: sourdough focaccia, rosemary parmesan bread, homemade focaccia, easy sourdough recipe, Italian bread


