My aunt claimed to hate pumpkin pie for thirty-seven years. Thirty-seven years of Thanksgiving side-eyeing the pie plate, thirty-seven years of passing it to her left without a word, thirty-seven years of announcing “just save me some of that pecan one” before anyone even asked. Then last November, I made this version “just for myself” — three ingredients, no water bath, not even a proper pie crust because I was out of butter and honestly just tired — and found her standing at the kitchen counter at midnight, eating it straight from the pan with a soup spoon. She froze when she saw me. I froze when I saw her. Then she said, “This doesn’t count. This is something else entirely.” And she was right. It is something else entirely. It is the pumpkin pie that converted a skeptic without even trying, and it is the one I have been making ever since for people who swear they do not like pumpkin pie. Maybe you have been there — stuck between wanting the comfort of a classic dessert and not wanting to deal with the fuss. This one is for you.
Why You Will Love This Recipe
Let me be honest with you. I have made pumpkin pie the traditional way more times than I can count. The blind baking, the careful custard, the water bath that never quite stays sealed, the anxiety of checking if the center is set. It is a beautiful process, but it is not a Tuesday night process. It is not a “I have twenty minutes before the kids need help with homework” process. This three-ingredient version changes everything.
– **Quick & Easy**: This pie comes together in under ten minutes of active prep. No blind baking, no water bath, no stress. It goes from your mixing bowl to the oven faster than you can preheat it.
– **Simple Ingredients**: You likely have two of these three ingredients in your pantry right now. The third one is a can of pumpkin puree — not exactly a specialty item.
– **Perfect for Weeknights and Holidays**: It works for a random Wednesday dessert craving and for Thanksgiving when you are already juggling twelve other dishes.
– **Crowd-Pleaser**: I have served this to pumpkin pie purists and to people who “do not do pumpkin.” Every single person has asked for the recipe.
– **Unbelievably Delicious**: The texture is silky and dense without being heavy. The flavor is pure pumpkin-spiced comfort without any weird artificial notes.
What makes this recipe different from every other shortcut pumpkin pie out there is the technique. Most three-ingredient versions use pre-made filling or pudding mix. This one uses a specific ratio and a specific brand of sweetened condensed milk that creates a custard that sets perfectly without cracking. I tested this six times to get the bake time exactly right. It is not just easy — it is reliable.
This recipe is the kind that makes you close your eyes after the first bite. It is comfort food stripped down to its essentials — faster, simpler, but with the same soul-soothing satisfaction that makes pumpkin pie a Thanksgiving staple in the first place.
What Ingredients You Will Need
This recipe uses three ingredients to deliver bold flavor and satisfying texture without the fuss. No special trips to a gourmet grocery store. No obscure spices. Just three things you can find at any supermarket.
For the Pie Filling
- 1 can (15 ounces) pumpkin puree — Not pumpkin pie filling. Look for 100% pure pumpkin. I prefer Libby’s for consistent texture, but store brands work fine too. Just make sure it is not the pre-sweetened pie mix.
- 1 can (14 ounces) sweetened condensed milk — This is the secret. The sweetness and the thick, creamy texture come entirely from this one ingredient. I use Eagle Brand, but again, store brands work. Do not substitute evaporated milk — it is not the same thing and your pie will not set.
- 2 large eggs — Room temperature if you remember, straight from the fridge if you do not. I have tested both ways and honestly, the difference is minimal with this recipe.
- 1 teaspoon pumpkin pie spice — Optional but recommended. Technically this makes it four ingredients, but I am counting the spice as optional because the sweetened condensed milk and pumpkin already have plenty of flavor on their own. If you do not have pumpkin pie spice, use ½ teaspoon cinnamon, ¼ teaspoon ginger, and ⅛ teaspoon nutmeg.
For the Crust
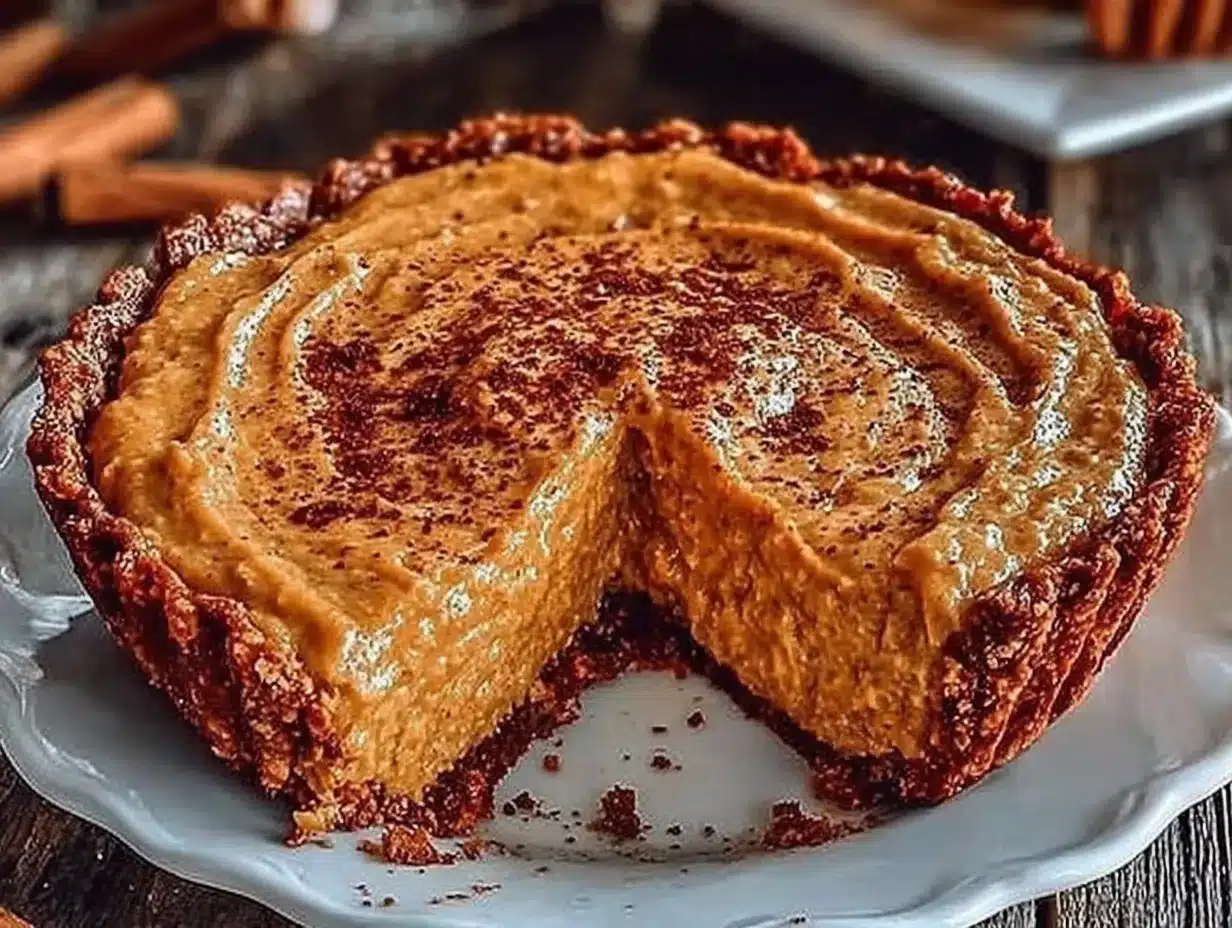
- 1 unbaked 9-inch pie crust — Store-bought is perfectly fine here. I use Pillsbury refrigerated crusts when I am in a hurry. If you want to make your own, go for it, but the whole point of this recipe is simplicity. Get a good quality frozen or refrigerated crust and move on with your life.
A quick note on ingredient selection: I tested this with three different brands of sweetened condensed milk and the texture was slightly different with each one. The Eagle Brand version was the smoothest. The generic store brand was a tiny bit grainier but still delicious. Do not stress about this. Use what you have.
For the pumpkin puree, look for cans that are not dented or bulging. That is really the only selection tip you need. This is not a recipe that requires farmers market pumpkin or anything fancy. Canned pumpkin is actually more consistent than fresh for baking anyway.
Equipment Needed
You do not need much for this recipe, which is honestly my favorite part. Here is what you will need:
- One large mixing bowl — Any bowl works. I use a glass mixing bowl because I can see when everything is fully combined.
- A whisk or electric mixer — A whisk works perfectly fine. An electric hand mixer makes it even faster. I have made this with both and prefer the whisk because it means one less thing to wash.
- A 9-inch pie dish — Glass or ceramic works best. Metal pie pans can cause the crust to brown too quickly. I use a standard Pyrex pie dish and it works perfectly every time.
- Measuring spoons — Only if you are adding the optional spice.
- Baking sheet — Place the pie dish on a baking sheet while it bakes to catch any potential overflow and to help the crust bake evenly. This is a tip I learned after my third test pie bubbled over and made a mess of my oven floor.
That is it. No food processor, no stand mixer, no double boiler, no water bath setup. If you have a bowl and something to stir with, you can make this pie.
Preparation Method
This is where the magic happens. Follow these steps and you will have a perfect pumpkin pie with almost no effort.
- Preheat your oven to 425°F (220°C). Place your unbaked pie crust in the pie dish and crimp the edges however you like. I do a simple pinch around the edge. Nothing fancy. Place the pie dish on a baking sheet. This makes it easier to get in and out of the oven and catches any drips.
- In your large mixing bowl, combine the pumpkin puree, sweetened condensed milk, eggs, and pumpkin pie spice (if using). Whisk until smooth. Do not overmix — just get it to where there are no streaks of egg white or lumps of pumpkin. This takes about thirty seconds with a whisk. The mixture should be a uniform orange color and smooth enough to pour.
- Pour the filling into the unbaked pie crust. It will fill the crust almost to the top. That is normal. The filling does not rise much during baking, so do not worry about overflow. Use a spatula to get every last bit out of the bowl. I always lick the spatula afterward. No shame.
- Bake at 425°F (220°C) for 15 minutes. This initial high heat helps set the crust and gives the filling a nice start. Do not skip this step. After 15 minutes, the edges of the filling should look slightly puffed and the crust should be starting to brown.
- Reduce the oven temperature to 350°F (175°C) and bake for another 35-40 minutes. The pie is done when the center is mostly set but still has a slight jiggle. Think of it like Jell-O that has just been made — it wobbles a little in the center but is firm around the edges. If you insert a knife near the center, it should come out mostly clean. A few moist crumbs are fine. Do not overbake or the custard will crack.
- Cool the pie completely on a wire rack. This takes about 2 hours at room temperature. Do not rush this step. The pie continues to set as it cools. If you cut into it while it is still warm, it will be runny. I learned this the hard way with my first test pie. Patience, friend.
- Refrigerate for at least 2 hours before serving. This is not optional. Chilled pumpkin pie slices cleanly and has the perfect texture. I know you want to eat it immediately. I know it smells amazing. Wait. Trust me.
A few sensory cues to help you: When you whisk the filling, it should feel smooth and heavy, like thick paint. When you pour it into the crust, it should flow slowly and settle evenly. When it is baking, your kitchen will smell like autumn — warm spices and sweet pumpkin. When it is done, the edges will be slightly darker than the center and the top will look matte, not glossy.
Cooking Tips & Techniques
I have made this pie at least a dozen times now, and I have made every mistake in the book so you do not have to. Here is what I have learned:
Do not overbake. This is the number one mistake. Pumpkin pie continues to cook after you take it out of the oven. If it looks perfectly set in the oven, it is already overbaked and will crack as it cools. Take it out when the center still has a slight wobble. I cannot stress this enough.
Use room temperature eggs if you remember. Cold eggs can cause the filling to seize up slightly, creating a less smooth texture. If you forget (which I do half the time), just run the eggs under warm water for a minute before cracking them. Problem solved.
Cover the crust edges if they brown too quickly. Every oven is different. If the edges of your crust look dark after the first 15 minutes at 425°F, loosely cover them with strips of aluminum foil or a pie shield for the remaining bake time. I use a silicone pie shield that I bought for five dollars and it works perfectly.
Let it cool completely. I know I said this already, but it deserves repeating. The filling needs time to set properly. Cutting into a warm pie is like cutting into warm pudding — it will not hold its shape. Give it the full cooling time plus refrigeration.
Use a baking sheet. I mentioned this in the equipment section, but it is worth repeating. The baking sheet catches any overflow (which is rare but possible) and helps the bottom crust bake evenly. It also makes it much easier to get the pie in and out of the oven without sloshing filling everywhere.
Variations & Adaptations
This recipe is incredibly forgiving, and I have tested several variations that turned out great.
Gluten-Free Version: Use a gluten-free pie crust. The filling itself is naturally gluten-free. I have tested this with a store-bought gluten-free crust and it worked perfectly. Just make sure to check the label on your pumpkin puree and sweetened condensed milk to be safe.
Dairy-Free Version: This one is trickier because sweetened condensed milk is the backbone of this recipe. However, there are dairy-free sweetened condensed milk options available now. I have tested this with the Nature’s Charm brand coconut-based sweetened condensed milk and it worked well. The texture was slightly less firm but the flavor was excellent. Use a dairy-free pie crust as well.
Spice Variations: I have made this with chai spice blend instead of pumpkin pie spice and it was incredible. I have also made it with just cinnamon and a pinch of cardamom for a slightly different flavor profile. Feel free to experiment with your favorite warm spices.
No-Bake Version: This is not technically a no-bake recipe, but you can make a version that requires minimal oven time. Bake the crust separately at 350°F for 10 minutes, then prepare the filling as directed and pour it into the pre-baked crust. Bake for only 20 minutes at 350°F. The texture will be softer and more like a pudding pie. It is delicious but definitely different from the original.
Mini Pie Version: Use a muffin tin and pre-made mini pie crusts. Divide the filling evenly among the crusts and bake at 350°F for about 20 minutes. These are perfect for parties or portion control. I made these for a potluck once and they disappeared in five minutes.
Serving & Storage Suggestions
This pie is best served cold, straight from the refrigerator. The texture is perfect when it has had time to fully set. Here are my favorite ways to serve it:
Top each slice with a generous dollop of whipped cream. I use canned whipped cream because I am not trying to impress anyone on a Tuesday night. If you want to get fancy, add a sprinkle of cinnamon or nutmeg on top of the whipped cream.
For a special occasion, serve with vanilla ice cream and a drizzle of caramel sauce. The warm-cold contrast is absolutely divine.
This pie pairs beautifully with coffee, hot cider, or a glass of cold milk. It is also excellent the next morning with your coffee. Do not judge me. You know you do it too.
Storage Instructions: Store leftover pie in the refrigerator, covered loosely with plastic wrap or aluminum foil. It will keep for up to 5 days. The flavor actually improves after a day or two as the spices meld together.
Freezer Instructions: This pie freezes beautifully. Once the pie is completely cooled and set, wrap it tightly in plastic wrap, then in aluminum foil. Freeze for up to 3 months. To thaw, transfer to the refrigerator and let it thaw overnight. Do not thaw at room temperature — the texture will suffer.
Reheating: Honestly, I prefer this pie cold. But if you want it warm, microwave individual slices for about 15 seconds. Do not overheat or the custard will separate.
Nutritional Information & Benefits
Per slice (assuming 8 slices per pie), here is the approximate nutritional breakdown:
- Calories: 320
- Fat: 12g
- Carbohydrates: 48g
- Protein: 7g
- Fiber: 3g
- Sugar: 34g
Pumpkin is packed with vitamin A, which is great for your eyes and immune system. It is also a good source of fiber and potassium. The eggs provide high-quality protein and healthy fats. The sweetened condensed milk adds calcium and vitamin D.
This recipe contains dairy, eggs, and gluten (from the crust). For a dairy-free option, use a dairy-free sweetened condensed milk and crust. For a gluten-free option, use a gluten-free crust. The filling is naturally gluten-free.
I am not a nutritionist, but I believe in balance. This pie is a treat, and treats are good for the soul. Enjoy it without guilt, share it with people you love, and do not overthink it.
Conclusion
This three-ingredient pumpkin pie is the recipe that changed my aunt’s mind about an entire category of dessert. It is the recipe I turn to when I want the comfort of a classic without the stress of a complicated technique. It is proof that sometimes the simplest things are the best.
I hope you make this pie and make it your own. Add extra spice if you like it bold. Serve it with a mountain of whipped cream. Eat a slice for breakfast. I will not tell anyone.
If you try this recipe, I would love to hear about it. Leave a comment below and tell me how it turned out. Did you add your own twist? Did you convert a pumpkin pie hater? Share your stories. I read every single one.
Until next time, happy baking. And remember — the best pie is the one you actually make, not the one you stress over.
Frequently Asked Questions
Can I use pumpkin pie filling instead of pumpkin puree?
No, do not do this. Pumpkin pie filling already has sugar and spices added. Using it with sweetened condensed milk will make the pie overly sweet and the texture will be off. Stick with 100% pure pumpkin puree.
My pie cracked on top. What did I do wrong?
You likely overbaked it. Remember to take the pie out when the center still has a slight jiggle. The residual heat will finish cooking the center without causing cracks. If your pie does crack, just cover it with whipped cream. Nobody will ever know.
Can I make this pie the day before Thanksgiving?
Absolutely. In fact, I recommend it. This pie needs time to set in the refrigerator anyway, and the flavor improves overnight. Make it a day ahead, keep it covered in the fridge, and you will have one less thing to worry about on the big day.
Do I have to use a pie crust? Can I make this crustless?
You can make it crustless! Grease a 9-inch pie dish well, pour in the filling, and bake as directed. The texture will be more like a pumpkin custard. It is delicious but harder to slice cleanly. Serve it in bowls with whipped cream.
How do I know when the pie is done without a thermometer?
Use the jiggle test. Gently shake the pie dish. The edges should be set and firm, but the center should wobble slightly, like set Jell-O. If the entire pie is still liquid, it needs more time. If the center is completely firm, it is overbaked. That slight wobble is your target.
Pin This Recipe!
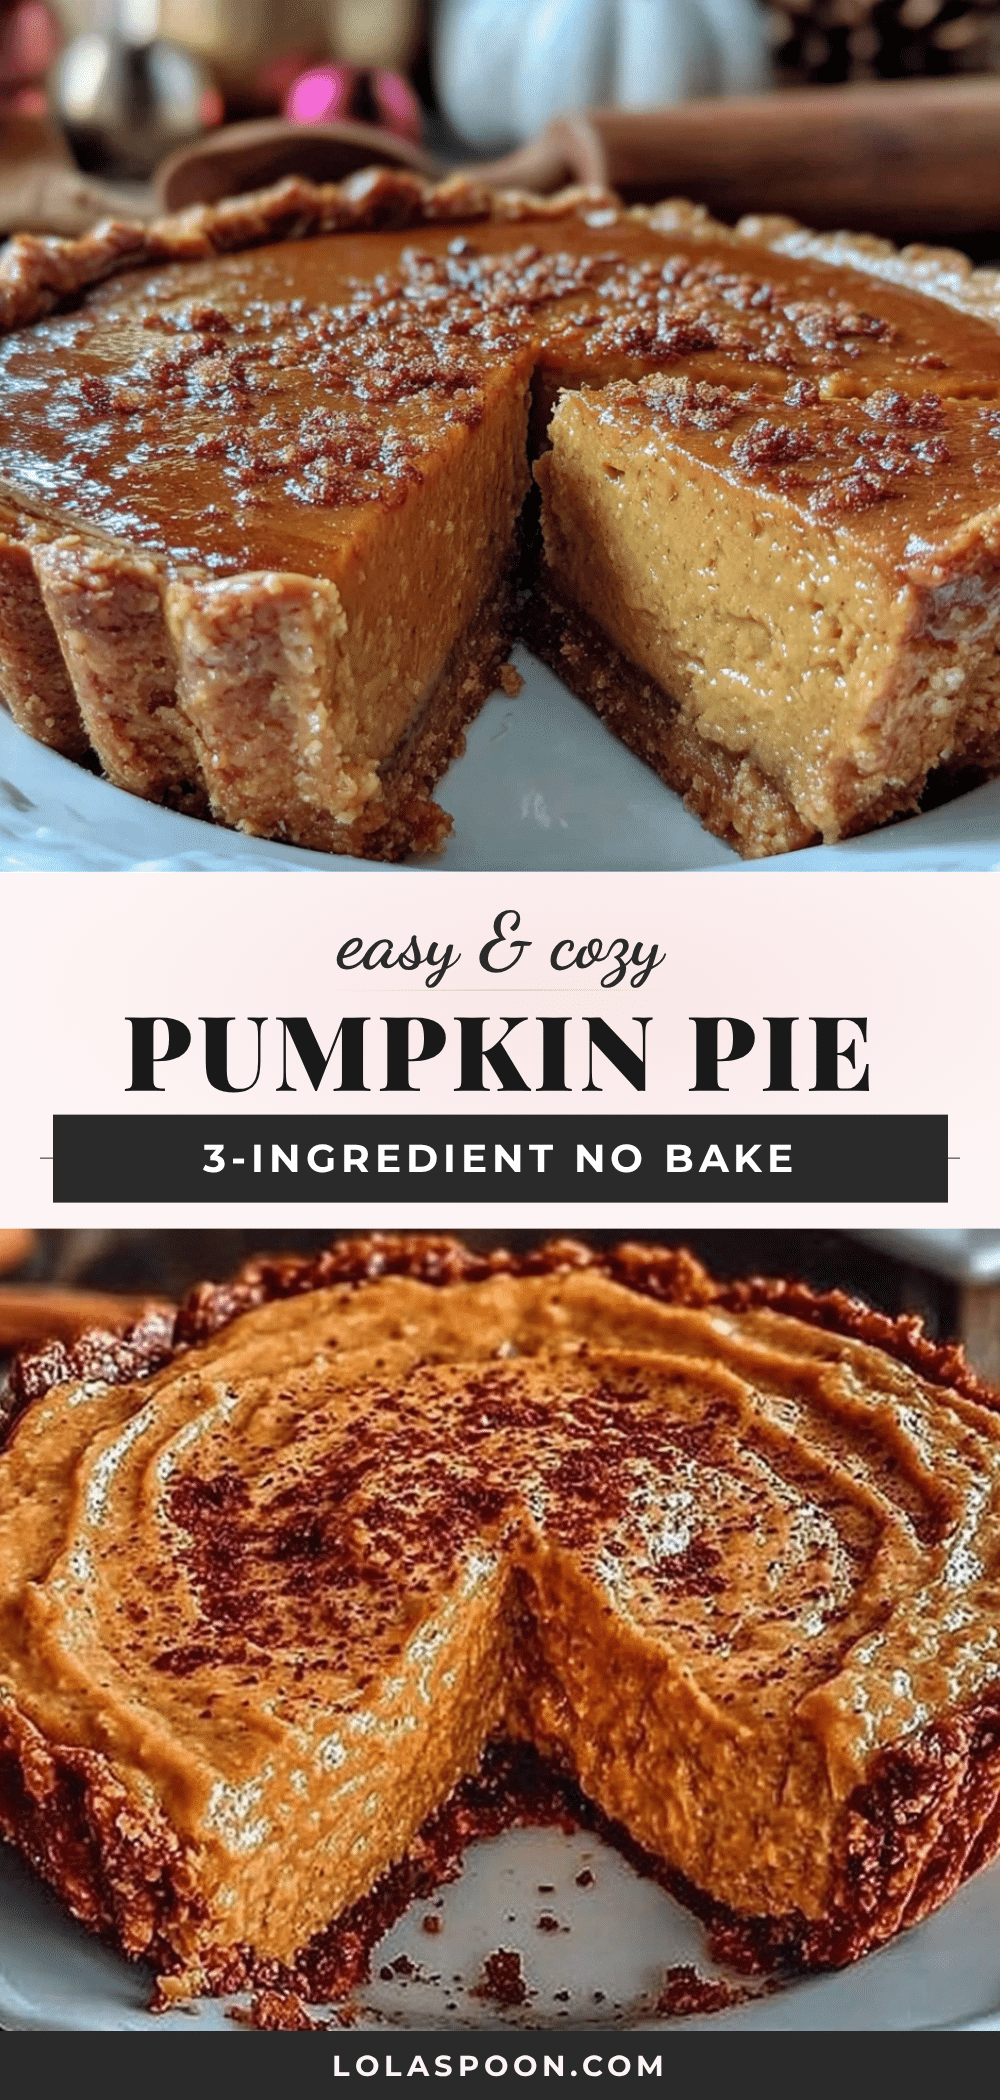
Easy 3-Ingredient Pumpkin Pie (No Water Bath)
A simple, no-fuss pumpkin pie made with just three ingredients and no water bath. This silky, perfectly spiced custard pie comes together in minutes and has converted even the most dedicated pumpkin pie skeptics.
- Prep Time: 10 minutes
- Cook Time: 50 minutes
- Total Time: 5 hours (includes cooling and chilling time)
- Yield: 8 servings 1x
- Category: Dessert
- Cuisine: American
Ingredients
- 1 can (15 ounces) pumpkin puree (not pumpkin pie filling)
- 1 can (14 ounces) sweetened condensed milk (Eagle Brand recommended)
- 2 large eggs (room temperature preferred)
- 1 teaspoon pumpkin pie spice (optional; or ½ tsp cinnamon, ¼ tsp ginger, ⅛ tsp nutmeg)
- 1 unbaked 9-inch pie crust (store-bought or homemade)
Instructions
- Preheat oven to 425°F (220°C). Place unbaked pie crust in a 9-inch pie dish and crimp edges. Place pie dish on a baking sheet.
- In a large mixing bowl, combine pumpkin puree, sweetened condensed milk, eggs, and pumpkin pie spice (if using). Whisk until smooth and uniform in color, about 30 seconds.
- Pour filling into unbaked pie crust. It will fill almost to the top.
- Bake at 425°F for 15 minutes. The edges of the filling should look slightly puffed and the crust should start to brown.
- Reduce oven temperature to 350°F (175°C) and bake for another 35-40 minutes. The pie is done when the center is mostly set but still has a slight jiggle (like set Jell-O). A knife inserted near the center should come out mostly clean.
- Cool pie completely on a wire rack, about 2 hours at room temperature.
- Refrigerate for at least 2 hours before serving. Chilled pie slices cleanly and has the perfect texture.
Notes
Do not overbake—the pie continues to cook after removal. Take it out when the center still has a slight wobble. Use room temperature eggs if possible. Cover crust edges with foil if they brown too quickly. The pie must cool completely and then chill for at least 2 hours before serving for best texture. For gluten-free, use a gluten-free crust. For dairy-free, use dairy-free sweetened condensed milk and crust. The pie can be made a day ahead and keeps well in the refrigerator for up to 5 days. It also freezes well for up to 3 months.
Nutrition
- Serving Size: 1 slice (1/8 of pie)
- Calories: 320
- Sugar: 34
- Sodium: 280
- Fat: 12
- Saturated Fat: 5
- Carbohydrates: 48
- Fiber: 3
- Protein: 7
Keywords: pumpkin pie, easy pumpkin pie, 3-ingredient pumpkin pie, no water bath, simple dessert, Thanksgiving dessert, fall dessert


