My eight-year-old neighbor, Leo, watched me browning butter for a pie crust and asked, “Why don’t you just use the microwave?” I started to explain why that wouldn’t work — then stopped. Honestly, I had no good answer. I’d spent years learning the “proper” way to do things in the kitchen, and here was a kid cutting right through all that nonsense with a perfectly reasonable question. So I let him zap a stick of butter, and you know what? It worked. Not the same as stovetop browning, sure, but for a weeknight pie that didn’t need to be a masterpiece? It was a revelation. That little moment of being wrong taught me more than any recipe book ever did. This Easy Brown Butter Apple Crumble Pie is born from that same spirit — it’s forgiving, it’s fast, and it’s honest about what a real family dinner looks like. Maybe you’ve been there, standing over a sink full of apple peels, wondering why you bother. Let me tell you, this pie is why.
Why You’ll Love This Recipe
This isn’t just another apple pie recipe. I’ve tested this one on my own crew — a husband who claims he “doesn’t like cooked fruit” and a toddler who eats only beige foods — and it passed with flying colors. The brown butter adds a nutty, almost caramel-like depth that makes the filling taste richer than it has any right to be, while the crumble topping gives you that buttery crunch without the fuss of a double crust. Here’s why this one’s a keeper:
- Quick & Easy: Comes together in about an hour, start to finish. No rolling pin required for the topping.
- Simple Ingredients: You probably have everything in your pantry right now. Apples, flour, butter, sugar, oats — that’s it.
- Perfect for Family Dinners: It’s fancy enough for a holiday table but humble enough for a Tuesday night. Leftovers reheat beautifully, too.
- Kid-Approved: My toddler calls it “apple cookie pie” and eats it for breakfast. I’m not proud, but I’m not complaining either.
- Budget-Friendly: No expensive extracts or specialty flours. Just good, honest ingredients that work together.
What makes this recipe different is the brown butter. It’s a small step that adds a huge payoff — that deep, toasty flavor makes the apples taste like they’ve been caramelizing for hours. And the crumble topping? It’s forgiving. Too much butter? Still works. Not enough sugar? Adjust it next time. This is a recipe that lets you breathe.
What Ingredients You Will Need
This recipe uses simple, wholesome ingredients to deliver bold flavor and satisfying texture without the fuss. Most of these are pantry staples, and I’ve tested swaps so you can work with what you have.
For the Brown Butter
- 1/2 cup (1 stick / 113g) unsalted butter — I prefer Land O’Lakes for consistent browning, but any good-quality butter works
For the Apple Filling
- 6 cups (about 2.5 lbs or 1.1 kg) peeled and sliced apples — I use a mix of Granny Smith and Honeycrisp for tart-sweet balance. Gala or Fuji work in a pinch.
- 1/3 cup (67g) granulated sugar
- 1/4 cup (50g) packed light brown sugar
- 2 tablespoons all-purpose flour — helps thicken the juices so the pie isn’t soupy
- 1 teaspoon ground cinnamon
- 1/4 teaspoon ground nutmeg — freshly grated if you have it, but pre-ground is fine
- 1 tablespoon lemon juice — keeps the apples from browning and brightens the flavor
- 1 teaspoon vanilla extract
For the Crumble Topping
- 1 cup (120g) all-purpose flour
- 1/2 cup (100g) packed light brown sugar
- 1/2 cup (42g) old-fashioned rolled oats — quick oats work too, but the texture will be less chunky
- 1/2 teaspoon ground cinnamon
- 1/4 teaspoon salt
- 1/2 cup (1 stick / 113g) cold unsalted butter, cubed — the colder the better for a crumbly topping
For the Pie Crust (Store-bought or Homemade)
- 1 single 9-inch pie crust — I use Pillsbury refrigerated crust in a pinch, but a homemade all-butter crust is worth the 10 extra minutes. If you’re feeling ambitious, try my easy flaky pie crust recipe.
Ingredient note: If you’re dairy-free, substitute the butter in the crumble with a solid vegan butter like Earth Balance. The brown butter step is trickier to replicate, but you can skip it and just use melted vegan butter mixed with a teaspoon of maple syrup for a similar depth.
Equipment Needed
You don’t need a fancy kitchen for this pie. Here’s what I use:
- 9-inch pie dish — glass or ceramic works best for even browning
- Large skillet or saucepan — for browning the butter
- Mixing bowls — one large for the apples, one medium for the crumble
- Sharp knife and cutting board — for slicing apples. I use a Y-shaped peeler for speed.
- Measuring cups and spoons — standard set is fine
- Wooden spoon or spatula — for stirring the filling
- Pastry cutter or two forks — for cutting butter into the crumble. Your hands work too, just work quickly so the butter stays cold.
- Cooling rack — lets the pie cool evenly so the filling sets properly
I’ve made this pie with a cheap thrift-store pie plate and a butter knife, and it still turned out great. Don’t overthink the tools.
Preparation Method
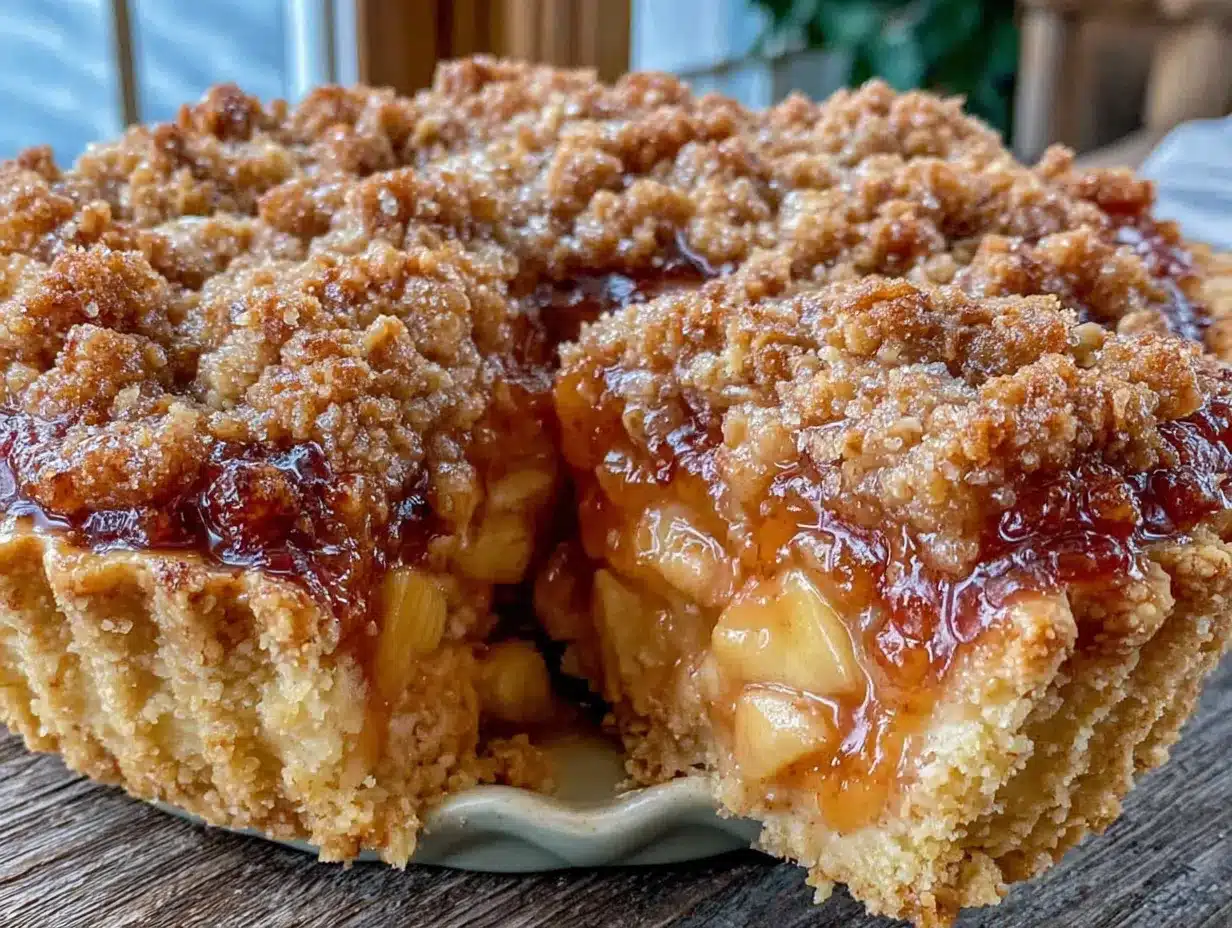
Step 1: Brown the Butter
Place the 1/2 cup unsalted butter in a light-colored skillet or saucepan over medium heat. Light-colored cookware is key here — you need to see the butter change color. Swirl the pan occasionally as the butter melts. It will foam up, then the foam will subside, and you’ll see golden-brown specks forming at the bottom. This takes about 5-7 minutes. The moment it smells nutty and toasty, remove it from the heat and pour it into a heatproof bowl to stop the cooking. Don’t walk away from this — burnt butter happens fast and it’s bitter, not delicious.
Step 2: Prep the Apples
Peel, core, and slice the apples into 1/4-inch thick slices. I like them thin enough to cook through quickly but thick enough to hold their shape. Toss the slices with the granulated sugar, brown sugar, flour, cinnamon, nutmeg, lemon juice, and vanilla extract. Let them sit for 10 minutes while you make the crumble. This maceration draws out some juice and softens the apples slightly.
Step 3: Make the Crumble Topping
In a medium bowl, whisk together the flour, brown sugar, oats, cinnamon, and salt. Add the cold cubed butter. Use a pastry cutter, two forks, or your fingertips to work the butter into the dry ingredients until the mixture looks like coarse sand with some pea-sized butter lumps. Don’t overmix — those lumps create the crunchy clusters. Pop the bowl in the fridge while you assemble the pie.
Step 4: Assemble the Pie
Preheat your oven to 375°F (190°C). Roll out your pie crust and fit it into a 9-inch pie dish, crimping the edges as you like. Pour the apple filling into the crust, spreading it evenly. Drizzle the browned butter over the apples — don’t skip this, it’s the secret to that deep flavor. Sprinkle the crumble topping evenly over the apples, pressing it down gently so it stays put during baking.
Step 5: Bake
Place the pie on a baking sheet to catch any drips. Bake for 45-55 minutes, until the filling is bubbly and the crumble is deep golden brown. If the topping is browning too fast, tent loosely with foil for the last 15 minutes. The pie is done when you can see the juices bubbling around the edges.
Step 6: Cool
Let the pie cool on a wire rack for at least 2 hours before slicing. I know it’s hard to wait, but this step is crucial — the filling needs time to set, or you’ll end up with a soupy mess. If you’re serving it warm, reheat individual slices in the microwave for 15 seconds.
Cooking Tips & Techniques
I’ve made this pie more times than I can count, and I’ve learned a few things the hard way. Here’s what I wish someone had told me:
Don’t skip the maceration step. Letting the apples sit with the sugar and spices draws out moisture, which means less watery filling and more concentrated flavor. I once rushed this step and ended up with a pie that pooled juice on the plate. Not the end of the world, but not as good.
Cold butter is non-negotiable for the crumble. If the butter warms up, you’ll get a paste instead of crumbles. Pop the bowl in the fridge for 10 minutes if your kitchen is warm. I’ve definitely had to do this on a hot summer day.
Multitask wisely. While the apples are macerating, make the crumble. While the crumble chills, prep the crust. This pie comes together in about 30 minutes of active time if you’re efficient.
Check for doneness with a knife. Insert a thin knife into the center of the pie. If it meets resistance from hard apples, it needs more time. If it slides through easily, you’re good. I’ve pulled pies too early and ended up with crunchy apples — not great for a kid-friendly dessert.
Let it cool completely. I know, I said it already, but it bears repeating. A warm pie is a runny pie. If you’re serving it at a party, make it the day before and reheat slices individually.
Variations & Adaptations
This recipe is a chameleon. Here are a few ways I’ve tweaked it:
Gluten-Free Version: Swap the all-purpose flour in the filling and crumble with a 1:1 gluten-free baking flour. I use Bob’s Red Mill. The texture is slightly more delicate, but the flavor is spot on. Use a gluten-free pie crust or a simple almond flour press-in crust.
Vegan Adaptation: Use vegan butter for both the brown butter and the crumble. The browning step works with most vegan butters, though it may not get as dark. Add a tablespoon of maple syrup to the browned butter for extra depth. Skip the egg wash on the crust — it’s not needed here.
Seasonal Fruit Swap: In summer, swap the apples for 6 cups of sliced peaches or nectarines. Reduce the sugar to 1/3 cup total since stone fruits are sweeter. In fall, add a diced pear to the apple mix for a more complex flavor. In winter, try frozen berries — just toss them with an extra tablespoon of flour to absorb the extra juice.
Spice It Up: Add 1/4 teaspoon of cardamom or ginger to the filling for a warm, aromatic twist. I did this once on a whim and it was incredible — the ginger pairs beautifully with the brown butter.
Individual Ramekins: Make mini pies by dividing the filling and crumble among 6 ramekins. Bake for 20-25 minutes. Perfect for portion control and they look adorable on a dessert table.
Serving & Storage Suggestions
Serve this pie warm or at room temperature. A scoop of vanilla ice cream is the classic move, but a drizzle of heavy cream or a dollop of whipped cream works too. For a dairy-free option, try coconut whipped cream or a scoop of oat milk ice cream.
Leftovers keep well in the refrigerator for up to 4 days. Cover the pie dish with foil or transfer slices to an airtight container. The crumble will soften slightly, but that’s part of the charm — it becomes almost like a cobbler.
To reheat, pop a slice in the microwave for 20-30 seconds, or warm it in a 350°F oven for 10 minutes. The oven method restores some of the crumble’s crunch. I’ve also been known to eat it cold straight from the fridge — don’t judge.
Freezing tip: You can freeze the unbaked pie for up to 3 months. Assemble it completely, wrap tightly in plastic wrap and foil, and bake straight from frozen, adding 15-20 minutes to the baking time. The filling may be slightly juicier, but it’s still delicious.
Nutritional Information & Benefits
Per slice (based on 8 servings): approximately 420 calories, 22g fat, 56g carbohydrates, 4g protein, 3g fiber, 30g sugar. These are estimates and will vary based on your specific ingredients.
This pie isn’t health food, but it does have some redeeming qualities. Apples provide fiber and vitamin C, and the oats in the crumble add a bit of whole grain. The brown butter, while indulgent, adds a richness that lets you use less sugar overall — I’ve cut the sugar by a third in this version compared to traditional recipes and nobody noticed.
If you’re watching your sugar intake, you can reduce the granulated sugar to 1/4 cup and the brown sugar to 3 tablespoons. The apples will still be sweet, and the crumble will still be satisfying. For a lower-fat option, swap half the butter in the crumble with unsweetened applesauce — it won’t be as crunchy, but it’ll be lighter.
Allergen note: This recipe contains wheat (gluten) and dairy. For allergen-friendly versions, see the variations section above.
Conclusion
This Easy Brown Butter Apple Crumble Pie is the kind of recipe that makes you feel like a hero without breaking a sweat. It’s forgiving enough for a beginner, impressive enough for company, and budget-friendly enough for a Tuesday night. The brown butter trick is a game-changer — it adds a layer of flavor that makes people think you spent hours in the kitchen, when really you just let butter do the work.
I love this recipe because it reminds me that cooking doesn’t have to be perfect to be wonderful. That night with Leo, letting him microwave the butter, I learned that sometimes the best dishes come from letting go of the rules. So go ahead — use store-bought crust, skip the fancy apples, and serve it warm with a scoop of ice cream. Your family will love it, and that’s what matters.
I’d love to hear how yours turns out. Leave a comment below or tag me in your photos — seriously, it makes my day. And if you’ve got a variation that works, share it. We’re all learning together here.
Frequently Asked Questions
Can I use pre-sliced apples from the store?
Absolutely. Pre-sliced apples save time, but they tend to be drier and may not hold up as well during baking. If you use them, toss them with an extra tablespoon of lemon juice and let them sit for 5 minutes before adding the sugar and spices.
Why is my crumble topping not crunchy?
This usually happens if the butter was too warm when you mixed it, or if the pie wasn’t baked long enough. Next time, chill the crumble for 15 minutes before baking, and make sure the pie bakes until the topping is deep golden brown. If it’s still soft, pop the pie under the broiler for 1-2 minutes — watch it closely so it doesn’t burn.
Can I make this pie ahead of time?
Yes! You can assemble the pie (without baking) up to 24 hours in advance. Keep it covered in the fridge, then bake as directed, adding 5-10 minutes to the baking time. You can also bake it a day ahead and reheat slices as needed.
What’s the best apple for baking?
I like a mix of tart and sweet apples. Granny Smith holds its shape well and provides a nice tang, while Honeycrisp or Braeburn add sweetness and juiciness. Avoid Red Delicious — they turn to mush. If you only have one type, go with Granny Smith.
Can I freeze the baked pie?
Yes, but the crumble will lose some crunch. Let the pie cool completely, then wrap it tightly in plastic wrap and foil. Freeze for up to 3 months. Thaw in the fridge overnight, then reheat in a 350°F oven for 15 minutes to crisp up the topping.
Pin This Recipe!
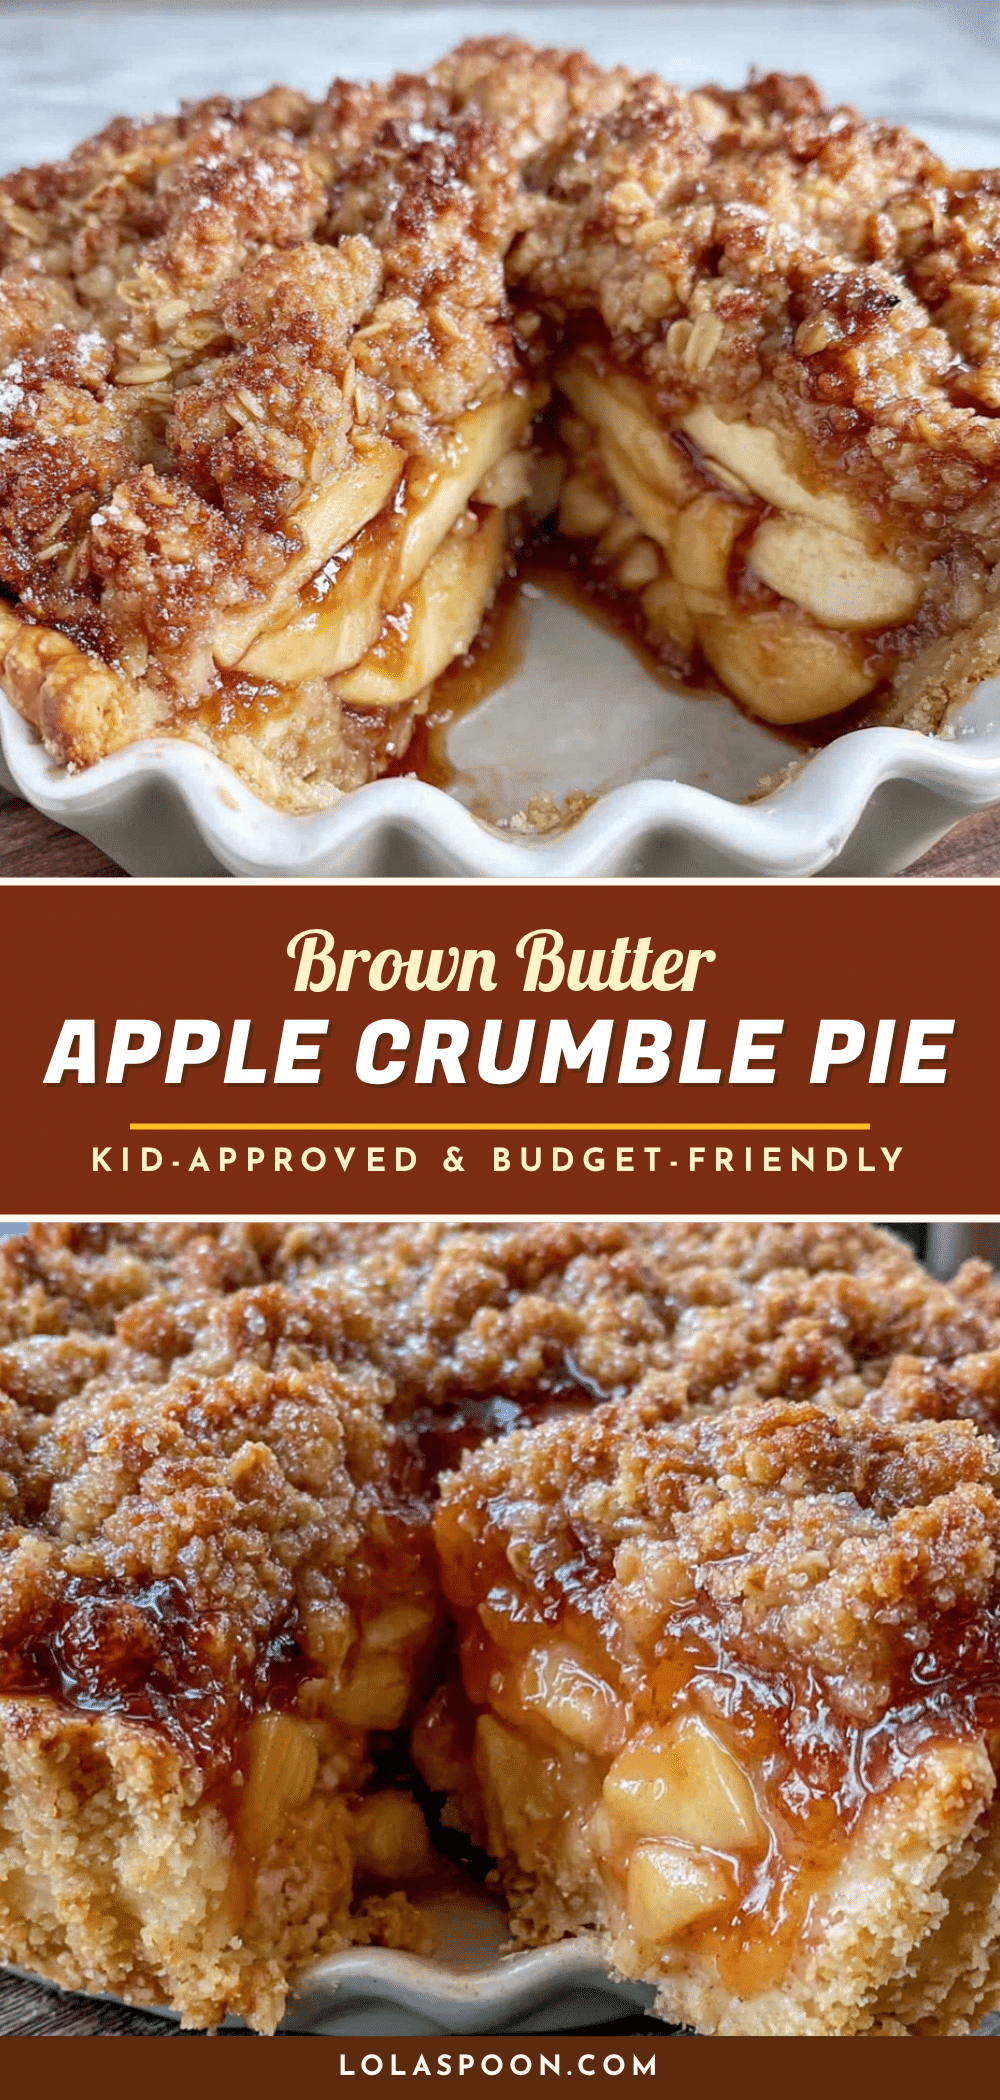
Easy Brown Butter Apple Crumble Pie (Kid-Approved)
This forgiving, fast, and honest apple crumble pie features nutty brown butter and a crunchy oat topping. It’s perfect for family dinners and is kid-approved.
- Prep Time: 30 minutes
- Cook Time: 50 minutes
- Total Time: 1 hour 20 minutes
- Yield: 8 servings 1x
- Category: Dessert
- Cuisine: American
Ingredients
- 1/2 cup (1 stick / 113g) unsalted butter (for browning)
- 6 cups (about 2.5 lbs or 1.1 kg) peeled and sliced apples (mix of Granny Smith and Honeycrisp)
- 1/3 cup (67g) granulated sugar
- 1/4 cup (50g) packed light brown sugar
- 2 tablespoons all-purpose flour
- 1 teaspoon ground cinnamon
- 1/4 teaspoon ground nutmeg
- 1 tablespoon lemon juice
- 1 teaspoon vanilla extract
- 1 cup (120g) all-purpose flour (for crumble)
- 1/2 cup (100g) packed light brown sugar (for crumble)
- 1/2 cup (42g) old-fashioned rolled oats
- 1/2 teaspoon ground cinnamon (for crumble)
- 1/4 teaspoon salt
- 1/2 cup (1 stick / 113g) cold unsalted butter, cubed (for crumble)
- 1 single 9-inch pie crust (store-bought or homemade)
Instructions
- Brown the butter: Place 1/2 cup unsalted butter in a light-colored skillet over medium heat. Swirl occasionally as it melts. It will foam, then subside, and golden-brown specks will form. Remove from heat after 5-7 minutes when it smells nutty and toasty. Pour into a heatproof bowl.
- Prep the apples: Peel, core, and slice apples into 1/4-inch thick slices. Toss with granulated sugar, brown sugar, flour, cinnamon, nutmeg, lemon juice, and vanilla extract. Let sit for 10 minutes.
- Make the crumble topping: In a medium bowl, whisk together flour, brown sugar, oats, cinnamon, and salt. Add cold cubed butter. Use a pastry cutter, forks, or fingertips to work butter into dry ingredients until mixture resembles coarse sand with some pea-sized butter lumps. Refrigerate while assembling pie.
- Assemble the pie: Preheat oven to 375°F (190°C). Roll out pie crust and fit into a 9-inch pie dish, crimping edges. Pour apple filling into crust. Drizzle browned butter over apples. Sprinkle crumble topping evenly over apples, pressing down gently.
- Bake: Place pie on a baking sheet. Bake for 45-55 minutes until filling is bubbly and crumble is deep golden brown. If topping browns too fast, tent loosely with foil for last 15 minutes.
- Cool: Let pie cool on a wire rack for at least 2 hours before slicing. This allows filling to set.
Notes
Don’t skip the maceration step for the apples; it prevents a watery filling. Cold butter is essential for the crumble topping. Let the pie cool completely before slicing to allow the filling to set. For a dairy-free version, use vegan butter in the crumble and skip the brown butter step or use melted vegan butter with maple syrup.
Nutrition
- Serving Size: 1 slice
- Calories: 420
- Sugar: 30
- Sodium: 200
- Fat: 22
- Saturated Fat: 13
- Carbohydrates: 56
- Fiber: 3
- Protein: 4
Keywords: apple crumble pie, brown butter, easy apple pie, kid-friendly dessert, fall dessert, crumble topping


