Last October, I was at our local farmers’ market trying to pick out a pie pumpkin when the woman running the stall—an older gardener named Rosa who always wears a worn flannel shirt—watched me thumping squash like I was checking for a wall stud. She didn’t say anything at first. Then she reached under her table and handed me a different pumpkin, one with a dusty blue-gray skin. “This one,” she said simply. “Less stringy. Better flavor.” I had no idea what to do with a blue-gray pumpkin, but I bought it anyway because she seemed so certain.
Honestly, I went home and Googled “blue pumpkin pie” feeling a little ridiculous. But that pumpkin, roasted and pureed, made the silkiest, most deeply flavored pie I’d ever tasted. I called Rosa the next week to thank her, and she laughed and said, “Now you know.” I’ve been chasing that same perfect pie ever since, tweaking and testing until I landed on this version. It uses canned pumpkin (because let’s face it, who has time to roast and puree a pumpkin on a Tuesday night?), but the spirit of Rosa’s lesson stuck with me: the best pie comes from understanding your ingredients, not from fancy techniques.
This Easy Classic Pumpkin Pie with Salted Maple Whipped Cream is the result of that kitchen journey. It’s the pie I’ve made for two Thanksgivings, three Friendsgivings, and at least a half-dozen random weeknights when I needed a little comfort. And yes—it works with canned pumpkin just fine. Rosa gave me her blessing on that one.
Why You’ll Love This Recipe
Let me tell you why this Easy Classic Pumpkin Pie with Salted Maple Whipped Cream is about to become your go-to fall dessert. I’ve tested this recipe more times than I care to count, and every single batch has come out perfectly. That’s not bragging—it’s just that the method is rock-solid.
- Quick & Easy: From start to finish, this pie comes together in about an hour. The filling takes ten minutes to mix. No blind baking, no complicated steps. You can have it in the oven while you’re making dinner.
- Simple Ingredients: Canned pumpkin, eggs, cream, sugar, and pantry spices. You probably have everything right now except maybe the heavy cream. No fancy grocery trips required.
- Perfect for Weeknights or Holidays: This pie is humble enough for a Tuesday and impressive enough for Thanksgiving. It’s the dessert that says “I put in effort” without actually taking much effort.
- Crowd-Pleaser: Kids love it, adults love it, even people who claim they “don’t like pumpkin pie” have asked me for seconds. The salted maple whipped cream is what usually wins them over.
- Unbelievably Delicious: The filling is silky smooth, not grainy. The spices are warm but not overpowering. And that whipped cream? It’s sweet, salty, and maple-y all at once. You’ll want to eat it with a spoon.
What makes this recipe different from the dozens of other pumpkin pie recipes out there is the technique. I whisk the eggs and sugar until they’re pale and thick before adding the pumpkin, which gives the filling a lighter texture. And the salted maple whipped cream isn’t an afterthought—it’s an integral part of the experience. The salt cuts through the sweetness and makes the pumpkin flavor pop.
This isn’t just another pumpkin pie. It’s the one that makes you close your eyes after the first bite and go, “Oh, that’s good.” It’s comfort food reimagined—familiar but somehow better, with that little extra touch that makes it special.
What Ingredients You Will Need
This Easy Classic Pumpkin Pie with Salted Maple Whipped Cream uses simple, wholesome ingredients to deliver that perfect fall flavor. Most of these are pantry staples, which makes this recipe ideal for those last-minute dessert cravings.
For the Pie Filling
- 1 can (15 oz) pumpkin puree (not pumpkin pie filling—make sure it’s 100% pumpkin. I prefer Libby’s for consistent texture)
- 3 large eggs, room temperature (cold eggs can make the filling lumpy, so let them sit out for 30 minutes)
- 3/4 cup granulated sugar
- 1/4 cup packed light brown sugar (adds depth and a hint of molasses flavor)
- 1 can (12 oz) evaporated milk (don’t substitute with regular milk—evaporated milk gives the filling its signature silky texture)
- 2 teaspoons pumpkin pie spice (or make your own: 1 tsp cinnamon, 1/2 tsp ginger, 1/4 tsp nutmeg, 1/4 tsp cloves)
- 1/2 teaspoon salt (don’t skip this—it balances the sweetness and enhances the pumpkin flavor)
- 1 teaspoon vanilla extract
For the Crust
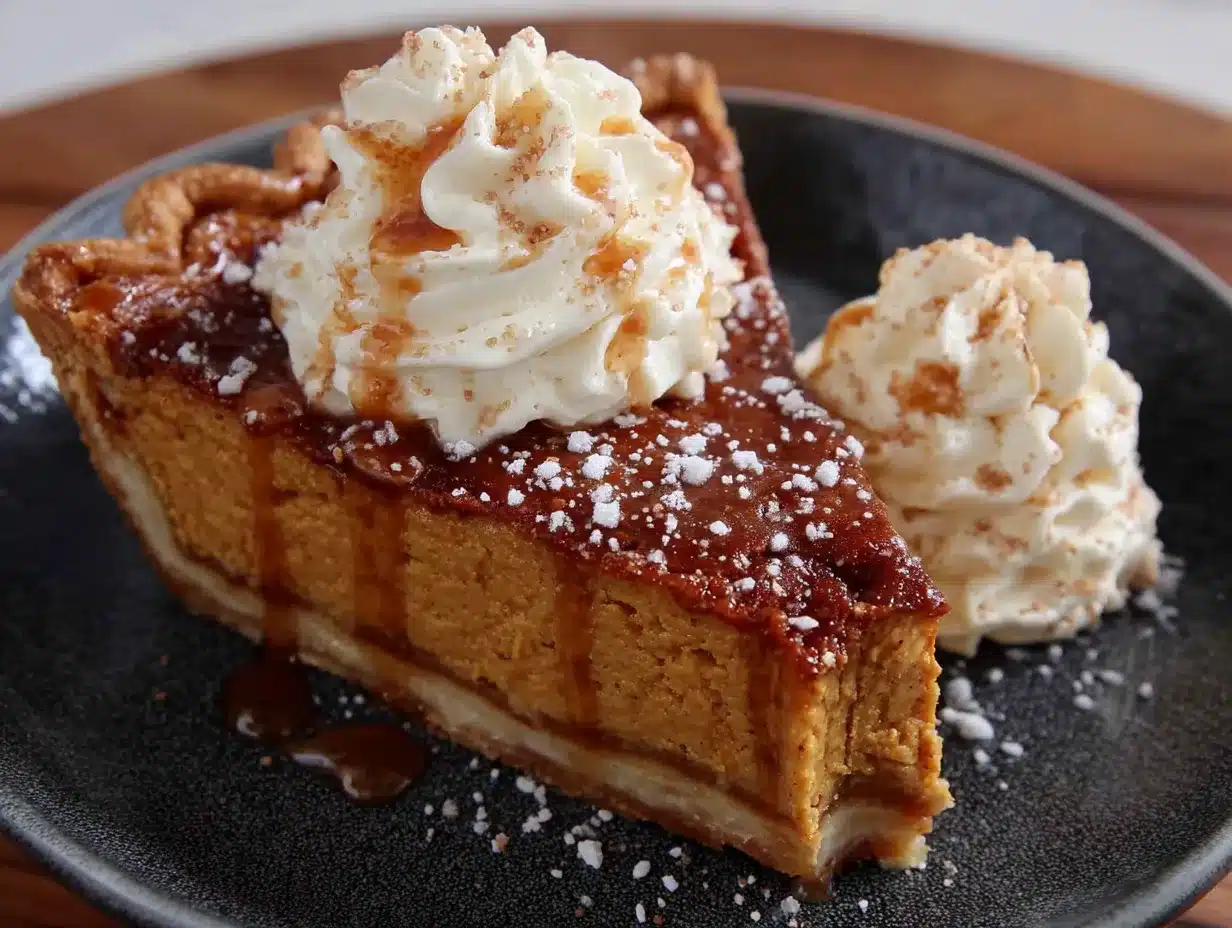
- 1 unbaked 9-inch pie crust (homemade or store-bought—I’ve used both and honestly, Pillsbury works great in a pinch. If you’re making your own, I recommend a buttery, flaky recipe)
For the Salted Maple Whipped Cream
- 1 cup heavy whipping cream, cold (chill your bowl and beaters too for best results)
- 2 tablespoons pure maple syrup (not pancake syrup—the real deal makes a difference here)
- 1/4 teaspoon flaky sea salt (plus more for garnish. Maldon or any flaky salt works beautifully)
- 1/2 teaspoon vanilla extract
Equipment Needed
You don’t need a lot of fancy equipment to make this Easy Classic Pumpkin Pie with Salted Maple Whipped Cream. Here’s what you’ll need:
- 9-inch pie dish (glass or ceramic works best for even baking. I use a Pyrex dish that’s seen better days but still bakes perfectly)
- Large mixing bowl (for the filling)
- Medium mixing bowl (for the whipped cream)
- Whisk (a balloon whisk works great, but an electric hand mixer makes the filling even smoother)
- Rubber spatula (for scraping the bowl—every last bit counts)
- Measuring cups and spoons
- Electric hand mixer (or a whisk and strong arm for the whipped cream. I’ve done it by hand, and it’s a good arm workout—just saying)
- Cooling rack (essential for letting the pie cool evenly. If you don’t have one, you can use a wire oven rack)
If you’re using a store-bought crust, you won’t need a rolling pin. If you’re making your own, you’ll also want a rolling pin and some parchment paper. But honestly, this recipe is designed to be as low-fuss as possible.
Preparation Method
Let’s get to the good part—making this Easy Classic Pumpkin Pie with Salted Maple Whipped Cream. I’ve broken it down into clear steps so you don’t miss anything.
- Preheat your oven to 425°F (220°C). Place your unbaked pie crust on a baking sheet. This makes it easier to move the pie in and out of the oven without spills.
- Make the filling. In a large bowl, whisk the eggs and both sugars together until the mixture is pale and slightly thickened—about 2 minutes. This step is important because it incorporates air and helps give the filling a lighter texture. Add the pumpkin puree and whisk until smooth. Then add the evaporated milk, pumpkin pie spice, salt, and vanilla extract. Whisk until everything is well combined and the mixture is smooth. Don’t overmix—you don’t want to incorporate too much air, which can cause cracking.
- Pour the filling into the crust. Carefully pour the pumpkin mixture into the unbaked pie crust. The filling should come almost to the top of the crust. If you have a little extra, don’t overfill—just discard it or bake it in a small ramekin for a crustless pumpkin treat.
- Bake at 425°F for 15 minutes. This initial high heat helps set the crust and gives the filling a good start. After 15 minutes, reduce the oven temperature to 350°F (175°C) without opening the oven door. Bake for an additional 40-50 minutes, or until the filling is set around the edges but still slightly jiggly in the center. The pie will continue to set as it cools, so don’t overbake it. A good test: gently shake the pie—the center should wobble like Jell-O, not slosh like soup.
- Cool completely. Transfer the pie to a wire cooling rack and let it cool at room temperature for at least 2 hours. Don’t put it in the fridge while it’s still warm—this can cause condensation and a soggy crust. Once it’s completely cool, you can refrigerate it if you’re not serving it right away.
- Make the salted maple whipped cream. Just before serving, pour the cold heavy cream into a chilled bowl. Add the maple syrup, vanilla extract, and flaky sea salt. Beat with an electric hand mixer on medium-high speed until soft peaks form—this takes about 3-4 minutes. Be careful not to overbeat, or you’ll end up with butter. The cream should be light and fluffy, with soft peaks that hold their shape but still look creamy.
- Serve and enjoy. Slice the pie and top each slice with a generous dollop of salted maple whipped cream. Sprinkle a little extra flaky sea salt on top for that perfect sweet-salty finish. Serve immediately.
Cooking Tips & Techniques
I’ve made this Easy Classic Pumpkin Pie with Salted Maple Whipped Cream more times than I can count, and I’ve learned a few things along the way. Here are my best tips:
Room temperature ingredients matter. Cold eggs and cold evaporated milk can make the filling lumpy. Let them sit on the counter for 30 minutes before you start. I learned this the hard way after making a pie with lumpy filling that looked like cottage cheese. Not pretty.
Don’t overmix the filling. I know I said to whisk until smooth, but once it’s combined, stop. Overmixing incorporates too much air, which can cause the filling to puff up and then crack as it cools. A few small cracks are fine—they’ll be hidden under the whipped cream anyway.
Use a baking sheet. Always put your pie dish on a baking sheet before putting it in the oven. This catches any spills and makes it easier to handle the hot pie. I once had a pie spill over the edge of the dish and onto the oven floor, and the smoke alarm went off. Not my finest moment.
Check for doneness correctly. The pie is done when the edges are set but the center still jiggles slightly. If you insert a knife into the center and it comes out clean, you’ve overbaked it. The residual heat will finish cooking the center as it cools.
Cool completely before adding the whipped cream. If you add the whipped cream while the pie is still warm, it will melt into a sad puddle. Trust me on this one—I’ve served many a warm pie with melted cream, and it’s just not the same.
Make the whipped cream fresh. Whipped cream doesn’t hold well overnight. Make it just before serving for the best texture and flavor. If you need to make it ahead, you can whip it to soft peaks and refrigerate it for up to 2 hours, then give it a quick re-whip before serving.
Variations & Adaptations
This Easy Classic Pumpkin Pie with Salted Maple Whipped Cream is pretty perfect as written, but I love playing around with variations. Here are some of my favorites:
Gluten-Free Version: Use a gluten-free pie crust. I’ve had good luck with the store-bought gluten-free crusts from Whole Foods, or you can make your own using a gluten-free flour blend. The filling itself is naturally gluten-free, so you just need to swap the crust.
Dairy-Free Version: Replace the evaporated milk with full-fat coconut milk (not coconut cream—the texture is different). For the whipped cream, use a can of full-fat coconut cream, refrigerated overnight, then whip it with the maple syrup and salt. It won’t be as fluffy as dairy cream, but it’s still delicious.
Spice Variations: Feel free to customize the spice blend. I sometimes add a pinch of cardamom or allspice for a different flavor profile. One time I added a teaspoon of orange zest, and it was amazing—bright and festive.
Bourbon Maple Whipped Cream: For an adult twist, add a tablespoon of bourbon to the whipped cream along with the maple syrup. It’s incredible with the pumpkin pie and adds a warm, boozy note that’s perfect for holiday gatherings.
Mini Pies: Make individual pies in a muffin tin. Use a round cookie cutter to cut the crust into circles, press them into the muffin cups, fill with the pumpkin mixture, and bake for about 20-25 minutes at 350°F. They’re adorable and perfect for parties.
Serving & Storage Suggestions
This Easy Classic Pumpkin Pie with Salted Maple Whipped Cream is best served at room temperature or slightly chilled. I prefer it at room temperature because the flavors are more pronounced and the texture is softer. If you’re serving it straight from the fridge, let it sit out for about 20 minutes first.
Presentation tip: Slice the pie with a sharp knife, wiping it clean between cuts for neat slices. Top each slice with a generous dollop of whipped cream and a sprinkle of flaky sea salt. A few fresh cranberries or a dusting of cinnamon on the plate adds a nice touch for holidays.
Storage: Cover the pie loosely with plastic wrap or foil and refrigerate for up to 4 days. The crust may soften slightly over time, but the flavor will still be great. The whipped cream is best made fresh, but you can store leftover whipped cream in the fridge for up to 2 days in an airtight container. Give it a quick re-whip before serving.
Freezing: You can freeze the baked, cooled pie (without the whipped cream) for up to 3 months. Wrap it tightly in plastic wrap, then a layer of foil. Thaw overnight in the refrigerator and bring to room temperature before serving. The whipped cream doesn’t freeze well, so make it fresh.
Flavor development: Honestly, this pie tastes even better the next day. The flavors meld together and deepen overnight. So if you can, make it a day ahead—your future self will thank you.
Nutritional Information & Benefits
Here’s the nutritional breakdown for one slice of this Easy Classic Pumpkin Pie with Salted Maple Whipped Cream (based on 8 servings, including the whipped cream):
- Calories: Approximately 380
- Fat: 22g
- Saturated Fat: 13g
- Carbohydrates: 42g
- Sugar: 28g
- Protein: 6g
- Fiber: 2g
- Sodium: 340mg
Health benefits: Pumpkin is packed with vitamin A (over 200% of your daily needs per serving), which supports eye health and immune function. It’s also a good source of fiber and antioxidants. The eggs provide high-quality protein, and the spices—cinnamon, ginger, nutmeg—have anti-inflammatory properties. Of course, this is still a dessert, so enjoy it in moderation. But it’s nice to know there’s some nutritional value hiding in that delicious slice.
Dietary considerations: This recipe contains dairy (butter, cream, evaporated milk), eggs, and gluten (crust). For dairy-free and gluten-free options, see the variations section above. It’s nut-free as written.
Conclusion
This Easy Classic Pumpkin Pie with Salted Maple Whipped Cream is more than just a dessert—it’s a little piece of comfort that you can make any day of the week. It’s the pie I turn to when I need something familiar and satisfying, the one that makes my kitchen smell like autumn even in the middle of summer.
I love this recipe because it’s forgiving. You can use a store-bought crust, you can swap the spices, you can make it ahead—and it still comes out perfect every time. The salted maple whipped cream is the star, honestly. It takes the pie from good to unforgettable.
I’d love to hear how your pie turns out! Did you try any variations? Did the whipped cream disappear before you even sliced the pie? (That happens at my house every time.) Leave a comment below and let me know. And if you share a photo on Pinterest, tag me—I want to see your beautiful creation!
Happy baking, friends. Your perfect pumpkin pie is waiting.
Frequently Asked Questions
Can I use fresh pumpkin instead of canned?
Yes, you can! Roast a small sugar pumpkin at 400°F for about 45 minutes, then scoop out the flesh and puree it in a food processor. Just be aware that fresh pumpkin has more water than canned, so you may need to drain it in a cheesecloth-lined strainer for an hour to remove excess moisture. Canned pumpkin is actually more consistent and reliable for baking, which is why I recommend it for this recipe.
Why did my pumpkin pie crack?
Cracking usually happens when the pie is overbaked or when the oven temperature is too high. The filling expands as it bakes and then contracts as it cools, and if it’s overbaked, it can crack. To prevent this, bake until the edges are set but the center is still slightly jiggly. Also, don’t open the oven door during baking—the sudden temperature change can cause cracking. And if it does crack, don’t worry! A generous layer of whipped cream covers everything.
Can I make this pie ahead of time?
Absolutely! This pie actually tastes better the next day because the flavors have time to meld. Bake the pie completely, let it cool, then cover and refrigerate for up to 4 days. Just don’t add the whipped cream until you’re ready to serve. You can also freeze the baked, cooled pie for up to 3 months—just wrap it tightly in plastic wrap and foil.
How do I know when the pie is done?
The pie is done when the edges are set and the center is still slightly jiggly—like Jell-O, not like soup. If you insert a knife into the center, it should come out mostly clean but with a little bit of filling clinging to it. If it comes out completely clean, the pie is overbaked. The pie will continue to set as it cools, so don’t worry if the center seems a bit soft when you take it out of the oven.
Can I use a different type of milk instead of evaporated milk?
Evaporated milk is key to the texture of this pie. It has a higher concentration of milk solids and less water than regular milk, which gives the filling its signature silky, creamy texture. If you substitute regular milk, the filling will be thinner and may not set properly. You can use full-fat coconut milk as a dairy-free alternative, but the texture will be slightly different. For the best results, stick with evaporated milk.
Pin This Recipe!
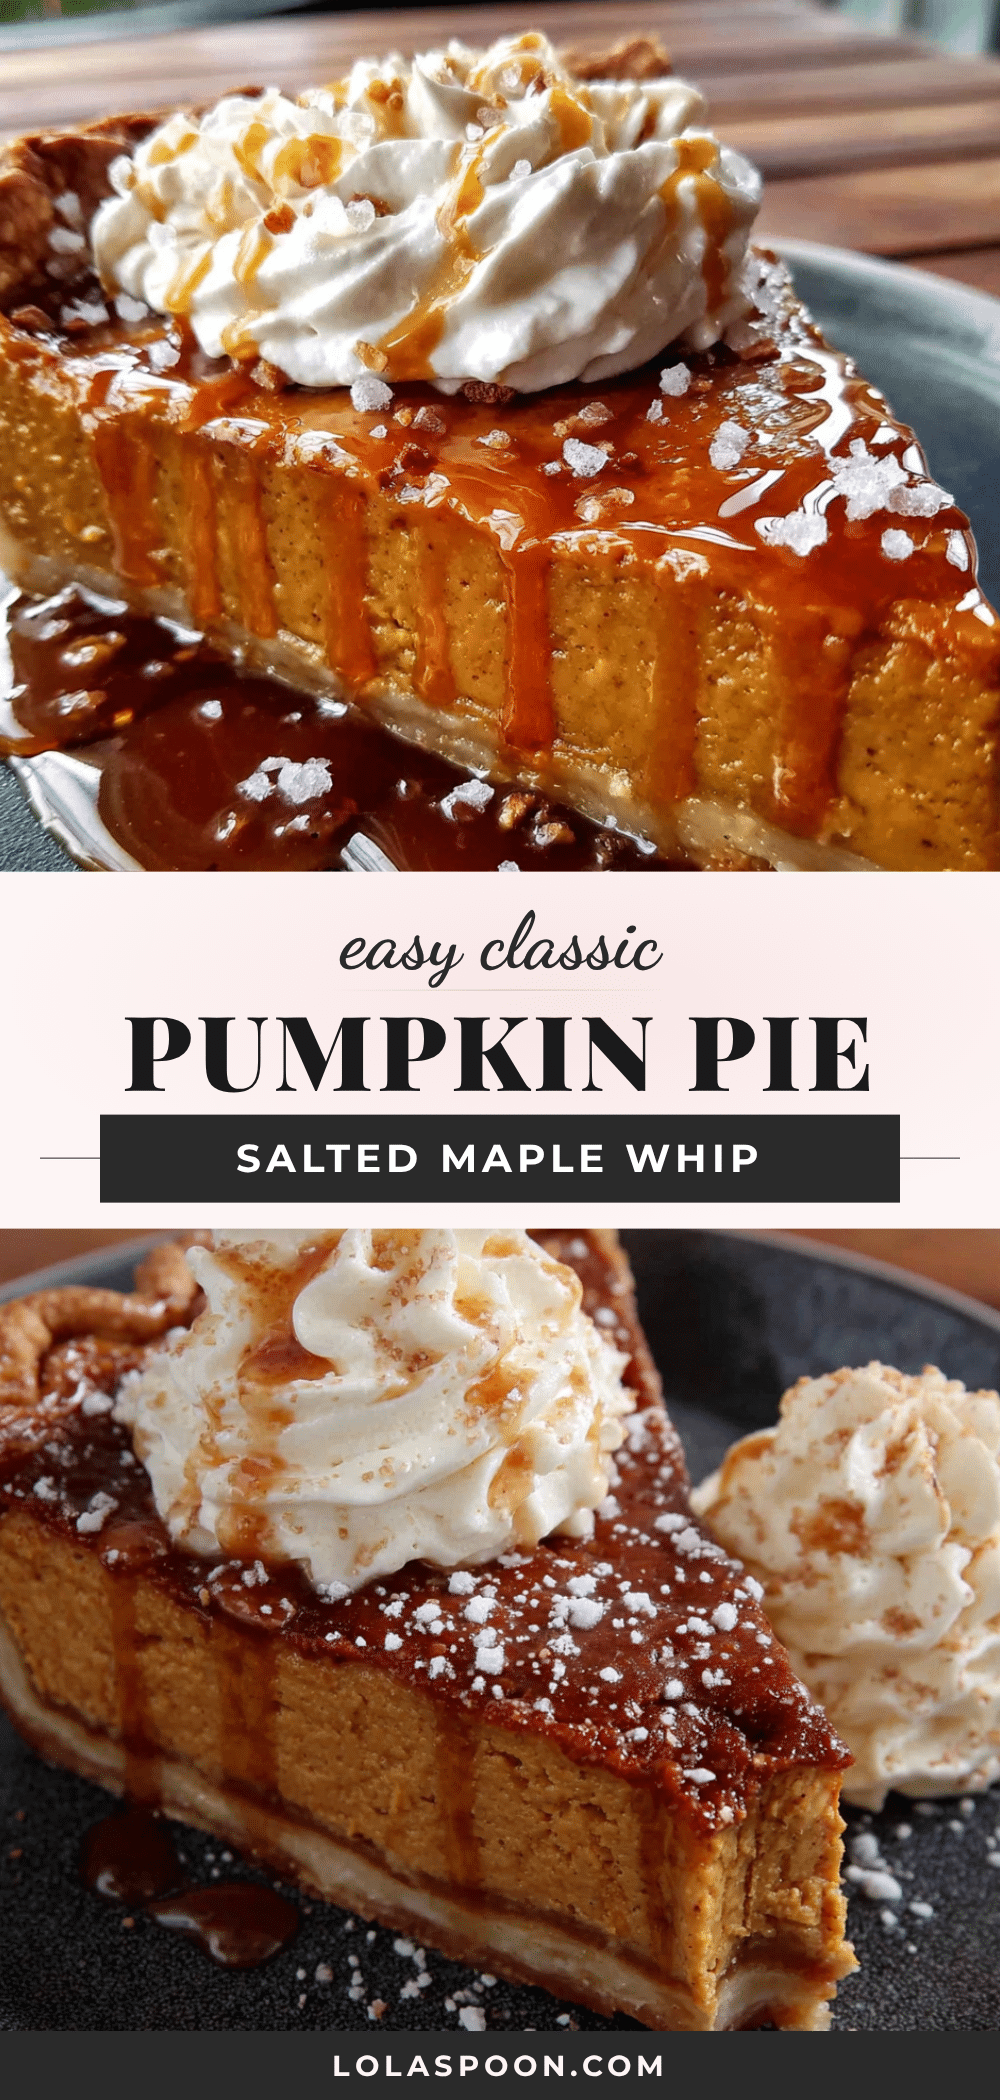
Easy Classic Pumpkin Pie with Salted Maple Whipped Cream

This Easy Classic Pumpkin Pie with Salted Maple Whipped Cream is the perfect fall dessert—silky smooth, warmly spiced, and topped with a sweet-salty maple cream that takes it over the top. It’s quick to make with simple ingredients and always a crowd-pleaser.
- Prep Time: 15 minutes
- Cook Time: 55 minutes
- Total Time: 1 hour 10 minutes
- Yield: 8 servings 1x
- Category: Dessert
- Cuisine: American
Ingredients
- 1 can (15 oz) pumpkin puree (not pumpkin pie filling)
- 3 large eggs, room temperature
- 3/4 cup granulated sugar
- 1/4 cup packed light brown sugar
- 1 can (12 oz) evaporated milk
- 2 teaspoons pumpkin pie spice (or 1 tsp cinnamon, 1/2 tsp ginger, 1/4 tsp nutmeg, 1/4 tsp cloves)
- 1/2 teaspoon salt
- 1 teaspoon vanilla extract
- 1 unbaked 9-inch pie crust (homemade or store-bought)
- 1 cup heavy whipping cream, cold
- 2 tablespoons pure maple syrup
- 1/4 teaspoon flaky sea salt (plus more for garnish)
- 1/2 teaspoon vanilla extract
Instructions
- Preheat your oven to 425°F (220°C). Place your unbaked pie crust on a baking sheet.
- In a large bowl, whisk the eggs and both sugars together until pale and slightly thickened—about 2 minutes. Add the pumpkin puree and whisk until smooth. Then add the evaporated milk, pumpkin pie spice, salt, and vanilla extract. Whisk until well combined and smooth. Do not overmix.
- Carefully pour the pumpkin mixture into the unbaked pie crust. The filling should come almost to the top of the crust. Discard any extra filling or bake it in a small ramekin.
- Bake at 425°F for 15 minutes. Then reduce the oven temperature to 350°F (175°C) without opening the oven door. Bake for an additional 40-50 minutes, or until the filling is set around the edges but still slightly jiggly in the center.
- Transfer the pie to a wire cooling rack and let it cool at room temperature for at least 2 hours. Once completely cool, refrigerate if not serving immediately.
- Just before serving, pour the cold heavy cream into a chilled bowl. Add the maple syrup, vanilla extract, and flaky sea salt. Beat with an electric hand mixer on medium-high speed until soft peaks form—about 3-4 minutes. Do not overbeat.
- Slice the pie and top each slice with a generous dollop of salted maple whipped cream. Sprinkle a little extra flaky sea salt on top. Serve immediately.
Notes
Room temperature ingredients matter—let eggs and evaporated milk sit out for 30 minutes. Don’t overmix the filling to avoid cracking. Use a baking sheet to catch spills. The pie is done when edges are set but center still jiggles slightly. Cool completely before adding whipped cream. Make whipped cream fresh for best results. The pie tastes even better the next day.
Nutrition
- Serving Size: 1 slice (1/8 of pie)
- Calories: 380
- Sugar: 28
- Sodium: 340
- Fat: 22
- Saturated Fat: 13
- Carbohydrates: 42
- Fiber: 2
- Protein: 6
Keywords: pumpkin pie, classic pumpkin pie, easy pumpkin pie, salted maple whipped cream, fall dessert, Thanksgiving pie


