This was supposed to be a pumpkin bread. A simple, reliable, loaf-pan pumpkin bread that I’d made a hundred times before. But somewhere between answering a text from my sister about our Thanksgiving plans and helping my neighbor, Dave, carry a new bookshelf up three flights of stairs, I grabbed a bottle of maple extract instead of vanilla. I didn’t even notice until the batter was fully mixed, the pecans were already toasted and chopped, and my oven timer was beeping angrily at me. I stood there, staring at the bowl, honestly ready to scrap the whole thing. You know that sinking feeling when you know you’ve messed up something that was supposed to be easy? That was me, holding a spatula covered in what I was sure was a disaster.
I almost poured it out. I mean, I had my hand on the sink faucet. But then I thought, well, maybe it’s not ruined. Maybe it’s just… different. I grabbed a muffin tin instead of the loaf pan—because why not change everything at this point?—and scooped the batter in. I figured if it was terrible, I’d only be out a few minutes of baking time. Twenty minutes later, the kitchen smelled like autumn had exploded inside it. Warm maple, toasted pecans, that unmistakable pumpkin spice aroma. I pulled one out, let it cool for maybe thirty seconds (patience has never been my strong suit), and took a bite.
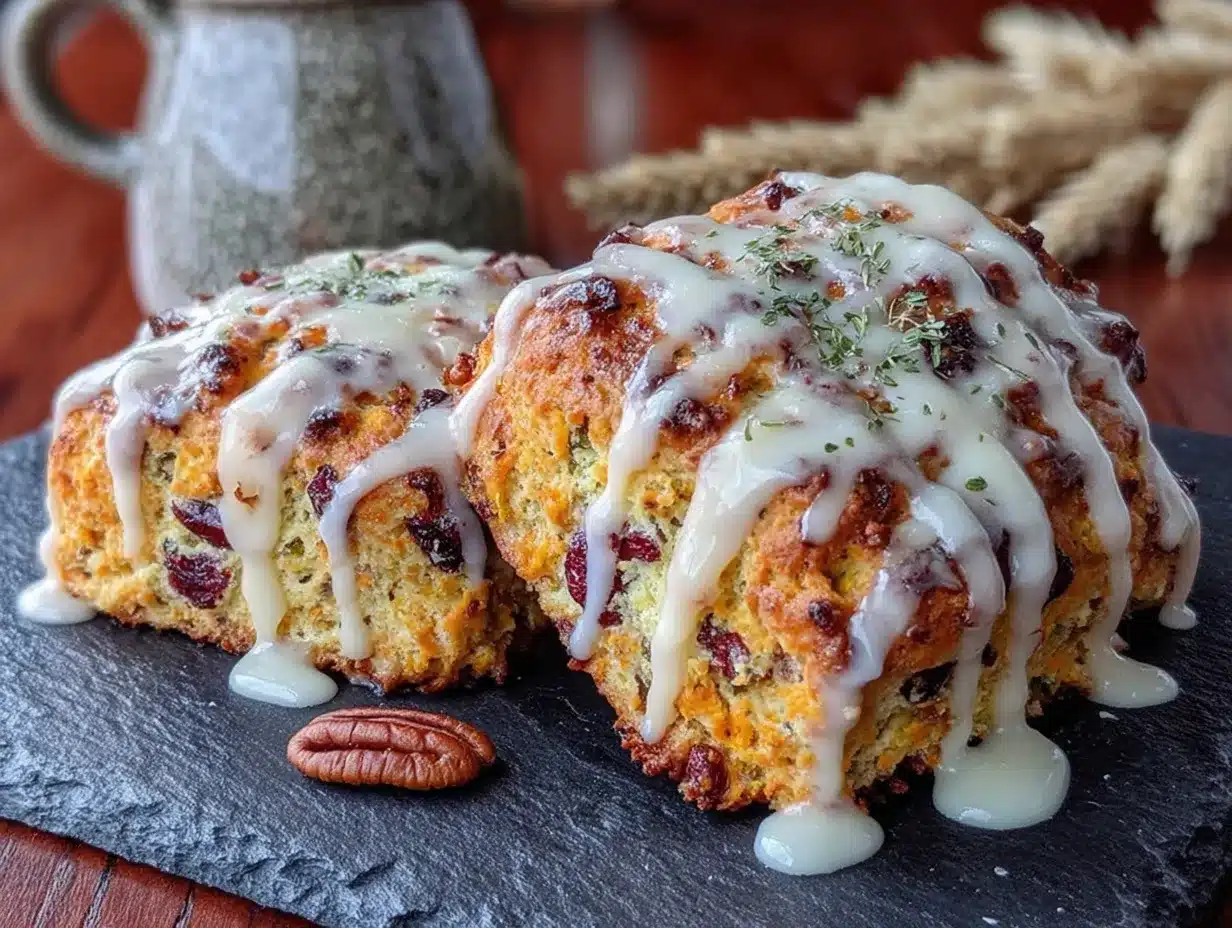
Honestly, my first thought was confusion. It was supposed to be bread. But this was better. The edges were slightly crisp, the inside was tender and soft, and that maple flavor—the one I’d grabbed by accident—was the star of the show. I made a quick glaze with powdered sugar and a little more maple syrup, drizzled it over the top, and suddenly I wasn’t looking at a failed bread. I was looking at the best scones I’d ever made. And I’ve been making them ever since, every single fall, for every single gathering where I need something that makes people close their eyes and go quiet for a second.
Why You’ll Love This Recipe
Let me tell you why these scones have become my non-negotiable fall baking project. I’ve tested this recipe at least a dozen times over the past few years, tweaking the flour ratio, adjusting the maple amount, even trying different types of pumpkin puree. This version? It’s the one that gets the most “can I have the recipe?” texts after every party.
- Perfect for Hosting: These scones are designed to impress. They look fancy with that glossy maple glaze, but they come together in under 40 minutes. You can make them before guests arrive and serve them warm.
- Simple Ingredients: No weird specialty items. You probably have most of this in your pantry right now—flour, sugar, butter, pumpkin puree, eggs. The maple extract and pecans are easy to find at any grocery store.
- Unbelievably Delicious: The texture is what gets everyone. Crispy on the outside, soft and almost cake-like on the inside. The maple glaze soaks in just enough to make every bite sweet and rich without being overwhelming.
- Crowd-Pleaser: I’ve brought these to potlucks, brunches, and even a casual backyard bonfire. They disappear fast. Kids love them, adults love them, and people who say they don’t like pumpkin desserts? They love them too.
- Make-Ahead Friendly: You can prep the dough the night before, refrigerate it, and bake fresh in the morning. Perfect for when you’re hosting and want to minimize morning chaos.
What makes this recipe different from every other pumpkin scone out there is the double maple punch. You get maple extract in the scone dough itself, and then another layer of maple flavor from the glaze. It’s not subtle—it’s bold and cozy and exactly what you want on a crisp fall morning. And the pecans? They add that little crunch that makes each bite interesting.
What Ingredients You Will Need
This recipe uses simple, wholesome ingredients that come together to create something truly special. Most of these are pantry staples, especially if you’re a fall baking enthusiast like me. Here’s what you’ll need:
For the Scones
- 2 cups all-purpose flour (spooned and leveled—don’t scoop directly from the bag or you’ll get too much)
- 1/3 cup granulated sugar (adds just enough sweetness without overpowering the pumpkin)
- 1 tablespoon baking powder (make sure it’s fresh—old baking powder won’t give you that nice rise)
- 1 teaspoon pumpkin pie spice (I prefer the McCormick brand for its balanced flavor)
- 1/2 teaspoon salt (don’t skip this—it balances the sweetness)
- 1/2 cup cold unsalted butter, cut into small cubes (the colder, the better—this is key for flaky scones)
- 1/2 cup pumpkin puree (not pumpkin pie filling—make sure you grab the 100% pure stuff)
- 1/3 cup heavy cream (plus extra for brushing the tops)
- 1 large egg (room temperature is best, but cold works in a pinch)
- 1 teaspoon maple extract (this is the secret ingredient—don’t substitute with maple syrup here, the extract gives a much stronger flavor)
- 1/2 cup chopped pecans (toasted lightly for extra flavor—I toast mine in a dry pan for 3-4 minutes)
For the Maple Glaze
- 1 cup powdered sugar (sifted if it’s lumpy)
- 2 tablespoons maple syrup (the real stuff, not pancake syrup)
- 1-2 tablespoons milk or heavy cream (add slowly until you reach your desired consistency)
- Pinch of salt (trust me on this—it makes the glaze taste even better)
Ingredient Selection Tip: For the best texture, use a solid pumpkin puree brand like Libby’s. Some store brands can be watery, which will make your dough sticky and hard to handle. If your pumpkin puree looks watery, pat it dry with a paper towel before using.
Substitution Guidance: If you don’t have maple extract, you can use 1 teaspoon of vanilla extract and increase the maple syrup in the glaze to 3 tablespoons. The flavor won’t be as intense, but it’ll still be delicious. For a dairy-free version, use cold coconut oil instead of butter and almond milk instead of heavy cream. The texture will be slightly different—a bit more crumbly—but still very good.
Equipment Needed
You don’t need any fancy gadgets to make these scones. Here’s what I use every time:
- Large mixing bowl (any bowl works, but a wide one makes it easier to cut in the butter)
- Pastry cutter or two forks (I prefer a pastry cutter—it’s faster and creates more even butter pieces)
- Baking sheet (line it with parchment paper for easy cleanup)
- Parchment paper (non-negotiable—scones can stick to bare baking sheets)
- Sharp knife or bench scraper (for cutting the dough into triangles)
- Whisk (for the glaze)
- Cooling rack (helps the glaze set properly)
If you don’t have a pastry cutter, don’t worry. I used forks for years before I bought one for like eight dollars at a kitchen supply store. It’s a worthwhile investment if you bake scones or biscuits regularly, but definitely not essential. Also, a bench scraper is great for cutting the dough cleanly without squishing it, but a sharp knife works just fine.
Preparation Method
Alright, let’s get baking. I’ve broken this down into clear steps with all the little notes I’ve learned from making these scones more times than I can count.
- Preheat your oven to 400°F (200°C). Line a baking sheet with parchment paper. This is important—don’t use a silicone mat for scones because they spread differently and the bottoms don’t get as golden.
- Toast the pecans. In a small dry skillet over medium heat, add the chopped pecans. Stir them constantly for about 3-4 minutes until they smell nutty and look slightly darker. Keep an eye on them—they burn fast. Once they’re done, pour them onto a plate to cool completely.
- Mix the dry ingredients. In a large bowl, whisk together the flour, sugar, baking powder, pumpkin pie spice, and salt. Make sure everything is evenly distributed. I like to give it an extra whisk just to be sure there are no clumps of baking powder.
- Cut in the butter. Add the cold butter cubes to the flour mixture. Using a pastry cutter or two forks, cut the butter into the flour until it resembles coarse crumbs with some pea-sized butter pieces remaining. This is the most important step for flaky scones. The butter pieces create steam pockets as they melt in the oven, giving you that perfect texture. Work quickly so the butter stays cold. If your hands are warm, run them under cold water first.
- Mix the wet ingredients. In a separate small bowl, whisk together the pumpkin puree, heavy cream, egg, and maple extract until smooth. It should look like a thick, orange-colored liquid.
- Combine wet and dry. Pour the wet mixture into the dry mixture. Stir gently with a spatula or wooden spoon until just combined. Do not overmix—stop when you no longer see streaks of flour. The dough will look shaggy and slightly sticky. Fold in the cooled toasted pecans gently.
- Shape the dough. Turn the dough out onto a lightly floured surface. Gently bring it together with your hands, patting it into a circle about 3/4-inch thick. Don’t knead it—just press it together. If it’s too sticky to handle, dust your hands with a little flour. Use a sharp knife or bench scraper to cut the circle into 8 equal wedges, like you’re cutting a pizza.
- Bake the scones. Place the wedges on the prepared baking sheet, spacing them about 2 inches apart. Brush the tops with a little extra heavy cream—this helps them brown beautifully. Bake for 15-18 minutes, or until the edges are golden brown and the tops are firm to the touch. Your kitchen should smell incredible at this point.
- Cool completely. Transfer the scones to a cooling rack and let them cool completely before glazing. I know it’s tempting to glaze them warm, but the glaze will just melt and run off. Patience here pays off.
- Make the glaze. In a small bowl, whisk together the powdered sugar, maple syrup, and 1 tablespoon of milk or cream. Add more liquid a teaspoon at a time until you reach a thick but drizzle-able consistency. Stir in the pinch of salt. Drizzle the glaze over the cooled scones using a spoon or a piping bag with the tip snipped off.
- Let the glaze set. Wait about 10-15 minutes for the glaze to firm up before serving. If you’re in a hurry, pop them in the fridge for 5 minutes.
Sensory Cue: When you cut the butter into the flour, you’re looking for a texture that feels like damp sand with some small pebbles. When you mix the wet and dry ingredients, the dough should feel slightly sticky but not wet. If it’s too dry, add a teaspoon of cream. If it’s too wet, add a tablespoon of flour.
Cooking Tips & Techniques
I’ve made my fair share of mistakes with these scones, so let me save you the trouble. Here are the things I wish I’d known from the start.
Keep everything cold. This is the number one rule of scone-making. Cold butter creates steam pockets as it melts in the oven, which gives you those flaky layers. If your kitchen is warm, pop your butter cubes in the freezer for 10 minutes before you start. You can even chill your mixing bowl if you want to be extra careful.
Don’t overwork the dough. I learned this the hard way. The first few times I made scones, I kneaded them like bread dough, thinking I needed to develop gluten. Nope. Overworking the dough makes scones tough and dense. You want to handle it as little as possible. Just bring it together, shape it, and cut it. That’s it.
Use a sharp cutter. When you cut the scones, use a sharp, clean cut straight down. Don’t twist the knife or bench scraper. Twisting seals the edges and prevents the scones from rising properly. Clean cuts = tall, fluffy scones.
Toast your pecans. I know it’s an extra step, but it makes a huge difference. Raw pecans are fine, but toasted pecans have a deeper, nuttier flavor that complements the maple and pumpkin beautifully. Plus, toasting removes some of the moisture, so the pecans stay crunchy in the baked scones instead of getting soggy.
Brush with cream. That little brush of heavy cream on top before baking isn’t just for looks. It helps the tops brown evenly and gives them a slightly crisp exterior that contrasts perfectly with the soft interior. Don’t skip it.
Timing strategy for hosting: If you’re making these for a gathering, here’s what I do. I mix the dry ingredients the night before and store them in a ziplock bag. I also toast the pecans and measure out the wet ingredients. In the morning, I literally just dump everything together, shape, cut, and bake. Fresh scones in under 30 minutes with almost no mess.
Variations & Adaptations
One of the things I love about this recipe is how flexible it is. Here are some variations I’ve tried and loved.
Chocolate Chip Maple Pecan Scones: Add 1/3 cup of mini chocolate chips along with the pecans. The chocolate pairs surprisingly well with the maple and pumpkin. I did this on a whim one day when I was out of regular pecans and only had chocolate-covered ones. It was a happy accident that turned into a regular request from my friend Maria.
Gluten-Free Version: Substitute the all-purpose flour with a 1:1 gluten-free baking flour blend. I’ve used King Arthur Measure for Measure with great results. The texture will be slightly more crumbly, but the flavor is still spot-on. Add an extra tablespoon of cream if the dough feels too dry.
Vegan Adaptation: Use cold coconut oil instead of butter, a flax egg (1 tablespoon ground flaxseed mixed with 3 tablespoons water), and full-fat coconut milk instead of heavy cream. The scones won’t be as flaky, but they’ll still be delicious. The maple glaze works perfectly with maple syrup and coconut milk.
Spiced-Up Version: If you like things spicy, add 1/4 teaspoon of ground ginger and a pinch of cloves to the dry ingredients. It gives the scones a warm, almost chai-like flavor that’s perfect for cold winter mornings.
Savory-Sweet Twist: Reduce the sugar to 2 tablespoons and add 1/2 cup of sharp cheddar cheese along with the pecans. Skip the glaze and brush the tops with melted butter instead. It sounds weird, but the combination of pumpkin, maple, cheddar, and pecans is surprisingly amazing. I serve these with soup instead of bread.
Serving & Storage Suggestions
These scones are best served slightly warm, but they’re also fantastic at room temperature. If you’re hosting, here’s how I like to present them.
For a brunch spread: Arrange the glazed scones on a wooden board or a pretty cake stand. Serve them alongside fresh fruit, a bowl of whipped butter, and maybe some extra maple syrup for drizzling. They pair beautifully with hot coffee or a spiced chai latte.
For a dinner party dessert: Serve one scone per person with a dollop of lightly sweetened whipped cream and a sprinkle of cinnamon. It’s a simple, elegant dessert that doesn’t require any plating skills.
For a potluck or gathering: Transport the unglazed scones to the event and glaze them right before serving. The glaze stays fresh for about an hour, so this is the best way to ensure they look perfect when you arrive.
Storage Instructions: Store leftover scones in an airtight container at room temperature for up to 3 days. The glaze might get a little sticky, but they’ll still taste great. Do not refrigerate them—the fridge dries out baked goods and makes them stale faster.
Freezing Instructions: You can freeze the unbaked scone wedges on a baking sheet until solid, then transfer them to a freezer bag. Bake directly from frozen, adding 2-3 minutes to the baking time. You can also freeze baked, unglazed scones for up to 3 months. Thaw at room temperature and glaze before serving.
Reheating Tip: If you’re reheating a scone, pop it in a 300°F (150°C) oven for 5-7 minutes. This brings back that crispy exterior and soft interior. The microwave will make them rubbery—avoid it if you can.
Flavor Development: These scones actually taste better the day after they’re made. The flavors meld together overnight, and the texture stays surprisingly good. So if you’re planning ahead, make them a day in advance and glaze them the morning of your event.
Nutritional Information & Benefits
Let’s be real—these are a treat, not a health food. But they do have some redeeming qualities worth mentioning.
Estimated Nutritional Values (per scone, with glaze):
- Calories: 340
- Fat: 18g
- Carbohydrates: 42g
- Protein: 5g
- Fiber: 2g
- Sugar: 22g
Health Highlights: Pumpkin puree is packed with Vitamin A and fiber, which is great for eye health and digestion. Pecans are a good source of healthy fats and antioxidants. And maple syrup contains antioxidants and minerals like zinc and manganese. So while these scones are definitely a sweet indulgence, they’re not completely empty calories.
Dietary Considerations: This recipe contains gluten, dairy, eggs, and tree nuts (pecans). For a gluten-free option, see the variations section above. For a dairy-free option, use coconut oil and a non-dairy milk alternative. The scones can be made nut-free by omitting the pecans and adding an extra 1/4 cup of pumpkin puree or dried cranberries instead.
My Personal Perspective: I believe in balance. I make these scones because they bring joy to the people I share them with. One scone with a cup of coffee on a Saturday morning is a beautiful thing. I don’t worry about the sugar content on a special occasion. Life is too short to skip the maple glaze.
Conclusion
Look, I know there are a million pumpkin recipes out there this time of year. But these Maple Pecan Pumpkin Scones are the ones I keep coming back to, year after year. They’re the recipe I pull out when I want to impress without stress. The recipe that makes people ask for seconds. The recipe that started as a mistake and became a tradition.
I hope you give them a try. Don’t be afraid to make them your own—add more pecans if you love crunch, use less glaze if you prefer things less sweet, or throw in some chocolate chips because why not? The best recipes are the ones you tweak until they feel like yours.
When you make these scones—and I really hope you do—come back and tell me how they turned out. Did your family love them? Did you serve them at a brunch? Did someone ask for the recipe? I genuinely want to know. Leave a comment below or tag me in your photos. Nothing makes me happier than seeing my happy accident become someone else’s favorite fall tradition.
Happy baking, friends. And remember—sometimes the best things come from grabbing the wrong bottle.
Frequently Asked Questions
Can I use pumpkin pie filling instead of pumpkin puree?
No, please don’t. Pumpkin pie filling has added sugar and spices, which will throw off the balance of this recipe. Stick with 100% pure pumpkin puree for the best results.
Why did my scones turn out dry?
This usually happens for one of two reasons: you overmixed the dough, or you baked them too long. Scones are done when the edges are golden and the tops are firm but still slightly soft to the touch. Start checking at 15 minutes.
Can I make the dough ahead of time?
Absolutely. You can shape the scone wedges, place them on a baking sheet, cover with plastic wrap, and refrigerate overnight. Bake them straight from the fridge the next morning, adding 2-3 minutes to the bake time.
What can I use instead of maple extract?
If you don’t have maple extract, use 1 teaspoon of vanilla extract instead. The maple flavor will be milder, so you can boost it by using maple syrup in the glaze and adding a little extra to the dough.
How do I get perfectly shaped scones?
Pat the dough into an even circle about 3/4-inch thick. Use a sharp knife or bench scraper to cut clean wedges without twisting. If you want perfectly uniform scones, you can use a round biscuit cutter, but you’ll have to gather and re-roll the scraps, which can make the dough tough.
Pin This Recipe!
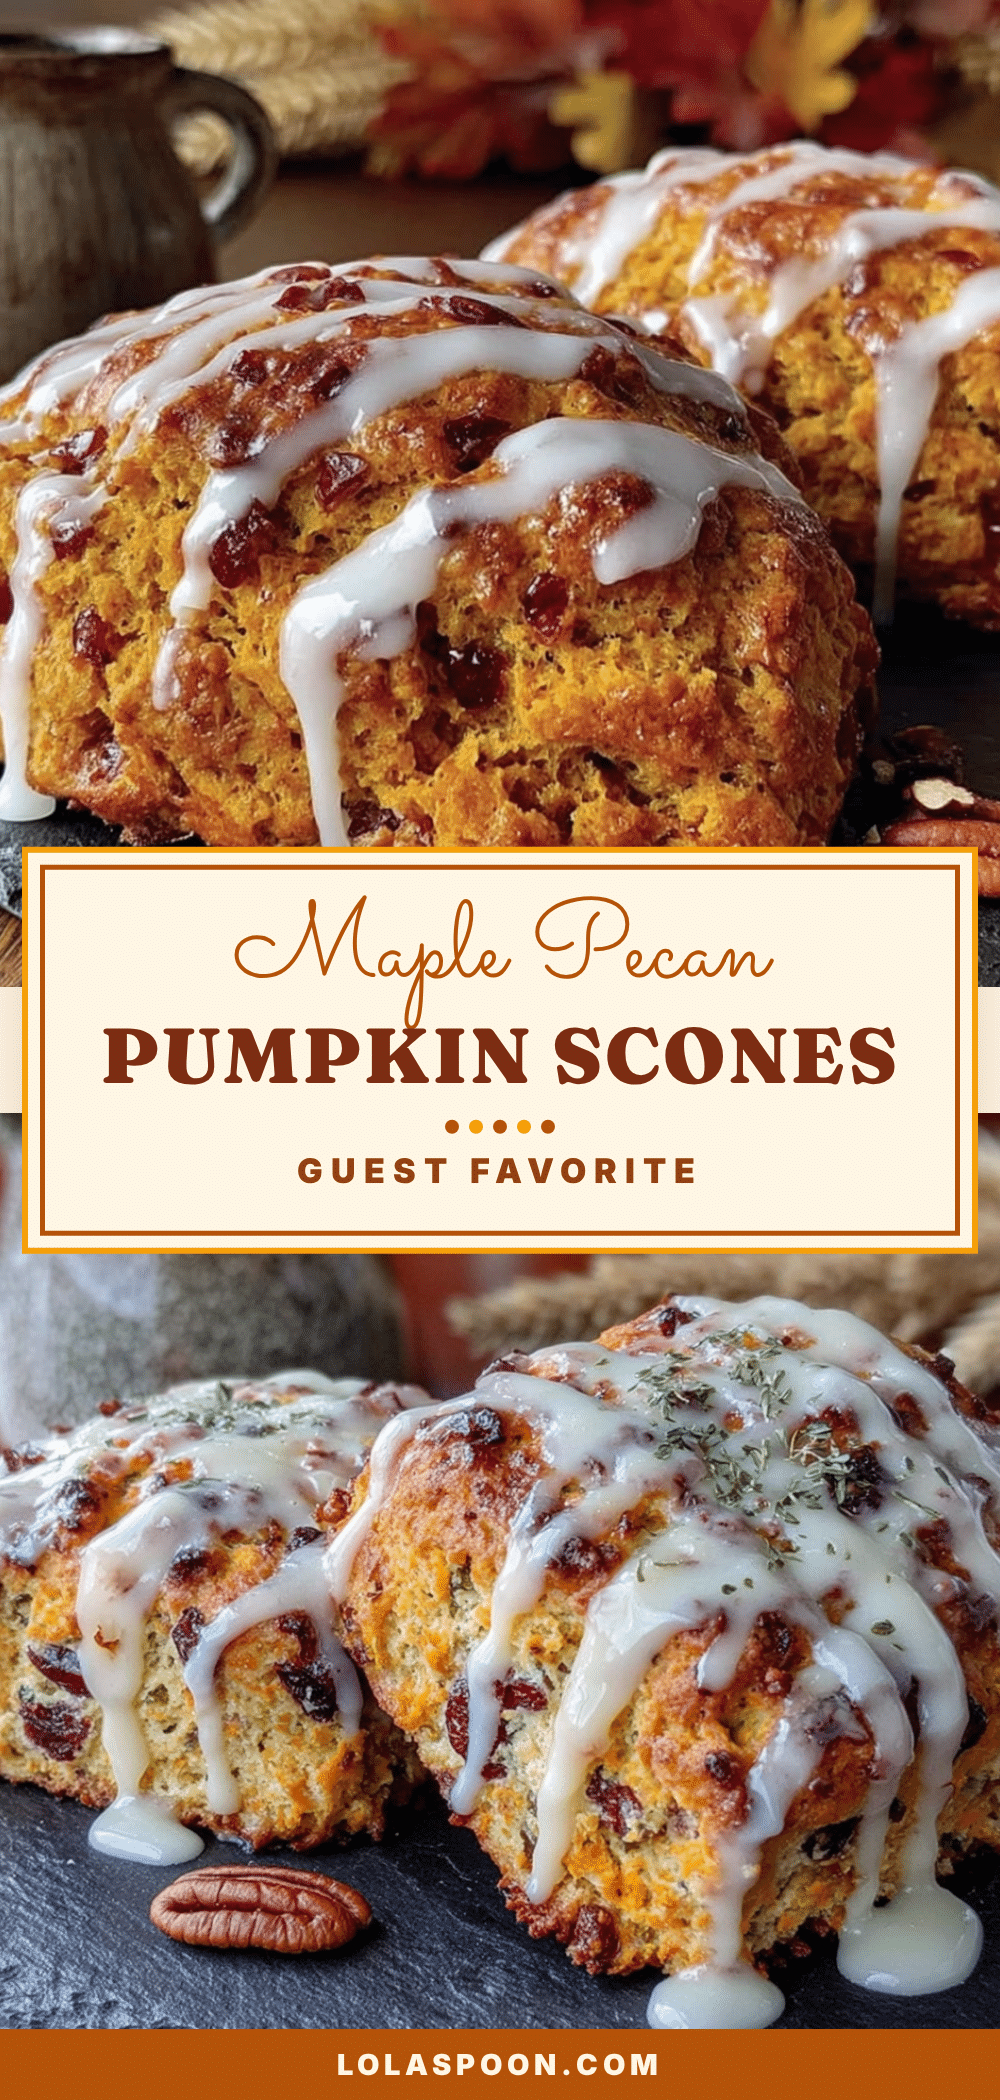
Easy Maple Pecan Pumpkin Scones: Best Fall Recipe

These maple pecan pumpkin scones are tender, flaky, and packed with warm fall flavors. A happy accident turned into a beloved recipe, they feature a double maple punch and a crunchy pecan topping.
- Prep Time: 15 minutes
- Cook Time: 18 minutes
- Total Time: 33 minutes
- Yield: 8 servings 1x
- Category: Dessert
- Cuisine: American
Ingredients
- 2 cups all-purpose flour
- 1/3 cup granulated sugar
- 1 tablespoon baking powder
- 1 teaspoon pumpkin pie spice
- 1/2 teaspoon salt
- 1/2 cup cold unsalted butter, cut into small cubes
- 1/2 cup pumpkin puree
- 1/3 cup heavy cream (plus extra for brushing)
- 1 large egg
- 1 teaspoon maple extract
- 1/2 cup chopped pecans, toasted
- 1 cup powdered sugar
- 2 tablespoons maple syrup
- 1–2 tablespoons milk or heavy cream
- Pinch of salt
Instructions
- Preheat your oven to 400°F (200°C). Line a baking sheet with parchment paper.
- Toast the pecans in a dry skillet over medium heat for 3-4 minutes until fragrant. Set aside to cool.
- In a large bowl, whisk together flour, sugar, baking powder, pumpkin pie spice, and salt.
- Cut in the cold butter using a pastry cutter or two forks until the mixture resembles coarse crumbs with pea-sized butter pieces.
- In a separate bowl, whisk together pumpkin puree, heavy cream, egg, and maple extract until smooth.
- Pour the wet mixture into the dry mixture and stir gently until just combined. Fold in the toasted pecans.
- Turn the dough onto a lightly floured surface and pat into a 3/4-inch thick circle. Cut into 8 wedges.
- Place wedges on the prepared baking sheet, brush tops with extra cream, and bake for 15-18 minutes until golden.
- Transfer scones to a cooling rack and let cool completely.
- For the glaze, whisk together powdered sugar, maple syrup, and 1 tablespoon milk/cream. Add more liquid as needed to reach a drizzling consistency. Stir in a pinch of salt.
- Drizzle glaze over cooled scones and let set for 10-15 minutes before serving.
Notes
Keep all ingredients cold for flaky scones. Do not overwork the dough. Toast pecans for best flavor. Scones can be made ahead and refrigerated unbaked overnight. For a gluten-free version, use a 1:1 gluten-free flour blend.
Nutrition
- Serving Size: 1 scone
- Calories: 340
- Sugar: 22
- Sodium: 320
- Fat: 18
- Saturated Fat: 9
- Carbohydrates: 42
- Fiber: 2
- Protein: 5
Keywords: pumpkin scones, maple pecan scones, fall baking, pumpkin recipes, easy scones