This was supposed to be a simple batch of peanut butter fudge. I had the butter softening on the counter, the powdered sugar sifted, and I was feeling pretty good about myself—like a mom who actually had her act together on a Tuesday afternoon. Then my youngest came barreling through the kitchen chasing the dog, and the entire bag of chocolate chips went flying across the floor. I stood there staring at the mess, honestly ready to just call the whole thing off and order pizza. But I had already promised these bars for the school Halloween party, and you know how that goes—once you tell a kid there’s dessert coming, there’s no taking it back.
So I scooped up what I could, grabbed the wrong kind of peanut butter from the pantry (chunky instead of creamy, because of course), and just started mixing things together in a panic. The chocolate I had left wasn’t enough for a proper topping, so I melted it with a little coconut oil and drizzled it on top in a hurry. I dragged a toothpick through it to make it look intentional, and honestly? That spiderweb pattern was pure accident. The bars set up in the fridge, and when I pulled them out the next morning, they looked like something from a bakery. My kid took one bite and said, “Mom, these are better than the ones we bought last year.” Let me tell you—that moment of quiet vindication made all the chaos worth it. Now I make these every single October, and I still laugh every time I see that web pattern.
Why You’ll Love This Recipe
These no-bake peanut butter spiderweb bars are the kind of recipe that makes you look like a kitchen hero without breaking a sweat. I’ve tested this one at least a dozen times—through sticky summer kitchens, rushed school mornings, and even a power outage—and it never fails. Here’s why it’s become my go-to for every fall gathering:
- Quick & Easy: Comes together in under 20 minutes of active time. No oven, no mixer, no complicated steps. Perfect for those afternoons when the kids are bouncing off the walls and you need a win.
- Simple Ingredients: You probably have most of these in your pantry right now. No fancy grocery store runs, no obscure extracts. Just peanut butter, butter, powdered sugar, graham crackers, and chocolate.
- Perfect for Halloween Parties: The spiderweb design makes them look like you spent hours decorating. Great for classroom treats, potlucks, or just making a Tuesday feel special.
- Crowd-Pleaser: I’ve served these to kids, grandparents, and picky in-laws. Everyone goes back for seconds. The combination of creamy peanut butter and rich chocolate is basically impossible to resist.
- Unbelievably Delicious: The texture is what gets me every time—creamy, slightly crumbly from the graham crackers, with that snap of chocolate on top. It’s comfort food you can hold in your hand.
What makes these different from other no-bake bars is the crust-to-filling ratio. I spent a good three batches getting it right—too much butter and they fall apart, too little and they’re dry. This version hits that sweet spot where every bite holds together perfectly. Plus, the spiderweb topping isn’t just for looks; the thin layer of chocolate balances the sweetness of the peanut butter layer so nothing feels cloying.
This is the recipe I turn to when I need something that feels special but doesn’t add stress to an already busy day. It’s the kind of treat that makes you close your eyes after that first bite—and honestly, isn’t that what we’re all after?
What Ingredients You Will Need
This recipe uses simple, pantry-friendly ingredients to deliver that rich, satisfying peanut butter-and-chocolate flavor without any fuss. Most of these are staples in my kitchen, and I bet they are in yours too.
- Unsalted butter, melted (1/2 cup, or 1 stick) — I use Land O’Lakes because it’s reliable, but any brand works. If you only have salted butter, just skip adding any extra salt to the recipe.
- Creamy peanut butter (1 cup) — Go with a brand like Jif or Skippy for the best texture. Natural peanut butter that separates can make the bars greasy. I learned that the hard way the first time I tried making these.
- Powdered sugar (2 cups, sifted) — Sifting is worth the extra 30 seconds here. Lumps in the sugar create little pockets of sweetness that throw off the texture.
- Graham cracker crumbs (2 cups) — You can buy them pre-crushed, or just toss a sleeve of graham crackers in a zip-top bag and crush them with a rolling pin. The latter is oddly satisfying and a great job for little hands.
- Vanilla extract (1 teaspoon) — Pure vanilla adds warmth, but imitation works fine in a pinch. I’ve used both and honestly can’t tell the difference once everything is mixed together.
- Semi-sweet chocolate chips (1 cup) — Ghirardelli or Nestlé both melt beautifully. If you prefer milk chocolate, go for it—just know the bars will be sweeter overall.
- Coconut oil (1 tablespoon) — This helps the chocolate melt smoothly and gives it that glossy finish. Vegetable oil works too, but coconut oil adds a subtle richness.
Substitution Guidance: For a dairy-free version, use plant-based butter and dairy-free chocolate chips. If someone in your house has a peanut allergy, sunflower seed butter works surprisingly well—just expect a slightly different flavor profile. Gluten-free graham crackers are available at most grocery stores and swap in 1:1 without any texture issues.
Equipment Needed
You don’t need much for this recipe, which is part of the beauty. Here’s what I use every time:
- 8×8-inch baking pan — A glass or metal dish works fine. If you use metal, lining it with parchment paper is a lifesaver for lifting the bars out cleanly.
- Parchment paper — Not strictly necessary, but it makes cleanup so much easier. I leave two long strips hanging over the sides of the pan as handles.
- Large mixing bowl — Any bowl you’d use for cookie dough will do. I prefer a glass or ceramic one because it doesn’t stain from the chocolate.
- Spatula or wooden spoon — For mixing the peanut butter base. A silicone spatula is my favorite because it scrapes the bowl clean.
- Small microwave-safe bowl — For melting the chocolate. I’ve used everything from a Pyrex measuring cup to a ceramic cereal bowl.
- Toothpick or skewer — For creating the spiderweb pattern. A wooden skewer works great, but even a fork tine can do the job in a pinch.
If you don’t have an 8×8 pan, a 9×9 works too—the bars will just be slightly thinner. I’ve also made these in a disposable foil pan for taking to parties, and they turned out perfectly. No need to buy anything fancy.
Preparation Method
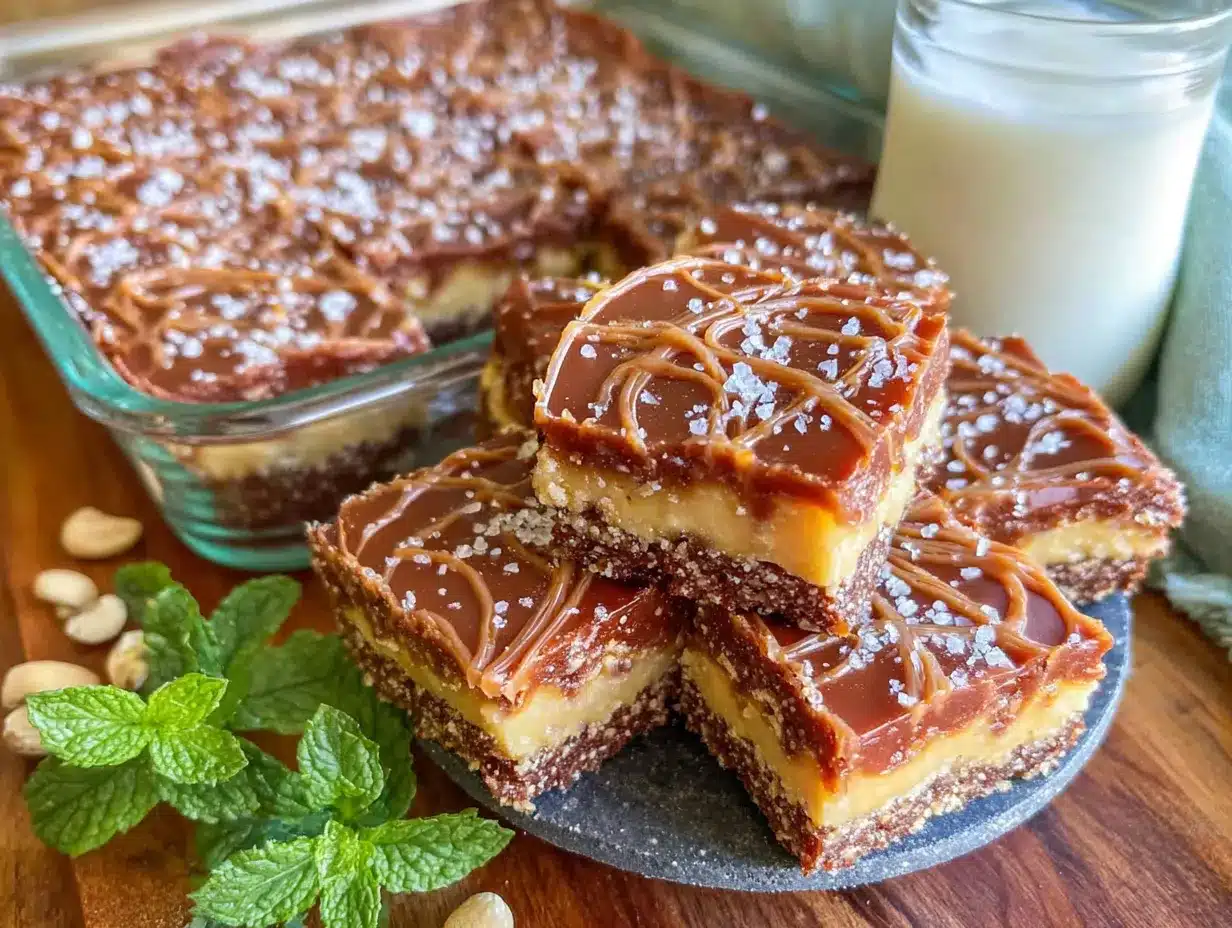
Let’s get these bars made. The whole process takes about 20 minutes of hands-on time, plus at least 2 hours in the fridge to set. I usually make them the night before I need them, which takes the pressure off completely.
- Prep your pan. Line an 8×8-inch baking pan with parchment paper, leaving a couple inches of overhang on two opposite sides. This creates handles that let you lift the whole block of bars out later. If you don’t have parchment, lightly grease the pan with butter or non-stick spray.
- Melt the butter. Place 1/2 cup of unsalted butter in a large microwave-safe bowl and heat in 20-second bursts until fully melted. I usually do two rounds at 50% power to avoid splattering. Let it cool for a minute—you don’t want it hot enough to melt the peanut butter into a greasy mess.
- Mix the peanut butter base. Add 1 cup of creamy peanut butter and 1 teaspoon of vanilla extract to the melted butter. Stir until smooth and fully combined. The mixture should look glossy and smell amazing at this point. If it looks separated, your butter was too hot—let it sit for a few minutes and stir again.
- Add the dry ingredients. Sift 2 cups of powdered sugar into the bowl to avoid lumps. Then add 2 cups of graham cracker crumbs. Stir everything together with a spatula or wooden spoon until no dry spots remain. The mixture will be thick and slightly crumbly—that’s exactly what you want. If it seems too dry to press together, add another tablespoon of melted butter.
- Press into the pan. Transfer the mixture to your prepared pan. Use the back of a spatula or your hands (lightly greased with butter or cooking spray) to press it down evenly. Take your time here—an even layer means every bar will have the same texture. I press firmly around the edges and corners first, then fill in the middle.
- Pop it in the fridge. Place the pan in the refrigerator for about 15 minutes while you prepare the topping. This helps the base firm up so the chocolate doesn’t soak in.
- Melt the chocolate. In a small microwave-safe bowl, combine 1 cup of semi-sweet chocolate chips with 1 tablespoon of coconut oil. Microwave in 20-second intervals, stirring between each, until smooth and fully melted. This usually takes me about three rounds. Be careful not to overheat—burnt chocolate is gritty and unusable.
- Pour and spread. Remove the pan from the fridge. Pour the melted chocolate over the chilled peanut butter base. Use a spatula to spread it evenly all the way to the edges. Work quickly while the chocolate is still warm and fluid.
- Create the spiderweb. This is the fun part. While the chocolate is still wet, drizzle a few concentric circles of white chocolate or melted peanut butter on top (I use about 2 tablespoons of peanut butter warmed for 10 seconds in the microwave). Then, starting from the center, drag a toothpick outward through the circles toward the edge of the pan. Wipe the toothpick clean, then drag another line from the center outward between the first lines. Repeat until you have a web pattern covering the whole surface. It doesn’t have to be perfect—imperfect webs look more authentic.
- Set in the fridge. Place the pan back in the refrigerator for at least 2 hours, or until the chocolate is completely firm. I usually leave it overnight. The bars need this time to set properly—rushing it leads to messy cuts.
- Cut and serve. Once set, lift the entire block out of the pan using the parchment handles. Place it on a cutting board and slice into 16 squares (4 rows by 4 rows). For cleaner cuts, use a sharp knife and wipe it clean between each slice. Serve cold or at room temperature—both are delicious.
Cooking Tips & Techniques
I’ve made these bars enough times to know exactly where things can go wrong. Here are the tips I wish someone had given me the first time.
Don’t skip the chilling step between layers. I know it’s tempting to just pour the chocolate right on top of the warm base, but that extra 15 minutes in the fridge makes a huge difference. If the base is still warm, the chocolate will melt into it instead of forming a distinct layer. You’ll end up with chocolate-swirled peanut butter bars—which are still tasty, but not as pretty.
Watch your chocolate temperature. I once melted chocolate in a hurry and ended up with a grainy, clumpy mess. Chocolate burns easily, especially in the microwave. Always use short bursts and stir frequently. If you see any steam rising from the bowl, you’ve gone too far. Let it cool slightly before pouring—if it’s too hot, it can make the peanut butter base soften and slide around.
Press the base firmly. This is the most common mistake I see. If you don’t press the graham cracker mixture down tightly enough, the bars will crumble when you try to cut them. I use the bottom of a flat measuring cup to really pack it in. The edges are especially important—they tend to be looser than the center.
Use the right peanut butter. Natural peanut butter that separates into oil and solids is not your friend here. The oil can seep out and make the bars greasy. Stick with the standard creamy kind—Jif, Skippy, or store-brand equivalents. I’ve tested this with natural peanut butter exactly once, and the bars never set properly.
Time your cuts right. Cut the bars while they’re still cold from the fridge. Room-temperature bars are softer and more likely to squish or crack. If you’re making these for a party, cut them straight from the fridge and let them sit on the serving platter for 10 minutes before serving—they’ll soften just enough to be perfect.
Variations & Adaptations
One of the best things about this recipe is how easy it is to tweak. Here are some variations I’ve tried and loved.
Chocolate Peanut Butter Cup Version: Before pressing the base into the pan, chop up 1/2 cup of mini peanut butter cups and fold them into the mixture. The little pockets of extra peanut butter and chocolate are a fun surprise. My kids go crazy for this version, and honestly, so do I.
White Chocolate Spiderweb: Instead of using peanut butter for the web design, use melted white chocolate. It creates a more dramatic contrast against the dark chocolate topping. Just melt 1/4 cup of white chocolate chips with 1 teaspoon of coconut oil and drizzle it on the same way. The white against dark is stunning for Halloween.
Gluten-Free Adaptation: Swap the graham cracker crumbs for gluten-free graham crackers or crushed gluten-free vanilla cookies. I’ve used both and the texture is nearly identical. Just make sure to check the labels if you’re cooking for someone with celiac disease.
Add Some Crunch: If you’re a texture person like me, stir 1/2 cup of crushed pretzels or chopped peanuts into the peanut butter base before pressing it into the pan. The salty crunch against the sweet, creamy layers is absolutely addictive.
Peanut-Free Option: Sunflower seed butter works beautifully here. The flavor is a little different—more earthy, less sweet—but the texture is almost identical. I’ve made these for peanut-free classrooms and no one complained. Just be aware that sunflower seed butter can turn green when mixed with baking soda, but since there’s no baking soda here, you’re safe.
Serving & Storage Suggestions
These bars are versatile enough to serve at a Halloween party, pack in a lunchbox, or enjoy as an after-school treat. Here’s how I handle serving and storing them.
Serving Temperature: I prefer these bars straight from the fridge—they’re firm, clean-cut, and the chocolate has that satisfying snap. If you like a softer texture, let them sit at room temperature for about 10 minutes before serving. For parties, I arrange them on a platter with a few fake spider rings or plastic spiders scattered around for fun.
What to Serve With Them: A glass of cold milk is the classic pairing. For a grown-up twist, they’re fantastic with a cup of hot coffee or a cold brew. If you’re serving these as part of a dessert table, they pair well with brownies, sugar cookies, or anything with caramel.
Storage Instructions: Store the bars in an airtight container in the refrigerator for up to 1 week. Layer them between sheets of parchment or wax paper to prevent sticking. I’ve found they actually taste better on day two—the flavors meld together and the texture evens out.
Freezing: These bars freeze beautifully. Place them in a single layer on a baking sheet and freeze until firm, about 1 hour. Then transfer to a freezer-safe container or zip-top bag, separating layers with parchment paper. They’ll keep for up to 3 months. To thaw, just move them to the refrigerator overnight or let them sit at room temperature for 15 minutes.
Reheating: Honestly, I don’t recommend reheating these. They’re meant to be served cold or at room temperature. If you want a warm dessert, try microwaving one bar for about 10 seconds—it’ll soften the chocolate slightly without melting it entirely.
Nutritional Information & Benefits
Let’s be real—these are a treat, not a health food. But knowing what’s in them helps you enjoy them mindfully. Here’s the breakdown per bar (based on 16 servings):
- Calories: Approximately 280
- Total Fat: 18g
- Saturated Fat: 8g
- Carbohydrates: 28g
- Sugar: 20g
- Protein: 5g
- Fiber: 2g
- Sodium: 180mg
Health Benefits of Key Ingredients: Peanut butter provides protein and healthy monounsaturated fats, which help keep you full and satisfied. Graham crackers offer a small amount of whole grains, and dark chocolate (if you use 60% or higher cacao) contains antioxidants called flavonoids. The coconut oil in the topping provides medium-chain triglycerides (MCTs), which some studies suggest may support metabolism.
Dietary Considerations: This recipe is vegetarian and can be made dairy-free and gluten-free with simple substitutions. It contains peanuts, dairy, and gluten in its standard form, so be mindful of allergies. For a lower-sugar version, you can reduce the powdered sugar by 1/4 cup—the bars will be slightly less sweet but still delicious.
My Personal Take: I don’t believe in labeling treats as “guilty pleasures.” These bars are a fun, festive dessert that brings joy to my family. I serve them alongside balanced meals and don’t stress about the numbers. Life is too short to skip the spiderweb bars.
Conclusion
These no-bake peanut butter spiderweb bars are proof that the best recipes often come from happy accidents. What started as a chaotic afternoon with spilled chocolate chips and the wrong peanut butter turned into a Halloween tradition my family looks forward to every year. They’re simple enough to make with kids, impressive enough to bring to any party, and delicious enough to disappear in minutes.
I hope you give these a try—and I hope you make them your own. Maybe you’ll add a sprinkle of sea salt on top, or swap the chocolate for butterscotch chips, or let your kids go wild with the spiderweb design. That’s the beauty of a recipe like this: it’s forgiving, flexible, and always a hit.
If you make these bars, I’d love to hear how they turned out. Drop a comment below and let me know if your family loved them as much as mine does. And if you have a spiderweb design trick of your own, share it—I’m always looking for new ideas. Happy Halloween, friend. Go make something sweet.
Frequently Asked Questions
Can I use natural peanut butter for these bars?
I don’t recommend it. Natural peanut butter that separates into oil and solids can make the bars greasy and prevent them from setting properly. Stick with standard creamy peanut butter like Jif or Skippy for the best results. If you only have natural peanut butter on hand, stir it very well and expect a slightly softer texture.
How long do these bars need to set in the fridge?
At least 2 hours, but overnight is ideal. The longer they set, the cleaner your cuts will be. If you’re in a hurry, you can pop them in the freezer for about 45 minutes, but watch closely—you don’t want the chocolate to get too hard and crack when you cut it.
Can I make these bars ahead of time?
Absolutely. These are one of my favorite make-ahead desserts. You can prepare them up to 3 days in advance and store them in the refrigerator. They also freeze well for up to 3 months. Just thaw in the fridge overnight before serving.
How do I get clean cuts without the bars crumbling?
Use a sharp knife and wipe it clean between each slice. Cut the bars while they’re still cold from the fridge—room-temperature bars are softer and more likely to squish. I also recommend using a gentle sawing motion rather than pressing straight down.
Can I use milk chocolate instead of semi-sweet?
Yes, but the bars will be significantly sweeter. Milk chocolate has more sugar and less cocoa butter than semi-sweet, so the topping will be softer and might not have that same satisfying snap. If you prefer milk chocolate, go for it—just know the flavor balance shifts. I sometimes use a mix of half milk chocolate and half semi-sweet for the best of both worlds.
Pin This Recipe!
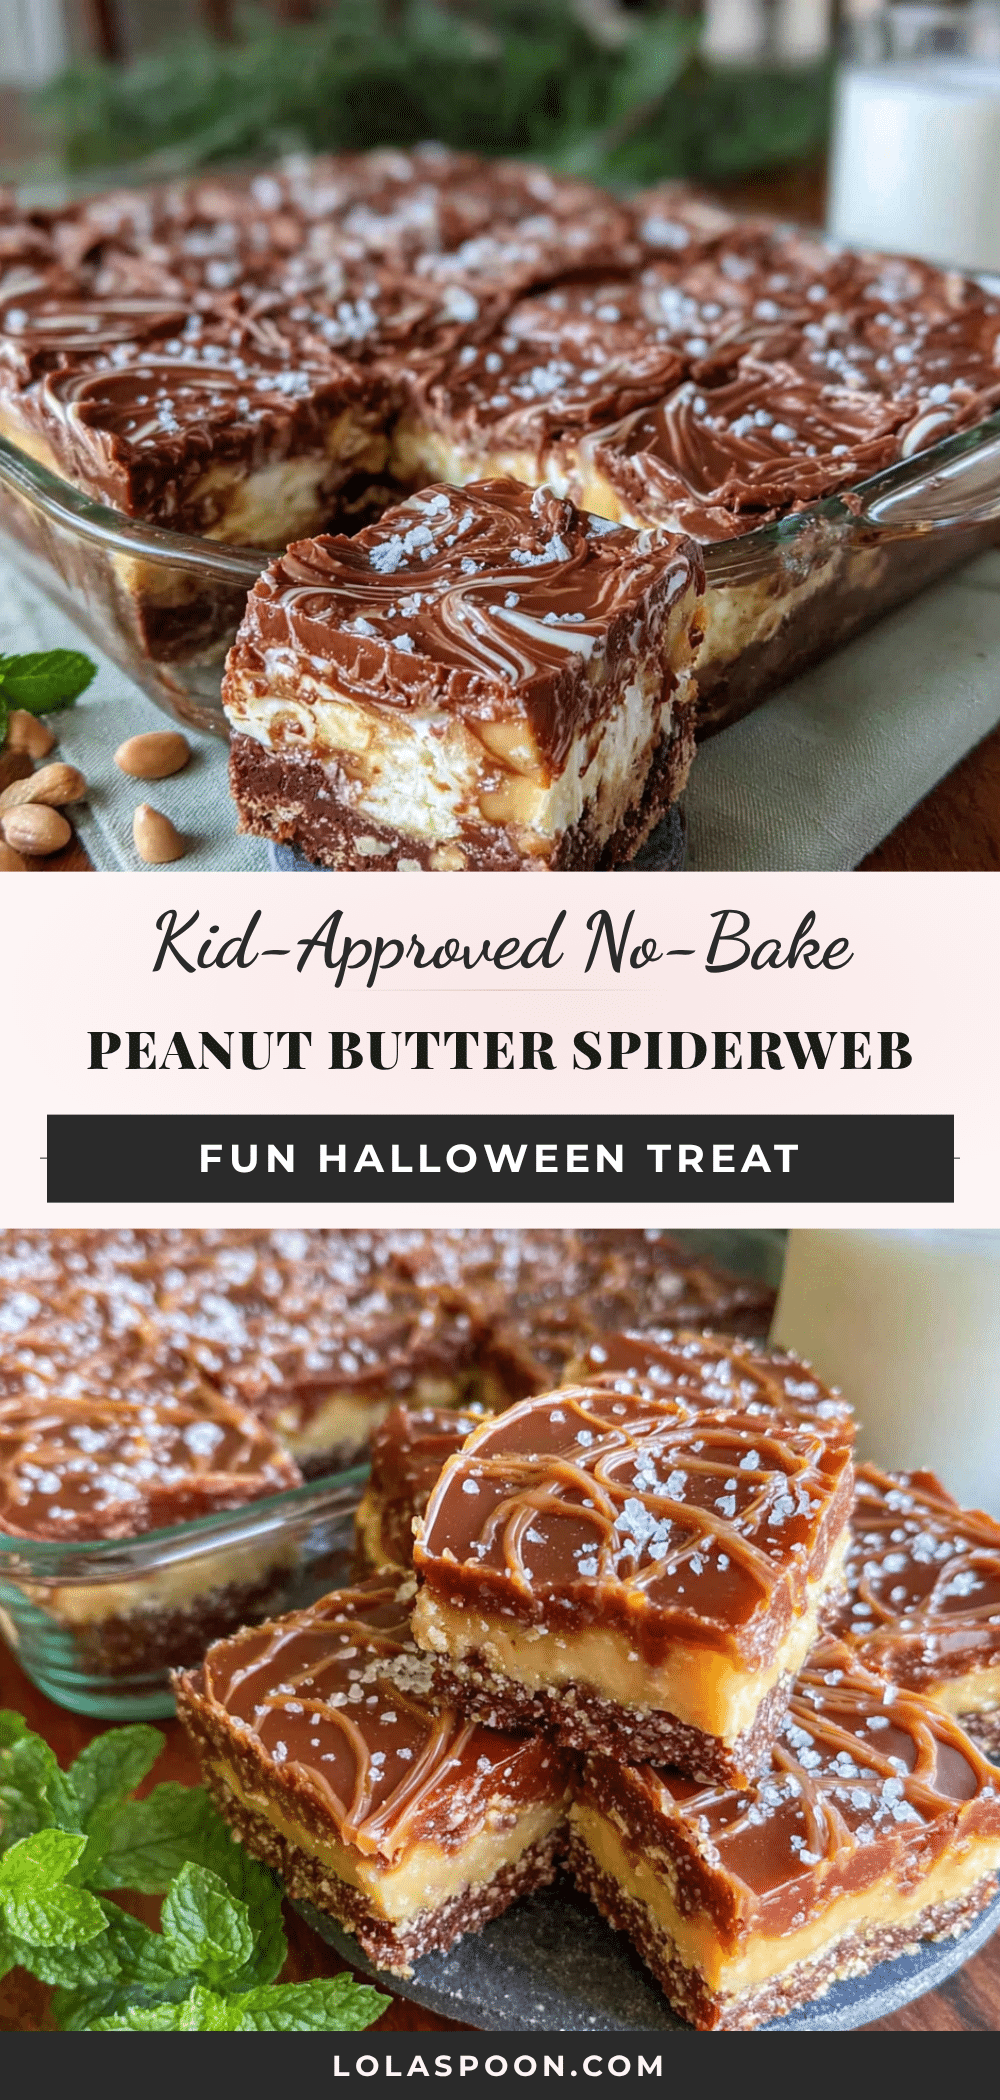
Easy No-Bake Peanut Butter Spiderweb Bars Recipe

These no-bake peanut butter spiderweb bars are the perfect Halloween treat—creamy, crunchy, and topped with a chocolate spiderweb design. They come together in under 20 minutes of active time and are a guaranteed crowd-pleaser.
- Prep Time: 20 minutes
- Cook Time: 0 minutes
- Total Time: 2 hours 20 minutes
- Yield: 16 servings 1x
- Category: Dessert
- Cuisine: American
Ingredients
- 1/2 cup unsalted butter, melted
- 1 cup creamy peanut butter
- 2 cups powdered sugar, sifted
- 2 cups graham cracker crumbs
- 1 teaspoon vanilla extract
- 1 cup semi-sweet chocolate chips
- 1 tablespoon coconut oil
Instructions
- Line an 8×8-inch baking pan with parchment paper, leaving overhang on two opposite sides.
- Melt 1/2 cup unsalted butter in a large microwave-safe bowl in 20-second bursts. Let cool for a minute.
- Add 1 cup creamy peanut butter and 1 teaspoon vanilla extract to the melted butter. Stir until smooth.
- Sift 2 cups powdered sugar into the bowl, then add 2 cups graham cracker crumbs. Stir until no dry spots remain.
- Press the mixture evenly into the prepared pan using a spatula or greased hands.
- Refrigerate the pan for 15 minutes while preparing the topping.
- In a small microwave-safe bowl, combine 1 cup semi-sweet chocolate chips and 1 tablespoon coconut oil. Microwave in 20-second intervals, stirring between each, until smooth.
- Remove the pan from the fridge. Pour the melted chocolate over the chilled base and spread evenly.
- While the chocolate is still wet, drizzle a few concentric circles of melted peanut butter or white chocolate on top. Drag a toothpick from the center outward to create a spiderweb pattern.
- Refrigerate for at least 2 hours or until completely firm.
- Lift the block out using the parchment handles, place on a cutting board, and slice into 16 squares.
Notes
For cleaner cuts, slice while cold from the fridge. The bars can be stored in an airtight container in the refrigerator for up to 1 week or frozen for up to 3 months. For a dairy-free version, use plant-based butter and dairy-free chocolate chips. For a gluten-free version, use gluten-free graham crackers.
Nutrition
- Serving Size: 1 bar
- Calories: 280
- Sugar: 20
- Sodium: 180
- Fat: 18
- Saturated Fat: 8
- Carbohydrates: 28
- Fiber: 2
- Protein: 5
Keywords: no-bake, peanut butter, spiderweb, Halloween, bars, dessert, easy


