There used to be a tiny Italian place on the corner of Elm and 3rd, just past the dry cleaner that always smelled like steam and starch. They made this garlic butter chicken and rice that I still think about, and I’m not exaggerating. When they closed—poof, gone overnight, replaced by a vape shop—I actually stood outside staring at the sign for a solid minute. I mean, honestly, I was devastated. That chicken was my Tuesday night ritual after a long shift. The rice was always perfectly fluffy, soaking up all that buttery garlic goodness, and the chicken had this golden crust that made a sound when you cut into it. After twelve tries—twelve, and yes, I kept a notebook—I finally got it. This one-pan version is that exact memory, and it comes together in under an hour. You know that feeling when you take a bite and it just hits right? That’s this recipe. Maybe you’ve been chasing a similar ghost—a dish from a restaurant that just disappeared. Let me tell you, this is the one that brings it back.
Why You’ll Love This Recipe
This isn’t just another chicken and rice recipe. It’s the one you’ll make on a Tuesday when you’re exhausted, hungry, and have zero patience for complicated steps. I’ve tested this more times than I care to admit, and every single batch came out consistently perfect—which is saying something, because I once burned toast. Here’s what makes this recipe stand out:
- Quick & Easy: From start to finish, this dish is ready in about 45 minutes. Most of that time is hands-off, letting the oven or stovetop do the work.
- Simple Ingredients: You likely already have garlic, butter, rice, and chicken in your kitchen. No fancy trips to specialty stores required.
- Perfect for Weeknights: This is the definition of a busy-weekend dinner. It’s hearty enough to satisfy after a long day but simple enough to make without thinking.
- Crowd-Pleaser: I’ve served this to picky kids, skeptical in-laws, and hungry neighbors. It gets rave reviews every single time.
- Unbelievably Delicious: The garlic butter sauce seeps into every grain of rice, and the chicken stays juicy with a beautifully browned exterior. It’s comfort food at its finest.
What makes this recipe different from all the other one-pan chicken and rice dishes out there? It’s the technique. I brown the chicken first to build that deep flavor, then toast the rice in the garlic butter before adding the liquid. That extra step—toasting the rice—makes a world of difference. It gives the dish a nutty, rich undertone that you just don’t get from dumping everything in at once. This isn’t my first version of this recipe; it’s my best version. And honestly, after twelve tries, it better be.
What Ingredients You Will Need
This recipe uses simple, wholesome ingredients to deliver bold flavor and satisfying texture without the fuss. Most of these are pantry staples, which makes this dish perfect for those nights when you don’t want to run to the store.
- For the Chicken:
- 4 boneless, skinless chicken thighs (or breasts, if you prefer) – about 1.5 pounds total
- 1 teaspoon salt
- ½ teaspoon black pepper
- 1 teaspoon paprika (adds color and a subtle smokiness)
- ½ teaspoon garlic powder
- For the Garlic Butter Rice:
- 4 tablespoons unsalted butter (I recommend Kerrygold for its richness)
- 6 cloves garlic, minced (fresh is non-negotiable here—don’t use the jarred stuff)
- 1 cup long-grain white rice (jasmine or basmati work beautifully)
- 2 cups chicken broth (low-sodium, so you can control the salt)
- ½ cup water
- ½ teaspoon dried thyme
- ¼ teaspoon red pepper flakes (optional, but I love the tiny kick)
- Salt and pepper to taste
- For Finishing:
- 2 tablespoons fresh parsley, chopped (for color and freshness)
- 1 tablespoon lemon juice (brightens everything up)
- Extra butter for serving (because why not?)
A note on the rice: I’ve tried this with brown rice, and it works, but you’ll need to adjust the liquid and cooking time. For the quickest, most reliable results, stick with white rice. Also, if you’re using chicken breasts instead of thighs, keep an eye on them—they dry out faster. I personally prefer thighs for this recipe because they stay juicy and forgiving.
Equipment Needed
One of the best things about this recipe is that you don’t need a ton of fancy equipment. Here’s what you’ll need:
- A large oven-safe skillet or Dutch oven – I use a 12-inch cast iron skillet, but any heavy-bottomed pan with a lid works. If you don’t have an oven-safe lid, you can cover it with foil.
- A sharp knife – For mincing garlic and chopping parsley. A dull knife makes everything harder.
- A cutting board – Preferably one that won’t slide around on your counter.
- Measuring cups and spoons – For accurate measurements, especially for the rice and liquid.
- Tongs – For flipping the chicken without piercing it and losing juices.
- A wooden spoon or spatula – For stirring the rice and scraping up any browned bits from the pan.
If you don’t have an oven-safe skillet, you can cook this entirely on the stovetop. Just keep the heat low and cover the pan tightly. I’ve done it both ways, and honestly, the stovetop version is almost as good. But the oven gives you that even, gentle heat that makes the rice perfectly fluffy every time.
Preparation Method
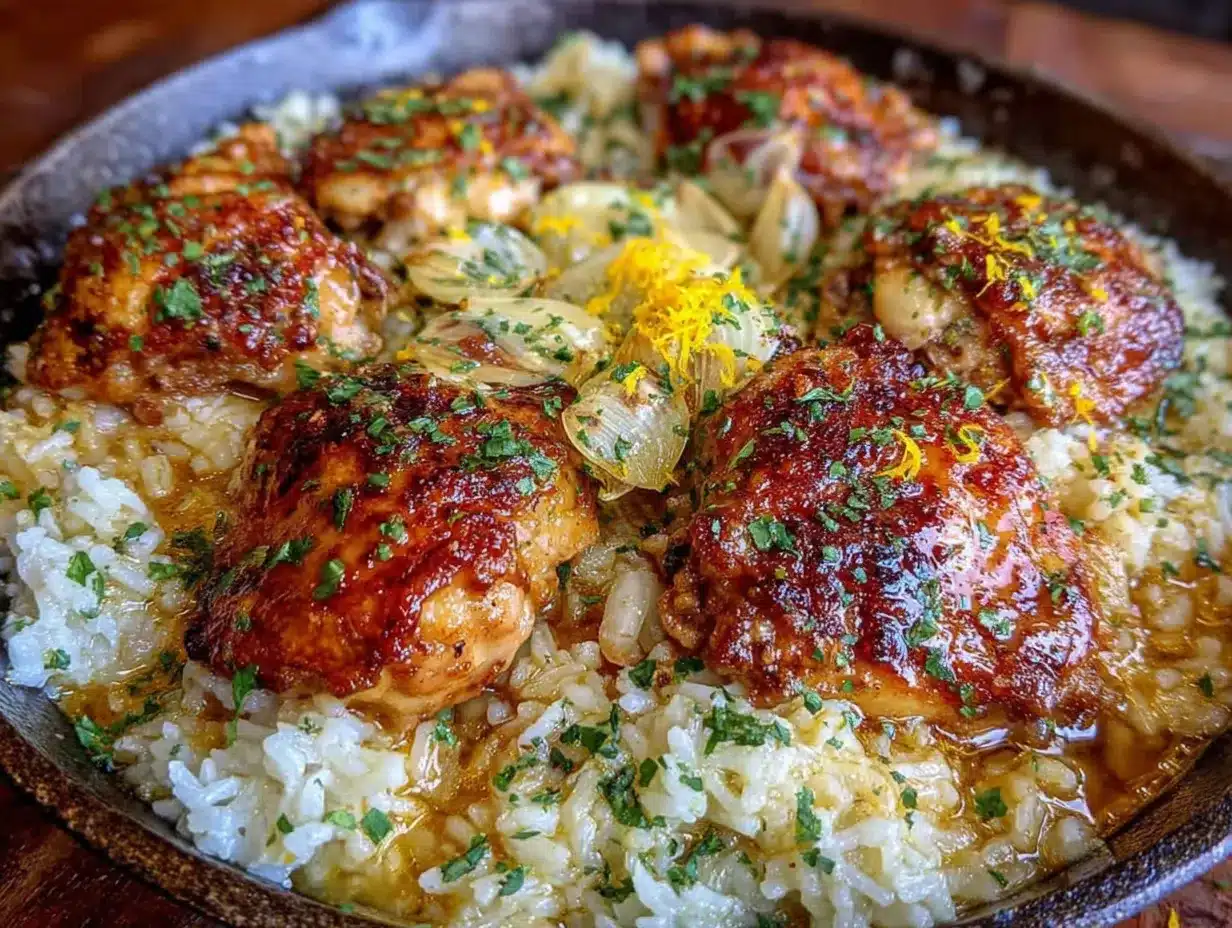
This recipe comes together in one pan, which means less cleanup and more time to relax. Here’s how to do it:
- Prep the chicken: Pat the chicken thighs dry with paper towels. This is crucial for getting a good sear. Season both sides with salt, pepper, paprika, and garlic powder. Let them sit for about 10 minutes while you prep the other ingredients.
- Brown the chicken: Heat 2 tablespoons of butter in your skillet over medium-high heat. Once it’s melted and sizzling, add the chicken thighs, skin-side down if they have skin. Cook for 4-5 minutes until golden brown and crispy. Flip and cook for another 3-4 minutes. Don’t crowd the pan—if your skillet is small, do this in batches. Transfer the chicken to a plate and set aside. It won’t be fully cooked yet, and that’s okay.
- Toast the rice: Reduce the heat to medium. Add the remaining 2 tablespoons of butter to the same skillet. Once melted, add the minced garlic and cook for about 30 seconds until fragrant—don’t let it burn. Add the rice and stir constantly for 2-3 minutes until the grains turn slightly translucent and you can smell a nutty aroma. This toasting step is what makes the rice so flavorful.
- Add the liquid: Pour in the chicken broth and water, then add the dried thyme and red pepper flakes if using. Stir everything together, scraping up any browned bits from the bottom of the pan. Those bits are pure flavor. Bring the liquid to a gentle simmer.
- Return the chicken: Nestle the browned chicken thighs into the rice, skin-side up if applicable. Pour any accumulated juices from the plate into the pan. Cover the skillet with a tight-fitting lid or foil.
- Cook: Transfer the skillet to a preheated 375°F (190°C) oven. Bake for 25-30 minutes, or until the rice is tender and has absorbed most of the liquid, and the chicken reaches an internal temperature of 165°F (74°C). If you’re cooking on the stovetop, keep the heat on low and cook for about 20-25 minutes, then let it rest covered for 5 minutes.
- Rest and finish: Remove the skillet from the oven and let it sit, covered, for 5 minutes. This allows the rice to finish steaming and absorb any remaining liquid. Uncover, fluff the rice with a fork, and squeeze fresh lemon juice over everything. Sprinkle with chopped parsley and add an extra pat of butter if you’re feeling indulgent.
- Serve: Spoon the garlic butter rice onto plates, top with a chicken thigh, and enjoy the fruits of your labor.
A quick note: if the rice looks a little wet after the cooking time, don’t panic. Just let it sit covered for a few more minutes. If it’s still wet, remove the lid and let it cook on low heat for a couple of minutes to evaporate the excess liquid.
Cooking Tips & Techniques
Over the course of those twelve attempts, I learned a few things the hard way. Here are my best tips for getting this recipe right every single time:
- Don’t skip browning the chicken. I know it’s tempting to just throw everything in the pan and call it a day, but that golden crust is where the flavor lives. It also creates those browned bits on the bottom of the pan that infuse the rice with deep, savory goodness.
- Toast the rice properly. This is the step that separates good one-pan chicken and rice from great one-pan chicken and rice. Stir it constantly and don’t walk away. You want it to smell nutty and look slightly translucent, not burnt.
- Use a lid that fits tightly. Steam is your friend here. If your lid is loose, the rice won’t cook evenly. If you don’t have a tight-fitting lid, use a double layer of foil and crimp it around the edges.
- Let it rest. I know you’re hungry, but those five minutes of resting time are non-negotiable. The rice continues to cook and absorb moisture, resulting in a fluffier texture.
- Adjust the heat as needed. Every stovetop is different. If you notice the liquid evaporating too quickly, turn the heat down. If the rice is still hard after the cooking time, add a splash of water and cook a few minutes longer.
I once forgot to add the garlic. I mean, I just completely spaced on it. The rice was bland, the chicken was sad, and I sat there eating it thinking, “Something is very wrong here.” Don’t be like me. Double-check your ingredients before you start cooking.
Variations & Adaptations
This recipe is incredibly flexible, and I’ve tried a few variations over the years. Here are some of my favorites:
- Lemon Herb Version: Add the zest of one lemon along with the garlic, and swap the thyme for rosemary or oregano. Finish with extra lemon juice and fresh dill. It’s bright and fresh—perfect for spring.
- Creamy Mushroom Version: After browning the chicken, sauté 8 ounces of sliced mushrooms in the pan until golden. Then proceed with the garlic and rice. Stir in ¼ cup of heavy cream at the end for an extra-luxurious sauce.
- Spicy Cajun Version: Replace the paprika with Cajun seasoning and add a diced bell pepper and some sliced andouille sausage along with the rice. It’s hearty, smoky, and has a nice kick.
- Vegetarian Option: Skip the chicken and use vegetable broth. Add chickpeas or white beans for protein, and load up on veggies like bell peppers, zucchini, and spinach. The garlic butter rice is still the star.
- Dairy-Free Adaptation: Use olive oil or a high-quality vegan butter instead of regular butter. The flavor changes slightly, but it’s still delicious.
My personal favorite variation is the lemon herb version. I made it last summer when I had an abundance of fresh herbs from my neighbor’s garden, and it was honestly better than the original. The lemon cuts through the richness of the butter perfectly.
Serving & Storage Suggestions
This dish is best served hot, straight from the skillet. I like to spoon the rice onto plates first, then top each serving with a chicken thigh and a generous sprinkle of fresh parsley. A side of steamed green beans or a simple green salad with a lemony vinaigrette complements the richness of the garlic butter beautifully.
For leftovers, let the dish cool completely before transferring it to an airtight container. It will keep in the refrigerator for up to 4 days. The flavors actually meld together overnight, making it even better the next day. I’ve been known to eat this cold straight from the container, and I have no regrets.
To reheat, add a splash of water or chicken broth to a skillet over medium-low heat, then add the rice and chicken. Cover and cook for 5-7 minutes, stirring occasionally, until heated through. You can also use the microwave, but the stovetop method does a better job of reviving the texture of the rice.
This dish freezes surprisingly well. Portion it into freezer-safe containers and freeze for up to 3 months. Thaw overnight in the refrigerator before reheating. I often double the recipe and freeze half for those nights when I just can’t even.
Nutritional Information & Benefits
Here’s an approximate nutritional breakdown per serving (based on 4 servings):
- Calories: 520
- Protein: 35g
- Fat: 22g
- Carbohydrates: 42g
- Fiber: 1g
- Sugar: 1g
- Sodium: 680mg
This dish provides a good balance of protein, carbs, and healthy fats from the butter. Chicken thighs are rich in B vitamins, particularly niacin and B6, which support energy metabolism. Garlic is known for its immune-boosting properties and adds a punch of flavor without extra calories. The rice provides quick energy, making this a great meal for refueling after a long day.
If you’re watching your sodium, use low-sodium broth and go easy on the added salt. You can also swap white rice for brown rice to increase fiber content, though you’ll need to adjust the liquid and cooking time accordingly.
Conclusion
This easy one-pan garlic butter chicken and rice is more than just a weeknight dinner—it’s a memory brought back to life. After twelve tries, I can confidently say this recipe captures everything I loved about that little Italian place on Elm Street. The garlic butter rice is perfectly fluffy and rich, the chicken is juicy and golden, and the whole thing comes together in one pan with minimal fuss. It’s the kind of meal that makes you close your eyes after the first bite and just sigh. I hope you give it a try and make it your own. Maybe you’ll add a little extra lemon, or throw in some mushrooms, or double the garlic (I won’t judge). Whatever you do, I’d love to hear about it. Drop a comment below and tell me how it turned out, or share your own variation. Happy cooking, friends.
Frequently Asked Questions
Can I use chicken breasts instead of thighs?
Absolutely. Chicken breasts work fine, but they cook faster and can dry out more easily. Use a meat thermometer to check for doneness at 165°F (74°C), and consider reducing the oven time by 5 minutes.
Can I make this in a slow cooker?
You can, but the texture will be different. Brown the chicken and toast the rice on the stovetop first, then transfer everything to a slow cooker. Cook on low for 2-3 hours, checking the rice for doneness. The rice may turn out softer than the oven version.
What if my rice is still crunchy after the cooking time?
Add a splash of water or broth, cover the pan tightly, and cook for another 5-10 minutes on low heat. The rice will continue to absorb liquid and soften.
Can I use brown rice instead of white rice?
Yes, but you’ll need to adjust the liquid and cooking time. Use 2 ½ cups of broth instead of 2 cups, and increase the oven time to about 45-50 minutes. Brown rice also benefits from soaking for 30 minutes before cooking.
How do I prevent the garlic from burning?
Add the garlic to the pan after the butter has melted but before it starts to brown. Cook it for no more than 30 seconds before adding the rice. Garlic burns quickly, so keep an eye on it and stir constantly.
Pin This Recipe!
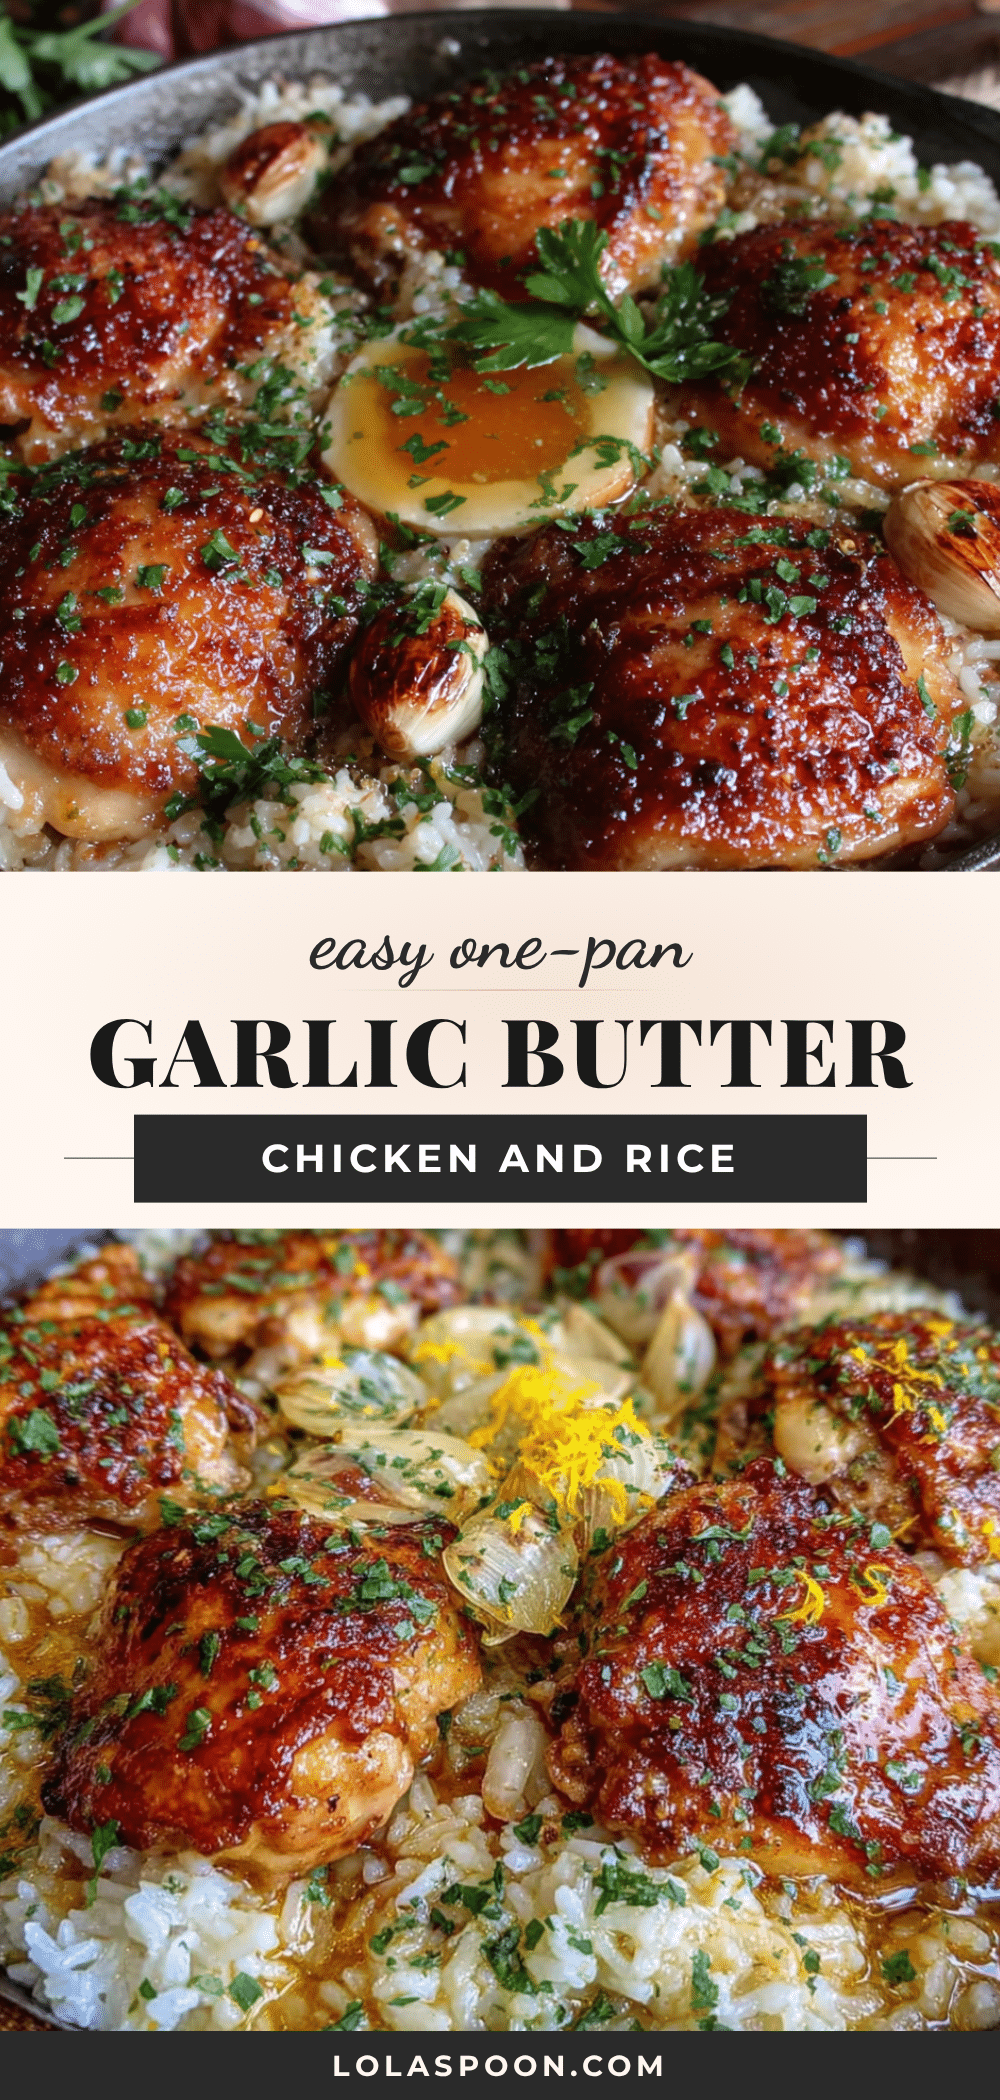
Easy One-Pan Garlic Butter Chicken and Rice (Perfect Weeknight Dinner)

This one-pan garlic butter chicken and rice is a quick and easy weeknight dinner that brings back the memory of a beloved Italian restaurant dish. With perfectly fluffy rice and juicy, golden chicken, it’s comfort food at its finest, ready in under an hour.
- Prep Time: 15 minutes
- Cook Time: 30 minutes
- Total Time: 45 minutes
- Yield: 4 servings 1x
- Category: Main Course
- Cuisine: Italian
Ingredients
- 4 boneless, skinless chicken thighs (about 1.5 pounds total)
- 1 teaspoon salt
- ½ teaspoon black pepper
- 1 teaspoon paprika
- ½ teaspoon garlic powder
- 4 tablespoons unsalted butter
- 6 cloves garlic, minced
- 1 cup long-grain white rice (jasmine or basmati)
- 2 cups low-sodium chicken broth
- ½ cup water
- ½ teaspoon dried thyme
- ¼ teaspoon red pepper flakes (optional)
- Salt and pepper to taste
- 2 tablespoons fresh parsley, chopped
- 1 tablespoon lemon juice
- Extra butter for serving (optional)
Instructions
- Prep the chicken: Pat the chicken thighs dry with paper towels. Season both sides with salt, pepper, paprika, and garlic powder. Let them sit for about 10 minutes.
- Brown the chicken: Heat 2 tablespoons of butter in a large oven-safe skillet over medium-high heat. Once melted and sizzling, add the chicken thighs. Cook for 4-5 minutes until golden brown, then flip and cook for another 3-4 minutes. Transfer to a plate and set aside.
- Toast the rice: Reduce heat to medium. Add the remaining 2 tablespoons of butter to the skillet. Once melted, add the minced garlic and cook for about 30 seconds until fragrant. Add the rice and stir constantly for 2-3 minutes until slightly translucent and nutty.
- Add the liquid: Pour in the chicken broth and water, then add the dried thyme and red pepper flakes if using. Stir, scraping up any browned bits from the bottom. Bring to a gentle simmer.
- Return the chicken: Nestle the browned chicken thighs into the rice, skin-side up. Pour any accumulated juices from the plate into the pan. Cover the skillet with a tight-fitting lid or foil.
- Cook: Transfer the skillet to a preheated 375°F (190°C) oven. Bake for 25-30 minutes, or until the rice is tender and the chicken reaches an internal temperature of 165°F (74°C). For stovetop, cook on low heat for 20-25 minutes, then rest covered for 5 minutes.
- Rest and finish: Remove from oven and let sit, covered, for 5 minutes. Uncover, fluff the rice with a fork, and squeeze fresh lemon juice over everything. Sprinkle with chopped parsley and add an extra pat of butter if desired.
- Serve: Spoon the garlic butter rice onto plates, top with a chicken thigh, and enjoy.
Notes
For best results, don’t skip browning the chicken or toasting the rice. Use a tight-fitting lid. Let the dish rest for 5 minutes before serving. If rice is still crunchy after cooking, add a splash of water and cook for another 5-10 minutes on low heat.
Nutrition
- Serving Size: 1 chicken thigh with
- Calories: 520
- Sugar: 1
- Sodium: 680
- Fat: 22
- Saturated Fat: 10
- Carbohydrates: 42
- Fiber: 1
- Protein: 35
Keywords: one-pan chicken and rice, garlic butter chicken, weeknight dinner, easy chicken recipe, one pan meal