I was scraping ice off my windshield last November—a Tuesday, I think—when the cold air hit me with this faint, sweet smell. Not the smell of winter, but of apples. And not just any apples, but the ones my aunt Carol used to slice on her cracked ceramic plate every fall afternoon. She’d sit me on a stool in her tiny kitchen, hand me a piece of peel, and tell me to “wait for the good part.” The good part was always the cake that came after. She’s been gone six years now, and I still can’t walk past a farm stand without stopping. Honestly, I think that’s why I started baking this apple cider cake in the first place—I was trying to hold onto a feeling I couldn’t quite name.
The first time I made it, I forgot the brown butter glaze. Let me tell you, the kitchen smelled incredible, but the cake felt… unfinished. Like a hug without the squeeze. So I went back, browned the butter again (and burned it the second time—whoops), and finally got it right. That third attempt? That was the one. The one where my kids actually asked for seconds before I could even cut the first slice. You know that feeling when you finally nail a recipe that feels like home? That’s this cake.
This kid-approved apple cider cake with brown butter glaze isn’t fancy. It’s not trying to be. It’s the kind of cake you make on a Wednesday because the apples are getting soft and you need something warm to get through the week. It’s simple, affordable, and somehow makes everyone at the table go quiet for a minute. Maybe you’ve been there—standing in your kitchen, wondering if one more apple recipe is really worth it. Trust me, this one is.
Why You’ll Love This Recipe
I’ve tested this apple cider cake more times than I care to admit. Five times, to be exact. The first batch was too dry. The second was too sweet. But the third? That was the sweet spot. Here’s why this version works for real families—not just food blogs.
- Quick & Easy: From mixing bowl to table in under an hour. No stand mixer needed, no complicated steps. Just a whisk, a bowl, and some good old-fashioned elbow grease.
- Simple Ingredients: You probably have most of this in your pantry right now. Apples, flour, sugar, butter, eggs—nothing that requires a special trip to the fancy grocery store.
- Perfect for Family Dinners: This cake shines on a weeknight dessert table or a Sunday afternoon snack. It’s not too sweet, not too heavy—just right for after a meal of roasted chicken or soup.
- Crowd-Pleaser: My neighbor’s kids, who swear they don’t like “anything with fruit in it,” asked for the recipe. That’s when I knew I had something special.
- Unbelievably Delicious: The brown butter glaze is the star here. It adds a nutty, warm depth that makes the apple cider flavor pop. You’ll want to put it on everything—pancakes, oatmeal, maybe even a spoon.
What makes this recipe different from all the other apple cakes out there? It’s the balance. The apple cider keeps the cake moist without making it soggy. The brown butter glaze adds richness without being cloying. And the texture? Perfectly tender, with a slight crumble that holds up to a forkful of glaze. I’ve tried the versions that use applesauce or yogurt, and they’re fine. But this one? This is the one I keep coming back to.
This cake isn’t just good—it’s the kind that makes you close your eyes after the first bite. It’s comfort food reimagined: faster, simpler, but with the same soul-soothing satisfaction. Perfect for impressing guests without stress, or turning a simple Tuesday into something memorable.
What Ingredients You Will Need
This recipe uses simple, wholesome ingredients to deliver bold flavor and satisfying texture. Most of these are pantry staples, so you won’t need to hunt down anything unusual.
- For the Cake:
- 2 cups all-purpose flour (I prefer King Arthur for consistent results)
- 1 ½ teaspoons baking powder
- ½ teaspoon baking soda
- ½ teaspoon salt
- 1 teaspoon ground cinnamon
- ½ teaspoon ground nutmeg (freshly grated if you have it—adds warmth)
- ¼ teaspoon ground cloves
- ½ cup unsalted butter, softened (room temperature is key)
- 1 cup granulated sugar
- ½ cup packed light brown sugar
- 2 large eggs, room temperature
- 1 teaspoon vanilla extract
- 1 cup apple cider (unfiltered is best—it has more flavor)
- 1 medium apple, peeled and grated (Granny Smith or Honeycrisp work well)
- For the Brown Butter Glaze:
- ½ cup unsalted butter
- 2 cups powdered sugar, sifted
- 3-4 tablespoons milk or heavy cream
- 1 teaspoon vanilla extract
- Pinch of salt
Ingredient Tips: For the apple cider, look for one that’s unfiltered and not too sweet. I’ve tried the cloudy kind from the farmer’s market, and it gives the cake a deeper apple flavor. If you only have filtered cider, it’ll still work—just add an extra tablespoon. For the butter, don’t skimp on quality. I use Kerrygold for the glaze because it browns more evenly. For the apple, grating it fresh is non-negotiable. Pre-shredded apples release too much liquid and make the cake soggy. Grate it right before mixing, and don’t squeeze out the juice—you want that moisture.
Substitution Guidance: Need a gluten-free option? Swap the all-purpose flour for a 1:1 gluten-free baking blend. For a dairy-free version, use plant-based butter (I like Miyoko’s) and oat milk in the glaze. If you’re out of apple cider, you can use apple juice plus 1 tablespoon of apple cider vinegar—it mimics the tang. For the brown sugar, you can substitute coconut sugar, but the cake will be slightly less moist.
Equipment Needed
You don’t need a fancy kitchen to make this cake. Here’s what you’ll need:
- 9×5-inch loaf pan (or an 8×8-inch square pan for a thinner cake)
- Mixing bowls (one large, one medium)
- Whisk (for dry ingredients)
- Electric hand mixer or stand mixer (optional but helpful for creaming butter and sugar)
- Box grater (for grating the apple)
- Small saucepan (for browning the butter)
- Parchment paper (for lining the pan—trust me, it saves cleanup)
- Cooling rack (so the cake doesn’t get soggy on the bottom)
Budget-Friendly Alternatives: No hand mixer? A wooden spoon and some elbow grease work fine—just cream the butter and sugar until light and fluffy. No loaf pan? Use a muffin tin for apple cider muffins (bake for 18-20 minutes). No cooling rack? Use the wire rack from your oven—just make sure it’s clean. I’ve made this cake in a cast-iron skillet before, and it turned out great. The edges get a little crispier, which my kids actually prefer.
Preparation Method
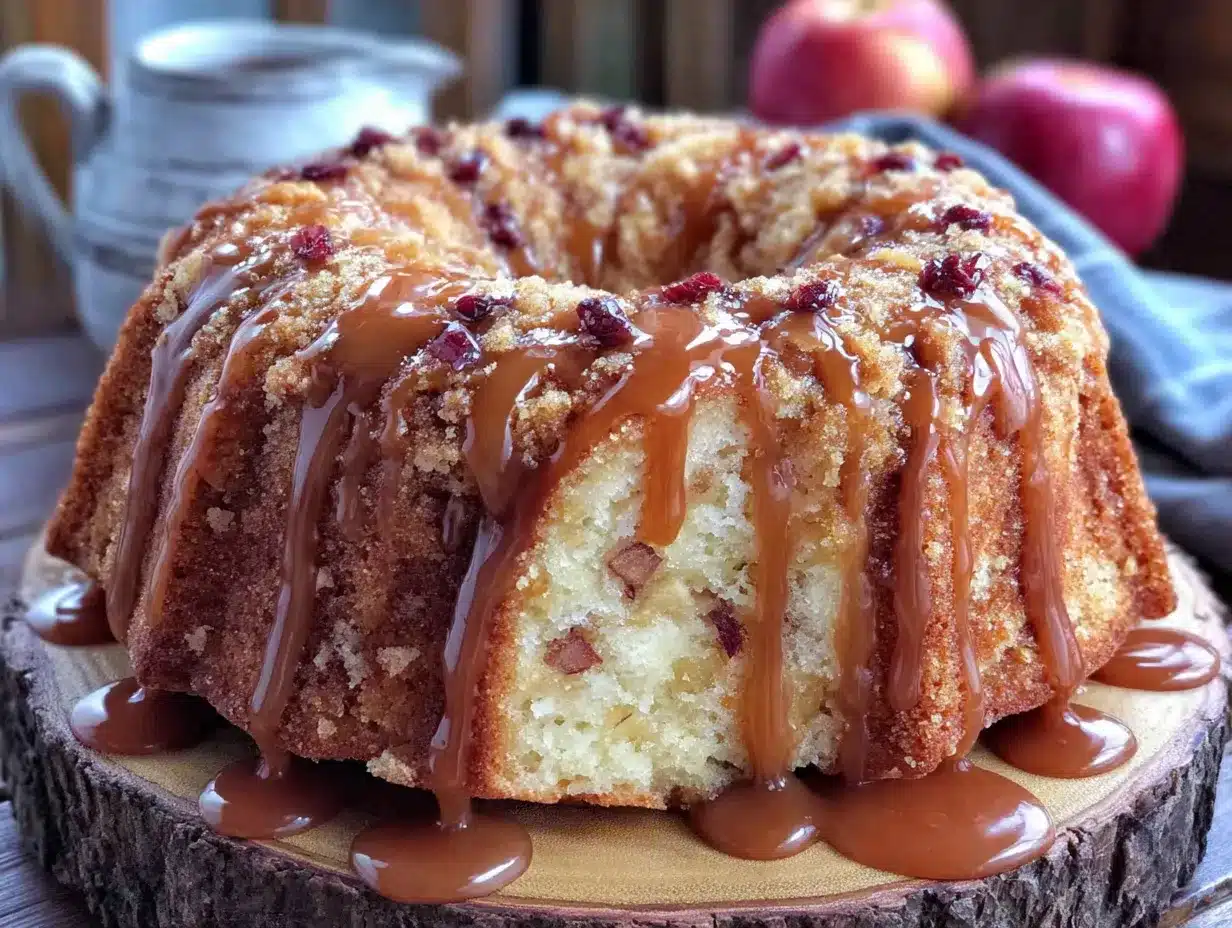
Let’s get baking. This recipe comes together in about 50 minutes total, including baking time. Here’s how:
- Preheat your oven to 350°F (175°C). Grease a 9×5-inch loaf pan and line it with parchment paper, leaving an overhang on the long sides. This makes lifting the cake out so much easier.
- Mix the dry ingredients. In a medium bowl, whisk together 2 cups all-purpose flour, 1 ½ teaspoons baking powder, ½ teaspoon baking soda, ½ teaspoon salt, 1 teaspoon cinnamon, ½ teaspoon nutmeg, and ¼ teaspoon cloves. Set aside.
- Cream the butter and sugars. In a large bowl, beat ½ cup softened unsalted butter with 1 cup granulated sugar and ½ cup packed light brown sugar until light and fluffy—about 3 minutes with an electric mixer. It should look pale and slightly airy.
- Add the eggs and vanilla. Beat in 2 large eggs one at a time, mixing well after each addition. Add 1 teaspoon vanilla extract and mix until combined. The mixture might look a little curdled—that’s okay.
- Alternate the dry ingredients and apple cider. Gradually add the flour mixture to the butter mixture in three additions, alternating with the 1 cup apple cider. Start and end with the flour mixture. Mix until just combined—overmixing makes the cake tough.
- Fold in the grated apple. Gently fold in the grated apple using a spatula. Don’t overmix; just fold until it’s evenly distributed. The batter will be thick and slightly lumpy—that’s perfect.
- Bake the cake. Pour the batter into the prepared loaf pan and smooth the top. Bake for 45-50 minutes, or until a toothpick inserted into the center comes out clean or with a few moist crumbs. If the top is browning too quickly (after about 30 minutes), tent it loosely with foil.
- Cool the cake. Let the cake cool in the pan for 10 minutes, then transfer it to a wire rack to cool completely. Don’t skip this step—if you glaze it while it’s warm, the glaze will just slide right off.
- Make the brown butter glaze. While the cake cools, melt ½ cup unsalted butter in a small saucepan over medium heat. Swirl the pan occasionally. The butter will foam, then turn golden, then develop brown specks at the bottom. This takes about 5-7 minutes. Watch it carefully—it can go from brown to burnt in seconds. Once it smells nutty and looks amber, remove it from the heat immediately.
- Finish the glaze. Let the brown butter cool for 5 minutes, then whisk in 2 cups sifted powdered sugar, 3-4 tablespoons milk or heavy cream, 1 teaspoon vanilla extract, and a pinch of salt. Whisk until smooth. If it’s too thick, add another tablespoon of milk. If it’s too thin, add a little more powdered sugar.
- Glaze the cake. Pour the glaze over the cooled cake, letting it drip down the sides. Let it set for 10-15 minutes before slicing. The glaze will firm up slightly but stay soft and luscious.
Sensory Cues: When the butter is browning, you’ll hear it crackle and pop. That’s the water evaporating. When it smells like toasted nuts and looks like honey, it’s ready. The cake is done when the kitchen smells like apples and cinnamon, and the top is a deep golden brown. If you tap the center, it should spring back slightly.
Cooking Tips & Techniques
I’ve made this cake a dozen times, and I’ve learned a few things the hard way. Here’s what I wish someone had told me:
- Room temperature ingredients matter. Cold eggs and cold butter don’t cream as well. Take them out of the fridge 30 minutes before you start. I’ve forgotten this before and ended up with a lumpy batter—still edible, but not as tender.
- Don’t overmix the batter. Once you add the flour, mix just until you don’t see any white streaks. Overmixing develops gluten, which makes the cake dense and tough. I learned this lesson after making a rubbery cake that my kids politely refused.
- Watch the butter like a hawk. Brown butter can go from perfect to burnt in 30 seconds. I burned my first batch because I walked away to answer a text. Now I stay put and swirl the pan constantly. The smell is your best indicator—when it smells nutty and toasty, pull it off the heat.
- Let the cake cool completely. I know it’s tempting to glaze it while it’s warm, but trust me—the glaze will just melt into a puddle. I made this mistake once and ended up with a soggy cake and a sticky mess. Patience pays off.
- Use a kitchen scale for accuracy. I know, I know—measuring cups are easier. But flour can be packed differently, leading to dry cakes. If you have a scale, use it. 240 grams of flour is the sweet spot here.
Multitasking Strategy: While the cake is baking, wash your dishes and prep the glaze ingredients. That way, when the cake comes out, you’re ready to go. I also like to set a timer on my phone for the brown butter—just in case I get distracted by a kid or a cat.
Variations & Adaptations
This recipe is forgiving. Here are some ways to make it your own:
- Gluten-Free Version: Swap the all-purpose flour for a 1:1 gluten-free baking blend. I’ve used Bob’s Red Mill with great results. Add 1 teaspoon of xanthan gum if your blend doesn’t include it.
- Dairy-Free Version: Use plant-based butter (like Miyoko’s) in the cake and glaze. For the glaze, use oat milk or coconut cream. The texture will be slightly different, but still delicious.
- Spice It Up: Add ¼ teaspoon of cardamom or ginger for a warmer flavor profile. I tried this once during the holidays, and it was a hit. It gives the cake a chai-like warmth.
- Add Nuts or Raisins: Fold in ½ cup of toasted walnuts or pecans for crunch. Or add ½ cup of golden raisins for sweetness. My kids prefer the nut-free version, but I sneak walnuts into mine.
- Make It a Layer Cake: Double the recipe and bake it in two 9-inch round pans for 25-30 minutes. Stack with extra brown butter glaze between the layers. It’s a showstopper for birthdays.
- Apple Cider Muffins: Pour the batter into a greased muffin tin and bake for 18-20 minutes. You’ll get about 12 muffins. Perfect for school lunches.
Personal Variation: I once added a handful of chopped dried apricots and a tablespoon of orange zest. It was a little weird, but honestly? My husband loved it. Don’t be afraid to experiment—that’s how the best recipes are born.
Serving & Storage Suggestions
This cake is best served slightly warm or at room temperature. The glaze is soft and luscious, so don’t refrigerate it before serving unless you want it to firm up.
- Serving Temperature: Let the cake sit out for 10 minutes after glazing. The glaze will set slightly but stay soft. Slice with a sharp knife, wiping it clean between cuts for neat slices.
- Presentation: Serve on a simple white plate or a wooden board. A dusting of powdered sugar and a few thin apple slices on the side make it look fancy without effort.
- Complementary Dishes: This cake pairs beautifully with a scoop of vanilla ice cream, a dollop of whipped cream, or a cup of hot coffee. For a cozy fall dessert, serve it with a mug of spiced cider.
- Storage: Store leftover cake in an airtight container at room temperature for up to 3 days. The glaze will soften over time, but the cake stays moist. If you live in a humid climate, refrigerate it to prevent mold.
- Freezing: This cake freezes beautifully. Wrap the unglazed cake tightly in plastic wrap, then foil, and freeze for up to 3 months. Thaw overnight in the fridge, then bring to room temperature before glazing. I’ve done this for holiday prep, and it works like a charm.
- Reheating: For a warm treat, microwave a slice for 15-20 seconds. The glaze will get slightly melty, which is divine. Or pop it in a 300°F oven for 5 minutes.
- How Flavors Develop: The apple cider flavor actually deepens after a day. Day-old cake is even better than fresh—the spices meld together, and the texture becomes more tender. My family fights over the leftovers.
Nutritional Information & Benefits
Here’s the approximate nutritional breakdown per slice (based on 10 slices):
- Calories: 380
- Fat: 18g
- Saturated Fat: 11g
- Carbohydrates: 52g
- Sugar: 36g
- Fiber: 2g
- Protein: 4g
- Sodium: 280mg
Health Benefits: Apples are a good source of fiber and vitamin C. The cinnamon in this cake has anti-inflammatory properties, and the nutmeg can aid digestion. Is this a health food? No. But it’s made with real ingredients, and that counts for something. I’d rather my kids eat a slice of this homemade cake than a store-bought one with preservatives and artificial flavors.
Dietary Considerations: This recipe contains gluten, dairy, and eggs. For a gluten-free or dairy-free version, see the variations section. It’s not low-carb or keto-friendly, but it’s perfect for a sensible family dessert.
Conclusion
This kid-approved apple cider cake with brown butter glaze is more than just a recipe—it’s a way to make a regular day feel special. It’s the cake you make when you need a little comfort, when the apples are getting soft, or when you just want to fill your kitchen with the smell of fall. It’s simple enough for a Tuesday, but good enough for a holiday table.
I love this recipe because it brings people together. My kids fight over the last slice. My husband asks for it every time the weather turns cold. And me? I love that I can make it without stress, without fancy equipment, and without breaking the bank. It’s a win for everyone.
Now it’s your turn. Give this recipe a try, and make it your own. Add extra cinnamon if that’s your thing. Skip the glaze if you’re in a rush. Or double the batch and share it with a neighbor. I’d love to hear how it turns out. Drop a comment below, tag me in your photos, or tell me what variation you tried. Happy baking, friend—you’ve got this.
Frequently Asked Questions
Can I use apple juice instead of apple cider?
Yes, but the flavor will be less intense. Add 1 tablespoon of apple cider vinegar to mimic the tang of cider. The texture will still be moist and tender.
Why did my brown butter glaze turn out grainy?
This usually happens if the butter is too hot when you add the powdered sugar, or if the sugar isn’t sifted. Let the butter cool for 5 minutes, and always sift your powdered sugar. If it’s already grainy, whisk in a teaspoon of hot water to smooth it out.
Can I make this cake ahead of time?
Absolutely. Bake the cake a day ahead, store it wrapped at room temperature, and glaze it just before serving. The flavors actually improve overnight. You can also freeze the unglazed cake for up to 3 months.
How do I know when the cake is done?
Insert a toothpick into the center. It should come out clean or with a few moist crumbs—not wet batter. The top should be golden brown and spring back when lightly pressed. If it jiggles, it needs more time.
Can I make this recipe into cupcakes?
Yes! Grease a muffin tin and fill each cup about ¾ full. Bake at 350°F for 18-20 minutes. You’ll get about 12-14 cupcakes. Glaze them while they’re slightly warm for a softer finish.
Pin This Recipe!
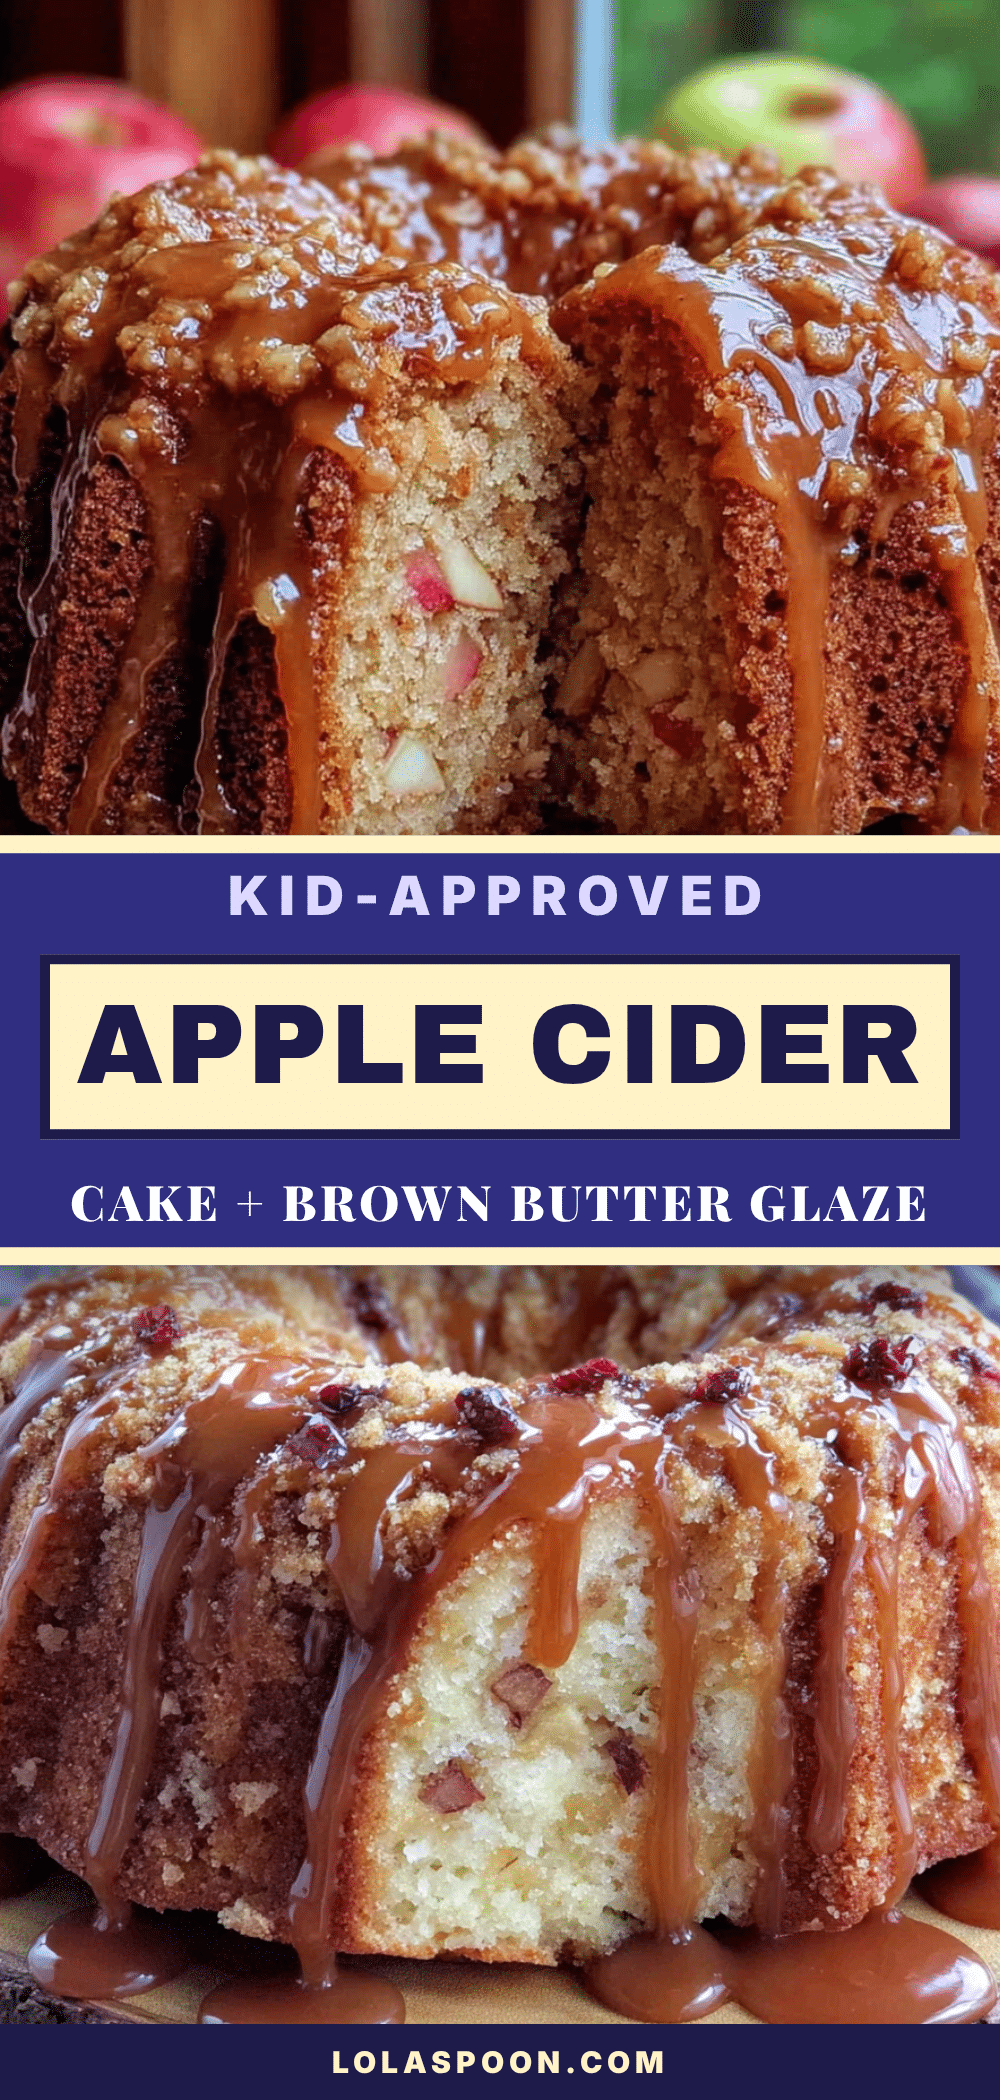
Kid-Approved Apple Cider Cake with Easy Brown Butter Glaze
A moist, tender apple cider cake with a nutty brown butter glaze that’s simple enough for a weeknight but special enough for company. Made with pantry staples and ready in under an hour, this kid-approved recipe is the perfect fall dessert.
- Prep Time: 15 minutes
- Cook Time: 45 minutes
- Total Time: 1 hour
- Yield: 10 servings 1x
- Category: Dessert
- Cuisine: American
Ingredients
- 2 cups all-purpose flour
- 1 ½ teaspoons baking powder
- ½ teaspoon baking soda
- ½ teaspoon salt
- 1 teaspoon ground cinnamon
- ½ teaspoon ground nutmeg
- ¼ teaspoon ground cloves
- ½ cup unsalted butter, softened
- 1 cup granulated sugar
- ½ cup packed light brown sugar
- 2 large eggs, room temperature
- 1 teaspoon vanilla extract
- 1 cup apple cider (unfiltered preferred)
- 1 medium apple, peeled and grated (Granny Smith or Honeycrisp)
- ½ cup unsalted butter (for glaze)
- 2 cups powdered sugar, sifted
- 3–4 tablespoons milk or heavy cream
- 1 teaspoon vanilla extract (for glaze)
- Pinch of salt
Instructions
- Preheat oven to 350°F (175°C). Grease a 9×5-inch loaf pan and line with parchment paper, leaving overhang on long sides.
- In a medium bowl, whisk together flour, baking powder, baking soda, salt, cinnamon, nutmeg, and cloves. Set aside.
- In a large bowl, beat softened butter with granulated sugar and brown sugar until light and fluffy, about 3 minutes.
- Beat in eggs one at a time, then add vanilla extract. Mixture may look slightly curdled.
- Gradually add flour mixture in three additions, alternating with apple cider, starting and ending with flour. Mix until just combined.
- Gently fold in grated apple with a spatula until evenly distributed. Batter will be thick and slightly lumpy.
- Pour batter into prepared pan and smooth top. Bake for 45-50 minutes until a toothpick inserted in center comes out clean or with moist crumbs. Tent with foil after 30 minutes if browning too quickly.
- Cool cake in pan for 10 minutes, then transfer to wire rack to cool completely.
- For glaze: Melt ½ cup butter in small saucepan over medium heat. Swirl pan occasionally until butter foams, turns golden, and develops brown specks (5-7 minutes). Remove from heat immediately when it smells nutty.
- Let brown butter cool for 5 minutes, then whisk in sifted powdered sugar, milk or cream, vanilla extract, and salt until smooth. Adjust consistency with more milk or sugar as needed.
- Pour glaze over cooled cake, letting it drip down sides. Let set for 10-15 minutes before slicing.
Notes
Room temperature ingredients are key for best texture. Don’t overmix the batter once flour is added. Watch brown butter carefully as it can burn quickly. Let cake cool completely before glazing. Day-old cake has even deeper flavor. For gluten-free, use 1:1 gluten-free baking blend. For dairy-free, use plant-based butter and oat milk.
Nutrition
- Serving Size: 1 slice
- Calories: 380
- Sugar: 36
- Sodium: 280
- Fat: 18
- Saturated Fat: 11
- Carbohydrates: 52
- Fiber: 2
- Protein: 4
Keywords: apple cider cake, brown butter glaze, fall dessert, easy cake recipe, kid-friendly dessert, apple cake, homemade cake