This was supposed to be baked chicken. Just your standard, throw-it-in-a-dish-with-some-breading-and-hope-for-the-best kind of Tuesday night dinner. I had the chicken thighs thawed, the breadcrumbs measured, and my three-year-old was already asking, “What’s for dinner, Mommy?” for the fifth time that hour. The oven was preheating, I was feeling pretty good about myself for actually planning ahead, and then—the power flickered. Not a full blackout, just enough of a glitch to reset my oven’s clock and kill the heat. I stood there staring at the digital display blinking “12:00,” and honestly, I almost just ordered pizza.
But I had already seasoned the chicken. And let me tell you, when you are on a budget, you do not waste seasoned chicken. So I grabbed my air fryer—the one I had bought on a whim from a discount store two years ago and barely used—and decided to just see what happened. I tossed the thighs in, set the timer for way too long out of pure guesswork, and braced for the worst. Fifteen minutes later, the kitchen smelled incredible. I opened the basket and there they were: golden, crispy, and sizzling. My kid came running in, grabbed one right off the tray (burned her fingers, cried for two seconds, and then took a bite), and said, “Mommy, this is the best chicken ever.” I mean, that does not happen every day, you know?
That happy accident turned into a regular in our weekly rotation. These Kid-Approved Crispy Air Fryer Garlic Parmesan Chicken Thighs are now what I make when I need a win. They are fast, they use stuff I usually have in the pantry, and they make everyone at the table actually happy. Maybe you have been there—standing in a kitchen where nothing goes according to plan, wondering if dinner is going to be a disaster. Trust me, this recipe is the kind of accident you want to have again and again.
Why You’ll Love This Recipe
I have tested this recipe more times than I can count, tweaking the breading ratio and the cooking time until it was absolutely foolproof. Here is why this one is a keeper for your family:
- Quick & Easy: From start to table in under 25 minutes. No marinating, no complicated steps—just mix, coat, and air fry.
- Simple Ingredients: You likely have everything in your kitchen right now. Breadcrumbs, garlic powder, Parmesan cheese—no fancy grocery trips needed.
- Perfect for Busy Weeknights: When you are juggling homework, bath time, and your own exhaustion, this recipe delivers without the stress.
- Crowd-Pleaser: My kids devour these, and so do the adults. It is one of those rare dishes that bridges the gap between what the little ones want and what you actually want to eat.
- Unbelievably Crispy: The air fryer gives you that deep-fried crunch without the oil. Seriously, the texture is next-level comfort food.
What makes this recipe different from the rest? It is the combination of finely grated Parmesan in the breading and a quick spray of oil that creates a crust so golden and crunchy, you will think it came from a deep fryer. I have tried dozens of air fryer chicken recipes, and this is the only one that has never let me down. It is comfort food reimagined—healthier, faster, but with the same soul-soothing satisfaction. Perfect for impressing your family without any stress, or turning a simple Tuesday into something memorable.
What Ingredients You Will Need
This recipe uses simple, wholesome ingredients to deliver bold flavor and satisfying texture without the fuss. Most of these are pantry staples, so you probably do not need to make a special trip.
- Boneless, skinless chicken thighs (about 1.5 lbs or 680g) — I prefer thighs for their tenderness and flavor; they stay juicy even if you accidentally overcook them by a minute or two. You can use chicken breasts, but reduce the cooking time by a few minutes.
- Panko breadcrumbs (1 cup or 90g) — These give you the crispiest texture. Regular breadcrumbs work, but the crunch will not be as dramatic. I recommend the brand Kikkoman for consistent results.
- Grated Parmesan cheese (½ cup or 50g) — Use the finely grated kind from a can or a microplane, not the shredded stuff. The fine texture helps it stick to the chicken better and creates a more even crust.
- Garlic powder (1 teaspoon) — Not garlic salt! You want pure garlic flavor without extra sodium. If you only have garlic salt, cut the added salt in the recipe by half.
- Onion powder (½ teaspoon) — Adds a subtle savory depth that kids do not notice but makes the flavor more complex.
- Paprika (½ teaspoon) — For color and a mild sweetness. Smoked paprika works too, but it is a stronger flavor that some kids might find too intense.
- Salt (½ teaspoon) — I use fine sea salt. Adjust based on your Parmesan’s saltiness.
- Black pepper (¼ teaspoon) — Just a hint. You can skip it if your kids are super sensitive to spice.
- Eggs (2 large) — These help the breading stick. If you need an egg-free option, use ¼ cup of buttermilk or plain yogurt.
- Olive oil spray — A light misting is crucial for that golden crust. Do not skip this. I use a Misto sprayer filled with my own oil to control the amount.
- Fresh parsley (optional, for garnish) — Adds a pop of color and freshness. My kids like to pick it off, but it makes the dish look prettier for photos.
For the best texture, look for chicken thighs that are similar in size so they cook evenly. If some are much thicker, you can pound them gently to an even thickness. I have also used frozen thighs that I thawed overnight in the fridge—just pat them extra dry before breading.
Equipment Needed
You do not need a lot of fancy gear for this recipe, which is part of why I love it. Here is what you will need:
- Air fryer (any size works, but a 5-6 quart basket-style is ideal) — I have a Cosori and a Ninja, and both work beautifully. If you have an oven-style air fryer, just keep an eye on the cooking time as it may vary slightly.
- Two shallow bowls — For the egg wash and the breading mixture. I use pie plates because they are wide enough to dip the chicken easily.
- Tongs — For transferring the chicken without making a mess. Silicone-tipped ones are great so you do not scratch your air fryer basket.
- Cutting board — For prepping the chicken. I prefer a plastic or bamboo board that is easy to sanitize.
- Sharp knife — To trim any excess fat from the thighs. A good chef’s knife makes this quick work.
- Paper towels — Essential for patting the chicken dry. This is the most important step for getting a crispy crust.
- Measuring spoons and cups — For accuracy. I have learned the hard way that eyeballing the Parmesan can lead to a salty mess.
- Spray bottle with oil — Or a store-bought cooking spray. I use avocado oil spray for its high smoke point.
If you do not own an air fryer, you can bake these in a conventional oven at 400°F (200°C) for 20-25 minutes, flipping halfway. The texture will be less crispy, but they will still be delicious. I actually prefer the air fryer version now, and I found mine on sale for under $50—best investment I ever made for quick weeknight dinners.
Preparation Method
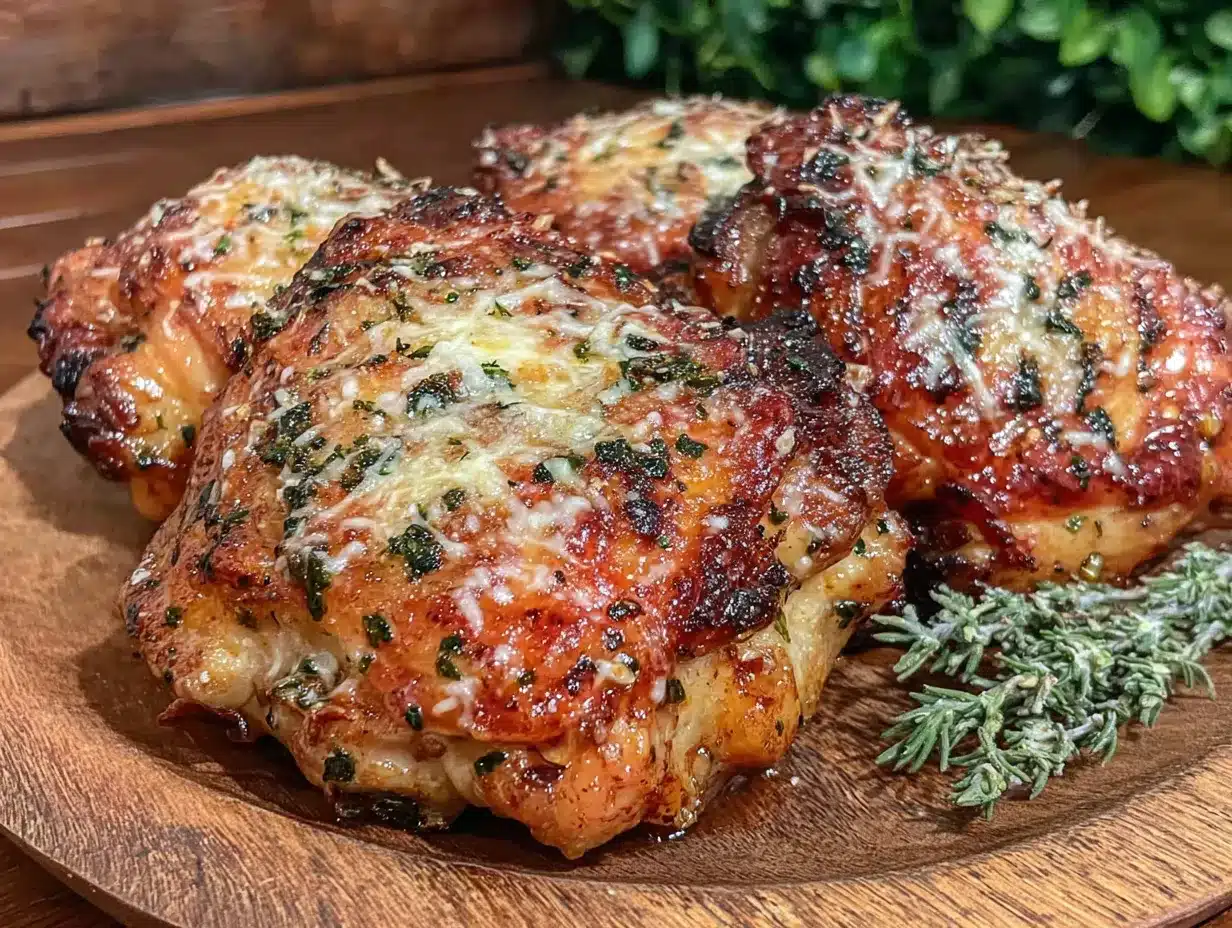
Let me walk you through this step by step. I have made this so many times that I can do it with a toddler clinging to my leg, and you will get the hang of it fast too.
- Pat the chicken dry — Take your chicken thighs out of the package and lay them on a cutting board lined with paper towels. Use more paper towels to press down firmly and absorb as much moisture as possible. This is not a step to rush. Wet chicken = soggy breading. I learned this the hard way after my first batch came out with a crust that slid right off.
- Season the chicken — Sprinkle both sides of the thighs lightly with salt and pepper. Just a pinch on each side. Do not go overboard because the Parmesan adds saltiness later.
- Set up your breading station — In one shallow bowl, crack both eggs and whisk them with a fork until they are uniform and slightly frothy. In the second bowl, combine the panko breadcrumbs, grated Parmesan, garlic powder, onion powder, and paprika. Stir with a fork to distribute everything evenly.
- Coat the chicken — Take one chicken thigh and dip it into the egg wash, letting any excess drip off. Then place it in the breadcrumb mixture. Press the breading firmly onto both sides—use your fingers to really pack it on. I use one hand for the wet step and one for the dry step to keep my fingers from turning into a sticky mess. Place the coated thigh on a clean plate or tray. Repeat with all the thighs.
- Preheat the air fryer — Set your air fryer to 375°F (190°C) and let it run for 3 minutes while you finish breading. This ensures the hot air hits the chicken immediately, which helps the crust set faster.
- Arrange the chicken in the basket — Place the coated thighs in a single layer in the air fryer basket. Do not overcrowd them. They need space for the hot air to circulate. I usually fit 4-5 thighs in my 5.8-quart basket. If you have more, cook them in batches. It is worth the extra few minutes.
- Spray with oil — Lightly mist the tops of the chicken with olive oil spray. This is what gives you that golden, crispy crust. Do not drench them—just a quick, even spritz.
- Cook for 12 minutes — Set the timer for 12 minutes. At the halfway mark (6 minutes), open the basket and flip each thigh using tongs. Spray the other side lightly with oil before closing the basket again. This flipping step ensures even browning on both sides.
- Check for doneness — After 12 minutes, use an instant-read thermometer to check the internal temperature. Chicken thighs are safe to eat at 165°F (74°C), but they are most tender at 175-180°F (80-82°C). If they are not there yet, cook for another 2-3 minutes and check again. The breading should be deep golden brown and feel crunchy to the touch.
- Rest before serving — Let the chicken rest on a clean plate for 2-3 minutes. This lets the juices redistribute so they do not run out when you cut into them. I know it is hard to wait, but trust me on this one.
Your kitchen will smell absolutely incredible at this point. The garlic and Parmesan combine into this savory aroma that is pure comfort. If the breading looks a little darker in spots, that is normal—it is just the cheese browning. It adds flavor, not bitterness.
Cooking Tips & Techniques
I have made plenty of mistakes with this recipe so you do not have to. Here is what I have learned:
Do not skip patting the chicken dry. This is the number one mistake people make with air fryer recipes. Moisture is the enemy of crispiness. If your chicken looks wet after patting, grab another paper towel and keep going. I once skipped this step when I was in a rush, and the breading turned into a pasty, soggy mess. Never again.
Use the right Parmesan. The powdery, finely grated kind from a shaker bottle works best here. Freshly grated Parmesan from a block is delicious, but it is too coarse and tends to clump in the breading. Save the good stuff for pasta. For this recipe, the cheap stuff actually performs better.
Do not overcrowd the basket. I know it is tempting to cram as many thighs in as possible to get dinner done faster, but you will end up with steamed chicken instead of crispy chicken. Leave at least half an inch of space between each piece. If you have to cook in batches, keep the first batch warm in a 200°F (90°C) oven while you finish the rest.
Adjust cooking time for thickness. Thicker thighs need a few extra minutes. If your thighs are on the smaller side, check them at the 10-minute mark. The best way to know is by using a thermometer—it takes the guesswork out completely. I use a Thermapen and it has saved me from serving undercooked chicken more times than I can count.
Double-coat for extra crunch. If you want an even thicker, crunchier crust, dip the breaded chicken back into the egg wash and then into the breadcrumbs again before air frying. This creates a double layer that is almost like a KFC-style coating. My husband loves it this way, but it does add a few minutes of prep time.
Let the breading rest. After coating all the thighs, let them sit on the plate for 5 minutes before air frying. This gives the breading time to adhere to the chicken, so it is less likely to fall off during cooking. I usually use this time to clean up my breading station or set the table.
Variations & Adaptations
This recipe is incredibly versatile. Here are some ways to switch it up based on what you have on hand or what your family is in the mood for:
Spicy Buffalo Version: Add 1 teaspoon of cayenne pepper to the breading mixture and serve the finished chicken with a drizzle of buffalo sauce. My husband loves this version, and it is great for game day. Just be warned—kids might find it too spicy, so maybe make a separate batch for them.
Gluten-Free Adaptation: Swap the panko breadcrumbs for gluten-free panko or crushed pork rinds. I have used both, and the pork rinds version is surprisingly delicious—extra crispy and low-carb. Just make sure to check that your Parmesan is gluten-free as well.
Lemon Herb Twist: Add the zest of one lemon and 1 teaspoon of dried oregano to the breading mixture. Squeeze fresh lemon juice over the finished chicken before serving. This brightens up the flavor and makes it feel lighter, perfect for spring or summer dinners.
Dairy-Free Option: Omit the Parmesan cheese and add an extra ¼ cup of panko breadcrumbs plus 1 tablespoon of nutritional yeast for that cheesy flavor without the dairy. The texture will be slightly different, but still very good. I have made this for a friend’s dairy-free kid, and she asked for seconds.
Air Fryer Chicken Tenders: Cut the chicken thighs into strips before breading and reduce the cooking time to 8-10 minutes. This is perfect for little hands that prefer finger food. My toddler calls them “chicken nuggets” and eats them with ketchup, which I pretend not to notice.
I have personally tried the lemon herb variation during a summer barbecue, and it was a hit with both kids and adults. The lemon cuts through the richness of the chicken and makes it feel less heavy. It is now my go-to for warmer months.
Serving & Storage Suggestions
These chicken thighs are best served fresh out of the air fryer when the crust is at its crispiest. Let them rest for just a couple of minutes, then serve them whole or sliced into strips. I like to arrange them on a platter with a sprinkle of fresh parsley and a lemon wedge on the side for squeezing.
For sides, keep it simple. Mashed potatoes, steamed broccoli, or a crisp garden salad all work beautifully. My kids love them with mac and cheese and a side of green beans. The chicken is flavorful enough that it does not need a heavy sauce, but a light drizzle of ranch dressing or honey mustard is always a hit with the little ones.
If you have leftovers (which is rare in my house), store them in an airtight container in the refrigerator for up to 3 days. The breading will soften over time, but they are still delicious. For reheating, the air fryer is your best friend. Pop them back in at 350°F (175°C) for 3-4 minutes until heated through and the crust crisps back up. The microwave will make them soggy, so avoid it if you can.
These chicken thighs also freeze beautifully. Let them cool completely, then place them in a single layer on a baking sheet and freeze for 1 hour. Transfer the frozen chicken to a freezer-safe bag or container. They will keep for up to 3 months. To reheat, cook from frozen in the air fryer at 375°F (190°C) for 8-10 minutes, flipping halfway. The texture will be almost as good as fresh.
The flavors actually meld together nicely overnight, so leftovers for lunch the next day are a real treat. I often make an extra batch just to have on hand for quick lunches during the week.
Nutritional Information & Benefits
Here is the approximate nutritional breakdown for one serving (based on 4 servings, using boneless skinless chicken thighs and the breading as listed):
| Nutrient | Amount per Serving |
|---|---|
| Calories | 385 |
| Protein | 32g |
| Fat | 18g |
| Saturated Fat | 6g |
| Carbohydrates | 18g |
| Fiber | 1g |
| Sugar | 1g |
| Sodium | 580mg |
Chicken thighs are a great source of protein, iron, and B vitamins, which support energy metabolism and overall health. The Parmesan cheese adds calcium and a boost of umami flavor without needing a lot of salt. By using the air fryer instead of deep frying, you cut the fat content significantly while still getting that satisfying crunch.
This recipe is naturally low-carb and can be made gluten-free with a simple swap. It is also nut-free and egg-free if you use the buttermilk alternative for the wash. As always, check your specific ingredient labels if you have allergies, especially with packaged Parmesan which sometimes contains anti-caking agents.
From a wellness perspective, I love that this recipe lets me feed my family a satisfying meal that feels indulgent but is actually quite balanced. It is proof that you do not need to sacrifice flavor to eat well on a budget.
Conclusion
These Kid-Approved Crispy Air Fryer Garlic Parmesan Chicken Thighs have saved my sanity on more weeknights than I can count. They are fast, affordable, and—most importantly—they make everyone at the table happy. Whether you are a seasoned cook or someone who is still figuring out how to use that air fryer you bought on a whim, this recipe is foolproof.
I love that I can customize it based on what is in my pantry or what my family is craving. It has become my go-to for busy nights, lazy Sundays, and everything in between. If you try it, I would love to hear how it turned out for you. Did your kids love it? Did you try a fun variation? Drop a comment below and let me know—I read every single one, and your feedback helps me create even better recipes for you.
Until next time, happy cooking, and remember: sometimes the best recipes come from the happiest accidents.
Frequently Asked Questions
Can I use chicken breasts instead of thighs?
Absolutely. Chicken breasts will work, but they are leaner and can dry out faster. Reduce the cooking time to 10-12 minutes and check the internal temperature at 165°F (74°C). Pound them to an even thickness first for the best results.
Why is my breading falling off?
This usually happens if the chicken is too wet or if you did not press the breading firmly enough. Make sure to pat the chicken very dry with paper towels before starting, and use your hands to really pack the breading onto the surface. Letting the coated chicken rest for 5 minutes before cooking also helps the breading stick.
Can I make this recipe ahead of time?
You can bread the chicken up to 4 hours in advance and keep it covered in the refrigerator. When you are ready to cook, just pop it in the air fryer straight from the fridge (add 1-2 minutes to the cooking time). Leftovers reheat beautifully in the air fryer.
How do I keep the chicken warm while cooking in batches?
Place the cooked chicken on a wire rack set over a baking sheet in a 200°F (90°C) oven. The wire rack prevents the bottom from getting soggy. This way, all your batches will be hot and crispy when you are ready to serve.
Is this recipe freezer-friendly?
Yes! Cook the chicken, let it cool completely, then freeze in a single layer on a baking sheet. Transfer to a freezer bag and store for up to 3 months. Reheat directly from frozen in the air fryer at 375°F (190°C) for 8-10 minutes. It is a lifesaver for busy nights.
Pin This Recipe!
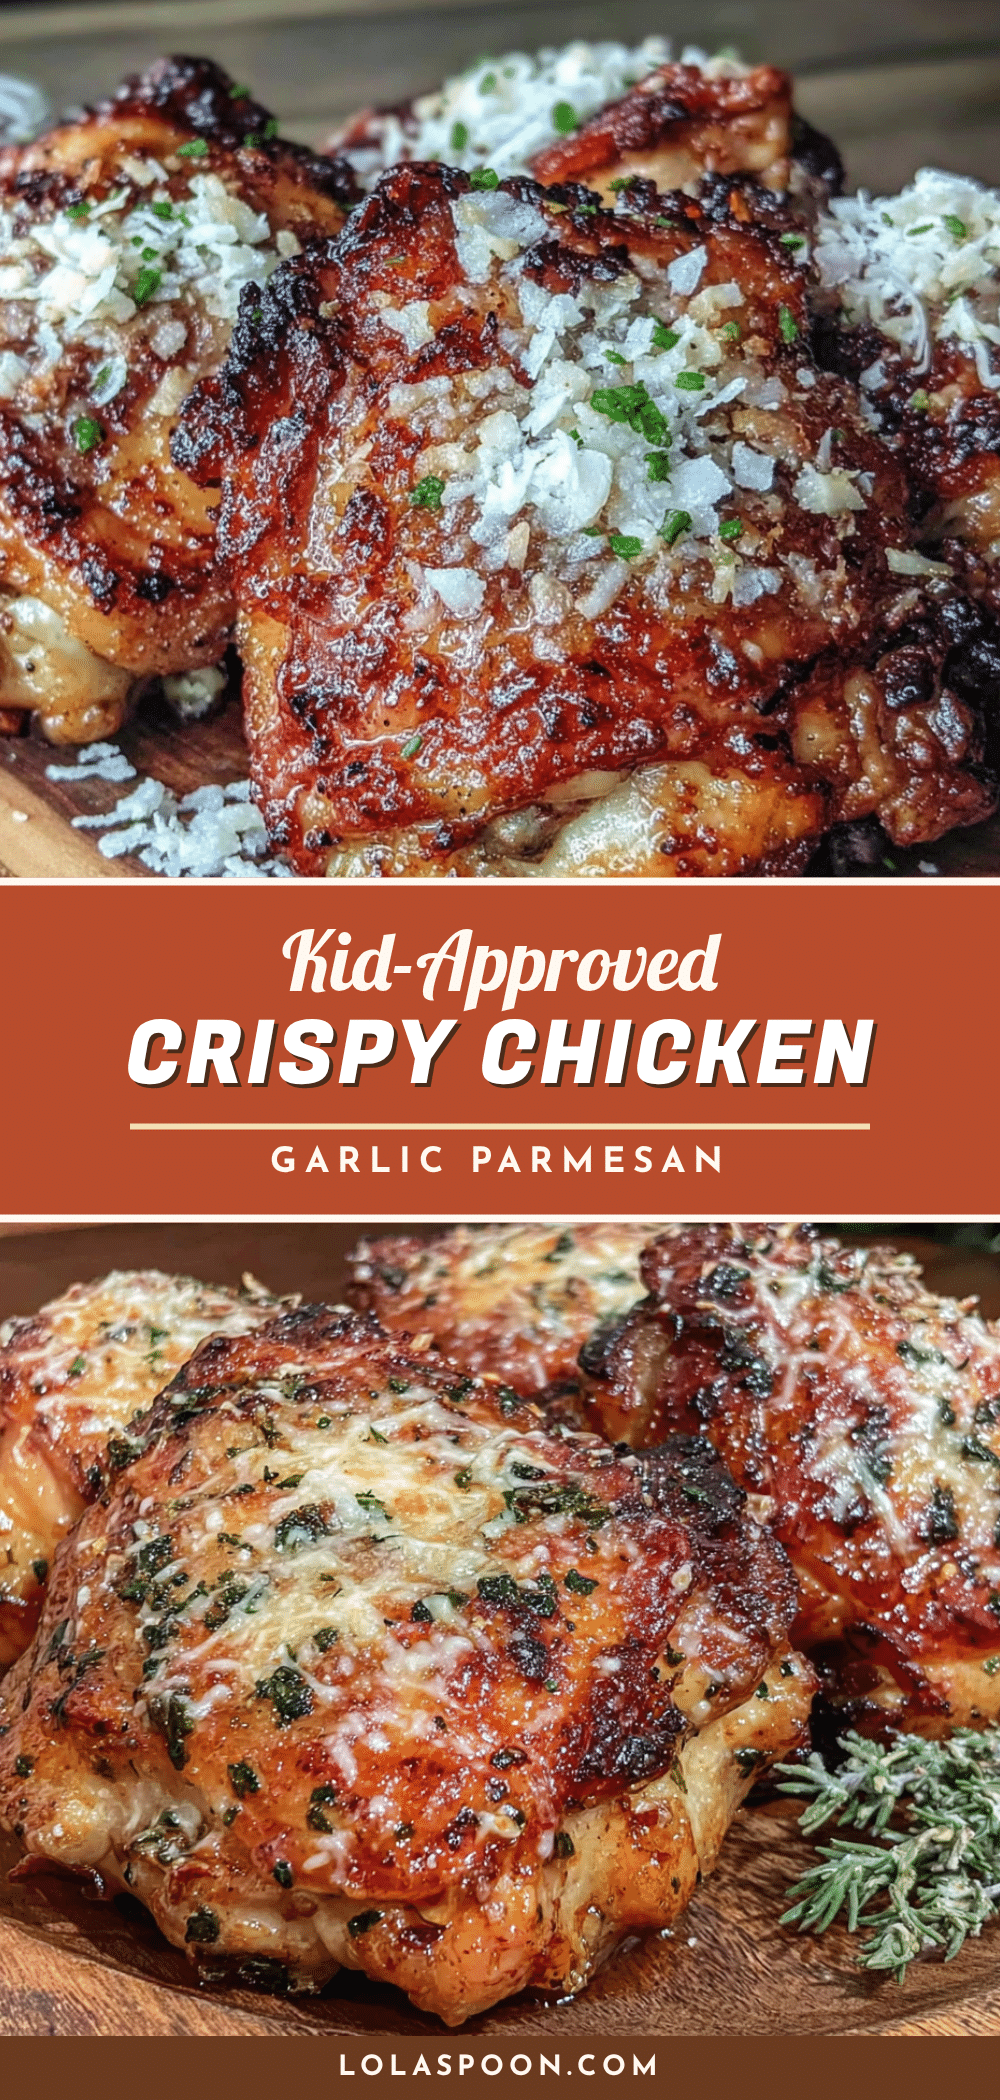
Kid-Approved Crispy Air Fryer Garlic Parmesan Chicken Thighs

These crispy air fryer chicken thighs are coated in a garlic Parmesan breading and cooked to golden perfection in under 25 minutes. A happy accident turned weeknight staple that kids and adults love.
- Prep Time: 10 minutes
- Cook Time: 12 minutes
- Total Time: 22 minutes
- Yield: 4 servings 1x
- Category: Main Course
- Cuisine: American
Ingredients
- 1.5 lbs (680g) boneless, skinless chicken thighs
- 1 cup (90g) panko breadcrumbs
- ½ cup (50g) grated Parmesan cheese
- 1 teaspoon garlic powder
- ½ teaspoon onion powder
- ½ teaspoon paprika
- ½ teaspoon fine sea salt
- ¼ teaspoon black pepper
- 2 large eggs
- Olive oil spray
- Fresh parsley (optional, for garnish)
Instructions
- Pat the chicken thighs dry with paper towels to remove excess moisture.
- Season both sides of the thighs lightly with salt and pepper.
- In a shallow bowl, whisk the eggs until frothy. In another shallow bowl, combine panko breadcrumbs, grated Parmesan, garlic powder, onion powder, and paprika.
- Dip each chicken thigh into the egg wash, letting excess drip off, then coat in the breadcrumb mixture, pressing firmly to adhere. Place on a clean plate.
- Preheat the air fryer to 375°F (190°C) for 3 minutes.
- Arrange the coated thighs in a single layer in the air fryer basket, leaving space between each piece. Lightly spray the tops with olive oil.
- Cook for 12 minutes, flipping halfway through (at 6 minutes) and spraying the other side with oil.
- Check internal temperature with an instant-read thermometer; chicken is safe at 165°F (74°C) but most tender at 175-180°F (80-82°C). Cook 2-3 more minutes if needed.
- Let the chicken rest for 2-3 minutes before serving. Garnish with fresh parsley if desired.
Notes
Pat chicken very dry for crispiest results. Use finely grated Parmesan (not shredded) for best coating. Do not overcrowd the air fryer basket. For extra crunch, double-coat the chicken. Let breaded chicken rest 5 minutes before cooking to help coating adhere.
Nutrition
- Serving Size: 1 serving (about 2 t
- Calories: 385
- Sugar: 1
- Sodium: 580
- Fat: 18
- Saturated Fat: 6
- Carbohydrates: 18
- Fiber: 1
- Protein: 32
Keywords: air fryer chicken thighs, garlic parmesan chicken, crispy chicken, kid-friendly chicken, easy weeknight dinner