My cousin had sworn off pumpkin desserts for a solid decade. “Too heavy,” she’d say, waving away the slice of pie I offered at Thanksgiving. “Tastes like a candle smells.” I mean, I love her, but that hurt a little. Then last October, I made this version of no-bake pumpkin cheesecake bars, just for myself, honestly. I was testing out a lighter recipe for the blog and didn’t even think to offer her any. I walked back into the living room to find her standing over the pan, fork in hand, with that guilty look you get when you’ve just been caught eating the last brownie. She’d polished off an entire bar. “Okay,” she said, not even apologizing. “This is not what I thought it was.”
That moment stuck with me, because it perfectly captures what these bars are all about. They’re not trying to be a heavy, dense cheesecake that sits in your stomach like a rock. They’re creamy, they’re tangy, they’re packed with real pumpkin flavor, and somehow, they don’t leave you feeling like you need a nap. I spent weeks in my tiny kitchen getting the texture just right. The first batch was too soft. The second was too icy from the freezer. The third—well, the third was the one that converted my cousin. And maybe you’ve been there with pumpkin desserts before, where they sound good but end up being a little much. These bars are different.
The best part? There’s no oven involved. No crust to blind bake, no water bath to fuss with, no cracks to worry about. You mix, you chill, you eat. It’s the kind of recipe that makes you look like you did way more work than you actually did. Perfect for when you want a seasonal treat that feels special but doesn’t demand your whole afternoon. Let me tell you, that’s the kind of dessert I keep coming back to year after year.
Why You’ll Love This Recipe
I’ve tested this recipe more times than I care to count, and every batch taught me something new. What I ended up with is a dessert that hits all the right notes without any of the fuss. Here’s why these bars deserve a spot on your fall baking list:
- Quick & Easy: No oven, no complicated steps. You can have these chilling in the fridge in about 20 minutes of active work. Perfect for busy weeknights or when you need a last-minute dessert for a gathering.
- Simple Ingredients: Nothing fancy here. Cream cheese, pumpkin puree, a few pantry spices, and a store-bought crust shortcut that works beautifully. You probably already have most of it in your kitchen.
- Perfect for Fall Gatherings: Whether it’s a Friendsgiving, a cozy dinner party, or just a Tuesday that needs a little pumpkin magic, these bars travel well and slice neatly. They’re a crowd-pleaser every single time.
- Crowd-Pleaser: Kids love the creamy texture and the graham cracker crunch. Adults appreciate that it’s not overly sweet. I’ve brought these to potlucks and watched them disappear before the pumpkin pie even got touched.
- Unbelievably Delicious: The texture is what gets me. It’s smooth and luscious without being heavy. The pumpkin and spice blend tastes like autumn in a bite, and the tangy cream cheese keeps it from being too cloying.
What makes this recipe different from the rest? It’s the technique of blending the filling until it’s incredibly smooth, and the specific ratio of cream cheese to pumpkin that gives you a firm, sliceable bar without needing gelatin or cornstarch. It’s not just another pumpkin cheesecake bar—it’s the one that actually works. The kind that makes you close your eyes after the first bite, because it tastes like comfort without the weight. It’s comfort food reimagined for people who want to feel good about what they’re eating. Perfect for impressing guests without stress, or turning a simple evening into something memorable.
What Ingredients You Will Need
This recipe uses simple, wholesome ingredients to deliver that creamy, spiced pumpkin flavor without the heavy feeling. Most of these are pantry staples, especially if you do any fall baking. Let’s break down what you’ll need and why each one matters.
For the Crust
- Graham cracker crumbs, 1 ½ cups (180g) – You can buy pre-crushed crumbs or crush your own in a food processor. I find the pre-crushed kind works just fine and saves a step.
- Unsalted butter, 5 tablespoons (70g), melted – The butter binds the crumbs together. I use unsalted so I can control the salt level, but salted works in a pinch—just skip the added salt.
- Granulated sugar, 2 tablespoons (25g) – Just a little sweetness for the crust. You could use coconut sugar for a less refined option, but the color will be darker.
- Pinch of salt – Balances the sweetness and brings out the buttery flavor.
For the Filling
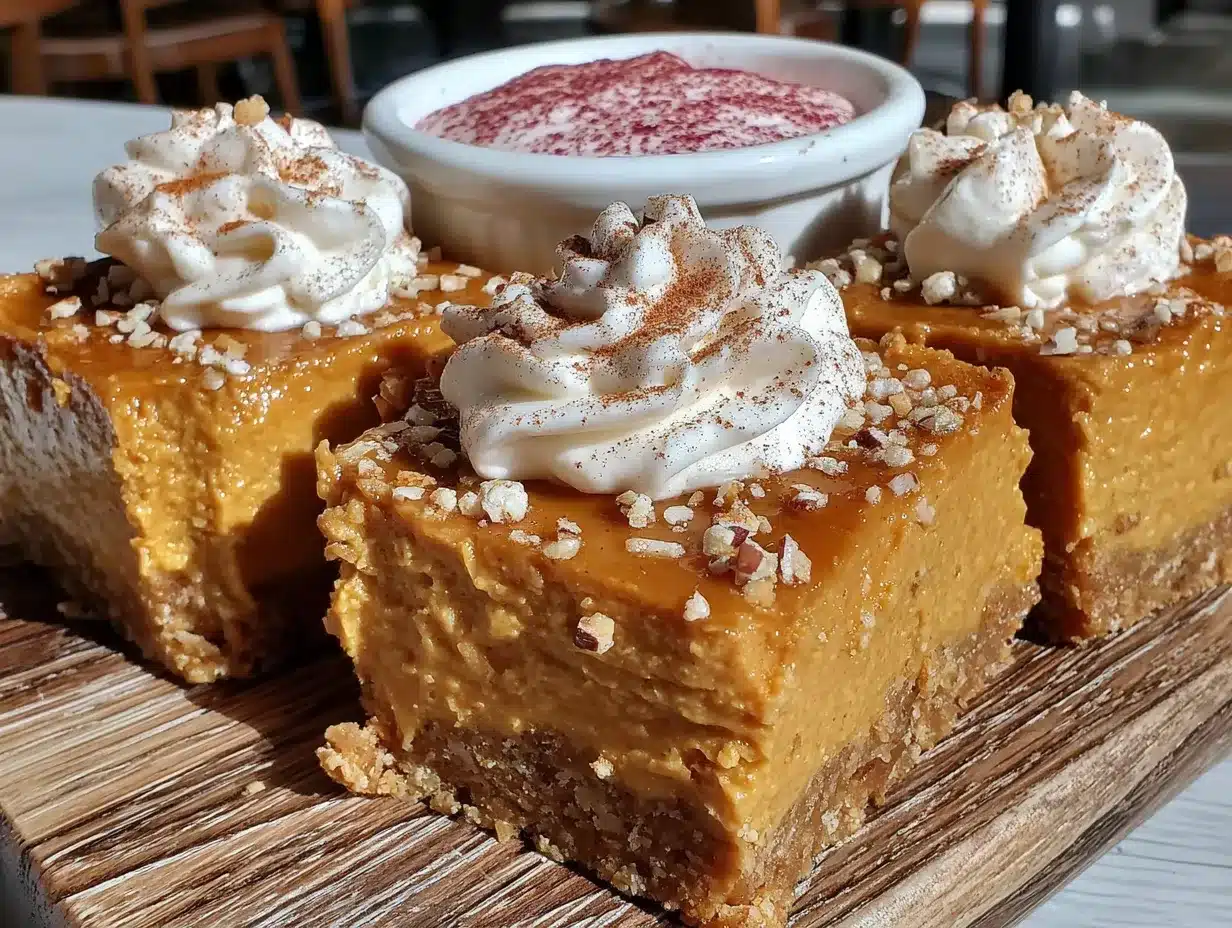
- Reduced-fat cream cheese, 16 ounces (450g), softened – This is the key to making it lighter. Full-fat works too if you prefer, but the reduced-fat version gives you that creamy texture with less heaviness. I recommend Philadelphia brand for the best consistency.
- Pumpkin puree, 1 cup (245g) – Make sure you get pure pumpkin puree, not pumpkin pie filling. The pie filling has added sugar and spices that will throw off the balance. Libby’s is my go-to.
- Powdered sugar, ½ cup (60g) – Dissolves easily into the filling without any grittiness. You can adjust this up or down depending on how sweet you like things.
- Vanilla extract, 1 teaspoon – Adds warmth and depth. Pure vanilla is best, but imitation works fine here.
- Pumpkin pie spice, 1 ½ teaspoons – You can use store-bought or make your own blend with cinnamon, nutmeg, ginger, and cloves. I actually prefer making my own because I like extra cinnamon.
- Ground cinnamon, ½ teaspoon – Because you can never have too much cinnamon in a pumpkin dessert.
- Plain Greek yogurt, ¼ cup (60g) – This is my secret ingredient. It adds tanginess and helps the filling set up without being too dense. Use full-fat or 2% for the best texture.
For the topping (optional but recommended):
- Light whipped topping, 1 cup (120g) – A dollop on top of each bar makes it feel extra special. You can use homemade whipped cream if you prefer.
- Extra cinnamon or pumpkin pie spice for dusting – Just a little sprinkle on top for presentation.
Ingredient selection tip: Look for cream cheese that’s at room temperature. Cold cream cheese will leave you with a lumpy filling, and nobody wants that. If you forget to take it out of the fridge, you can microwave it in 10-second bursts until it’s soft but not warm.
Equipment Needed
You don’t need a fancy kitchen to make these bars, which is one of the reasons I love this recipe. Here’s what you’ll need:
- 8×8-inch baking pan – This is the perfect size for these bars. A 9×9 will work too, but your bars will be slightly thinner. I use a metal pan because it chills faster, but glass works fine.
- Parchment paper – Absolutely essential for easy removal. Leave some overhang on two sides so you can lift the whole block out.
- Mixing bowls – One medium bowl for the crust, one large bowl for the filling. I use glass bowls because they’re easy to clean.
- Electric hand mixer or stand mixer – You need something to beat the cream cheese until it’s smooth. A hand mixer works perfectly. A whisk by hand will take forever and might not get it smooth enough.
- Spatula – For scraping down the bowl and spreading the filling evenly.
- Measuring cups and spoons – Standard set for dry and wet ingredients.
- Food processor (optional) – If you’re crushing your own graham crackers. A rolling pin and a zip-top bag work too, but the food processor is faster.
Budget-friendly tip: You don’t need a stand mixer for this. I’ve made these bars with a $15 hand mixer for years and they turn out perfect every time. If you don’t have a food processor, just put the graham crackers in a zip-top bag and crush them with a rolling pin or even a heavy can. It’s a little arm workout, but it works.
Preparation Method
Let’s get to the good part. I’ve broken this down into clear steps with all the little notes I wish someone had told me the first time I made these.
- Prep your pan. Line your 8×8-inch baking pan with parchment paper, leaving about 2 inches of overhang on two opposite sides. This will be your handles for lifting the bars out later. Lightly spray the parchment with non-stick spray just to be safe.
- Make the crust. In a medium bowl, combine 1 ½ cups graham cracker crumbs, 2 tablespoons granulated sugar, and a pinch of salt. Pour in 5 tablespoons melted butter and stir with a fork until all the crumbs are moistened. It should look like wet sand and clump together when you squeeze it. If it seems too dry, add another tablespoon of melted butter.
- Press the crust. Dump the crumb mixture into your prepared pan. Use the bottom of a measuring cup or a flat glass to press it down firmly and evenly. I mean really press it—this is what keeps the crust from crumbling when you cut the bars later. Pop the pan in the fridge while you make the filling.
- Beat the cream cheese. In a large bowl, beat 16 ounces of softened reduced-fat cream cheese with an electric mixer on medium speed until it’s completely smooth and fluffy. This takes about 2 minutes. Scrape down the sides of the bowl with your spatula at least once. Lumps here will mean lumps in your final bars, so take your time.
- Add the sugar and vanilla. Add ½ cup powdered sugar and 1 teaspoon vanilla extract to the cream cheese. Beat on low speed until combined, then increase to medium and beat for another minute until it’s light and airy. Scrape the bowl again.
- Add the pumpkin and spices. Add 1 cup pumpkin puree, 1 ½ teaspoons pumpkin pie spice, and ½ teaspoon ground cinnamon. Beat on low speed until just combined. Don’t overmix here, or you’ll incorporate too much air and the filling might crack as it sets.
- Fold in the yogurt. Add ¼ cup plain Greek yogurt and fold it in gently with your spatula. This is where the magic happens—the yogurt adds that tangy creaminess without extra fat. Give it a few turns until no white streaks remain.
- Spread the filling. Take the pan out of the fridge. Spoon the pumpkin cream cheese mixture over the chilled crust and spread it evenly with your spatula. Give the pan a few gentle taps on the counter to release any air bubbles. Don’t skip this step—nobody wants holes in their cheesecake layer.
- Chill until firm. Cover the pan with plastic wrap and refrigerate for at least 6 hours, but overnight is better. I know it’s hard to wait, but the longer it chills, the cleaner your slices will be. The filling needs time to set up properly.
- Slice and serve. Once the bars are fully chilled and firm, use the parchment overhang to lift the whole block out of the pan. Place it on a cutting board and use a sharp knife to slice into 16 squares. For the cleanest cuts, wipe the knife clean between each slice. I learned this the hard way after my first batch looked like a mess.
Cooking Tips & Techniques
After making these bars more times than I can count, I’ve picked up a few tricks that make a real difference. Let me share them so you don’t have to learn the hard way.
The cream cheese temperature is non-negotiable. I know I said it already, but it’s worth repeating. Cold cream cheese will give you a lumpy filling no matter how long you beat it. Let it sit on the counter for at least 30 minutes before you start. If you’re in a hurry, cut it into small cubes and microwave it in 10-second bursts until it’s soft to the touch but not warm. Warm cream cheese can break the filling, so be careful.
Don’t overmix after adding the pumpkin. Once you add the pumpkin and spices, mix just until everything comes together. Overmixing incorporates too much air, which can cause the filling to puff up and then crack as it settles in the fridge. You want a dense, creamy texture, not a fluffy one.
Use a wet knife for clean slices. This is a trick I picked up from a pastry chef friend. Run your knife under hot water, dry it off, then make your cut. The heat helps the knife glide through the cold filling without dragging. Wipe and re-wet between each cut. It takes an extra minute, but your bars will look professional.
Let them chill overnight if you can. Six hours is the minimum, but overnight is where the texture really shines. The flavors meld together, the crust sets up perfectly, and the bars become firm enough to hold their shape. I’ve made the mistake of rushing it before, and the bars were too soft to slice neatly.
My biggest failure? The time I used pumpkin pie filling instead of pure pumpkin puree. The bars were cloyingly sweet and the texture was off. I tried to salvage them by adding extra cream cheese, but it was a lost cause. Trust me, read the label. You want 100% pure pumpkin.
Variations & Adaptations
This recipe is flexible, and I’ve tried several variations over the years. Here are a few ways to make it your own:
Gluten-Free Option: Swap the graham cracker crumbs for gluten-free graham crackers or use crushed gluten-free shortbread cookies. The texture will be slightly different, but it works beautifully. I’ve also used crushed almonds mixed with a little butter for a nutty, grain-free crust.
Dairy-Free Adaptation: Use a dairy-free cream cheese alternative, like the ones from Kite Hill or Miyoko’s. Make sure it’s softened just like regular cream cheese. For the yogurt, use a plain dairy-free yogurt like coconut or almond-based. The texture might be slightly less firm, so chill for the full 8 hours.
Flavor Twists: Add a tablespoon of maple syrup to the filling for a deeper, more complex sweetness. Or try adding a teaspoon of orange zest to brighten up the pumpkin flavor. I once made a batch with a swirl of caramel sauce on top before chilling, and it was absolutely decadent.
Low-Sugar Version: Use a sugar substitute like monk fruit or erythritol in place of the powdered sugar. The texture might be slightly different, but the bars will still set up well. I’ve done this for a friend who’s watching her sugar intake, and she couldn’t tell the difference.
Change the Crust: Vanilla wafers, ginger snaps, or even crushed pretzels make excellent crust alternatives. Ginger snaps are especially good with the pumpkin spice—the extra ginger and molasses notes complement the filling perfectly.
Serving & Storage Suggestions
These bars are best served cold, straight from the fridge. The texture is firm and creamy, and the flavors are most pronounced when they’re chilled. I like to take them out about 10 minutes before serving, just to take the chill off slightly, but that’s personal preference.
Presentation ideas: Cut the bars into neat squares and arrange them on a white platter for contrast. Add a dollop of light whipped topping on each one and a light dusting of cinnamon or pumpkin pie spice. A few toasted pumpkin seeds on top add a nice crunch and make them look extra special for holiday gatherings.
Storage: Store leftover bars in an airtight container in the refrigerator for up to 5 days. Layer them with parchment paper between the layers to prevent sticking. The flavor actually improves after a day or two as the spices meld with the cream cheese.
Freezer instructions: These bars freeze beautifully. Once they’re fully set, cut them into individual squares and place them on a baking sheet lined with parchment paper. Freeze for 2 hours until solid, then transfer the frozen squares to a freezer-safe bag or container. They’ll keep for up to 3 months. To thaw, transfer a bar to the refrigerator overnight or let it sit at room temperature for about 20 minutes.
Reheating note: I don’t recommend reheating these bars. They’re meant to be enjoyed cold. The texture becomes soft and loses its structure if warmed. If you want a warm pumpkin dessert, try my pumpkin bread instead.
Nutritional Information & Benefits
Here’s the thing about these bars—they feel indulgent, but they’re actually a lighter option compared to traditional cheesecake. Using reduced-fat cream cheese and Greek yogurt cuts the fat and calories significantly without sacrificing that creamy texture we all love.
Per serving (1 bar, based on 16 servings):
- Calories: ~185
- Fat: 10g
- Saturated Fat: 6g
- Carbohydrates: 20g
- Fiber: 1g
- Sugar: 13g
- Protein: 5g
Health benefits: Pumpkin is packed with vitamin A, which is great for eye health and immune function. It’s also rich in fiber and antioxidants. The Greek yogurt adds protein and probiotics, which support gut health. And the smaller portion size means you can enjoy a satisfying dessert without overdoing it.
Dietary considerations: This recipe can be made gluten-free and dairy-free with the substitutions mentioned above. It’s naturally vegetarian. If you’re watching your sugar intake, the low-sugar variation works well. Just note that it contains dairy and gluten in its standard form.
Conclusion
These lighter no-bake pumpkin cheesecake bars are the kind of recipe that proves you don’t need to sacrifice flavor for a lighter dessert. They’re creamy, they’re spiced just right, and they come together with minimal effort. No oven, no complicated techniques, no stress. Just a beautiful, satisfying dessert that tastes like fall in every bite.
I love this recipe because it’s the one that changed my cousin’s mind about pumpkin desserts. And honestly, it’s the one I keep coming back to year after year because it always delivers. Whether you’re making it for a holiday gathering, a potluck, or just because it’s Tuesday and you deserve something special, these bars never disappoint.
I’d love to hear how yours turn out. Did you try a variation? Did you add a swirl of caramel or use a different crust? Drop a comment below and let me know. And if you loved these bars, share them with a friend who needs a little pumpkin magic in their life. Happy baking!
Frequently Asked Questions
Can I use full-fat cream cheese instead of reduced-fat?
Absolutely. The bars will be richer and slightly more decadent. The texture will still be creamy and delicious. Just keep in mind the nutritional values will change slightly.
How do I know when the bars are set enough to cut?
The bars should feel firm to the touch and the filling should not jiggle when you gently shake the pan. After 6 hours in the fridge, they should be set. Overnight is even better for perfectly clean slices.
Can I use homemade pumpkin puree?
Yes, but be aware that homemade puree can have more moisture than canned. You might need to drain it by placing it in a cheesecloth-lined strainer over a bowl for an hour before using. Otherwise, the bars might be too soft.
What if I don’t have pumpkin pie spice?
You can make your own blend. Mix together 1 teaspoon cinnamon, ½ teaspoon ginger, ¼ teaspoon nutmeg, and ¼ teaspoon cloves. That’s enough for this recipe and then some.
Can I double this recipe for a 9×13 pan?
Yes, you can double all the ingredients and use a 9×13-inch pan. The chilling time might need to increase by an hour or two since the bars will be slightly thicker. Just check for firmness before slicing.
Pin This Recipe!
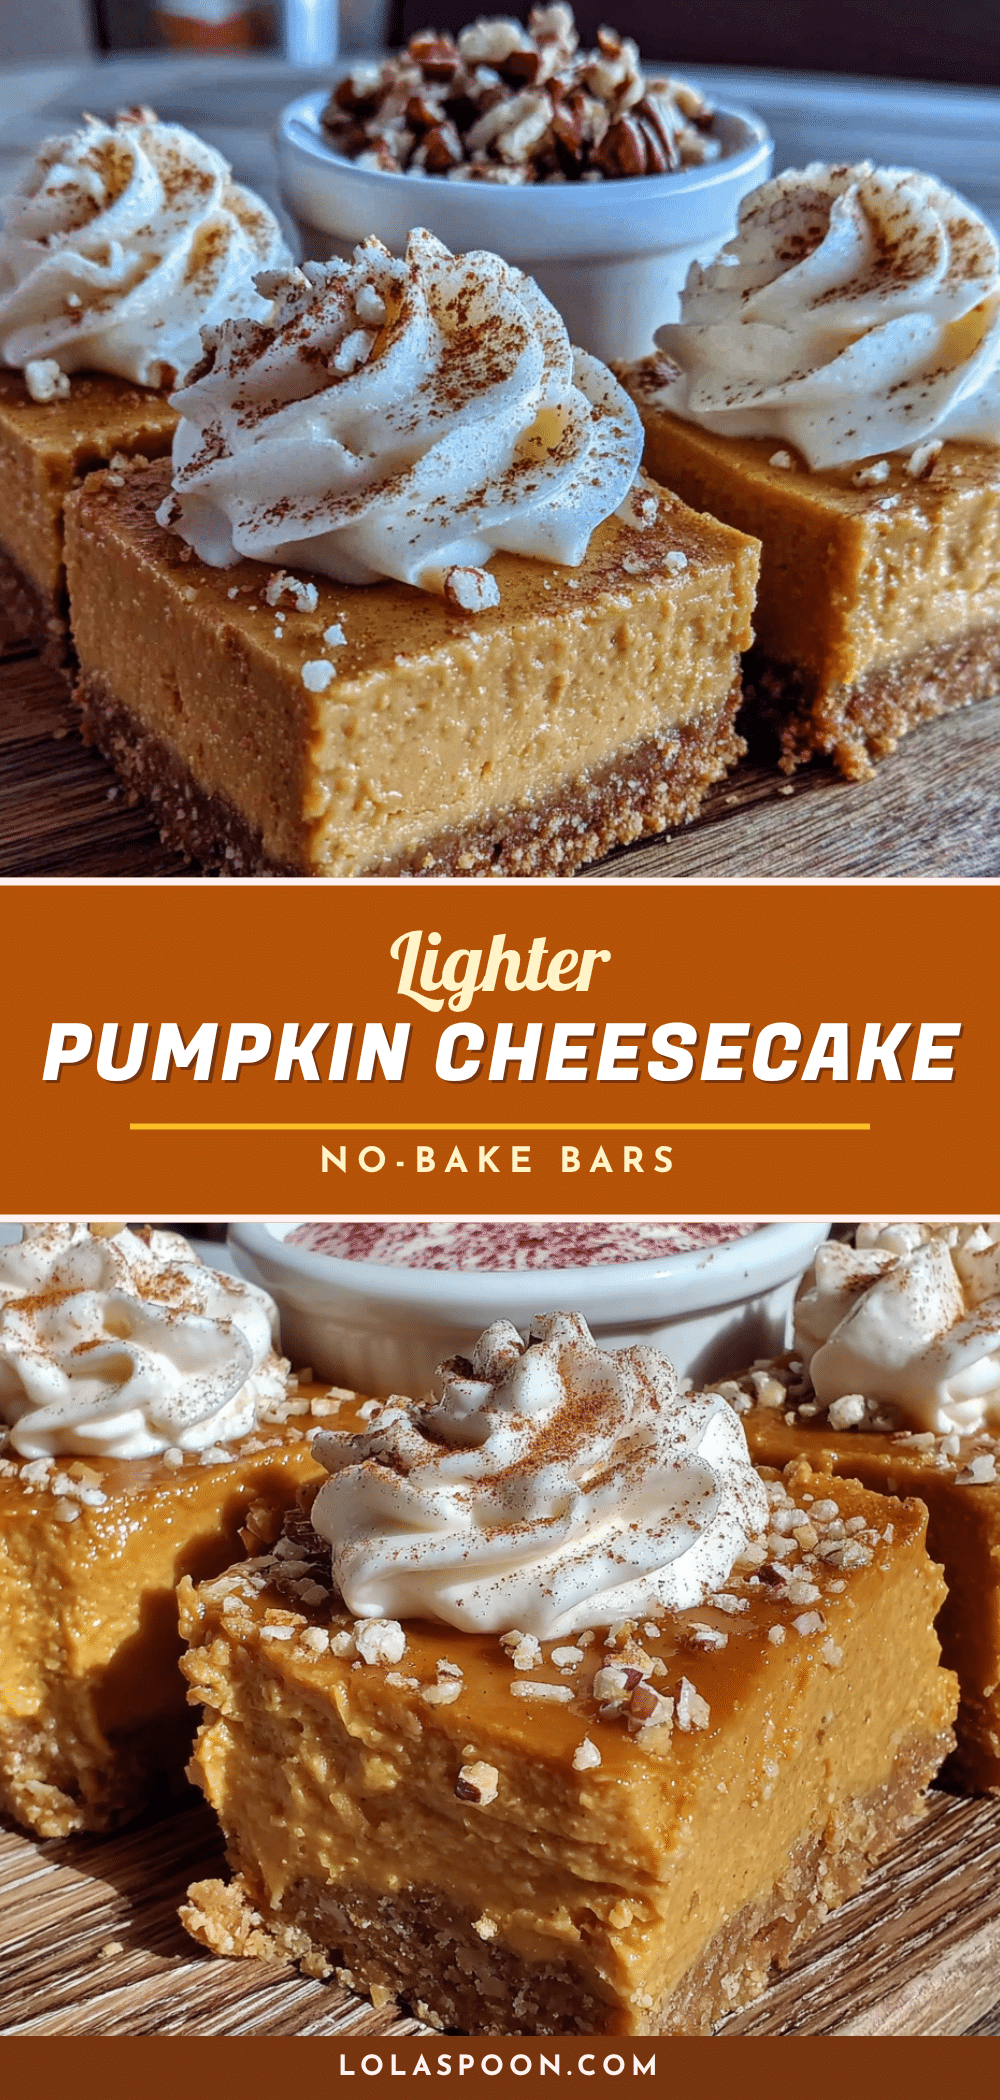
Lighter No-Bake Pumpkin Cheesecake Bars (Easy & Best)
These creamy, tangy, and perfectly spiced no-bake pumpkin cheesecake bars are a lighter twist on a classic fall dessert. Made with reduced-fat cream cheese and Greek yogurt, they come together in just 20 minutes of active work and require no oven.
- Prep Time: 20 minutes
- Cook Time: 0 minutes
- Total Time: 6 hours 20 minutes (includes chilling)
- Yield: 16 servings 1x
- Category: Dessert
- Cuisine: American
Ingredients
- 1 ½ cups (180g) graham cracker crumbs
- 5 tablespoons (70g) unsalted butter, melted
- 2 tablespoons (25g) granulated sugar
- Pinch of salt
- 16 ounces (450g) reduced-fat cream cheese, softened
- 1 cup (245g) pumpkin puree (not pumpkin pie filling)
- ½ cup (60g) powdered sugar
- 1 teaspoon vanilla extract
- 1 ½ teaspoons pumpkin pie spice
- ½ teaspoon ground cinnamon
- ¼ cup (60g) plain Greek yogurt
- 1 cup (120g) light whipped topping (optional, for serving)
- Extra cinnamon or pumpkin pie spice for dusting (optional)
Instructions
- Line an 8×8-inch baking pan with parchment paper, leaving about 2 inches of overhang on two opposite sides. Lightly spray the parchment with non-stick spray.
- In a medium bowl, combine graham cracker crumbs, granulated sugar, and a pinch of salt. Pour in melted butter and stir with a fork until all crumbs are moistened and clump together when squeezed.
- Press the crumb mixture firmly and evenly into the prepared pan using the bottom of a measuring cup or a flat glass. Refrigerate while making the filling.
- In a large bowl, beat softened cream cheese with an electric mixer on medium speed until completely smooth and fluffy, about 2 minutes. Scrape down the sides of the bowl.
- Add powdered sugar and vanilla extract. Beat on low speed until combined, then increase to medium and beat for another minute until light and airy. Scrape the bowl again.
- Add pumpkin puree, pumpkin pie spice, and ground cinnamon. Beat on low speed until just combined. Do not overmix.
- Fold in Greek yogurt gently with a spatula until no white streaks remain.
- Remove the pan from the fridge. Spoon the pumpkin cream cheese mixture over the chilled crust and spread evenly with a spatula. Tap the pan gently on the counter to release air bubbles.
- Cover the pan with plastic wrap and refrigerate for at least 6 hours, preferably overnight, until firm.
- Once fully chilled and firm, use the parchment overhang to lift the block out of the pan. Place on a cutting board and slice into 16 squares using a sharp knife, wiping the knife clean between cuts for neat slices.
- Serve cold, optionally topped with a dollop of light whipped topping and a dusting of cinnamon or pumpkin pie spice.
Notes
Cream cheese must be at room temperature to avoid lumps. Do not overmix after adding pumpkin to prevent cracking. For clean slices, use a wet knife and wipe between cuts. Chill overnight for best texture. Store in an airtight container in the refrigerator for up to 5 days. Freeze individual bars for up to 3 months.
Nutrition
- Serving Size: 1 bar
- Calories: 185
- Sugar: 13
- Fat: 10
- Saturated Fat: 6
- Carbohydrates: 20
- Fiber: 1
- Protein: 5
Keywords: no-bake pumpkin cheesecake bars, lighter pumpkin dessert, easy fall dessert, no-bake cheesecake, pumpkin bars, healthy pumpkin dessert