My friend Sarah asked me last December why I couldn’t just swap the regular flour for a gluten-free blend in my grandmother’s sugar cookie recipe. I started to explain why that wouldn’t work—something about the lack of gluten structure, the cookies spreading into sad little puddles, the inevitable crumbly mess. Then I stopped. Honestly, I had no good reason. I’d just been too stubborn to try.
Sarah has celiac disease, and every Christmas party we’ve been to together, she’s watched everyone else bite into frosted snowmen and reindeer while she nibbled on a sad store-bought rice cracker. It bothered me more than I let on. So that Tuesday afternoon, with Christmas music playing too loud and flour dusting every surface of my kitchen, I handed her the mixer and said, “Fine. You’re in charge of the flour.”
The first batch came out of the oven looking like something between a pancake and a cookie—flat, pale, and deeply unimpressive. Sarah looked crushed. I wanted to blame the gluten-free flour, but the truth was I’d forgotten to chill the dough. Classic rookie mistake, and I’ve been doing this for years. We laughed about it, scraped the failed cookies into a “taste-testing” pile, and started over.
The second batch? Let me tell you, those cookies held their shape better than my regular recipe ever did. The edges were sharp. The snowflake cutouts actually looked like snowflakes. Sarah took one bite and closed her eyes—you know that feeling when something just works? That was it. I learned more from letting her take the lead than I had from a dozen recipe books. Sometimes being wrong tastes really, really good.
Why You’ll Love This Recipe
These aren’t just good gluten-free cookies. They’re good cookies, period. I’ve tested this recipe six times across three different gluten-free flour blends, and I can tell you with confidence that it works. My neighbor, who has no dietary restrictions, ate three of these before I even had the chance to ice them. That’s the kind of feedback you can trust.
- Holds Shape Perfectly: No spreading, no blurry edges. Your Christmas tree cutouts will actually look like Christmas trees.
- Simple Ingredients: You probably have everything in your pantry right now, minus maybe the xanthan gum.
- Perfect for Cookie Swaps: Bring these to any holiday gathering, and nobody will guess they’re gluten-free.
- Royal Icing That Sets Hard: No sticky fingers, no smudged designs. Perfect for decorating with kids or for giving as gifts.
- Freezes Beautifully: Make the dough ahead, bake when you’re ready. The holiday season is chaotic enough.
What makes this recipe different from every other gluten-free sugar cookie out there? It’s the resting time. I know, I know—waiting is the worst. But letting the dough rest in the fridge for at least two hours allows the gluten-free flours to fully hydrate, which gives you that tender, buttery texture without any grittiness. Trust me on this one. I learned the hard way by skipping it twice.
This is the kind of cookie that makes you forget you’re eating gluten-free. It’s buttery, slightly crisp on the edges, soft in the center, and it takes royal icing like a dream. Perfect for those December afternoons when you want the kitchen to smell like vanilla and the whole house to feel like Christmas.
What Ingredients You Will Need
This recipe relies on a handful of pantry staples that come together to create something genuinely special. The key is using the right gluten-free flour blend and giving the ingredients time to get to know each other in the fridge.
- 2 ½ cups gluten-free all-purpose flour blend – I use Bob’s Red Mill 1-to-1 Baking Flour (the blue bag). It already contains xanthan gum, which makes life easier. If your blend doesn’t have xanthan gum, you’ll need to add 1 teaspoon separately.
- 1 teaspoon xanthan gum – Only if your flour blend doesn’t already include it. This is what gives the cookies structure and prevents them from crumbling.
- ½ teaspoon baking powder – Helps the cookies rise just slightly. Don’t skip it, or they’ll be too dense.
- ¼ teaspoon salt – Balances the sweetness and enhances the buttery flavor.
- ¾ cup unsalted butter, softened to room temperature – Salted butter works too, just reduce the added salt to a pinch. I prefer unsalted so I can control the sodium.
- ¾ cup granulated sugar – Regular white sugar gives the cleanest flavor. Coconut sugar works but will make the cookies darker and slightly less sweet.
- 1 large egg, room temperature – Cold egg will seize the butter. Let it sit on the counter for 30 minutes first.
- 1 teaspoon vanilla extract – Pure vanilla extract, not imitation. It makes a real difference in the flavor depth.
- ½ teaspoon almond extract – Optional, but I never skip it. It gives that classic sugar cookie bakery taste that makes people say, “Wait, these are gluten-free?”
For the Royal Icing:
- 2 cups powdered sugar, sifted – Sifting is non-negotiable here. Lumps will clog your piping tip.
- 2 tablespoons meringue powder – This gives the icing that hard, glossy finish. You can find it in the baking aisle or online.
- 3-4 tablespoons water – Add slowly. You want a consistency that holds a ribbon for 10 seconds before disappearing back into the bowl.
- Gel food coloring – Liquid food coloring will thin the icing too much. Gel is concentrated and won’t affect the texture.
Equipment Needed
You don’t need a professional bakery setup to make these cookies, but a few tools will make your life significantly easier.
- Stand mixer or hand mixer – Creaming the butter and sugar properly requires some muscle if you’re doing it by hand. I’ve done both, and the mixer saves about ten minutes of arm fatigue.
- Rolling pin – I use a standard wooden rolling pin. If the dough sticks, roll it between two sheets of parchment paper instead of flouring your surface (extra flour changes the texture).
- Christmas cookie cutters – Stars, trees, snowmen, gingerbread people. Go wild. I found a set of twelve on Amazon for under ten dollars.
- Parchment paper – Silicone baking mats work too, but I prefer parchment for these because the cookies slide off easier.
- Baking sheets – Light-colored metal sheets give the most even browning. Dark sheets can burn the bottoms.
- Piping bags and tips – Wilton #2 or #3 tips are perfect for outlining and flooding. If you don’t have piping bags, a zip-top bag with the corner snipped works in a pinch.
- Cooling rack – Essential for letting the royal icing set without trapping moisture underneath.
I bought my first set of piping tips at a craft store for five dollars, and they’re still going strong three years later. You really don’t need to spend a lot.
Preparation Method
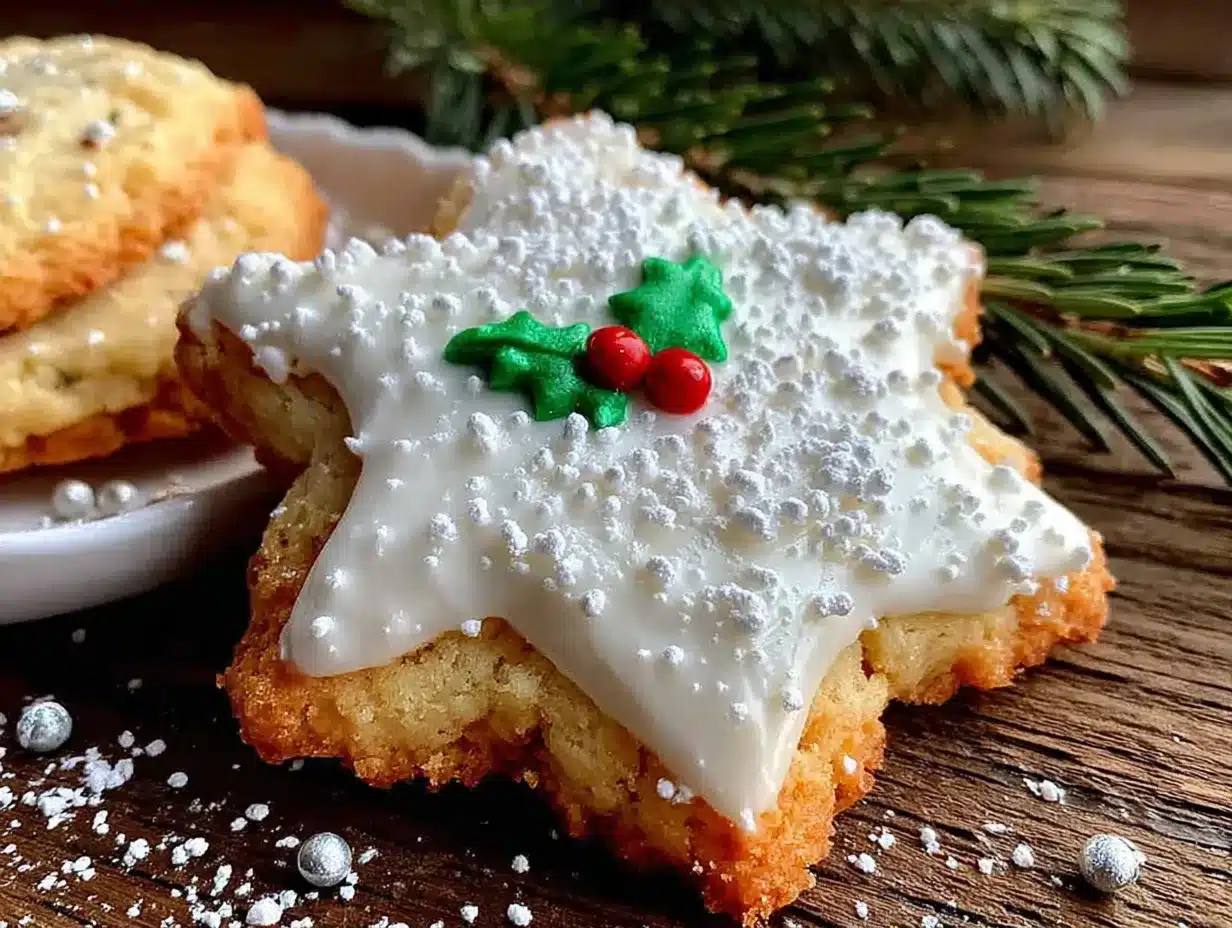
This recipe takes about 30 minutes of active prep, plus at least 2 hours of chilling time. Plan ahead, and you’ll thank yourself later.
- Cream the butter and sugar. In a large mixing bowl, beat the softened butter and granulated sugar together on medium speed until light and fluffy—about 3 minutes. Scrape down the sides of the bowl halfway through. You’re looking for a pale, airy texture that looks almost like frosting.
- Add the wet ingredients. Beat in the egg, vanilla extract, and almond extract (if using) until fully combined. The mixture might look slightly curdled at this point—that’s normal. Don’t panic.
- Combine the dry ingredients. In a separate bowl, whisk together the gluten-free flour blend, xanthan gum (if needed), baking powder, and salt. Whisking aerates the flour and ensures the leavening is evenly distributed.
- Mix the dough. Gradually add the dry ingredients to the wet mixture, mixing on low speed until just combined. The dough will be soft and slightly sticky. That’s exactly what you want.
- Chill the dough. Divide the dough into two discs, wrap each tightly in plastic wrap, and refrigerate for at least 2 hours. Overnight is even better. This step is crucial—gluten-free flours need time to absorb moisture, and chilling prevents spreading.
- Preheat and prep. When you’re ready to bake, preheat your oven to 350°F (175°C). Line two baking sheets with parchment paper.
- Roll and cut. Lightly dust a clean surface with gluten-free flour. Roll one disc of dough to about ¼-inch thickness. Cut out your shapes and transfer them to the prepared baking sheets, spacing them about 1 inch apart. Gather the scraps, re-roll, and cut again.
- Bake. Bake for 8-10 minutes, rotating the pans halfway through. The edges should be just barely golden. The centers will look slightly underdone—that’s fine. They’ll continue setting as they cool.
- Cool completely. Let the cookies sit on the baking sheet for 5 minutes, then transfer to a wire rack to cool completely. Do not ice warm cookies. The royal icing will melt into a sticky mess.
- Make the royal icing. In a medium bowl, whisk together the powdered sugar and meringue powder. Add 3 tablespoons of water and beat on medium speed for 4-5 minutes until stiff peaks form. Add more water one teaspoon at a time until you reach a “flooding” consistency—when a ribbon of icing holds its shape for 10 seconds before sinking back.
- Decorate. Divide the icing into bowls and tint with gel food coloring. Use a piping bag fitted with a #2 tip to outline each cookie, then flood the center with thinned icing. Use a toothpick to spread it into the corners. Let set for 4-6 hours or overnight.
A quick note: I once tried to speed up the chilling process by sticking the dough in the freezer for 30 minutes instead of the fridge. The outside froze while the inside stayed soft, and rolling it was a nightmare. Don’t be like me. Give it the full two hours.
Cooking Tips & Techniques
I’ve made more batches of these cookies than I care to count, and I’ve messed up plenty along the way. Here’s what I’ve learned so you don’t have to repeat my mistakes.
Use a kitchen scale. Gluten-free flours vary wildly in density. Scooping with a measuring cup can give you 30% more flour than the recipe calls for, which leads to dry, crumbly cookies. Weighing your flour ensures consistent results every time. One cup of my preferred blend weighs 140 grams.
Don’t overmix the dough. Once you add the dry ingredients, mix just until the flour disappears. Overdeveloping the dough (even gluten-free dough) can make the cookies tough. I learned this after a batch came out of the oven looking like hockey pucks.
Chill between batches. If you’re rolling and cutting multiple batches, pop the baking sheet back in the fridge for 10 minutes before baking. This prevents the cookies from spreading and keeps those sharp edges intact.
Test your oven temperature. My oven runs 25 degrees hot. I learned this after burning three batches of cookies in a row. An inexpensive oven thermometer saved my holiday baking. If your cookies are browning too fast on the bottom, lower the rack or reduce the temperature by 10-15 degrees.
Master the royal icing consistency. This is the trickiest part. For outlining, you want stiff peaks that hold their shape. For flooding, thin the icing until it flows like warm honey. If it runs off the cookie completely, it’s too thin. Add more sifted powdered sugar one tablespoon at a time to fix it.
Work in an assembly line. Outline all the cookies first, let them dry for 15 minutes, then flood them all at once. This saves time and keeps your piping bag from getting clogged with drying icing.
Variations & Adaptations
One of the best things about this recipe is how adaptable it is. Here are some variations I’ve tried and loved.
Dairy-Free Version: Swap the butter for a high-quality vegan butter stick (not the spreadable kind in a tub). I’ve had great results with Miyoko’s European Style Cultured Vegan Butter. The texture is slightly less tender, but the flavor is still fantastic. Reduce the salt to a pinch since vegan butters are usually salted.
Citrus Sugar Cookies: Add 1 tablespoon of fresh lemon or orange zest to the sugar before creaming it with the butter. Rub the zest into the sugar with your fingers until it’s fragrant and slightly damp. This releases the oils and infuses the entire cookie with bright, citrusy flavor. I made these for a spring brunch, and they disappeared in minutes.
Chocolate-Dipped Version: Skip the royal icing entirely and dip half of each cooled cookie in melted dark chocolate. Sprinkle with crushed candy canes or festive sprinkles before the chocolate sets. This is my go-to when I don’t have three hours to spend decorating.
Spiced Christmas Cookies: Add 1 teaspoon of cinnamon, ½ teaspoon of ginger, and ¼ teaspoon of nutmeg to the dry ingredients. These taste like a gluten-free gingerbread-adjacent cookie without the molasses. Perfect for those who want a little warmth in their holiday baking.
Gluten-Free Vegan Version: Replace the egg with a flax egg (1 tablespoon ground flaxseed mixed with 3 tablespoons water, let sit for 5 minutes). Use vegan butter as mentioned above. The cookies will be slightly more fragile, so handle them gently. They still taste wonderful.
Serving & Storage Suggestions
These cookies are best served at room temperature with a tall glass of cold milk or a warm mug of spiced tea. The royal icing should be fully set—hard to the touch—before you stack them or serve them. I usually decorate in the evening and let them sit out overnight, uncovered, so the icing can dry completely.
At Room Temperature: Store decorated cookies in an airtight container, layered between sheets of parchment paper, for up to 5 days. Do not refrigerate them—the moisture in the fridge can make the royal icing sticky and the cookies soft.
In the Freezer: Undecorated cookies freeze beautifully for up to 3 months. Place them in a single layer on a baking sheet, freeze until solid (about 1 hour), then transfer to a freezer-safe bag or container. Thaw at room temperature for 30 minutes before decorating. I always keep a batch in the freezer during December for unexpected guests.
Decorated Cookie Storage: Once the royal icing is fully set (usually 6-8 hours), you can stack them carefully in a container. Place a piece of parchment between each layer to prevent sticking. They’ll stay beautiful for about a week.
A note on flavor development: These cookies actually taste better on day two. The flavors meld together, and the texture softens just slightly. If you can resist eating them all on day one, you’re in for a treat.
Nutritional Information & Benefits
Let’s be real—these are Christmas cookies, not health food. But they do have a few redeeming qualities worth mentioning.
| Per Cookie (1 medium cookie with icing) | Amount |
|---|---|
| Calories | 145 |
| Total Fat | 6g |
| Saturated Fat | 3.5g |
| Carbohydrates | 22g |
| Sugar | 14g |
| Protein | 2g |
| Fiber | 1g |
Because these cookies use a gluten-free flour blend, they’re naturally lower in FODMAPs and easier to digest for those with gluten sensitivities. The almond extract adds a lovely flavor without any additional sugar. And since you’re making them from scratch, you control exactly what goes in—no preservatives, no artificial flavors, no mystery ingredients.
If you’re watching your sugar intake, you can reduce the sugar in the cookie dough to ½ cup without affecting the texture too much. The royal icing is harder to reduce since the sugar provides the structure, but you can use a thinner layer for less overall sweetness.
Conclusion
These gluten-free Christmas sugar cookies have become a staple in my December baking rotation, and I don’t see that changing anytime soon. They’re buttery, tender, hold their shape beautifully, and they take royal icing like a dream. More importantly, they let everyone at the table enjoy the same cookie—no sad substitutes, no separate batches, no one left out.
I still think about that afternoon with Sarah every time I make these. She was right to question my assumptions, and I’m grateful she did. Sometimes the best recipes come from being wrong, from letting someone else take the lead, from trying something you were sure wouldn’t work.
So go ahead—preheat your oven, pull out those cookie cutters, and make a batch. Customize the icing colors, try a variation, add sprinkles until your fingers are stained. These cookies are meant to be enjoyed, not perfected. And if you come up with a variation I haven’t tried, I’d love to hear about it. Drop a comment below or tag me in your photos. Happy baking, friends!
Frequently Asked Questions
Can I use a different gluten-free flour blend?
Yes, but results may vary. I’ve tested this recipe with Bob’s Red Mill 1-to-1, King Arthur Measure for Measure, and Cup4Cup. All three worked well. Avoid blends that are primarily rice flour, as they can be gritty. If your blend doesn’t contain xanthan gum, add 1 teaspoon.
Why did my cookies spread in the oven?
Most likely, the dough wasn’t chilled long enough. Gluten-free dough needs at least 2 hours in the fridge to firm up. Also, make sure your butter was softened, not melted. Melted butter causes immediate spreading.
Can I freeze the royal icing?
You can, but it’s not ideal. Royal icing made with meringue powder can be stored in an airtight container in the fridge for up to 2 weeks. Whisk it well before using, and add a few drops of water if it’s too thick. Fresh icing always gives the best results, though.
How do I get the royal icing to set hard?
Make sure you’re using meringue powder, not egg whites. Meringue powder creates a stable, hard finish. Also, let the cookies sit out uncovered for at least 4-6 hours. Humidity can prevent the icing from setting, so avoid decorating on rainy days if possible.
Can I make these cookies nut-free?
Absolutely. Simply omit the almond extract and use vanilla extract only. Check your gluten-free flour blend to make sure it’s processed in a nut-free facility if that’s a concern for your household.
Pin This Recipe!
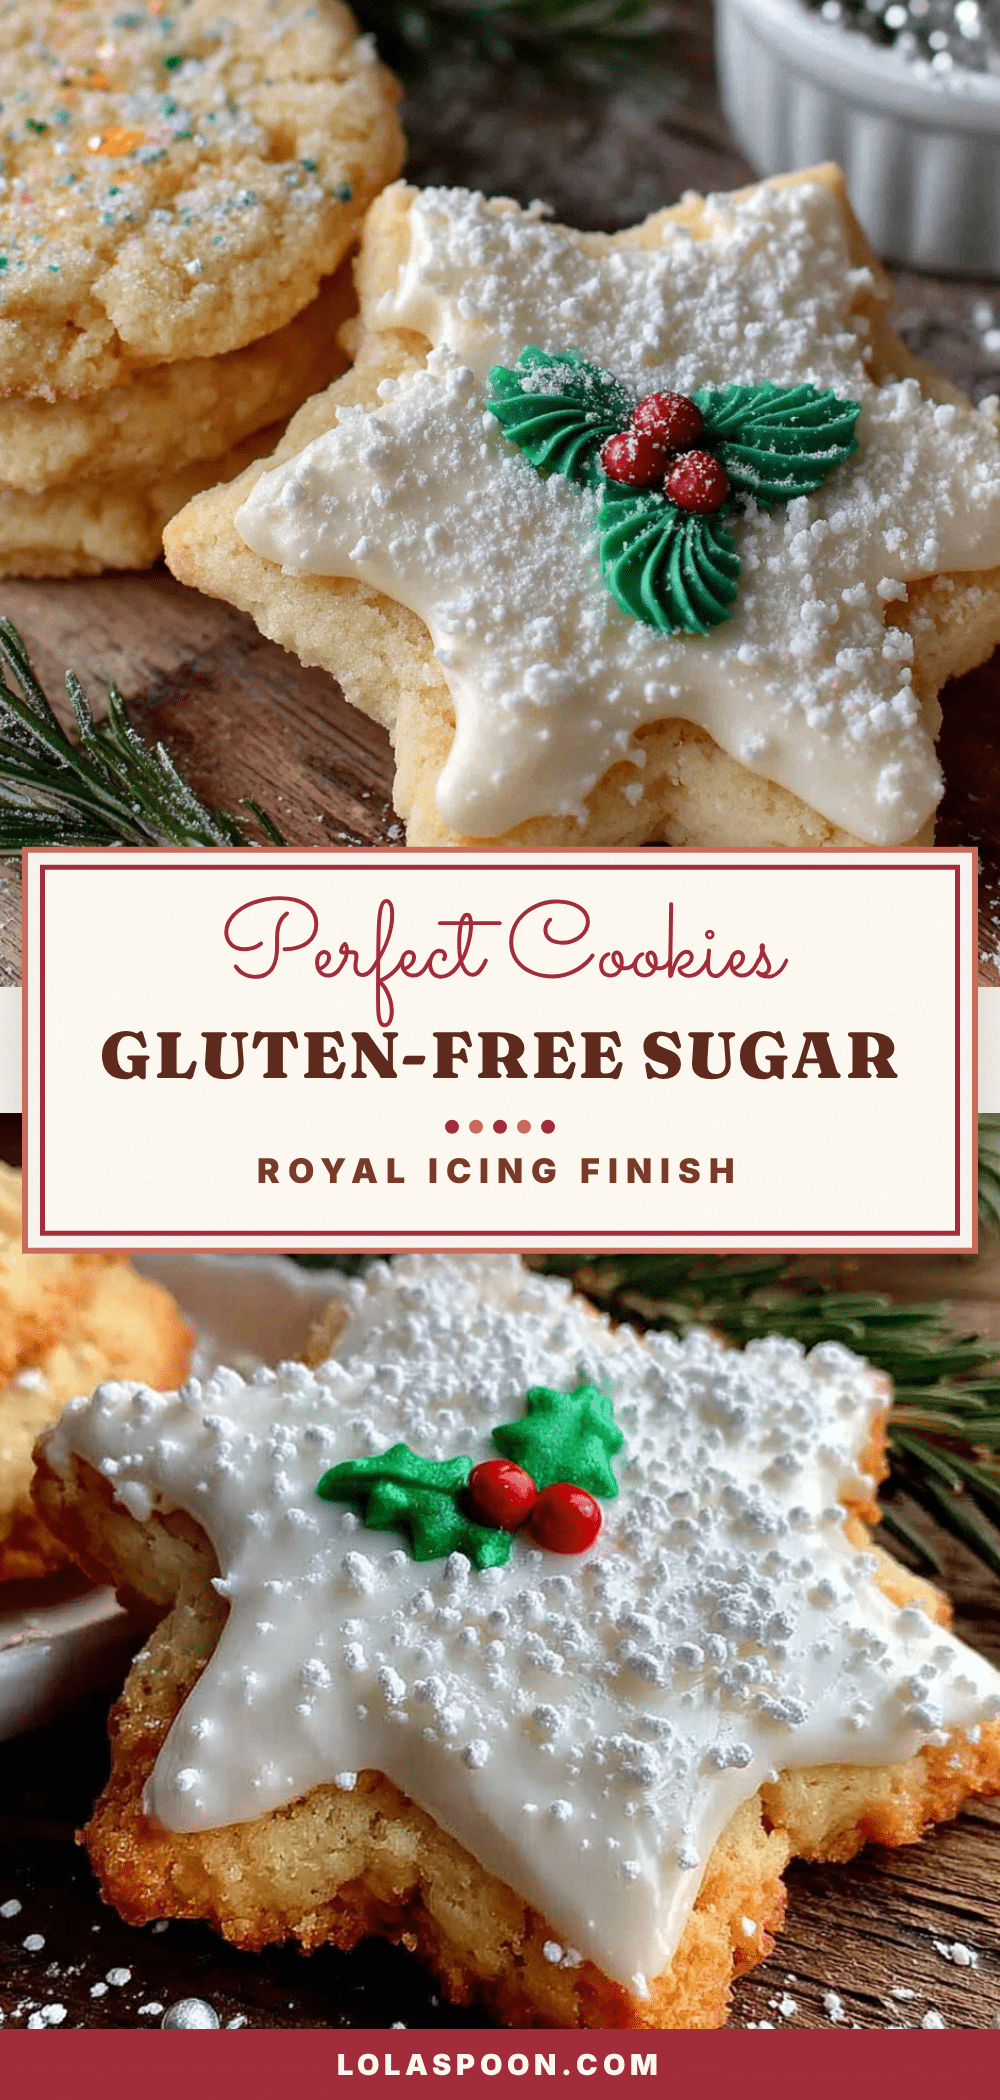
Perfect Gluten-Free Christmas Sugar Cookies with Royal Icing

These buttery, tender gluten-free sugar cookies hold their shape perfectly and are topped with a hard-set royal icing. They’re so delicious that no one will guess they’re gluten-free.
- Prep Time: 30 minutes
- Cook Time: 10 minutes
- Total Time: 2 hours 40 minutes (includes 2 hours chilling)
- Yield: 24 servings 1x
- Category: Dessert
- Cuisine: American
Ingredients
- 2 ½ cups gluten-free all-purpose flour blend (e.g., Bob’s Red Mill 1-to-1 Baking Flour)
- 1 teaspoon xanthan gum (only if your flour blend doesn’t include it)
- ½ teaspoon baking powder
- ¼ teaspoon salt
- ¾ cup unsalted butter, softened to room temperature
- ¾ cup granulated sugar
- 1 large egg, room temperature
- 1 teaspoon vanilla extract
- ½ teaspoon almond extract (optional)
- 2 cups powdered sugar, sifted
- 2 tablespoons meringue powder
- 3–4 tablespoons water
- Gel food coloring (optional)
Instructions
- Cream the butter and sugar: In a large mixing bowl, beat the softened butter and granulated sugar together on medium speed until light and fluffy—about 3 minutes. Scrape down the sides of the bowl halfway through.
- Add the wet ingredients: Beat in the egg, vanilla extract, and almond extract (if using) until fully combined. The mixture might look slightly curdled—that’s normal.
- Combine the dry ingredients: In a separate bowl, whisk together the gluten-free flour blend, xanthan gum (if needed), baking powder, and salt.
- Mix the dough: Gradually add the dry ingredients to the wet mixture, mixing on low speed until just combined. The dough will be soft and slightly sticky.
- Chill the dough: Divide the dough into two discs, wrap each tightly in plastic wrap, and refrigerate for at least 2 hours (overnight is even better).
- Preheat and prep: When ready to bake, preheat oven to 350°F (175°C). Line two baking sheets with parchment paper.
- Roll and cut: Lightly dust a clean surface with gluten-free flour. Roll one disc of dough to about ¼-inch thickness. Cut out shapes and transfer to prepared baking sheets, spacing about 1 inch apart. Gather scraps, re-roll, and cut again.
- Bake: Bake for 8-10 minutes, rotating pans halfway through. Edges should be just barely golden. Centers will look slightly underdone—that’s fine.
- Cool completely: Let cookies sit on baking sheet for 5 minutes, then transfer to a wire rack to cool completely. Do not ice warm cookies.
- Make the royal icing: In a medium bowl, whisk together powdered sugar and meringue powder. Add 3 tablespoons of water and beat on medium speed for 4-5 minutes until stiff peaks form. Add more water one teaspoon at a time until you reach a ‘flooding’ consistency—when a ribbon of icing holds its shape for 10 seconds before sinking back.
- Decorate: Divide icing into bowls and tint with gel food coloring. Use a piping bag fitted with a #2 tip to outline each cookie, then flood the center with thinned icing. Use a toothpick to spread it into the corners. Let set for 4-6 hours or overnight.
Notes
Chilling the dough for at least 2 hours is crucial for gluten-free flours to hydrate and prevent spreading. Use a kitchen scale for accurate flour measurement. For dairy-free, use vegan butter; for vegan, use a flax egg and vegan butter. Cookies taste even better on day two.
Nutrition
- Serving Size: 1 medium cookie with
- Calories: 145
- Sugar: 14
- Fat: 6
- Saturated Fat: 3.5
- Carbohydrates: 22
- Fiber: 1
- Protein: 2
Keywords: gluten-free, sugar cookies, Christmas cookies, royal icing, holiday baking, gluten-free cookies


