I was standing in the spice aisle last Tuesday, staring at a jar of cinnamon I definitely didn’t need, when a memory hit me from nowhere. The smell of that cinnamon — warm, woody, a little sharp — and suddenly I was seven years old at my aunt Lena’s kitchen table, clutching a mug so hot it burned my fingertips through the wool of my sweater. She’d set out little bowls of marshmallows, crushed candy canes, and chocolate shavings, and told me to “make it my own.” I remember feeling so grown up, like I was in charge of something important. My aunt passed away a few years back, and I hadn’t thought about that night in forever. But there I was, in the middle of a grocery store, missing that feeling hard.
So I bought the cinnamon. And the cocoa powder. And a bag of those tiny marshmallows that don’t really fit on anything but hot chocolate. Honestly, I didn’t have a plan — just a craving for that same cozy, choose-your-own-adventure feeling. You know that moment when you need something warm and simple, but also a little bit special? That’s what I was after.
This quick DIY hot cocoa bar isn’t fancy. It’s not a Pinterest-perfect spread with handwritten chalkboard signs and gold spoons. It’s a weeknight thing — the kind of thing you throw together in ten minutes because the kids are cranky, or you’re tired, or it’s just one of those days where you need a small win. And let me tell you, there’s something about setting out a few bowls of toppings and letting everyone build their own mug that makes the whole kitchen feel warmer. I’ve been making these little hot cocoa bars ever since that night at my aunt’s, and they never get old.
Why You’ll Love This Recipe
Look, I’ve tested a lot of hot cocoa setups over the years. Some were overly complicated (homemade marshmallows? Not on a Tuesday). Some were just sad (one bag of stale mini marshmallows does not a bar make). This one hits the sweet spot. Here’s why it works for actual busy people on actual weeknights:
- Quick & Easy: Everything comes together in under 10 minutes. Boil milk, whisk in cocoa, set out toppings. That’s it. No complicated steps, no special equipment.
- Simple Ingredients: You probably already have milk, cocoa powder, and sugar in your kitchen. The toppings are flexible — use what you have.
- Perfect for Weeknights: This is the kind of treat that turns a regular Tuesday into something cozy without requiring a trip to the store or an hour of prep.
- Crowd-Pleaser: Kids love the build-your-own aspect. Adults love that it feels nostalgic but not childish. Everyone wins.
- Unbelievably Delicious: The base recipe is rich and creamy — not watery, not grainy. It’s the kind of hot cocoa that makes you close your eyes after the first sip.
What makes this different from other hot cocoa bar ideas? It’s designed for real life. I’m not telling you to make homemade whipped cream or source artisanal chocolate shavings. I’m telling you to grab a few bowls, raid your pantry, and call it a night. This isn’t just another version — it’s the version that actually fits into your evening without stress.
What Ingredients You Will Need
This recipe uses simple, everyday ingredients to deliver rich, comforting hot cocoa without any fuss. Most of these are pantry staples, which is exactly what you want on a busy weeknight.
For the Hot Cocoa Base
- Whole milk, 4 cups (960 ml) — Whole milk gives the creamiest result. You can use 2% or oat milk in a pinch, but the texture won’t be quite as luxurious.
- Unsweetened cocoa powder, 1/2 cup (60 g) — I prefer Dutch-processed cocoa for a smoother, less acidic flavor. Ghirardelli and Droste are my go-to brands.
- Granulated sugar, 1/3 cup (65 g) — Adjust to your sweetness preference. You can also use honey or maple syrup, but stir them in after the milk is warm.
- Vanilla extract, 1 teaspoon — Pure vanilla makes a difference. Skip the imitation stuff if you can.
- Pinch of salt — Don’t skip this. It balances the sweetness and brings out the chocolate flavor.
For the Topping Bar (Choose 4-6)
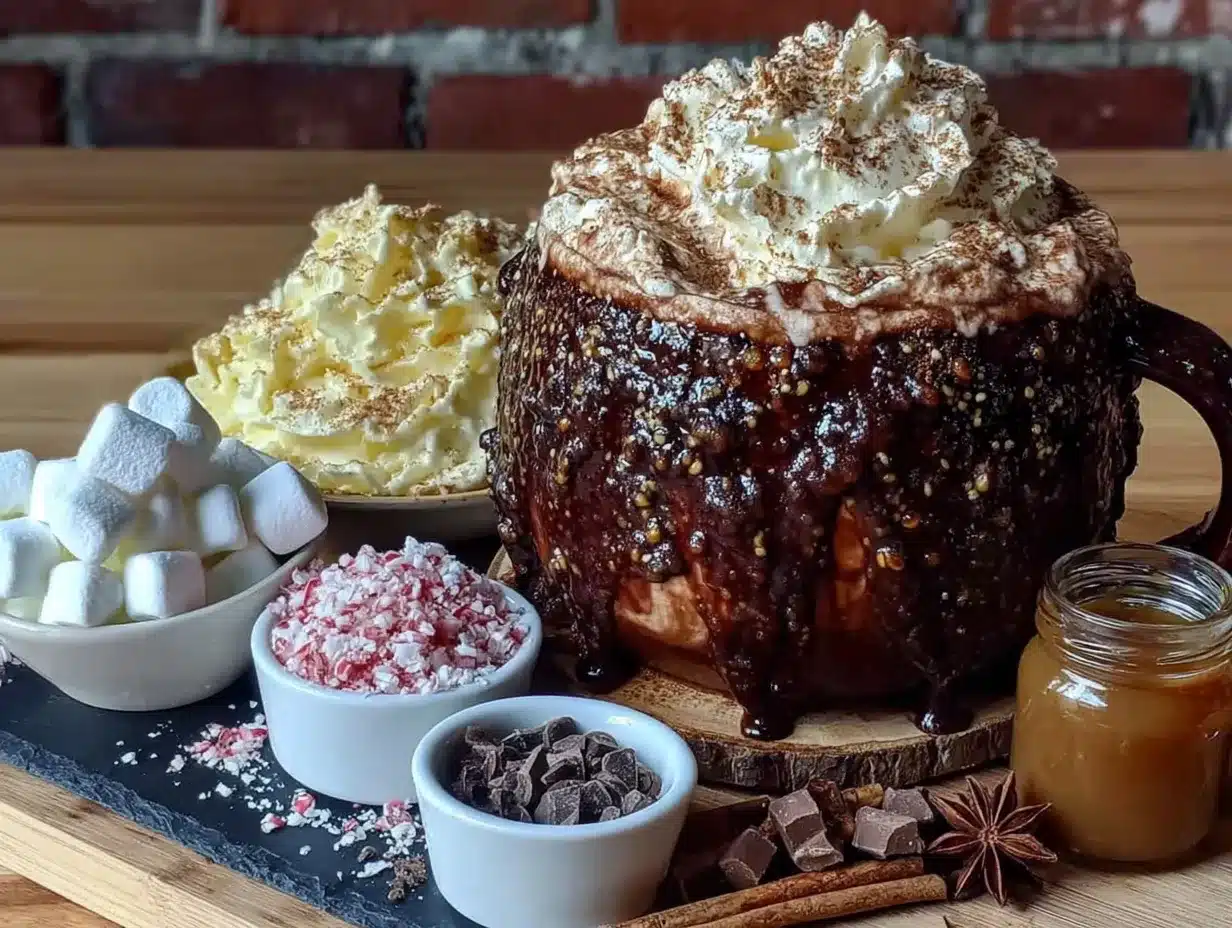
- Mini marshmallows — The classic. Look for fresh ones — stale marshmallows get hard and weird.
- Crushed candy canes or peppermint bits — Perfect for a wintery vibe. Crush them in a zip-top bag with a rolling pin.
- Chocolate shavings or chocolate chips — Dark, milk, or white — whatever you have.
- Whipped cream — Canned is totally fine for a weeknight. If you have heavy cream, go ahead and whip some up.
- Cinnamon sticks or ground cinnamon — A sprinkle on top is magic.
- Caramel sauce or chocolate syrup — For drizzling over the whipped cream.
- Toasted coconut flakes — Adds a little texture and a tropical twist.
- Crushed graham crackers or cookie crumbs — Turns your cocoa into a s’mores situation.
- Sprinkles — For fun. No explanation needed.
Ingredient Tips
For the best texture, use fresh cocoa powder that hasn’t been sitting in your pantry for two years. If you’re using plant-based milk, choose an unsweetened version and add a little extra sugar. And here’s a trick I learned the hard way: whisk the cocoa powder and sugar together in the pot before adding the milk. It prevents lumps and saves you from having to fish out clumps later.
Equipment Needed
- Medium saucepan — Any pot works. I use a 3-quart saucepan.
- Whisk — Essential for smooth cocoa. A silicone whisk won’t scratch your pot.
- Measuring cups and spoons — For accurate measurements.
- Small bowls or ramekins — For holding toppings. I use little ceramic bowls I found at a thrift store.
- Mugs — Pick your favorites. Big mugs are better for holding toppings.
- Tray or cutting board — To arrange everything on. A baking sheet works great in a pinch.
If you don’t have a whisk, a fork will work — just be prepared to whisk a little longer. No saucepan? Use a microwave-safe bowl and heat the milk in 30-second bursts, whisking between each. Budget-friendly tip: repurpose yogurt containers or small jars for toppings instead of buying new bowls.
Preparation Method
- Set up your topping bar (5 minutes): Arrange your chosen toppings in small bowls. Put them on a tray or directly on the counter. Let everyone grab their mug first so they don’t have to juggle.
- Combine dry ingredients: In your saucepan, whisk together the cocoa powder, sugar, and salt. This step prevents lumps. Trust me — I’ve skipped it and regretted it.
- Add the milk: Pour in about 1/2 cup of milk and whisk until you have a smooth paste. Then add the remaining milk and whisk again. This two-step method ensures the cocoa dissolves completely.
- Heat gently: Place the saucepan over medium heat. Whisk occasionally as the milk warms. Do not let it boil — you want it steaming, not bubbling. Boiling can scorch the milk and make it taste burnt.
- Add vanilla: Once the milk is hot and steam is rising (about 4-5 minutes), remove from heat and stir in the vanilla extract. Give it a taste. Need more sweetness? Add a spoonful of sugar. Want it more chocolatey? Whisk in another tablespoon of cocoa.
- Pour and serve: Ladle the hot cocoa into mugs. Let everyone add their own toppings at the bar. The cocoa should be hot enough to melt marshmallows slightly but not so hot that it burns tongues.
- Enjoy immediately: Hot cocoa waits for no one. Drink it while it’s warm and the toppings are fresh.
Sensory cues: The cocoa should smell rich and chocolatey, with a slight bitterness from the cocoa powder that the sugar balances. When you whisk, you should see steam rising but no bubbles breaking the surface. The finished drink should be smooth, not grainy — if you feel grit on your tongue, it wasn’t whisked enough.
Cooking Tips & Techniques
Here’s what I’ve learned from making countless batches of hot cocoa — including some that didn’t turn out great:
Don’t rush the heat. I once cranked the burner to high because I was impatient, and the milk scorched in about 90 seconds. The whole batch tasted like burnt toast. Medium heat is your friend. If you’re in a hurry, use a microwave — it’s actually faster and harder to mess up.
Make it ahead. You can prepare the cocoa base (steps 1-5) up to 2 hours ahead. Keep it in the pot with the lid on, and reheat gently before serving. The topping bar can be set up hours in advance — just cover the bowls with plastic wrap so the marshmallows don’t get stale.
Multitask like a pro. While the milk is heating, set out your toppings. While everyone is building their mugs, clean the saucepan. The whole process takes less than 15 minutes, and you can be sipping your cocoa while the kids are still debating between sprinkles and crushed candy canes.
Consistency tip: If your cocoa is too thin, whisk in a teaspoon of cornstarch dissolved in a tablespoon of cold milk. If it’s too thick, add a splash of milk and whisk. I’ve done both — the cornstarch trick works surprisingly well.
Variations & Adaptations
This hot cocoa bar is endlessly customizable. Here are some of my favorite twists:
Dietary Variations
- Dairy-free: Use oat milk or almond milk. Oat milk is creamier and closer to whole milk in texture. Coconut milk works too but adds a slight coconut flavor.
- Lower sugar: Use unsweetened cocoa powder and a sugar substitute like monk fruit or stevia. The toppings can be sugar-free too.
- Vegan: Use plant-based milk and skip the whipped cream, or use coconut whipped cream. Most dark chocolate is vegan-friendly.
Flavor Twists
- Mexican hot cocoa: Add 1/2 teaspoon cinnamon and a pinch of cayenne to the dry ingredients. Top with a cinnamon stick.
- Salted caramel: Drizzle caramel sauce over the top and sprinkle with flaky sea salt. It sounds fancy but takes 10 seconds.
- Peppermint mocha: Add 1/2 teaspoon instant coffee to the cocoa powder. Top with crushed candy canes.
Seasonal Adaptations
- Fall: Add pumpkin pie spice to the cocoa base. Offer apple cider as an alternative base.
- Spring: Top with edible flowers or pastel sprinkles. Use strawberry-flavored marshmallows.
- Summer: Serve the cocoa iced! Make the base, let it cool, and pour over ice. The topping bar still works.
I once tried a peanut butter version — stirred a spoonful of peanut butter into my mug. It was surprisingly good, though it didn’t dissolve completely. Would I do it again? Absolutely.
Serving & Storage Suggestions
Serve the hot cocoa immediately while it’s hot. Let everyone assemble their own mug at the bar — it’s half the fun. The cocoa should be warm enough to melt marshmallows but not so hot that it’s undrinkable.
What to serve alongside: A plate of cookies (chocolate chip or shortbread work great), biscotti for dipping, or even a bowl of popcorn for a sweet-and-salty combo. If it’s a special occasion, add a shot of Baileys or Kahlua to the adult mugs.
Storage: Leftover cocoa base keeps in the fridge for up to 3 days. Store it in an airtight container. The flavor actually deepens slightly overnight — the cocoa becomes more chocolatey. Toppings should be stored separately in sealed bags or containers.
Reheating: Pour the cocoa into a saucepan and warm over medium-low heat, whisking occasionally. You can also microwave individual mugs in 30-second bursts, stirring between each. Add a splash of milk if it’s thickened in the fridge.
Freezer: You can freeze the cocoa base in ice cube trays for hot cocoa ice cubes — drop them into cold milk for an iced version. Or freeze the base in a freezer-safe container for up to 2 months. Thaw in the fridge overnight and reheat as usual.
Nutritional Information & Benefits
Per serving (1 mug with 2% milk, no toppings): approximately 180 calories, 5g fat, 28g carbs, 8g protein, 20g sugar. Toppings add calories — a handful of marshmallows is about 40 calories, a tablespoon of whipped cream is about 15.
Hot cocoa actually has some surprising benefits. Cocoa powder is rich in antioxidants called flavonoids, which can help lower blood pressure and improve blood flow. The milk provides calcium and vitamin D. And honestly? The mental health benefit of sitting down with a warm mug and a few minutes of quiet is real. I’m not a nutritionist, but I know that taking 10 minutes to make something cozy for yourself counts as self-care.
Dietary considerations: This recipe is vegetarian. For gluten-free, check your toppings — most are naturally gluten-free, but some sprinkles and cookie crumbs contain wheat. For dairy-free, use plant-based milk. Cocoa is naturally low in sodium and cholesterol-free.
Conclusion
This quick DIY hot cocoa bar is the kind of small thing that makes a weeknight feel special without making it complicated. It takes ten minutes, uses stuff you probably already have, and somehow turns a regular Tuesday into something your family will talk about. I love that about it — the way simple ingredients and a little bit of intention can change the whole mood of an evening.
Customize it however you want. Use whatever toppings you have. Forget the candy canes if you’re not in the mood. The whole point is that it’s yours. That’s what my aunt Lena taught me — that the best hot cocoa is the one you make the way you like it.
I’d love to hear what toppings you use. Drop a comment below and tell me your favorite combo — or tag me in your hot cocoa bar photos. Now go make yourself a mug. You deserve it.
Frequently Asked Questions
Can I use water instead of milk?
You can, but the cocoa will be much thinner and less creamy. If you’re in a pinch, use half water and half milk for a lighter version. Whole milk really does make the best texture.
How do I make hot cocoa for a crowd?
Double or triple the recipe and use a large pot. Keep the cocoa warm in a slow cooker on the “warm” setting — it stays perfect for hours. Set up the topping bar nearby and let guests serve themselves.
Can I make this ahead of time?
Yes! Make the cocoa base up to 2 hours ahead and keep it covered on the stove. Reheat gently before serving. The topping bar can be set up hours in advance — just cover the bowls so nothing gets stale.
What if I don’t have cocoa powder?
You can melt chocolate chips or chopped chocolate into warm milk instead. Use about 1/2 cup of chocolate per 4 cups of milk. Stir until completely melted and smooth. It will be richer and sweeter than cocoa powder.
How do I make it less sweet?
Reduce the sugar to 1/4 cup or use unsweetened cocoa powder. You can also skip the sweetened toppings and stick with unsweetened whipped cream or plain marshmallows. Taste as you go and adjust.
Pin This Recipe!
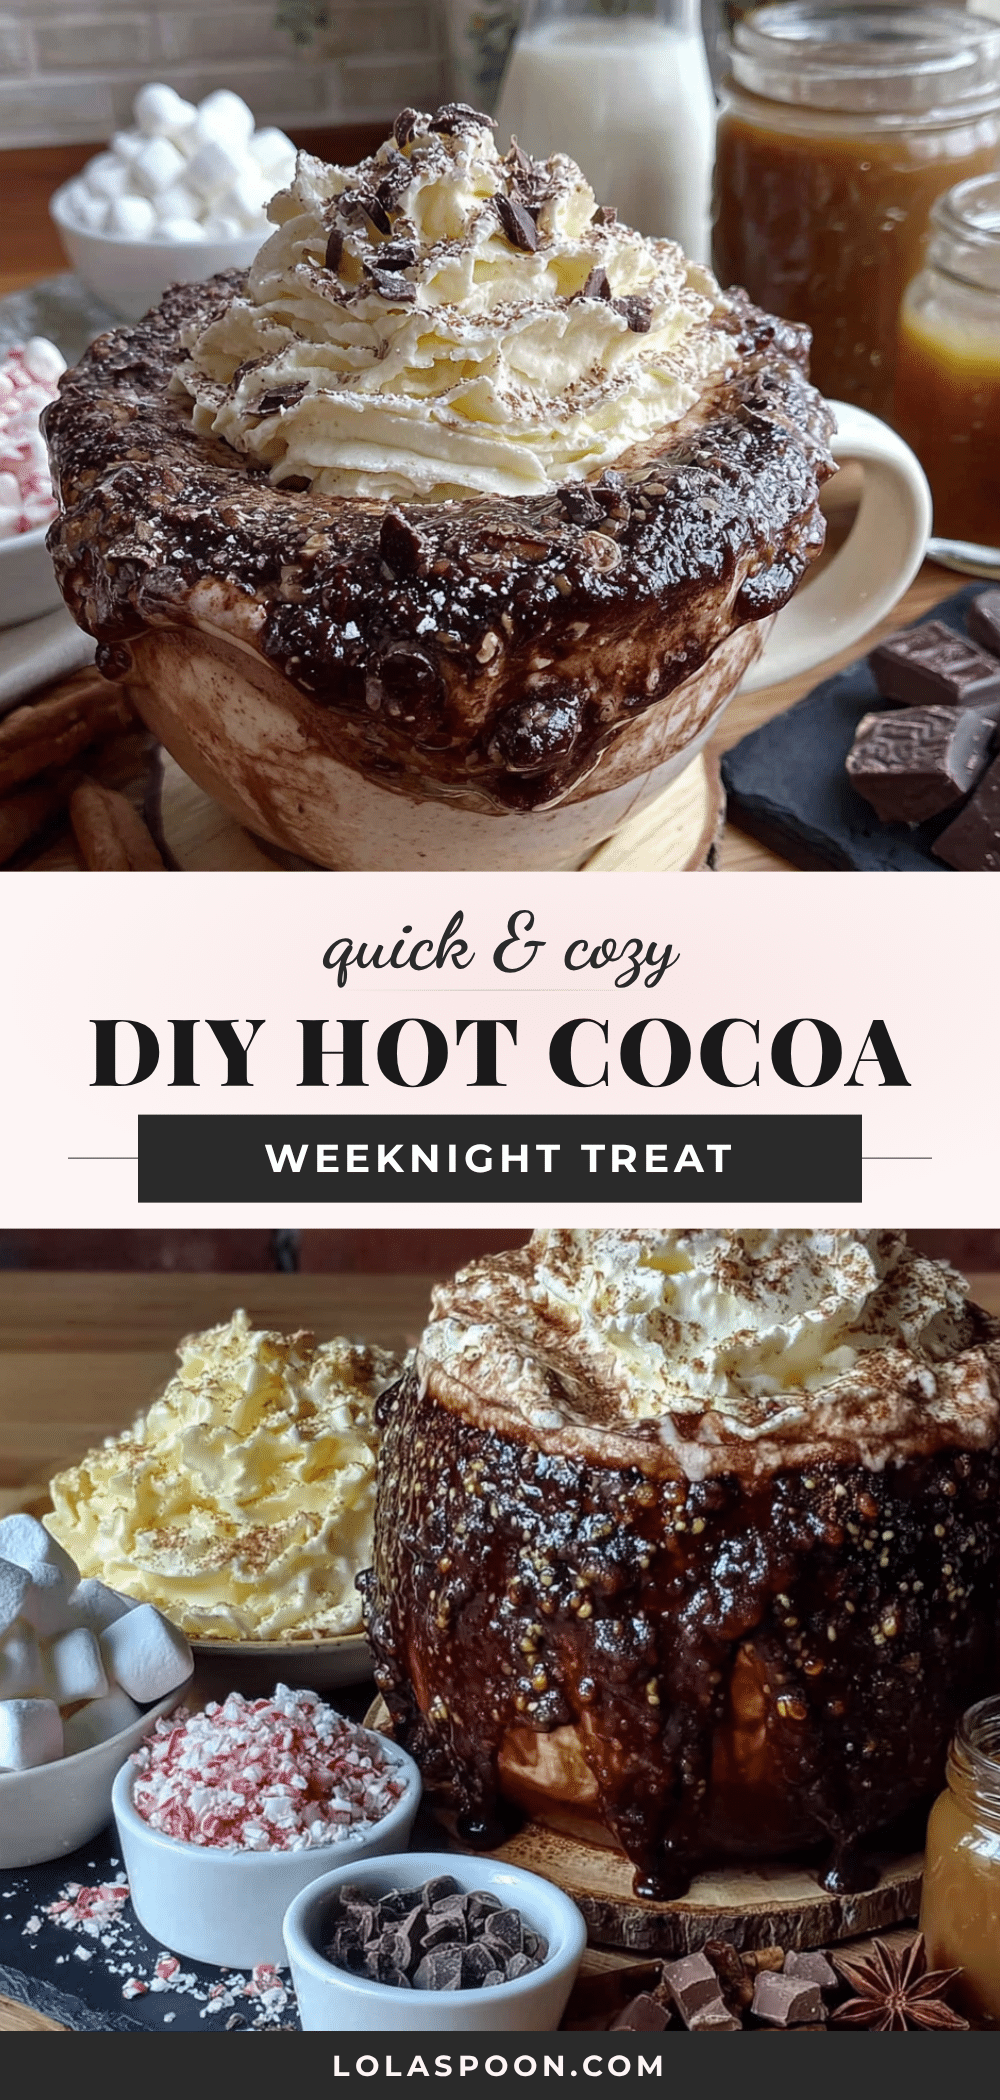
Quick DIY Hot Cocoa Bar Cozy Weeknight Treat

A quick and easy hot cocoa bar that turns a regular weeknight into something special. With a rich, creamy cocoa base and a variety of toppings, everyone can build their own perfect mug in under 10 minutes.
- Prep Time: 5 minutes
- Cook Time: 5 minutes
- Total Time: 10 minutes
- Yield: 4 servings 1x
- Category: Beverage
- Cuisine: American
Ingredients
- 4 cups (960 ml) whole milk
- 1/2 cup (60 g) unsweetened cocoa powder (preferably Dutch-processed)
- 1/3 cup (65 g) granulated sugar
- 1 teaspoon vanilla extract
- Pinch of salt
- Mini marshmallows (for topping)
- Crushed candy canes or peppermint bits (for topping)
- Chocolate shavings or chocolate chips (for topping)
- Whipped cream (for topping)
- Cinnamon sticks or ground cinnamon (for topping)
- Caramel sauce or chocolate syrup (for topping)
- Toasted coconut flakes (for topping)
- Crushed graham crackers or cookie crumbs (for topping)
- Sprinkles (for topping)
Instructions
- Set up your topping bar: Arrange your chosen toppings in small bowls on a tray or directly on the counter.
- Combine dry ingredients: In a medium saucepan, whisk together the cocoa powder, sugar, and salt.
- Add the milk: Pour in about 1/2 cup of milk and whisk until you have a smooth paste. Then add the remaining milk and whisk again.
- Heat gently: Place the saucepan over medium heat. Whisk occasionally as the milk warms until steaming (about 4-5 minutes). Do not let it boil.
- Add vanilla: Remove from heat and stir in the vanilla extract. Taste and adjust sweetness or chocolate flavor as desired.
- Pour and serve: Ladle the hot cocoa into mugs. Let everyone add their own toppings at the bar.
- Enjoy immediately: Drink while warm and toppings are fresh.
Notes
For best texture, use fresh cocoa powder. Whisk dry ingredients together before adding milk to prevent lumps. Do not let milk boil to avoid scorching. Topping bar can be set up hours in advance; cover bowls with plastic wrap. Leftover cocoa base keeps in the fridge for up to 3 days.
Nutrition
- Serving Size: 1 mug
- Calories: 180
- Sugar: 20
- Sodium: 100
- Fat: 5
- Saturated Fat: 3
- Carbohydrates: 28
- Fiber: 2
- Protein: 8
Keywords: hot cocoa, hot chocolate, cocoa bar, DIY, weeknight treat, easy, quick, winter, cozy, family-friendly


