The neighborhood block party was in four hours and I’d completely forgotten. Everyone else would be bringing those elaborate, multi-day preparations—the kind with homemade puff pastry or reductions that took all morning. I had three overripe bananas on the counter, a half-empty bag of whole wheat flour, and a sinking feeling in my stomach. I mean, I could run to the store, but honestly? I didn’t want to. I wanted to prove to myself, maybe just once, that simple could actually win. I threw the bananas in a bowl, grabbed a fork, and started mashing with a little too much aggression. My neighbor, Sarah, knocked on the door to ask if I needed anything, and I said no—which was a lie, because I needed a miracle. By the time I pulled that golden loaf out of the oven, the whole house smelled like comfort. I walked it over to the party, still warm, feeling a little sheepish. It sat next to a four-layer caramel cake and some kind of chocolate mousse situation. You know what happened? The banana bread was gone in twenty minutes. People kept coming back for “just one more slice.” I stood there, fork in hand, trying to figure out what just happened. That’s the thing about this wholesome one-bowl banana bread—it doesn’t try to impress you. It just shows up, does its job, and leaves everyone asking for the recipe. Maybe you’ve been there, scrambling for something to bring and hoping it works out. Let me tell you, this is the recipe that saves you every time.
Why You’ll Love This Recipe
Let’s be real—there are a hundred banana bread recipes out there, and most of them promise the world. But this one actually delivers. I’ve tested this recipe more times than I care to admit, tweaking the flour ratios, playing with the sweetener, and even burning a few loaves along the way (we don’t talk about batch number four). What I landed on is something special.
- Quick & Easy: Comes together in under 10 minutes of active prep. No mixer, no fuss, no complicated techniques. Just a bowl, a fork, and some elbow grease.
- Simple Ingredients: You probably have everything already. Overripe bananas, flour, eggs, oil, sugar—the usual suspects. No weird specialty items that you’ll use once and forget about.
- Perfect for Busy Mornings: Slice it up for breakfast, pack it for lunchboxes, or serve it as an afternoon snack with a cup of coffee. It works for any occasion, honestly.
- Crowd-Pleaser: Kids devour it. Adults sneak extra slices. Even my picky uncle, who claims he “doesn’t like banana bread,” asked for the recipe after one bite.
- Unbelievably Delicious: The texture is moist without being soggy, tender without being crumbly. The whole wheat flour adds a subtle nuttiness that pairs perfectly with the natural sweetness of ripe bananas.
What makes this recipe different from the rest? It’s the method. By mashing the bananas thoroughly and letting them sit with the sugar for a few minutes, you create a deeper, more complex flavor without any extra effort. Plus, using oil instead of butter keeps the bread incredibly moist for days—if it lasts that long. This isn’t just another version of banana bread. It’s the one you’ll come back to again and again.
This recipe is for those days when you want something that feels wholesome but still tastes like a treat. It’s comfort food reimagined—healthier, faster, but with the same soul-soothing satisfaction. Perfect for impressing guests without stress, or turning a simple Tuesday morning into something memorable.
What Ingredients You Will Need
This recipe uses simple, wholesome ingredients to deliver bold flavor and satisfying texture without the fuss. Most of these are pantry staples, so you can whip this up anytime those bananas start looking a little too spotted.
For the Batter
- 3 large ripe bananas, mashed (about 1½ cups) — the riper, the better. Those spotty, almost-black bananas are perfect here.
- ⅓ cup neutral oil (avocado or grapeseed work great) — keeps the bread tender without adding a heavy flavor.
- ½ cup maple syrup or honey — for natural sweetness. I prefer maple syrup for its subtle warmth.
- 2 large eggs, room temperature — helps everything emulsify smoothly.
- 1 teaspoon vanilla extract — pure, not imitation, if you can swing it.
- 1½ cups whole wheat flour (or all-purpose if you prefer) — whole wheat adds fiber and a lovely nutty flavor.
- 1 teaspoon baking soda — make sure it’s fresh for proper rise.
- ½ teaspoon baking powder — gives it a little extra lift.
- ½ teaspoon salt — balances the sweetness and enhances flavor.
- 1 teaspoon cinnamon — optional, but highly recommended for warmth.
Optional Add-Ins
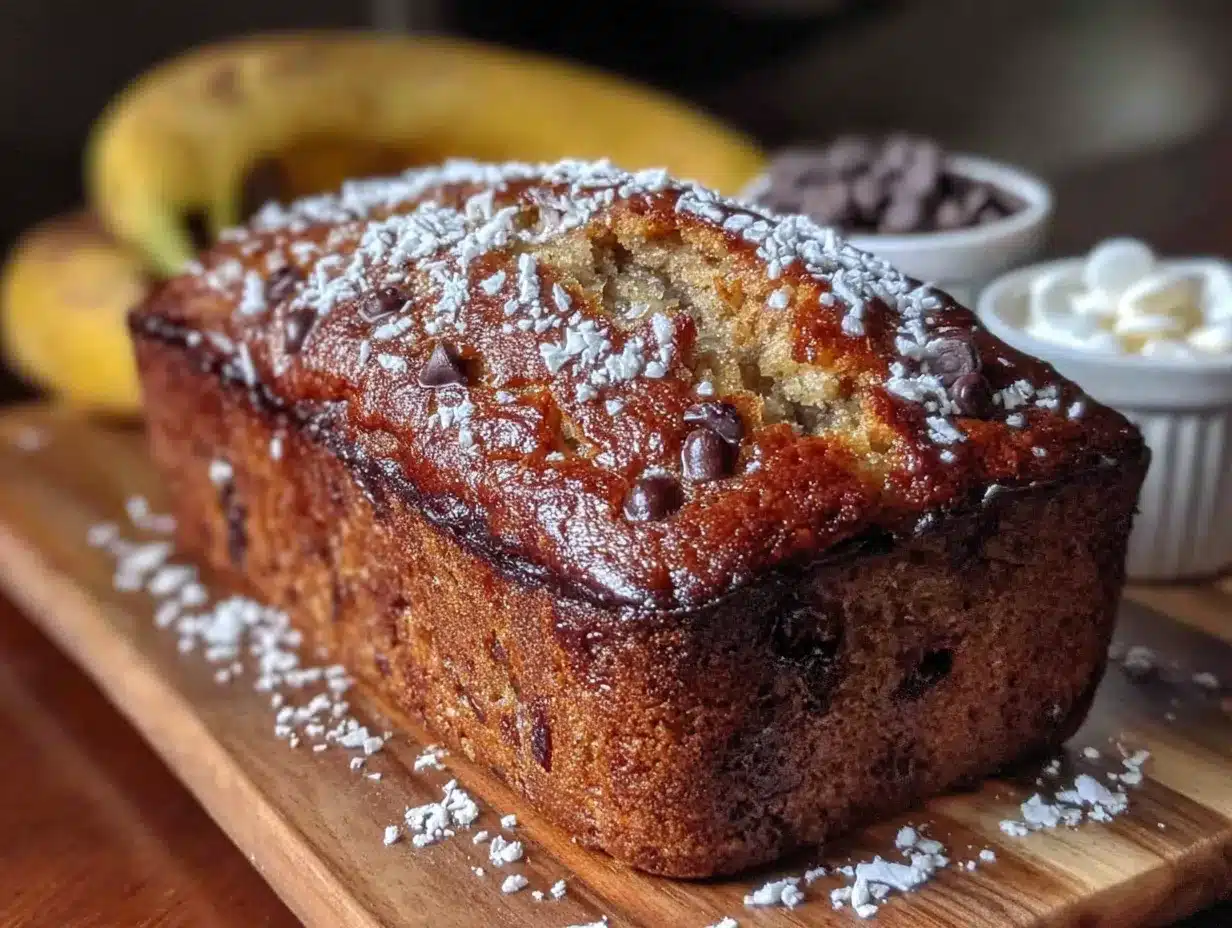
- ½ cup chopped walnuts or pecans — for crunch.
- ½ cup dark chocolate chips — because chocolate makes everything better.
- ¼ cup shredded coconut — adds texture and a hint of tropical flavor.
I personally recommend using Bob’s Red Mill whole wheat flour for consistent results. For the oil, Chosen Foods avocado oil is my go-to because it’s neutral and heart-healthy. If you’re out of maple syrup, honey works beautifully—just note that honey is slightly sweeter, so you might want to reduce it by a tablespoon.
For a gluten-free option, swap the whole wheat flour with a 1:1 gluten-free baking blend. I’ve tried King Arthur Measure for Measure with great success. For a dairy-free version, this recipe is already dairy-free since we’re using oil instead of butter.
Equipment Needed
The beauty of this recipe is that you don’t need much. Here’s what you’ll need:
- Large mixing bowl — any bowl works, but a wide one makes mashing easier.
- Fork or potato masher — for breaking down those bananas.
- Whisk or wooden spoon — for combining ingredients.
- 9×5-inch loaf pan — standard size works perfectly.
- Parchment paper — optional, but makes cleanup a breeze.
- Measuring cups and spoons — for accuracy.
- Cooling rack — helps the bread cool evenly and prevents a soggy bottom.
If you don’t have a loaf pan, you can use an 8×8-inch square pan and reduce the baking time by about 10 minutes. I’ve also made this as muffins—just fill a muffin tin about ¾ full and bake for 18-20 minutes. No mixer required, which means less cleanup and more time enjoying the smell of banana bread filling your kitchen.
For the loaf pan, I recommend a USA Pan for even baking and easy release. If you’re on a budget, a basic non-stick pan from the grocery store works just fine—just grease it well.
Preparation Method
Ready to bake? Let’s walk through this step by step. Trust me, it’s easier than you think.
- Preheat your oven to 350°F (175°C). Grease your 9×5-inch loaf pan or line it with parchment paper, leaving some overhang on the sides for easy lifting later.
- Mash the bananas. In your large mixing bowl, add the three ripe bananas. Using a fork or potato masher, mash them until they’re mostly smooth with just a few small lumps. You want some texture, not baby food consistency. This should take about 2 minutes.
- Add the wet ingredients. Pour in the oil, maple syrup, eggs, and vanilla extract. Whisk everything together until it’s well combined and slightly frothy. The mixture should look glossy and smell amazing already.
- Let it rest. Here’s the trick—let the banana mixture sit for 5 minutes. This allows the sugar to start dissolving and the flavors to meld. I learned this from a pastry chef friend, and it makes a real difference in the final texture.
- Add the dry ingredients. Sprinkle the whole wheat flour, baking soda, baking powder, salt, and cinnamon over the wet mixture. Use a spatula or wooden spoon to fold everything together gently. Mix just until you don’t see any more streaks of flour. Overmixing will make the bread tough, so stop as soon as it comes together. The batter will be thick and slightly lumpy—that’s perfect.
- Fold in add-ins (optional). If you’re using nuts, chocolate chips, or coconut, gently fold them in now. Don’t overmix—just a few turns to distribute them evenly.
- Pour into the pan. Scrape the batter into your prepared loaf pan and spread it evenly. Give the pan a gentle tap on the counter to release any air bubbles.
- Bake for 50-60 minutes. Place the pan in the center of the oven and bake until a toothpick inserted into the center comes out clean or with just a few moist crumbs. The top should be golden brown and cracked beautifully. If the top is browning too quickly after 40 minutes, tent it loosely with aluminum foil.
- Cool in the pan. Let the bread cool in the pan for 10 minutes. Then, using the parchment paper overhang, lift it out and transfer it to a cooling rack. Let it cool completely before slicing—I know it’s hard to wait, but it’s worth it. Slicing too early can make the bread crumbly.
Pro tip: The bread will release a slightly hollow sound when you tap the top if it’s done. That’s a good cue to check with a toothpick. Also, the kitchen should smell like pure comfort at this point—that’s how you know it’s working.
Cooking Tips & Techniques
After making this recipe more times than I can count, I’ve picked up a few tricks that make a real difference. Let me share them with you.
Don’t skip the banana resting step. I know it seems like a small thing, but letting the mashed bananas sit with the sugar for a few minutes allows the natural sugars to caramelize slightly during baking. The result is a deeper, more complex flavor that tastes like you spent hours on it. I learned this the hard way—batch number three was good, but batch number four (with the rest) was amazing.
Use a kitchen scale for accuracy. If you have one, weighing your bananas ensures consistency. Three medium bananas usually yield about 1½ cups mashed, but it varies. Too much banana can make the bread dense and gummy. Too little, and it’ll be dry. Aim for that sweet spot.
Room temperature eggs matter. Cold eggs can seize the batter and make it lumpy. If you forgot to take them out of the fridge, place them in a bowl of warm water for 5 minutes. Problem solved.
Watch your mixing time. Overmixing is the number one mistake I see people make. Once you add the flour, mix just until combined. A few lumps are fine—they’ll bake out. Overmixing develops the gluten too much, and you’ll end up with a tough, rubbery bread instead of a tender one.
Check for doneness early. Ovens vary wildly. Mine runs hot, so I start checking at 50 minutes. Yours might need the full 60. The toothpick test is your best friend here. If it comes out clean, it’s done. If there’s wet batter on it, give it another 5 minutes and check again.
Let it cool completely. I know, I know—warm banana bread is irresistible. But slicing it while it’s still warm will result in a crumbly mess. The bread needs time to set as it cools. Patience pays off here, I promise.
Variations & Adaptations
One of the best things about this recipe is how adaptable it is. Here are some variations I’ve tried and loved.
Vegan Version
Swap the eggs with two flax eggs (2 tablespoons ground flaxseed mixed with 6 tablespoons water, let sit for 5 minutes). Use coconut sugar or maple syrup instead of honey. The texture will be slightly denser but still delicious. I made this for a vegan friend’s birthday, and she asked for the recipe immediately.
Gluten-Free Option
Use a 1:1 gluten-free baking blend like King Arthur Measure for Measure. Add 1 tablespoon of apple cider vinegar to help with lift. The bread will be a bit more delicate, so handle it gently when removing from the pan.
Chocolate Swirl Banana Bread
Melt ¼ cup dark chocolate chips with 1 tablespoon coconut oil. After pouring the batter into the pan, dollop the melted chocolate on top and swirl it with a knife. The result is a gorgeous marbled effect that tastes as good as it looks. This version disappears fastest at my house.
Spiced Pumpkin Banana Bread
Replace one banana with ½ cup pumpkin puree. Add an extra teaspoon of pumpkin pie spice. This autumn twist is perfect for cozy mornings. I made this for Thanksgiving brunch, and it was gone before the turkey came out of the oven.
Nut-Free Option
Simply skip the walnuts or pecans. You can add sunflower seeds or pumpkin seeds for crunch instead. Or just leave it plain—the bread is fantastic on its own.
Serving & Storage Suggestions
This banana bread is versatile when it comes to serving. Here’s how I like to enjoy it.
Serving temperature: Room temperature is ideal, but a lightly toasted slice with a pat of butter is pure heaven. For an extra treat, spread a little almond butter or cream cheese on top. The warmth from toasting brings out the banana flavor beautifully.
Perfect pairings: A cup of black coffee or chai tea is my go-to. For a breakfast spread, serve it alongside Greek yogurt and fresh berries. It also makes a great dessert with a scoop of vanilla ice cream—don’t knock it till you try it.
Storage instructions: Store the bread in an airtight container at room temperature for up to 4 days. To keep it extra moist, place a piece of paper towel in the container and change it every other day. Do not refrigerate—it will dry out the bread.
Freezing instructions: This bread freezes beautifully. Wrap the cooled loaf tightly in plastic wrap, then in aluminum foil. Freeze for up to 3 months. When you’re ready to enjoy it, thaw overnight in the refrigerator or at room temperature for a few hours. You can also slice it before freezing and grab individual slices as needed.
Reheating: Pop a slice in the toaster or microwave for 10-15 seconds. The flavor actually develops over time, so day-old banana bread often tastes even better than fresh. The spices meld, the moisture distributes evenly, and every bite is pure comfort.
Nutritional Information & Benefits
This wholesome banana bread isn’t just delicious—it’s packed with good-for-you ingredients. Here’s a rough breakdown per slice (based on 12 slices, without add-ins):
| Nutrient | Amount per Slice |
|---|---|
| Calories | 185 |
| Total Fat | 8g |
| Saturated Fat | 1g |
| Carbohydrates | 28g |
| Fiber | 3g |
| Sugar | 14g |
| Protein | 4g |
Health benefits: Bananas are rich in potassium, which supports heart health and muscle function. Whole wheat flour adds fiber for digestive health and keeps you feeling full longer. Using oil instead of butter reduces saturated fat, making this a heart-friendlier option. Maple syrup provides antioxidants and a lower glycemic index compared to refined sugar.
Dietary considerations: This recipe is naturally dairy-free and can be made vegan and gluten-free with simple swaps. It’s nut-free if you omit the walnuts or pecans. Always check your ingredient labels for potential allergens, especially if using gluten-free flour blends.
Personal note: I love that this banana bread feels indulgent but is actually pretty wholesome. It’s the kind of treat you can feel good about eating for breakfast or packing in a lunchbox. No guilt, just pure enjoyment.
Conclusion
This wholesome one-bowl banana bread has become a staple in my kitchen for good reason. It’s simple, forgiving, and always delivers. Whether you’re a seasoned baker or someone who’s never made bread from scratch, this recipe is for you. It doesn’t demand perfection—it just asks for ripe bananas and a little bit of time.
I love that this recipe has saved me more times than I can count. From last-minute potlucks to lazy Sunday mornings, it’s always there when I need it. The smell of it baking is pure comfort, and that first bite? Pure magic.
Now it’s your turn. Give this recipe a try and make it your own. Add chocolate chips, throw in some nuts, or keep it simple. Whatever you do, I’d love to hear about it. Leave a comment below and tell me how yours turned out. Did you make any fun variations? Did your family love it? Share your banana bread story—I’m genuinely excited to hear it.
Happy baking, friend. You’ve got this.
Frequently Asked Questions
Can I use frozen bananas?
Absolutely! Thaw them completely and drain off any excess liquid before mashing. Frozen bananas are actually sweeter and more flavorful, so they work beautifully here.
Why did my banana bread sink in the middle?
This usually happens if the bread is underbaked or if you opened the oven door too early. Make sure your oven is fully preheated and resist the urge to peek until at least 45 minutes have passed.
Can I reduce the sugar?
Yes, you can reduce the maple syrup to ⅓ cup if you prefer less sweetness. The bananas add natural sweetness, so the bread will still be delicious. Just note that it might be slightly denser.
How do I know when the bananas are ripe enough?
Look for bananas with plenty of brown spots—the more spots, the sweeter and more flavorful they’ll be. If they’re mostly yellow, the bread won’t be as sweet or moist. Green bananas won’t work at all.
Can I make this into muffins instead?
Definitely! Grease a 12-cup muffin tin and fill each cup about ¾ full. Bake at 350°F for 18-22 minutes, or until a toothpick comes out clean. Perfect for grab-and-go breakfasts.
Pin This Recipe!
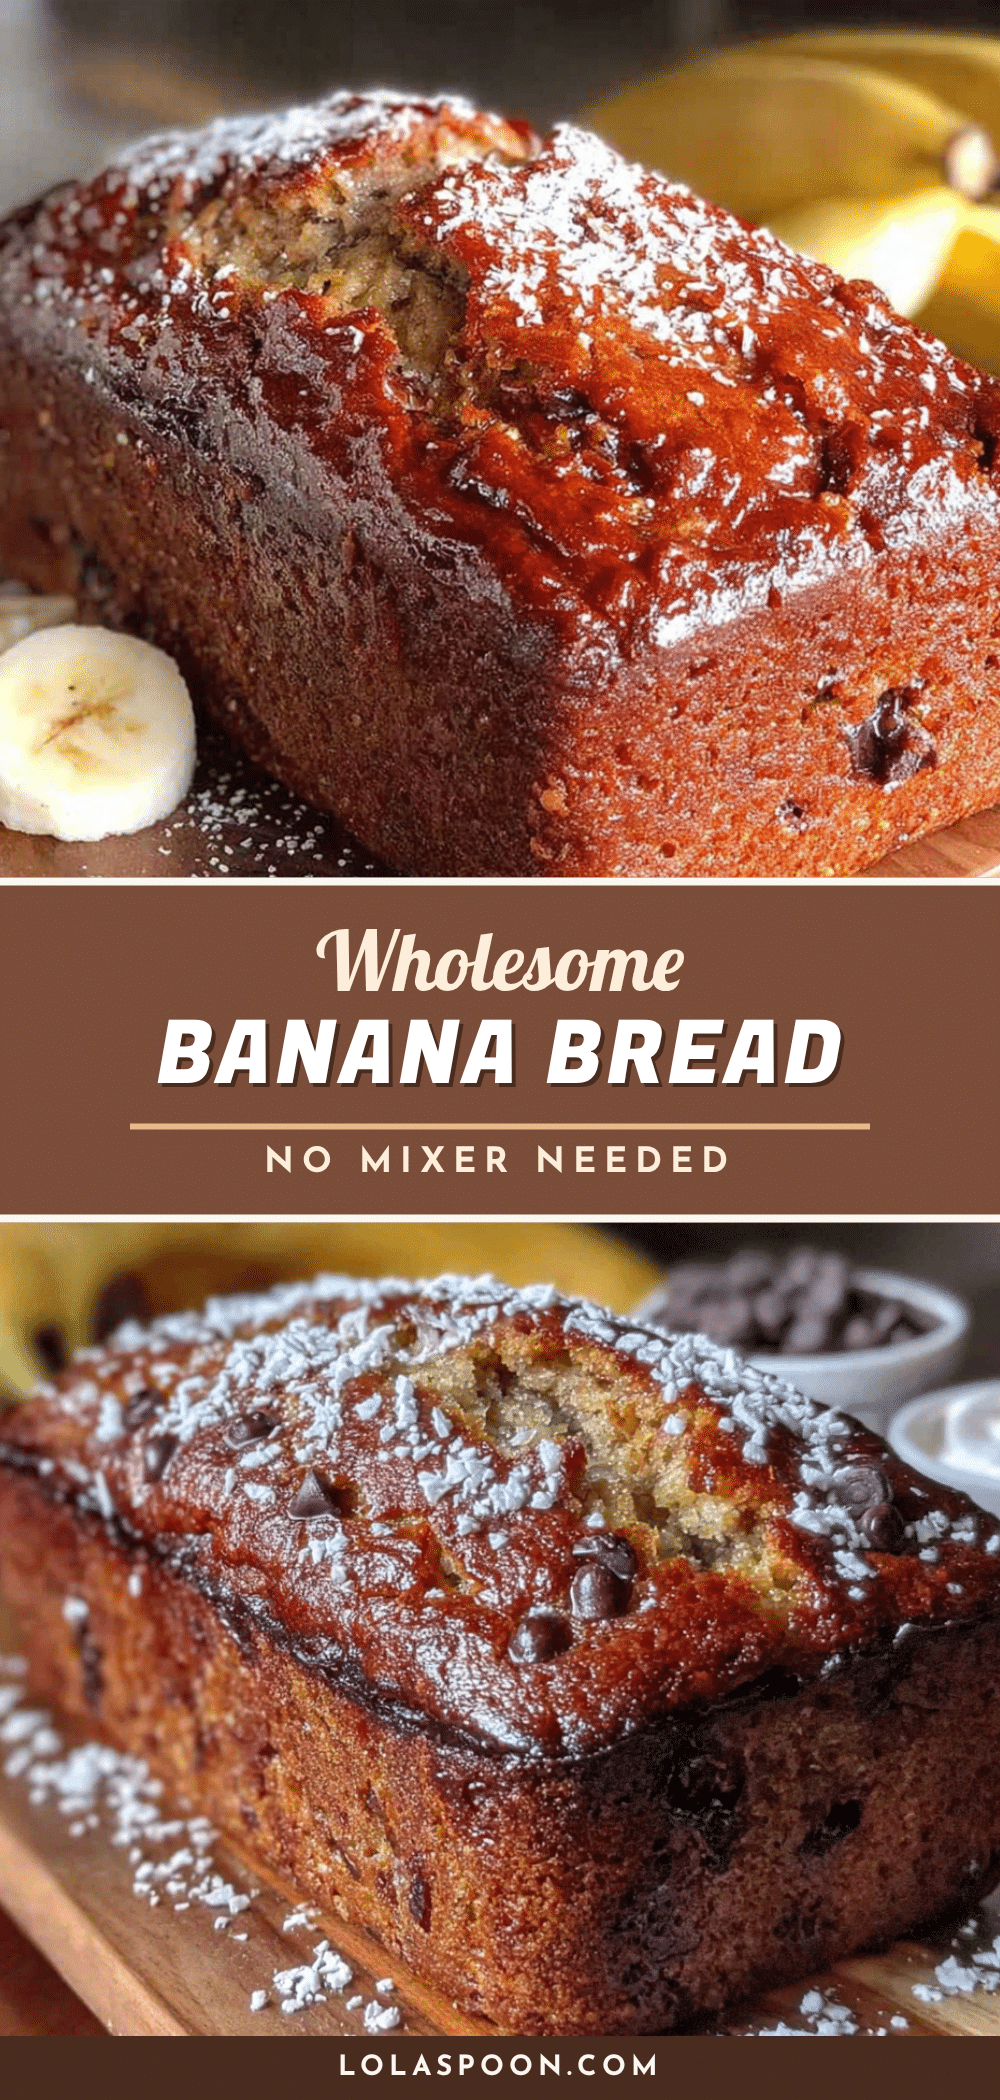
Wholesome One-Bowl Banana Bread: Easy & Perfect Every Time
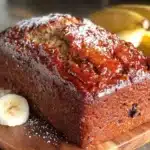
This wholesome one-bowl banana bread is simple, forgiving, and always delivers. It’s the perfect last-minute treat for potlucks, breakfasts, or lazy Sunday mornings, with a moist texture and deep banana flavor.
- Prep Time: 10 minutes
- Cook Time: 55 minutes
- Total Time: 1 hour 5 minutes
- Yield: 12 servings 1x
- Category: Bread
- Cuisine: American
Ingredients
- 3 large ripe bananas, mashed (about 1½ cups)
- ⅓ cup neutral oil (avocado or grapeseed)
- ½ cup maple syrup or honey
- 2 large eggs, room temperature
- 1 teaspoon vanilla extract
- 1½ cups whole wheat flour (or all-purpose)
- 1 teaspoon baking soda
- ½ teaspoon baking powder
- ½ teaspoon salt
- 1 teaspoon cinnamon (optional)
- ½ cup chopped walnuts or pecans (optional)
- ½ cup dark chocolate chips (optional)
- ¼ cup shredded coconut (optional)
Instructions
- Preheat your oven to 350°F (175°C). Grease a 9×5-inch loaf pan or line it with parchment paper, leaving some overhang on the sides for easy lifting.
- In a large mixing bowl, mash the bananas with a fork or potato masher until mostly smooth with a few small lumps.
- Add the oil, maple syrup, eggs, and vanilla extract. Whisk until well combined and slightly frothy.
- Let the banana mixture rest for 5 minutes to allow the sugar to dissolve and flavors to meld.
- Sprinkle the whole wheat flour, baking soda, baking powder, salt, and cinnamon over the wet mixture. Fold gently with a spatula or wooden spoon until just combined. Do not overmix.
- If using, fold in nuts, chocolate chips, or coconut gently.
- Pour the batter into the prepared loaf pan and spread evenly. Tap the pan gently on the counter to release air bubbles.
- Bake for 50-60 minutes, or until a toothpick inserted into the center comes out clean or with a few moist crumbs. If the top browns too quickly, tent with foil after 40 minutes.
- Let the bread cool in the pan for 10 minutes, then lift it out using the parchment paper and transfer to a cooling rack. Cool completely before slicing.
Notes
For best flavor, use very ripe bananas with brown spots. Letting the banana mixture rest for 5 minutes before adding dry ingredients enhances the flavor. Do not overmix the batter to avoid a tough bread. Cool completely before slicing to prevent crumbling. Store in an airtight container at room temperature for up to 4 days, or freeze for up to 3 months.
Nutrition
- Serving Size: 1 slice
- Calories: 185
- Sugar: 14
- Sodium: 200
- Fat: 8
- Saturated Fat: 1
- Carbohydrates: 28
- Fiber: 3
- Protein: 4
Keywords: banana bread, whole wheat banana bread, one bowl banana bread, easy banana bread, healthy banana bread, dairy free banana bread