This was supposed to be a simple, creamy corn chowder. I had the potatoes diced, the bacon rendered, and the stock simmering on the back burner. But somewhere between answering a text from my sister and realizing I’d used the last of the heavy cream for my morning coffee, the whole plan went sideways. I stared at a bag of frozen corn, a block of cheddar, and a sleeve of butter crackers—and I just started layering things in a baking dish like a desperate, hungry person. What came out of that oven was nothing like the soup I’d planned. It was better. It was this cheesy corn casserole, and honestly, it felt like a little miracle on a Tuesday night.
The top was golden and crackly, the inside was so creamy it almost wobbled, and that buttery cracker topping? Let me tell you, it made the whole house smell like a state fair. I stood there with a spatula, eating straight from the dish, and I knew I’d accidentally stumbled onto something I’d be making for years. Maybe you’ve had one of those kitchen moments where everything goes wrong, and somehow, the universe hands you a new favorite recipe. That was this casserole for me.
Why You’ll Love This Recipe
This isn’t just another side dish. This is the kind of casserole that gets asked for by name at family dinners. It’s got that perfect balance of creamy, cheesy, and crunchy, and it comes together with almost zero stress. I’ve tested this more times than I care to admit—burned a batch, undercooked another, even tried a version with Greek yogurt that I will not be repeating—and this version is the one that just works.
- Quick & Easy: From fridge to table in about 40 minutes. No fancy techniques, no stand mixer required.
- Simple Ingredients: You probably have most of these in your pantry right now. Frozen corn, cheddar, sour cream, butter, crackers—that’s it.
- Perfect for Cozy Nights: This is the dish you make when you need something warm and comforting after a long day. It’s like a hug in a baking dish.
- Crowd-Pleaser: Kids love the creamy corn and crunchy top. Adults love the rich, savory flavor. It disappears every single time.
- Unbelievably Delicious: The texture is what gets me every time. The corn stays juicy, the cheese gets melty, and that cracker topping shatters when you bite into it.
What makes this different from other corn casseroles? It’s the ratio. I spent a lot of time figuring out the perfect amount of sour cream and butter so the casserole stays creamy without turning into soup. And that topping—it’s not just crushed crackers thrown on top. It’s a proper buttery crust that bakes up golden and crisp. This is comfort food at its finest, without any of the fuss.
What Ingredients You Will Need
This recipe uses simple, honest ingredients that work together to create something truly special. Most of these are pantry staples, which makes this casserole perfect for those nights when you need dinner to be easy and satisfying.
- Frozen Corn – 4 cups (about 20 oz). I prefer using frozen corn because it’s sweet and tender, and it doesn’t need any pre-cooking. No need to thaw it first—just dump it in. If you have fresh corn on the cob in summer, go ahead and use it (about 6 ears, kernels cut off).
- Sharp Cheddar Cheese – 2 cups (8 oz), shredded. Please, for the love of all things cheesy, shred your own cheese. The pre-shredded stuff has anti-caking agents that make it less melty. I like a good sharp cheddar for flavor, but a mild cheddar works too.
- Sour Cream – 1 cup (8 oz). This is what gives the casserole its creamy, tangy richness. Full-fat is best here, but a light sour cream works in a pinch. Greek yogurt can be substituted, but the texture will be slightly less rich.
- Unsalted Butter – ½ cup (1 stick), melted. We use half in the casserole base and half in the topping. If you only have salted butter, just reduce the added salt by a pinch.
- Large Eggs – 2, lightly beaten. These help bind the casserole together and give it a slightly custardy texture.
- All-Purpose Flour – 2 tablespoons. This helps thicken the casserole slightly so it holds its shape when served. A gluten-free all-purpose blend works fine here.
- Granulated Sugar – 1 tablespoon. Just a hint of sweetness to bring out the corn’s natural flavor. Don’t skip it—it makes a difference.
- Salt – 1 teaspoon. I use fine sea salt. Adjust to your taste.
- Black Pepper – ½ teaspoon, freshly ground.
- Butter Crackers – 1½ cups, crushed (about 30 crackers). Ritz or a store-brand version works perfectly. You want them crushed into coarse crumbs, not dust. Some texture is good.
Equipment Needed
You don’t need a lot of fancy tools for this one, which is part of why I love it. Here’s what you’ll need:
- 9×13-inch Baking Dish – Glass or ceramic works best. I’ve used a metal pan before, and the casserole cooked a little faster on the edges. If you’re using metal, start checking it at 30 minutes.
- Large Mixing Bowl – For combining the wet ingredients and corn.
- Small Bowl – For mixing the cracker topping.
- Whisk – To beat the eggs and mix everything smoothly.
- Cheese Grater – If you’re smart and shredding your own cheese (which you should be).
- Measuring Cups and Spoons – Standard set will do.
- Ziploc Bag or Rolling Pin – For crushing the crackers. I usually just put them in a bag and go at them with the bottom of a measuring cup. It’s not elegant, but it works.
That’s it. No stand mixer, no food processor, no fancy gadgets. Just a bowl, a whisk, and an oven.
Preparation Method
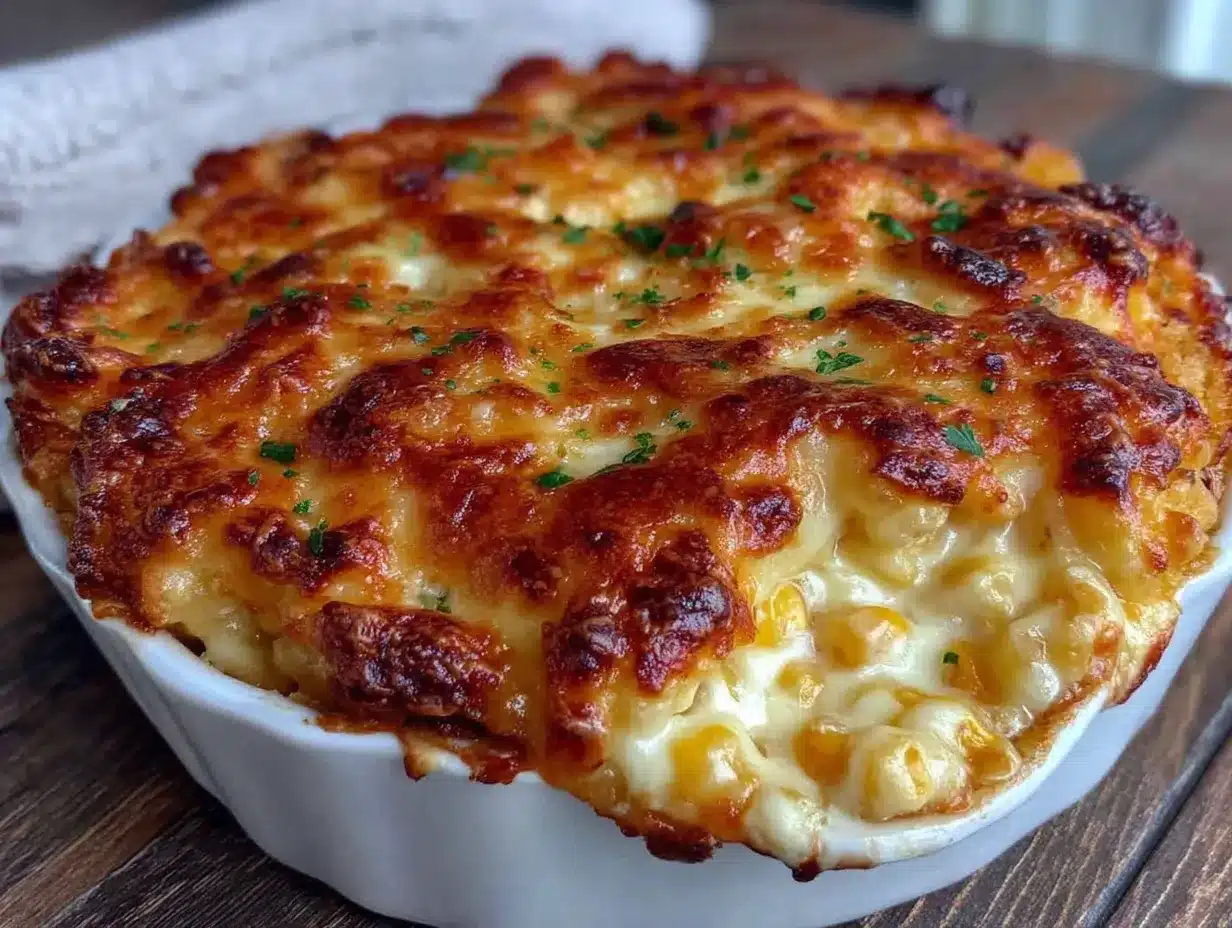
Alright, let’s make this casserole. Trust me, it’s almost too easy.
- Preheat your oven to 350°F (175°C). While it’s heating up, lightly grease your 9×13-inch baking dish with butter or non-stick spray. I like to use butter because, well, more butter is never a bad thing.
- In a large mixing bowl, combine the sour cream, melted butter (¼ cup, half of your total), beaten eggs, flour, sugar, salt, and pepper. Whisk it all together until it’s smooth and well combined. Don’t overmix—just get it uniform. The mixture should look pale yellow and creamy.
- Add the frozen corn and 1½ cups of the shredded cheddar cheese to the bowl. Stir everything together with a spatula or big spoon until the corn and cheese are evenly coated in the sour cream mixture. It will look thick and chunky, and that’s exactly right.
- Pour the corn mixture into your prepared baking dish. Spread it out into an even layer with your spatula. Don’t press it down too hard—just smooth the top so it’s level.
- Sprinkle the remaining ½ cup of shredded cheddar cheese evenly over the top of the casserole. This creates a cheesy layer right under the cracker topping, which is honestly one of the best parts.
- In a small bowl, combine the crushed butter crackers with the remaining ¼ cup of melted butter. Stir until all the crumbs are coated. The mixture should look like wet sand. Sprinkle this evenly over the cheese layer.
- Bake for 35-40 minutes, or until the casserole is bubbly around the edges and the cracker topping is deep golden brown. If the top is browning too quickly around minute 25, tent a piece of foil loosely over the dish. You want the center to be set—give the dish a gentle shake; it should jiggle just a little, like a custard.
- Let it rest for at least 10 minutes before serving. I know, this is the hardest part. But letting it sit allows the casserole to set up properly so it slices cleanly. If you dig in too soon, it’ll be a bit loose. Patience, friend.
One thing I learned the hard way: don’t use a glass dish straight from the fridge into a hot oven. Let it come to room temperature for about 15 minutes first, or you risk thermal shock. My poor grandmother’s baking dish did not survive that lesson.
Cooking Tips & Techniques
After making this casserole more times than I can count, I’ve picked up a few tricks that make a real difference. Let me share them so you don’t have to learn the hard way.
Shred your own cheese. I know I said it already, but it’s worth repeating. Pre-shredded cheese has a coating that prevents it from melting smoothly. For a casserole like this, where the cheese is a star, you want it to melt into that creamy, stretchy goodness. A block of sharp cheddar and a box grater take two minutes.
Don’t thaw the corn. Using it frozen means the kernels stay plump and juicy during baking. If you thaw it first, the corn releases too much water, and you end up with a soggy casserole. Trust the frozen bags on this one.
Crush the crackers coarsely. You want some bigger pieces for texture. If you crush them into fine dust, you lose that satisfying crunch. I aim for a mix of pea-sized crumbs and a few larger shards. It’s rustic, and it’s perfect.
Let it rest. I know I mentioned this, but I’m saying it again because it’s that important. The resting time lets the custard set. If you serve it straight out of the oven, it will be loose and runny. Ten minutes makes all the difference between a casserole that holds its shape and one that turns into corn soup on the plate.
One time, I was in a hurry and skipped the resting step. The casserole looked beautiful coming out of the oven, but when I cut into it, it just… collapsed. It still tasted amazing, but it wasn’t pretty. Learn from my impatience.
Variations & Adaptations
This casserole is wonderfully adaptable. Here are a few ways I’ve played with it over the years:
- Spicy Southwest Version: Add a drained can of diced green chiles and ½ teaspoon of cumin to the corn mixture. Swap the sharp cheddar for a pepper jack cheese. The topping stays the same, but you get this lovely little kick of heat that’s perfect with grilled chicken or tacos.
- Bacon & Chive Upgrade: Cook 6 strips of bacon until crisp, crumble them, and stir half into the casserole. Sprinkle the remaining bacon over the cracker topping along with 2 tablespoons of fresh chopped chives. It adds a smoky, salty crunch that’s absolutely divine.
- Gluten-Free Adaptation: Use a gluten-free all-purpose flour blend in the base (I like Bob’s Red Mill 1:1), and swap the butter crackers for gluten-free butter crackers. Schar makes a good one. The texture is slightly different—a little more tender—but it’s still delicious.
- Lighter Version: Use light sour cream and reduce the butter in the topping to 3 tablespoons. You can also use a reduced-fat cheddar, though I find it doesn’t melt as nicely. The casserole will be a bit less rich, but it’s still comforting and satisfying.
My personal favorite variation is the bacon one. I made it for a potluck last fall, and someone asked me for the recipe before they even finished their first serving. That’s the kind of endorsement you can’t buy.
Serving & Storage Suggestions
This casserole is incredibly versatile when it comes to serving. Here’s how I like to do it:
Temperature: Serve it warm, not hot. After that 10-minute rest, it should be just warm enough to be comforting without burning your mouth. It’s also surprisingly good at room temperature—I’ve eaten leftovers straight from the fridge, and I won’t judge you if you do the same.
Presentation: I like to scoop it onto plates with a wide spatula, trying to get a nice piece of the cracker topping on each serving. A sprinkle of fresh parsley or chives on top adds a pop of color, but it’s not necessary. It’s a rustic dish, and it looks beautiful as is.
What to serve with it: This casserole is a fantastic side dish for so many things. It’s perfect alongside a simple roasted chicken, grilled pork chops, or even a holiday ham. For a vegetarian meal, pair it with a big green salad and some crusty bread. It also works as a main dish for a light dinner—just serve it with a side of steamed green beans or roasted broccoli.
Storage: Leftovers keep well in an airtight container in the refrigerator for up to 4 days. The cracker topping will soften over time, but the flavor remains excellent. To reheat, pop individual portions in the microwave for about a minute, or reheat the whole casserole in a 350°F oven for 15-20 minutes until warmed through. If you want to revive some of the crunch, put it under the broiler for the last minute or two—watch it closely so it doesn’t burn.
Freezing: You can freeze this casserole either before or after baking. To freeze unbaked, assemble the casserole completely but don’t bake it. Cover tightly with foil and freeze for up to 3 months. To bake from frozen, add about 20 minutes to the baking time. To freeze baked casserole, let it cool completely, then wrap and freeze. Thaw overnight in the refrigerator and reheat as directed.
I’ve noticed that the flavors actually meld together even more beautifully on the second day. The corn absorbs all that cheesy, buttery goodness, and every bite is just perfect. If you can resist eating it all the first night, you’re in for a treat.
Nutritional Information & Benefits
Let’s be real—this is comfort food, and it’s not pretending to be a health food. But it does have some redeeming qualities. Here’s a rough estimate per serving (based on 8 servings):
- Calories: Approximately 380-420 per serving
- Protein: 12-14g (from the cheese, eggs, and corn)
- Fat: 28-32g (mostly from butter, cheese, and sour cream)
- Carbohydrates: 24-28g (mainly from corn and crackers)
- Fiber: 2-3g (corn provides a decent amount of fiber)
- Calcium: About 20% of your daily needs (thanks to the cheese and sour cream)
Corn is a good source of antioxidants like lutein and zeaxanthin, which are great for eye health. It also provides B vitamins and some iron. The cheese adds protein and calcium, which are important for bone health. And while butter gets a bad rap, it does contain fat-soluble vitamins like A, D, and E.
If you’re watching your sodium, you can reduce the added salt and use unsalted butter and crackers. This dish is not gluten-free as written, but as I mentioned, a gluten-free adaptation works beautifully. It’s also vegetarian-friendly as is, and can be made nut-free easily.
My personal philosophy? This is a dish for the soul. It’s not something you eat every day, but when you do, you savor every single bite. Balance is key, and this casserole is worth every calorie.
Conclusion
This cheesy corn casserole with its buttery cracker topping is the kind of recipe that becomes a staple. It started as a happy accident—a failed soup attempt that turned into something far more wonderful—and now it’s a dish I turn to again and again. It’s simple enough for a Tuesday night, special enough for a holiday table, and so, so comforting.
I hope you make this and love it as much as I do. Maybe you’ll add your own twist—some bacon, a little heat, a handful of fresh herbs. That’s the beauty of a recipe like this. It’s a starting point, and it welcomes your creativity.
If you try this casserole, I’d love to hear about it. Leave a comment below, tag me in your photos, or tell me about your own happy kitchen accidents. Because honestly, some of the best things in life—and in the kitchen—come from things not going according to plan.
Now go make some comfort food. You deserve it.
Frequently Asked Questions
Can I use canned corn instead of frozen?
You can, but I recommend draining it very well first. Canned corn has more liquid than frozen, which can make the casserole soggy. If you use canned, drain it in a colander and pat it dry with paper towels before adding it to the mixture. Frozen corn really does give the best texture, though.
Can I make this casserole ahead of time?
Absolutely. You can assemble the casserole completely (without the cracker topping) a day in advance. Cover and refrigerate. When you’re ready to bake, add the cracker topping and bake as directed, adding about 10 minutes to the baking time since you’re starting from cold. The cracker topping is best added just before baking so it stays crunchy.
My casserole came out watery. What went wrong?
This usually happens for one of two reasons: either the corn released too much water (if it was thawed before adding), or the casserole wasn’t baked long enough. Make sure you’re using frozen corn straight from the bag, and bake until the center is set and the edges are bubbly. Letting it rest after baking also helps it firm up.
Can I use a different type of cheese?
Yes, and I’ve experimented with several. Monterey Jack melts beautifully and has a mild flavor. Pepper Jack adds a nice kick. A mix of cheddar and Gouda is fantastic for a smoky, rich flavor. Just avoid very hard cheeses like Parmesan (too salty and doesn’t melt well) or very soft cheeses like mozzarella (too stringy).
How do I make the topping extra crunchy?
For an extra-crunchy topping, try this: after the casserole is baked and rested, pop it under the broiler for 1-2 minutes. Watch it like a hawk—cracker crumbs burn fast. You can also mix in a tablespoon of melted butter with an additional ¼ cup of crushed crackers and sprinkle that on top for an even thicker, crunchier crust.
Pin This Recipe!
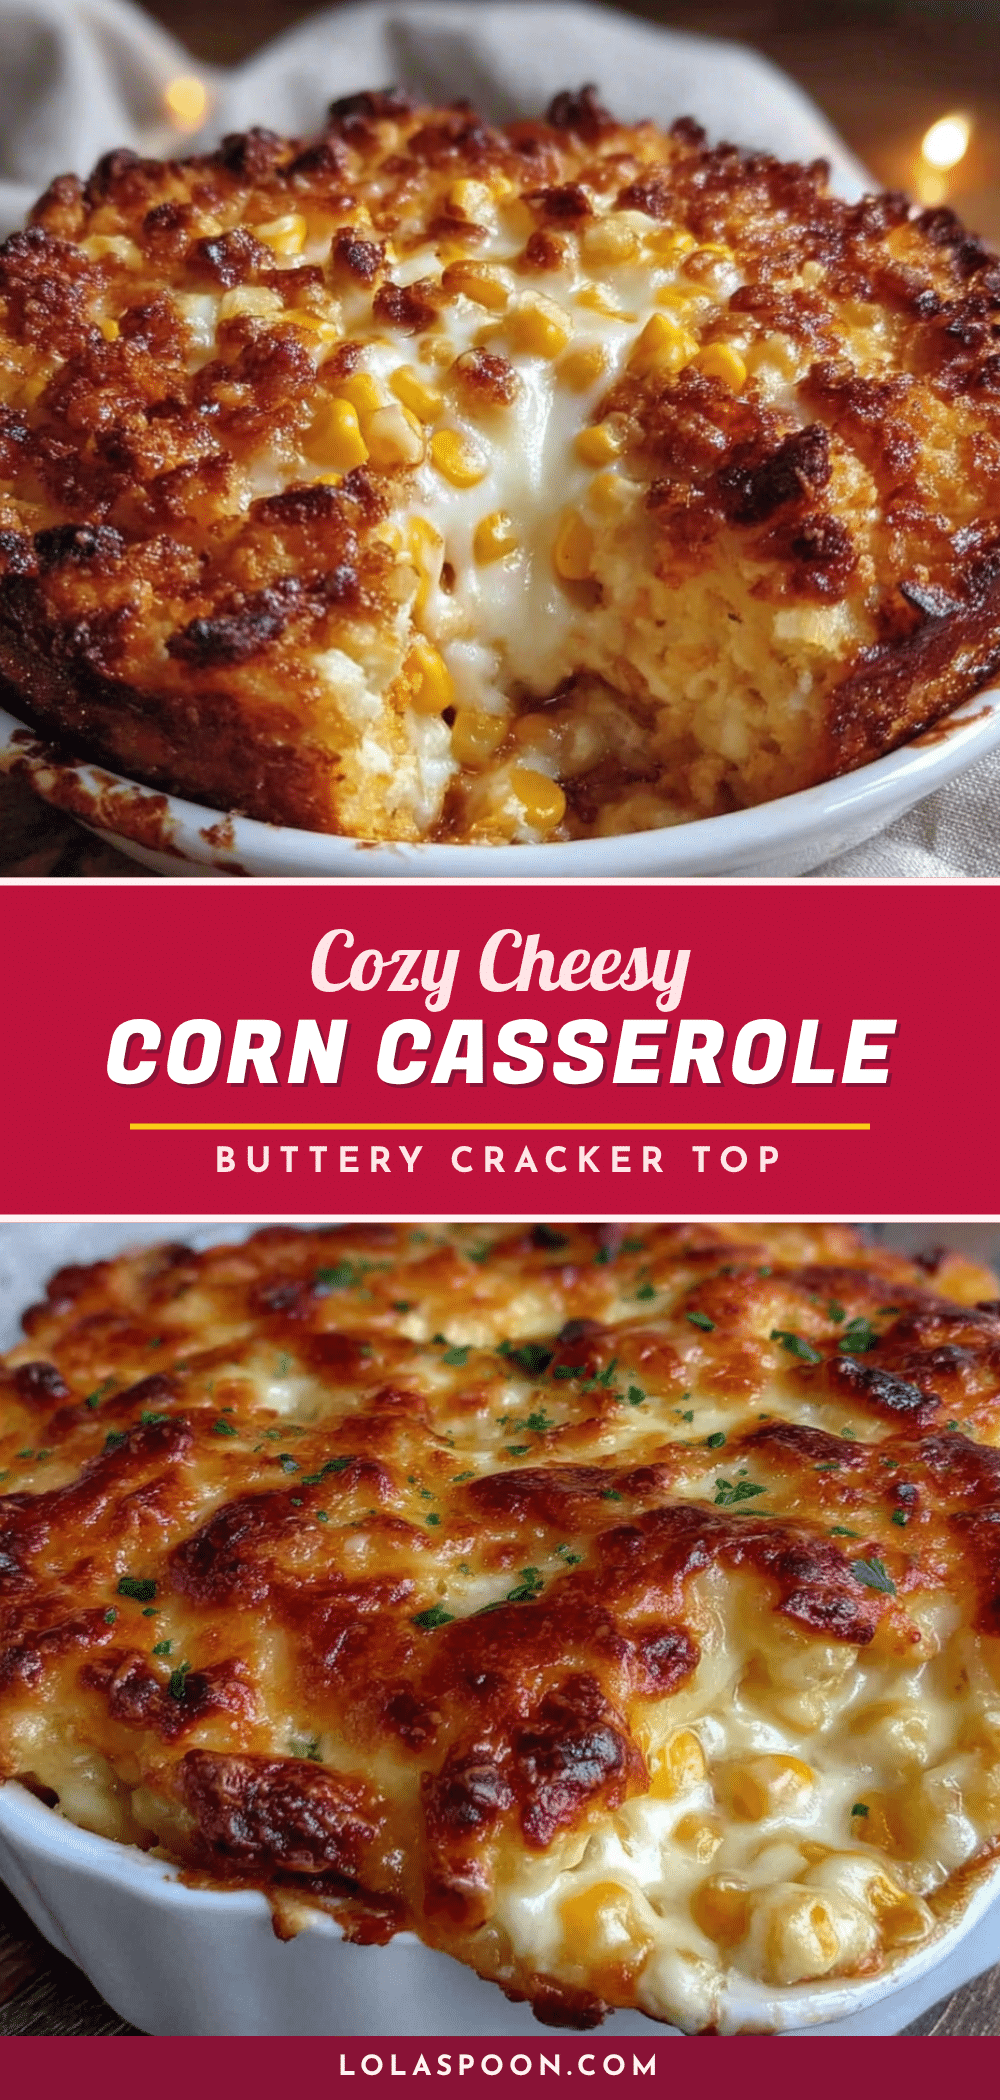
Cozy Cheesy Corn Casserole with Buttery Cracker Topping

A creamy, cheesy corn casserole with a golden, buttery cracker topping that’s perfect for cozy nights. This easy side dish comes together in about 40 minutes with simple pantry ingredients.
- Prep Time: 10 minutes
- Cook Time: 35-40 minutes
- Total Time: 45-50 minutes
- Yield: 8 servings 1x
- Category: Side Dish
- Cuisine: American
Ingredients
- 4 cups frozen corn (about 20 oz)
- 2 cups sharp cheddar cheese, shredded (8 oz)
- 1 cup sour cream (8 oz)
- ½ cup unsalted butter, melted (1 stick)
- 2 large eggs, lightly beaten
- 2 tablespoons all-purpose flour
- 1 tablespoon granulated sugar
- 1 teaspoon fine sea salt
- ½ teaspoon freshly ground black pepper
- 1½ cups butter crackers, crushed (about 30 crackers, like Ritz)
Instructions
- Preheat oven to 350°F (175°C). Lightly grease a 9×13-inch baking dish with butter or non-stick spray.
- In a large mixing bowl, whisk together sour cream, ¼ cup melted butter, beaten eggs, flour, sugar, salt, and pepper until smooth and creamy.
- Add frozen corn and 1½ cups shredded cheddar cheese to the bowl. Stir with a spatula until corn and cheese are evenly coated.
- Pour the corn mixture into the prepared baking dish and spread into an even layer.
- Sprinkle the remaining ½ cup shredded cheddar cheese evenly over the top.
- In a small bowl, combine crushed butter crackers with the remaining ¼ cup melted butter until all crumbs are coated. Sprinkle evenly over the cheese layer.
- Bake for 35-40 minutes, until bubbly around the edges and the topping is deep golden brown. If browning too quickly, tent loosely with foil after 25 minutes.
- Let rest for at least 10 minutes before serving to allow the casserole to set.
Notes
Shred your own cheese for best melting. Do not thaw the frozen corn—use it straight from the bag. Crush crackers coarsely for better texture. Let the casserole rest for 10 minutes after baking to set properly. For a spicier version, add diced green chiles and pepper jack cheese. For a bacon upgrade, add crumbled cooked bacon. To make gluten-free, use gluten-free flour and gluten-free butter crackers.
Nutrition
- Serving Size: 1 serving (about 1/8
- Calories: 400
- Sugar: 5
- Sodium: 520
- Fat: 30
- Saturated Fat: 18
- Carbohydrates: 26
- Fiber: 2
- Protein: 13
Keywords: corn casserole, cheesy corn, cracker topping, comfort food, easy side dish, holiday side, creamy corn


