There used to be a little candy shop tucked between a dry cleaner and a bookstore in my hometown—the kind of place that smelled like burnt sugar and vanilla before you even opened the door. They called it The Sweet Spot, and they made a fudge so creamy, so perfectly set, that people drove from three towns over just to buy a square. When they closed their doors suddenly five years ago—a “For Lease” sign taped to the window where the candy displays used to be—I honestly felt a little hollow. That fudge was my go-to for holiday gifts, for bad days, for Tuesday nights when nothing else would do.
After maybe a dozen tries—some gritty, some too soft, one that somehow turned into caramel soup—I finally cracked the code. The secret, it turns out, was hiding in a jar of Marshmallow Fluff. Who knew?
This classic fantasy fudge recipe is the one. It’s the exact creamy, chocolatey, melt-in-your-mouth texture I’d been chasing. And let me tell you, the first time I pulled a perfect pan out of the fridge, I may have actually teared up a little. Maybe you’ve been there—that moment when a recipe finally tastes like a memory you thought was gone forever.
So here it is. The original fluff recipe, made cozy, made classic, and made to share. Let’s make some fudge.
Why You’ll Love This Recipe
This isn’t just another fudge recipe floating around the internet. This is the one that works every single time, no candy thermometer required, no finicky sugar stages to stress over. I’ve tested it in humid weather, dry weather, and even that weird rainy Tuesday when nothing bakes right. It held up. It’s bulletproof comfort food, honestly.
- Quick & Easy: Comes together in about 15 minutes of active time, then just a few hours in the fridge to set. Perfect for last-minute holiday gifts or a sudden chocolate craving.
- Simple Ingredients: You probably have most of these in your pantry right now. Butter, sugar, chocolate chips, vanilla, and that jar of Marshmallow Fluff you bought on a whim.
- Perfect for Gifting: This fudge travels beautifully, stacks neatly in tins, and makes everyone think you spent hours slaving over a stove.
- Crowd-Pleaser: Kids love it, grandparents love it, and that one picky friend who “doesn’t really like sweets” will eat three pieces before admitting it’s good.
- Unbelievably Creamy: The Marshmallow Fluff gives it a texture that regular fudge just can’t touch. It’s smooth, it’s silky, and it melts on your tongue like a happy little cloud.
What makes this recipe different from the rest? It’s the Marshmallow Fluff. That’s the game-changer. It stabilizes the fudge without making it grainy, and it adds a subtle vanilla sweetness that balances the dark chocolate perfectly. I’ve tried versions with condensed milk, with marshmallows, with all sorts of tricks. Nothing comes close to this.
This is the recipe you’ll come back to year after year. It’s the one your family will request by name. It’s cozy, it’s classic, and it’s about to become your new favorite thing to make.
What Ingredients You Will Need
This recipe uses simple, pantry-friendly ingredients to create something truly special. The magic is in how they come together, not in fancy shopping lists. Most of these items you probably already have, except maybe the Marshmallow Fluff—but trust me, it’s worth buying a jar (or two).
- Granulated Sugar (3 cups) – Regular white sugar is best. Don’t substitute with brown sugar or a sugar alternative; it changes the texture and the set of the fudge.
- Unsalted Butter (¾ cup, or 1½ sticks) – I use Land O’Lakes unsalted butter for consistent results. If you only have salted butter, just reduce the added salt later. Cut it into chunks so it melts evenly.
- Evaporated Milk (⅔ cup) – Not sweetened condensed milk, not regular milk. Evaporated milk is key for the right creamy texture. It’s thicker and richer than regular milk but not as sweet as condensed.
- Marshmallow Fluff (1 jar, about 7 ounces) – This is the star. Don’t swap it for mini marshmallows or homemade marshmallow creme—the texture won’t be the same. I prefer the original brand, but store-brand fluff works fine too.
- Semi-Sweet Chocolate Chips (1½ cups) – I recommend Ghirardelli or Guittard for the best flavor and melt. Nestlé works, but the fudge won’t be quite as rich. You can also chop up a semi-sweet chocolate bar if you’re feeling fancy.
- Bittersweet Chocolate (4 ounces, chopped) – This adds depth and cuts the sweetness a bit. I use Baker’s brand or a good-quality dark chocolate bar. If you prefer sweeter fudge, you can use all semi-sweet chips instead.
- Vanilla Extract (1 teaspoon) – Pure vanilla extract, not imitation. It makes a difference in the final flavor. I’m partial to Nielsen-Massey, but any pure vanilla works.
- Salt (¼ teaspoon) – Just a pinch to balance the sweetness. If you used salted butter, skip this.
- Chopped Nuts (optional) (¾ cup) – Walnuts or pecans are classic. Toast them lightly first for extra flavor. I usually add them, but my kids prefer plain fudge, so I often split the batch.
Ingredient Tip: Make sure your Marshmallow Fluff is at room temperature before you start. Cold fluff is harder to stir in and can cause the fudge to seize up. Just let it sit on the counter while you gather your other ingredients.
Equipment Needed
You don’t need a candy thermometer or any fancy gadgets for this recipe. That’s part of the beauty of it. But there are a few tools that make the process smoother.
- Large Heavy-Bottomed Saucepan (at least 4-quart) – A heavy pot distributes heat evenly and prevents scorching. I use my trusty Calphalon stockpot, but any heavy saucepan works. Avoid thin pots; they’ll burn the sugar mixture.
- Wooden Spoon or Silicone Spatula – You need something sturdy to stir the hot sugar mixture. A wooden spoon is classic, but a high-heat silicone spatula works great too. Just don’t use a metal spoon—it can scratch your pot and doesn’t stir as well.
- 8×8-Inch Baking Pan – This is the perfect size for a thick batch of fudge. If you only have a 9×9 pan, your fudge will be slightly thinner, which is fine—just reduce the setting time a little.
- Parchment Paper or Aluminum Foil – Line your pan so you can lift the fudge out easily. Parchment paper is my preference because it doesn’t stick at all. Leave some overhang on two sides for handles.
- Sharp Knife – For cutting the fudge cleanly. A chef’s knife works best. Run it under hot water and wipe dry between cuts for the neatest squares.
- Measuring Cups and Spoons – Accurate measurements matter here. Use dry measuring cups for sugar and liquid measuring cups for the evaporated milk.
Budget-Friendly Tip: You don’t need expensive equipment. A good heavy pot is worth investing in, but everything else you probably already have in your kitchen. I made my first batch of this fudge with a hand-me-down saucepan and a plastic spatula, and it turned out perfect.
Preparation Method
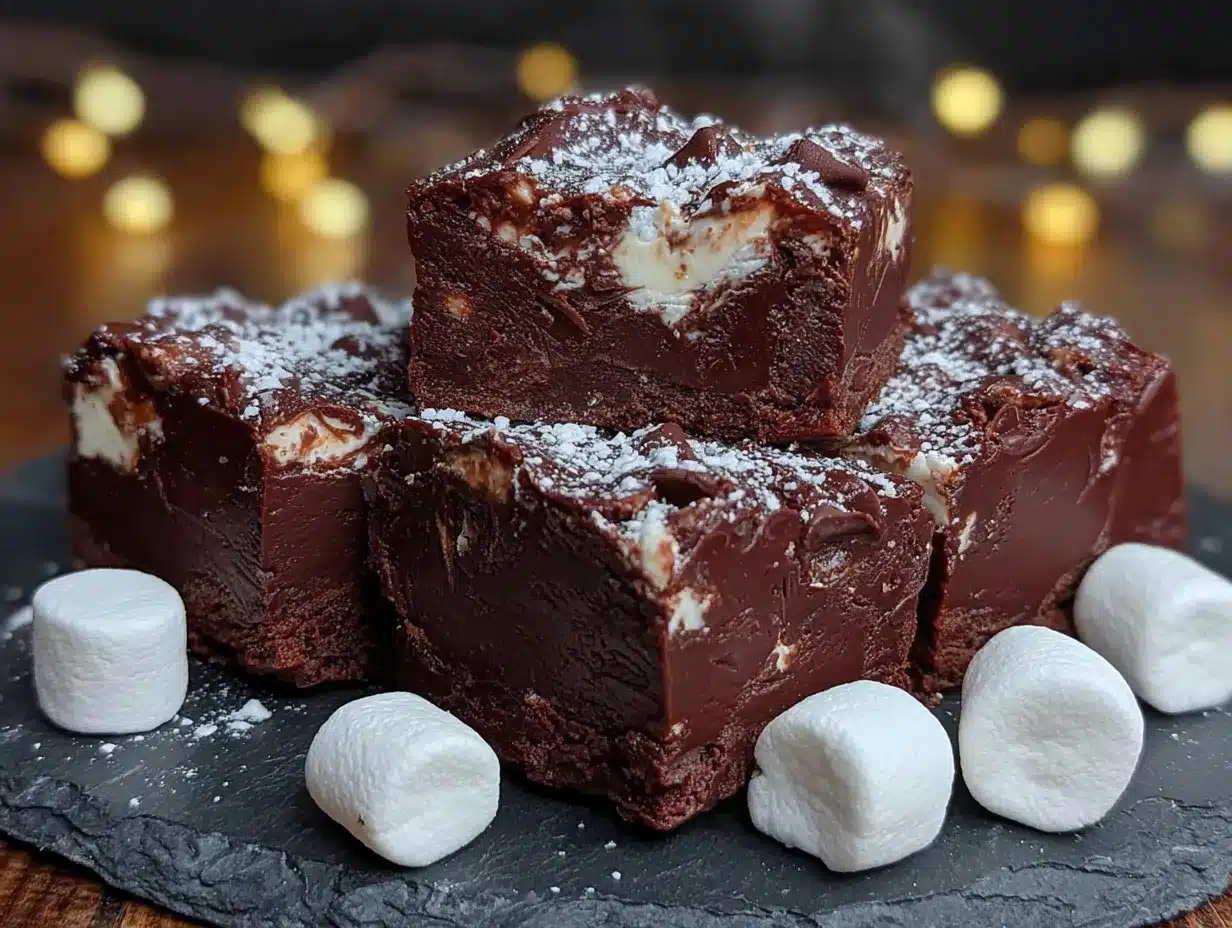
This is the part where the magic happens. Don’t be intimidated by the stove-top cooking—it’s simpler than it sounds, and I’ll walk you through every step. Just follow along, and you’ll have perfect fudge in no time.
- Prep your pan. Line an 8×8-inch baking pan with parchment paper, leaving about 2 inches of overhang on two opposite sides. This creates handles so you can lift the fudge out later. Lightly spray the parchment with non-stick spray if you’re nervous about sticking, though it’s usually not necessary.
- Combine the sugar, butter, and evaporated milk. In your large heavy-bottomed saucepan, add 3 cups of granulated sugar, ¾ cup of unsalted butter (cut into chunks), and ⅔ cup of evaporated milk. Place the pan over medium heat and stir constantly with your wooden spoon or silicone spatula. The butter will melt, and the sugar will start to dissolve. Keep stirring—don’t walk away. This takes about 5-7 minutes.
- Bring to a full rolling boil. Once the mixture is smooth and the butter is fully melted, increase the heat to medium-high. Stir continuously until the mixture comes to a full rolling boil—you’ll see big, lazy bubbles breaking on the surface, not just tiny ones around the edges. This is important. Once it reaches a full boil, set a timer for exactly 5 minutes. Keep stirring the whole time. I know it’s a workout for your arm, but it prevents scorching.
- Watch the color and texture. After 5 minutes of boiling, the mixture should be slightly thickened and a pale golden color. It will smell like caramel and butter. Remove the pan from the heat immediately. Don’t let it boil longer, or your fudge will be too firm and grainy.
- Add the Marshmallow Fluff and chocolate. Working quickly, dump in the entire jar of Marshmallow Fluff (about 7 ounces), 1½ cups of semi-sweet chocolate chips, and 4 ounces of chopped bittersweet chocolate. Stir gently at first—the mixture will steam and bubble a bit. Keep stirring until everything is melted and smooth. This takes about 2-3 minutes of steady stirring. The fudge will look glossy and thick.
- Add the vanilla and salt. Stir in 1 teaspoon of pure vanilla extract and ¼ teaspoon of salt. If you’re using nuts, fold them in now. Stir just until combined—overmixing can make the fudge grainy.
- Pour into the prepared pan. Scrape the fudge into your lined pan and spread it evenly with your spatula. Don’t smooth it too much; just get it level. Tap the pan gently on the counter a few times to release any air bubbles.
- Let it set. Allow the fudge to cool at room temperature for about 30 minutes, then transfer it to the refrigerator. Let it chill for at least 3 hours, or until firm. I usually let it sit overnight for the cleanest cuts.
- Cut and serve. Once the fudge is fully set, lift it out of the pan using the parchment paper handles. Place it on a cutting board. Use a sharp knife to cut it into 1-inch squares. For neat cuts, wipe the knife clean between each slice. Store in an airtight container.
Sensory Cue: When you’re stirring the boiling sugar mixture, you’ll feel the resistance change—it goes from thin and watery to thick and syrupy. That’s how you know it’s ready. And when you add the Fluff and chocolate, the smell is absolutely intoxicating. Like a warm hug in a pot.
Cooking Tips & Techniques
I’ve made this fudge more times than I can count, and let me tell you, I’ve learned a few things the hard way. Here are my best tips to save you from my mistakes.
Don’t skip the stirring. I know it’s tempting to walk away while the sugar mixture boils, but don’t. If you stop stirring, the sugar can crystallize on the sides of the pan, and a single sugar crystal can ruin the whole batch. Stir constantly, and use a silicone spatula to scrape down the sides every so often.
Watch the boil carefully. A “full rolling boil” means bubbles across the entire surface, not just at the edges. If your heat is too low, the mixture won’t reach the right temperature and your fudge won’t set. If it’s too high, you risk scorching. Medium-high is usually the sweet spot on most stoves.
Humidity is your enemy. Fudge is picky about weather. If it’s a rainy or humid day, your fudge might not set as firmly. I’ve had batches that stayed a little soft because I made them on a muggy August afternoon. If you’re in a humid climate, boil the mixture for an extra 30 seconds to compensate.
Room temperature ingredients matter. Your Marshmallow Fluff and chocolate should be at room temperature when you add them to the hot sugar mixture. Cold ingredients can cause the fudge to seize up or become grainy. Just let them sit on the counter for 20 minutes before you start.
My biggest failure: The first time I tried this recipe, I used a cheap, thin pot and burned the sugar mixture so badly that the fudge tasted like bitter smoke. I was so frustrated. Now I always use my heavy-bottomed saucepan, and I’ve never had that problem again. Learn from my mistake—invest in a good pot.
Variations & Adaptations
This classic fantasy fudge is perfect as-is, but sometimes you want to mix things up. Here are some variations I’ve tried and loved.
Peanut Butter Fantasy Fudge: Swap the semi-sweet chocolate chips for peanut butter chips, and add ½ cup of creamy peanut butter along with the Marshmallow Fluff. Stir until smooth. The result is a salty-sweet fudge that tastes like a peanut butter cup. My husband begs me to make this version every Christmas.
Mint Chocolate Fudge: Add ½ teaspoon of peppermint extract along with the vanilla. Stir in ½ cup of crushed peppermint candies or Andes mint pieces right before pouring into the pan. This one is perfect for the holidays. Just don’t overdo the peppermint extract—it’s potent.
White Chocolate Cranberry Fudge: Use white chocolate chips instead of semi-sweet, and fold in ½ cup of dried cranberries and ¼ cup of chopped pistachios. This version is sweeter and more festive. I made it for a cookie exchange last year, and it disappeared faster than anything else on the table.
Vegan Adaptation: Use vegan butter (I like Earth Balance), vegan chocolate chips, and a vegan Marshmallow Fluff (there are a few brands out there, or you can make your own). The evaporated milk is trickier—try full-fat coconut milk or oat milk, but note that the texture will be slightly different. I’ve tested this, and it works, but the fudge is a bit softer.
Spiced Chai Fudge: Add 1 teaspoon of pumpkin pie spice or chai spice blend along with the vanilla. This gives the fudge a warm, cozy flavor that’s perfect for fall. I made a batch last November and served it with hot apple cider. It was a hit.
Serving & Storage Suggestions
This fudge is best served at room temperature. Cold fudge from the fridge is firmer and less creamy, so let it sit out for about 15-20 minutes before serving. The texture softens just enough to melt on your tongue.
For presentation, I love arranging the squares on a vintage plate or a simple wooden board. A sprinkle of flaky sea salt on top adds a lovely finishing touch—it balances the sweetness and looks pretty. If you’re gifting, stack the squares in a tin lined with parchment paper, or wrap them individually in wax paper for a nostalgic feel.
What to serve with it: A glass of cold milk is the classic pairing, and honestly, it’s perfect. For a grown-up version, try it with a cup of strong coffee or a glass of red wine—a bold Cabernet or a tawny port complements the chocolate beautifully. I also love serving it alongside a bowl of fresh berries for a little tart contrast.
Storage: Keep the fudge in an airtight container at room temperature for up to a week. If your kitchen is warm, store it in the refrigerator—just let it come to room temperature before eating. For longer storage, freeze the fudge for up to 3 months. Wrap each square individually in plastic wrap, then place them in a freezer-safe bag. Thaw at room temperature for about 30 minutes before serving.
Flavor development: Honestly, this fudge tastes even better the next day. The flavors meld together overnight, and the texture becomes even creamier. So if you can resist eating it right away, you’ll be rewarded.
Nutritional Information & Benefits
Let’s be real—this is fudge. It’s not health food, and that’s okay. Sometimes you need a little indulgence. But here’s the estimated nutritional breakdown per 1-inch square (based on 64 squares per batch):
| Nutrient | Amount per square |
|---|---|
| Calories | ~110 |
| Total Fat | 5g |
| Saturated Fat | 3g |
| Carbohydrates | 16g |
| Sugar | 14g |
| Protein | 1g |
A few bright spots: Dark chocolate contains antioxidants and can be good for heart health in moderation. The nuts (if you add them) provide healthy fats and a little protein. And honestly, sometimes the mental health benefits of a small square of fudge are worth more than any vitamin.
Dietary Considerations: This recipe contains dairy and may contain nuts (if added). It’s not gluten-free unless you verify your chocolate chips are certified gluten-free. There’s no way to make this low-sugar without changing the chemistry, so I recommend just enjoying a small piece and savoring it.
Potential Allergens: Milk, soy (in some chocolate chips), and tree nuts (if added). Check your ingredient labels if you’re cooking for someone with allergies.
Conclusion
This classic fantasy fudge is more than just a recipe—it’s a little piece of comfort you can make in your own kitchen. It’s the taste of a candy shop that no longer exists, the smell of holidays past, and the feeling of biting into something so creamy and chocolatey that everything else fades away for a moment.
I hope you make this fudge for yourself, for your family, for your neighbors, or just because it’s Tuesday and you deserve something sweet. Customize it however you like—add nuts, swap the chocolate, make it minty or spicy. The base recipe is forgiving and endlessly adaptable.
Honestly, my favorite part of making this fudge is the look on someone’s face when they take that first bite. That little pause, the closed eyes, the “oh, wow” that slips out. That’s why I keep making it. That’s why I’m sharing it with you.
If you try this recipe, I’d love to hear about it. Leave a comment below and tell me how it turned out, or share a photo of your fudge. Did you add nuts? Make it minty? Give it as a gift? Let me know—I read every comment, and your stories honestly make my day.
Now go make some fudge. You’ve got this.
Frequently Asked Questions
Can I use regular marshmallows instead of Marshmallow Fluff?
I wouldn’t recommend it. Regular marshmallows have a different sugar and gelatin structure, which can make the fudge grainy or too firm. Marshmallow Fluff is stabilized with corn syrup and egg whites, giving it that smooth, creamy texture. If you’re in a pinch, you can try it, but the results won’t be the same.
Why did my fudge turn out grainy?
Grainy fudge usually means the sugar crystallized during cooking. This can happen if you stop stirring, if a sugar crystal falls into the pot from the sides, or if the mixture boils at too high a temperature. To avoid this, stir constantly and scrape down the sides of the pan with a wet spatula. Also, make sure your Marshmallow Fluff and chocolate are at room temperature.
Can I double this recipe?
Yes, but use a larger pot—at least a 6-quart capacity. The mixture expands as it boils, so you need room to stir without splashing. Also, you may need to boil the mixture for an extra 30 seconds to a minute to account for the larger volume. I’ve doubled it many times for holiday gifting, and it works great.
How long does this fudge last?
Stored in an airtight container at room temperature, it stays fresh for about a week. In the refrigerator, it lasts up to two weeks. You can also freeze it for up to three months. Just wrap each square individually in plastic wrap and place them in a freezer bag. Thaw at room temperature for 30 minutes before eating.
Can I make this without a candy thermometer?
Absolutely. This recipe doesn’t require a candy thermometer at all. The key is the 5-minute boil at a full rolling boil. As long as you stir constantly and watch for that steady, vigorous bubbling, you’ll get the right result. No fancy equipment needed.
Pin This Recipe!
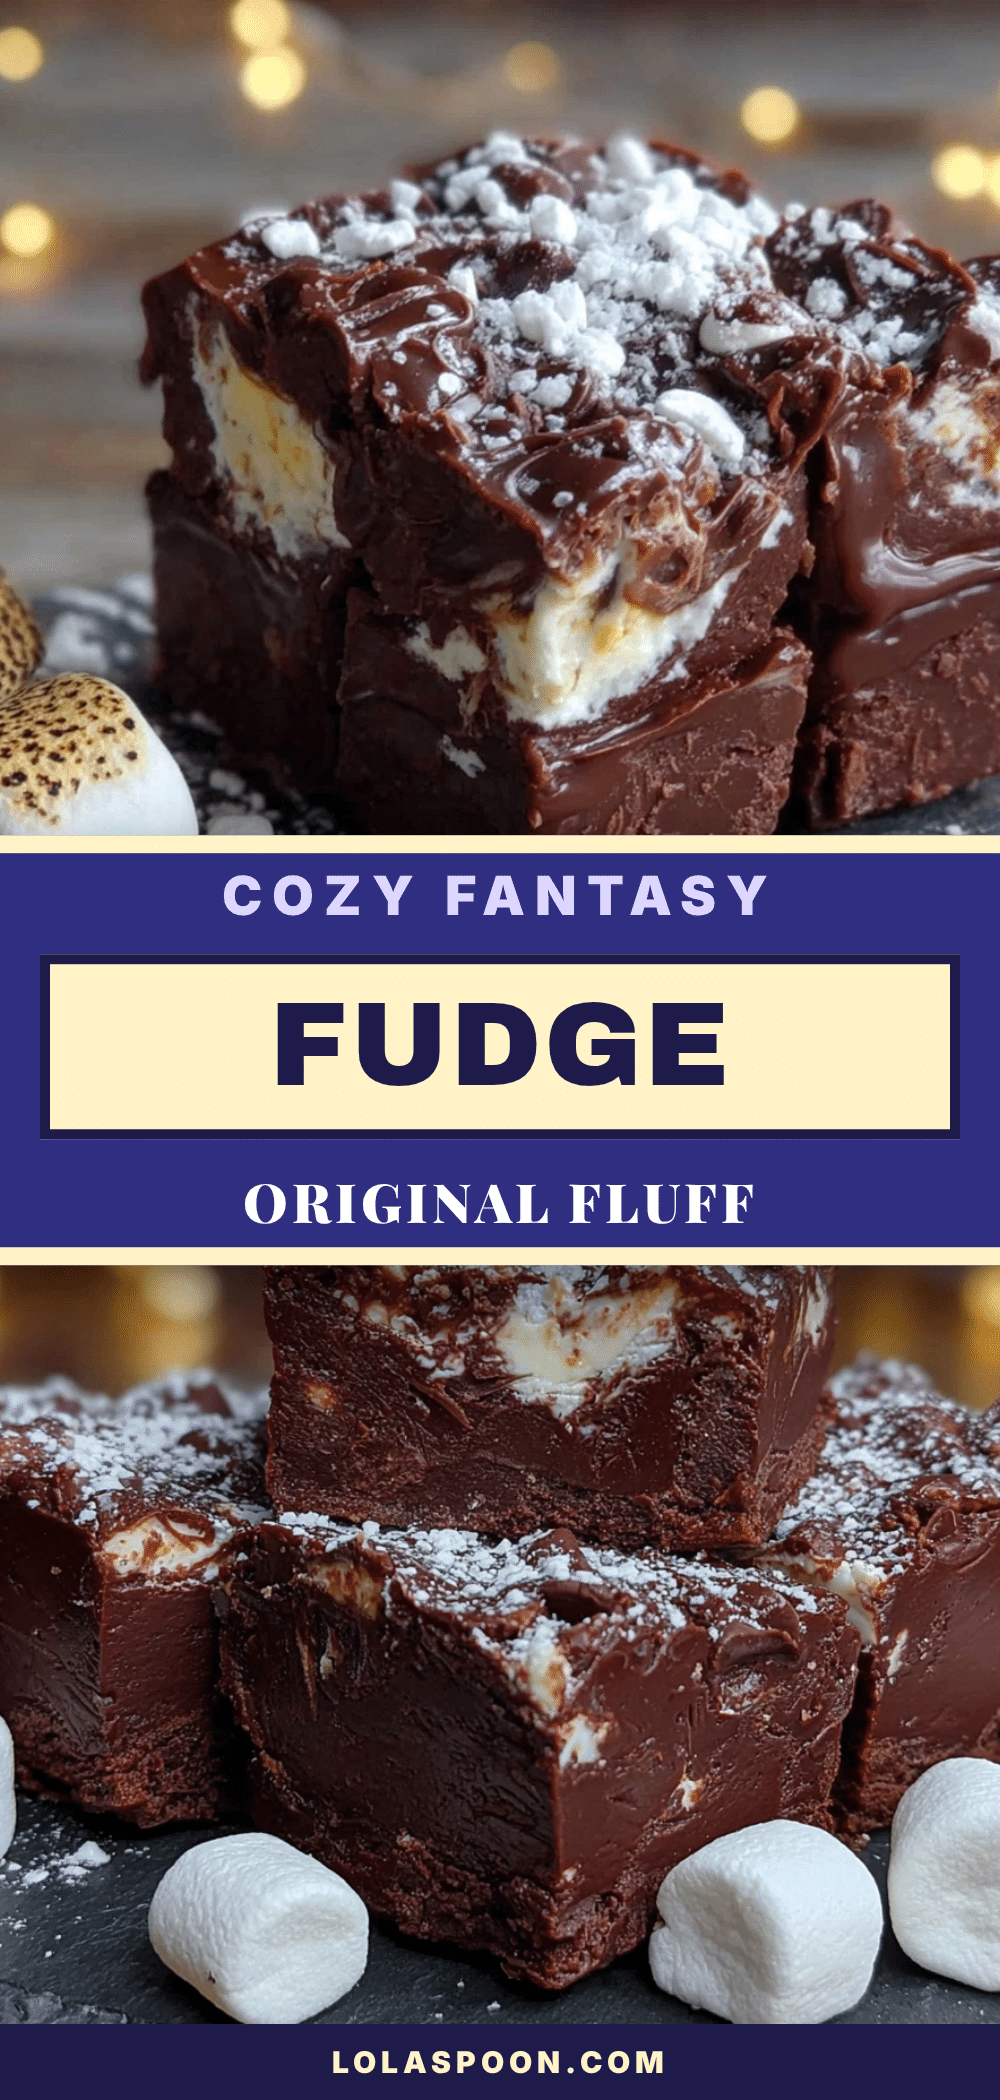
Easy Classic Fantasy Fudge: Original Fluff Recipe

This classic fantasy fudge recipe is the one—creamy, chocolatey, and melt-in-your-mouth perfect. Made with Marshmallow Fluff, it’s quick, easy, and works every time without a candy thermometer.
- Prep Time: 15 minutes
- Cook Time: 10 minutes
- Total Time: 3 hours 25 minutes (includes chilling)
- Yield: 64 servings 1x
- Category: Dessert
- Cuisine: American
Ingredients
- 3 cups granulated sugar
- ¾ cup unsalted butter (1½ sticks), cut into chunks
- ⅔ cup evaporated milk
- 1 jar (7 ounces) Marshmallow Fluff, at room temperature
- 1½ cups semi-sweet chocolate chips
- 4 ounces bittersweet chocolate, chopped
- 1 teaspoon pure vanilla extract
- ¼ teaspoon salt
- ¾ cup chopped nuts (walnuts or pecans), optional
Instructions
- Line an 8×8-inch baking pan with parchment paper, leaving about 2 inches of overhang on two opposite sides. Lightly spray with non-stick spray if desired.
- In a large heavy-bottomed saucepan, combine 3 cups granulated sugar, ¾ cup unsalted butter (cut into chunks), and ⅔ cup evaporated milk. Place over medium heat and stir constantly until butter melts and sugar dissolves, about 5-7 minutes.
- Increase heat to medium-high and stir continuously until mixture comes to a full rolling boil (big, lazy bubbles across the entire surface). Once boiling, set a timer for exactly 5 minutes and stir constantly.
- After 5 minutes, remove pan from heat immediately. The mixture should be slightly thickened and pale golden.
- Working quickly, add the entire jar of Marshmallow Fluff, 1½ cups semi-sweet chocolate chips, and 4 ounces chopped bittersweet chocolate. Stir gently until everything is melted and smooth, about 2-3 minutes.
- Stir in 1 teaspoon vanilla extract and ¼ teaspoon salt. If using nuts, fold in ¾ cup chopped nuts. Stir just until combined.
- Pour fudge into prepared pan and spread evenly. Tap pan gently on counter to release air bubbles.
- Let cool at room temperature for 30 minutes, then refrigerate for at least 3 hours or until firm (overnight is best for clean cuts).
- Lift fudge out using parchment handles. Place on cutting board and cut into 1-inch squares with a sharp knife, wiping knife clean between cuts.
Notes
Make sure Marshmallow Fluff is at room temperature before adding. Stir constantly during boiling to prevent sugar crystallization. For humid weather, boil an extra 30 seconds. Fudge tastes even better the next day.
Nutrition
- Serving Size: 1 square (1-inch)
- Calories: 110
- Sugar: 14
- Sodium: 25
- Fat: 5
- Saturated Fat: 3
- Carbohydrates: 16
- Protein: 1
Keywords: fantasy fudge, classic fudge, marshmallow fluff fudge, easy fudge recipe, no thermometer fudge, chocolate fudge, holiday fudge


