Maggie wasn’t trying to impress anyone. I’d stopped by her place to grab a book I’d lent her months ago, and the smell hit me before I even got past the screen door. Something warm and spicy, like autumn had decided to take up residence in her tiny kitchen. She was on the phone, waving me in with a spatula, pointing at a pan cooling on the stovetop like it was no big deal.
“Help yourself,” she mouthed, barely pausing her conversation.
I cut myself a square while it was still warm, and honestly, I almost dropped it. The top had that perfect crinkly cookie look, but underneath it was soft—almost cakey—studded with melty chocolate chips that were still glossy. I took a bite and let me tell you, I had to stop myself from making a sound. It was that good. Maggie hung up and shrugged when I asked what was in it. “Oh, just a pumpkin thing I threw together. Super easy.”
Super easy. She said it like it was nothing. Like she hadn’t just created the most perfect fall dessert I’d ever tasted without breaking a sweat. I stood there in her kitchen, eating a second square, watching her wash dishes like this was just another Tuesday. Maybe you’ve been there—standing in someone else’s kitchen, realizing they’ve unlocked something you didn’t even know you needed.
I asked for the recipe before I left. She scribbled it on a torn envelope, and I’ve been making these easy pumpkin chocolate chip cookie bars ever since. Every single time, I think about that afternoon. The casualness of it. The way the best things often come from people who aren’t trying to show off. They’re just making something good because it’s Tuesday.
Why You’ll Love This Recipe
Look, I’ve tested a lot of pumpkin desserts over the years. Some are too wet, some are too dry, and some just taste like pumpkin spice air with no substance. These cookie bars? They hit different. I’ve made them for my family, for neighbors, for a book club meeting where someone asked for the recipe before the discussion even started. They’re that kind of good.
- Quick & Easy: From mixing bowl to oven in under 15 minutes. No chilling, no rolling, no fuss. These are perfect for those evenings when you need dessert but don’t have the energy for a project.
- Simple Ingredients: You probably have most of this in your pantry right now. Canned pumpkin, chocolate chips, basic baking staples. No trips to a specialty store required.
- Perfect for Fall Weeknights: This is the dessert you make on a random Tuesday when you just want something cozy. It’s not a showstopper cake—it’s better. It’s the thing you eat in your sweatpants while watching a movie.
- Crowd-Pleaser: I’ve watched kids and adults both go back for seconds. The pumpkin keeps it moist, the chocolate makes it irresistible, and the texture is this dreamy middle ground between a cookie and a cake.
- Unbelievably Delicious: The first time I made these, I ate three before dinner. No regrets. The pumpkin flavor is subtle and warm, not overwhelming, and the chocolate chips melt into little pools of goodness throughout.
What makes these different from every other pumpkin bar recipe out there? It’s the texture. Most pumpkin bars are either too dense or too cakey. These have a chewy edge, a soft center, and just the right amount of give. I figured out the perfect ratio of pumpkin to flour after a few failed batches—trust me, the science matters here. This isn’t just another version. It’s the version I keep coming back to, year after year.
What Ingredients You Will Need
This recipe uses simple, wholesome ingredients to deliver big flavor without the stress. Most of these are pantry staples, which is exactly what you want on a busy weeknight when inspiration strikes.
- All-purpose flour – 1 ¾ cups (220g). This gives the bars structure without making them tough. Spoon and level your flour—don’t scoop straight from the bag or you’ll end up with dry bars.
- Baking soda – 1 teaspoon. Helps the bars rise just enough for that perfect texture.
- Baking powder – ½ teaspoon. Adds a little extra lift so they’re not flat and dense.
- Ground cinnamon – 2 teaspoons. The backbone of the pumpkin spice flavor. I use McCormick because it’s reliably bold.
- Ground nutmeg – ½ teaspoon. Freshly grated if you have it, but pre-ground works fine.
- Ground ginger – ½ teaspoon. Adds warmth without being spicy.
- Ground cloves – ¼ teaspoon. A little goes a long way—don’t skip it.
- Salt – ½ teaspoon. Balances the sweetness and brings out the pumpkin flavor.
- Unsalted butter – ½ cup (113g), melted. I prefer Kerrygold for its richness, but any good butter works. If you only have salted, reduce the added salt to ¼ teaspoon.
- Granulated sugar – ¾ cup (150g). Adds sweetness and helps create that slightly crispy top.
- Light brown sugar – ¾ cup (150g), packed. This is key for moisture and that deep, caramel-like sweetness. Domino is my go-to.
- Large egg – 1, at room temperature. Helps bind everything together. If you forget to take it out of the fridge, place it in a bowl of warm water for 5 minutes.
- Vanilla extract – 2 teaspoons. Pure vanilla, not imitation. It makes a difference in the depth of flavor.
- Pumpkin purée – 1 cup (245g). Not pumpkin pie filling—make sure you grab the plain stuff. Libby’s is consistently thick and not too watery.
- Semi-sweet chocolate chips – 1 ½ cups (270g). I like Ghirardelli for their size and melt quality. You can also use dark chocolate or milk chocolate depending on your preference.
Optional add-ins: If you’re feeling fancy, toss in ½ cup of chopped pecans or walnuts. They add a nice crunch against the soft bars.
Equipment Needed
You don’t need anything fancy here. That’s the beauty of this recipe—it’s designed for real people with real kitchens.
- 9×13-inch baking pan – Glass or metal both work. I use a metal one because it gives slightly crisper edges, but glass is fine if that’s what you have.
- Mixing bowls – One large, one medium. Nothing fancy needed.
- Whisk – For combining dry ingredients and smoothing out the wet mixture.
- Spatula – A rubber spatula is perfect for folding in the chocolate chips and scraping every bit of batter into the pan.
- Parchment paper – This is a game-changer. Line your pan with parchment, leaving some overhang on the sides, and you can lift the entire batch out for easy cutting. No scraping, no stuck bars.
- Measuring cups and spoons – Dry measuring cups for flour and sugar, liquid measuring cup for pumpkin. It actually matters—trust me on this.
- Cooling rack – Helps the bars cool evenly so they don’t get soggy on the bottom.
If you don’t have parchment paper, you can grease the pan well with butter or non-stick spray. Just be thorough—pumpkin bars are moist and like to stick.
Preparation Method
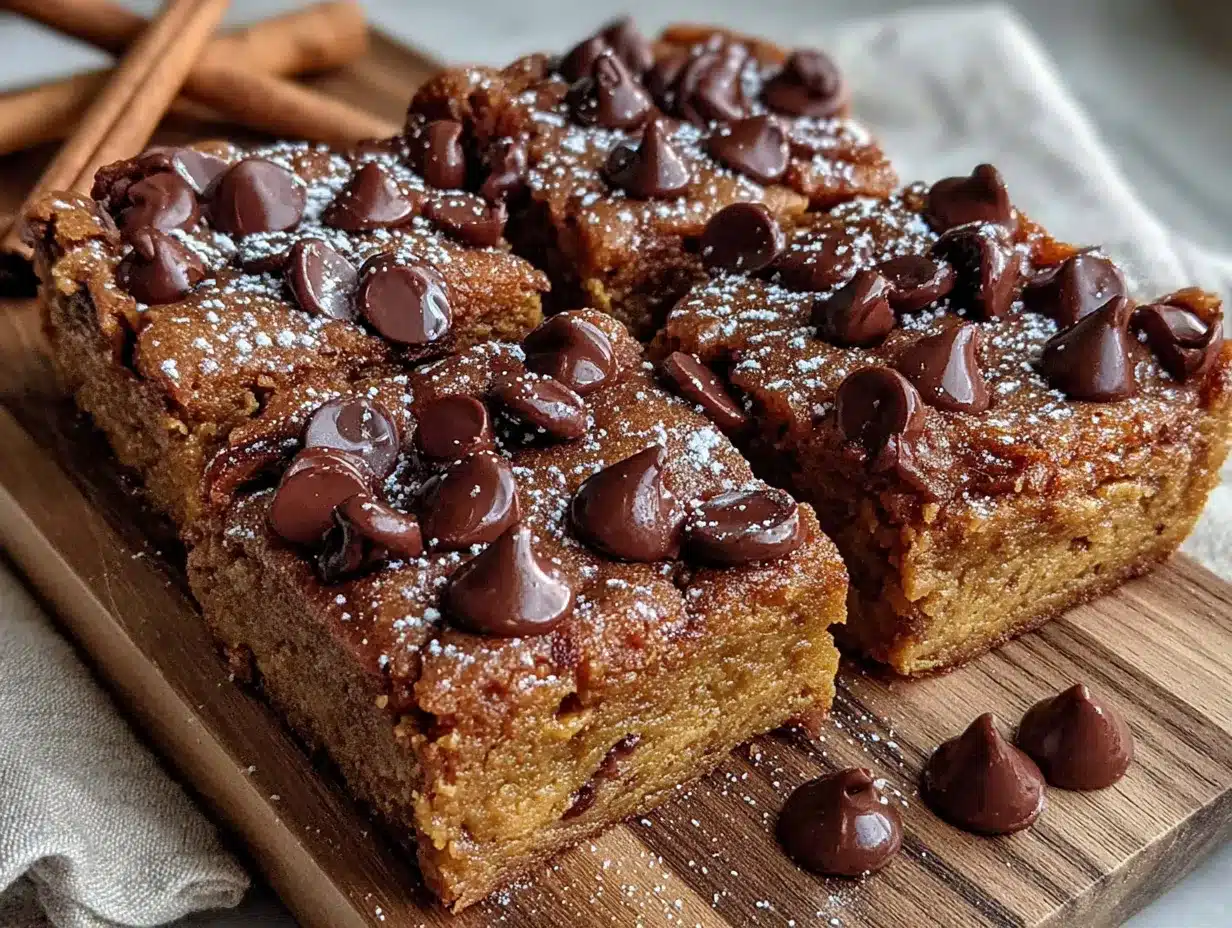
- Preheat your oven to 350°F (175°C). While it’s heating, line your 9×13-inch pan with parchment paper, leaving a couple inches of overhang on the long sides. This will make lifting the bars out later incredibly easy.
- Whisk the dry ingredients together. In a medium bowl, combine 1 ¾ cups all-purpose flour, 1 teaspoon baking soda, ½ teaspoon baking powder, 2 teaspoons cinnamon, ½ teaspoon nutmeg, ½ teaspoon ginger, ¼ teaspoon cloves, and ½ teaspoon salt. Whisk until everything is evenly distributed. Set aside.
- Mix the wet ingredients. In a large bowl, whisk together ½ cup melted unsalted butter, ¾ cup granulated sugar, and ¾ cup packed light brown sugar until smooth. It should look like wet sand. Add 1 large egg and 2 teaspoons vanilla extract, and whisk until combined. The mixture will be thick and glossy.
- Add the pumpkin. Pour in 1 cup of pumpkin purée and whisk until fully incorporated. Don’t worry if the mixture looks a little separated at first—just keep whisking and it will come together. This is where your kitchen will start smelling amazing.
- Combine wet and dry. Add the dry ingredients to the wet mixture in two batches, folding gently with your spatula after each addition. Mix just until you no longer see streaks of flour. Overmixing will make the bars tough, so be gentle. A few small lumps are fine.
- Fold in the chocolate chips. Add 1 ½ cups of semi-sweet chocolate chips and fold them in with your spatula. Make sure they’re evenly distributed throughout the batter. If you want a few extra on top for looks, reserve a handful to sprinkle on after spreading.
- Spread the batter into the pan. Transfer the batter to your prepared pan and spread it evenly. The batter will be thick and slightly sticky—that’s normal. Use your spatula to push it into the corners and smooth the top. Sprinkle any reserved chocolate chips on top, pressing them in gently.
- Bake for 22-26 minutes. Place the pan on the middle rack and bake until the edges are golden brown and a toothpick inserted in the center comes out clean or with just a few moist crumbs. The center should look set, not jiggly. Every oven runs differently, so start checking at 22 minutes. My oven takes exactly 24 minutes, but yours might vary.
- Cool completely before cutting. Transfer the pan to a cooling rack and let the bars cool for at least 30 minutes. If you cut them while they’re warm, they’ll crumble. I know it’s hard to wait—I’ve burned my tongue more than once—but patience pays off here. Use the parchment overhang to lift the entire batch out, then cut into squares with a sharp knife.
Sensory cues to watch for: The batter should be thick but spreadable, like a soft cookie dough. When you fold in the chocolate chips, you should hear a gentle squelch—that’s the pumpkin doing its job. The bars are done when the edges pull away slightly from the pan and the top is a deep, golden brown with tiny cracks forming.
Cooking Tips & Techniques
I’ve made this recipe more times than I can count, and I’ve definitely learned a few things the hard way. Here’s what I wish someone had told me the first time.
Don’t overmix the batter. This is the number one mistake I see people make. Once you add the dry ingredients to the wet, mix just until they disappear. Overmixing develops the gluten too much, and you’ll end up with tough, dense bars instead of soft, tender ones. I learned this after a particularly disappointing batch that my husband politely called “hearty.”
Use room temperature ingredients. I know it’s annoying to wait, but cold egg and cold pumpkin can make your melted butter seize up, creating lumps in the batter. Take everything out of the fridge 20 minutes before you start. If you forgot, place the egg in a bowl of warm water for 5 minutes and microwave the pumpkin for 10 seconds.
Watch your baking time carefully. Pumpkin is moist—that’s what makes these bars so soft—but it also means they can go from perfectly done to underdone in a blink. Start checking at 22 minutes. The toothpick test is your friend, but also look for visual cues: the edges should be set and golden, and the center should look dry on top, not shiny.
Let them cool fully. I cannot stress this enough. The first time I made these, I cut into them after 15 minutes because I couldn’t wait. They fell apart into a delicious but messy pile of crumbs. The bars need time to set up as they cool. If you’re in a hurry, pop the pan in the fridge for 15 minutes after they’ve cooled on the counter for 20.
Line your pan properly. This isn’t just about easy cleanup—it’s about getting clean, beautiful bars. Use one long sheet of parchment that covers the bottom and comes up two sides. You can use binder clips to hold it in place if it keeps curling back. Trust me, the first time you lift an entire batch out in one piece, you’ll never go back.
Variations & Adaptations
One of the best things about these easy pumpkin chocolate chip cookie bars is how adaptable they are. I’ve tried several variations over the years, and they’ve all been winners.
Gluten-Free Version: Swap the all-purpose flour for a 1:1 gluten-free baking flour blend. I’ve used King Arthur Measure for Measure with great results. The texture is slightly more tender, but honestly, no one at my dinner table noticed. Just make sure your blend contains xanthan gum for structure.
Dairy-Free Version: Use a plant-based butter stick (not the spreadable kind in a tub) and dairy-free chocolate chips. Miyoko’s salted vegan butter works beautifully here. The flavor is slightly different but still delicious—I brought a batch to a friend who’s dairy-free and she asked for the recipe twice.
Spice It Up: If you love warm spices, add an extra ½ teaspoon of cinnamon and a pinch of cardamom. I tried this on a whim last November, and it’s become my go-to for holiday gatherings. The cardamom adds this subtle floral note that pairs beautifully with the chocolate.
White Chocolate Cranberry: Swap the semi-sweet chips for white chocolate chips and add ½ cup of dried cranberries. This version feels more festive and is perfect for Thanksgiving. The tartness of the cranberries cuts through the sweetness beautifully.
Nutty Crunch: Fold in ½ cup of toasted pecans or walnuts along with the chocolate chips. Toast them in a dry pan over medium heat for 3-4 minutes until fragrant—it makes a huge difference in flavor. My neighbor swears by this version and makes it every year for her book club.
Serving & Storage Suggestions
These bars are incredibly versatile when it comes to serving. I love them at room temperature with a cup of coffee, but they’re also amazing warm with a scoop of vanilla ice cream on top. The contrast between the warm, soft bar and the cold, creamy ice cream is pure comfort.
For a simple presentation, dust the bars with a little powdered sugar just before serving. It makes them look fancy with almost zero effort—perfect for when you’re hosting and want to look like you tried harder than you did.
Storage: Keep the bars in an airtight container at room temperature for up to 3 days. I usually layer them with parchment paper between each layer so they don’t stick together. After day 3, they start to dry out a little, but they’re still good.
Refrigerator: You can store them in the fridge for up to a week. The texture becomes slightly denser when cold, but some people actually prefer them that way. Let them sit at room temperature for 10 minutes before serving if you want to bring back some of that softness.
Freezer: These bars freeze beautifully. Wrap individual bars in plastic wrap, then place them in a freezer-safe bag or container. They’ll keep for up to 3 months. To thaw, just leave them on the counter for about 30 minutes, or pop one in the microwave for 15 seconds if you’re impatient like me.
Reheating: For that fresh-from-the-oven experience, warm individual bars in the microwave for 10-15 seconds, or in a 300°F oven for 5 minutes. The chocolate chips get melty again, and the texture softens up beautifully.
One thing I’ve noticed: these bars actually taste even better the next day. The flavors have time to meld together, and the pumpkin spice becomes more pronounced. If you can resist eating them all on day one, you’re in for a treat on day two.
Nutritional Information & Benefits
Let’s be real—these are a treat, not a health food. But there are a few bright spots worth mentioning. Each bar (based on 16 servings) contains approximately 280 calories, 12g fat, 42g carbohydrates, 3g fiber, and 4g protein. These numbers will vary based on your specific ingredients and any substitutions you make.
Pumpkin itself is a nutritional powerhouse. It’s packed with vitamin A (in the form of beta-carotene), which supports eye health and immune function. It’s also a good source of fiber, which helps keep you full and supports digestive health. Plus, pumpkin is naturally low in calories and fat, so you’re getting some nutritional benefit even in a dessert.
The dark chocolate chips add a small amount of antioxidants, specifically flavonoids, which have been linked to heart health. I like to tell myself that counts for something when I reach for a second bar.
Dietary considerations: This recipe contains gluten, dairy, and eggs. For gluten-free and dairy-free options, see the variations section above. If you’re watching your sugar intake, you can reduce the granulated sugar to ½ cup, but the texture will be slightly less tender.
I’m not a nutritionist, and I don’t pretend to be one. What I can tell you is that these bars make me happy, and sometimes that’s the most important thing. A little treat on a busy weeknight isn’t just okay—it’s necessary.
Conclusion
These easy pumpkin chocolate chip cookie bars have become my go-to fall dessert for a reason. They’re simple enough for a Tuesday night but special enough to bring to a gathering. Every time I make them, I think about Maggie’s kitchen that afternoon—the casual way she handed me that first warm square, like she hadn’t just changed my whole fall baking game.
What I love most about this recipe is that it doesn’t ask much of you. No complicated techniques, no special equipment, no hours of chilling and rolling. Just good ingredients, a little bit of time, and a pan to bake them in. It’s the kind of recipe that reminds me why I love cooking in the first place—because sometimes the simplest things are the ones that stick with you.
I’d love to hear how these turn out for you. Did you try any of the variations? Add your own twist? Drop a comment below and let me know—I read every single one, and your ideas often inspire my next batch. If you share these on social media, tag me so I can see your beautiful bars. And if you make them for someone you love, even better. That’s what this is all about.
Go ahead, preheat that oven. You’ve got a pan of comfort waiting for you.
Frequently Asked Questions
Can I use fresh pumpkin instead of canned?
Yes, you can! Just make sure you cook and purée the pumpkin first, then drain off any excess liquid. Fresh pumpkin tends to be more watery than canned, so you might need to reduce the pumpkin by 2-3 tablespoons or squeeze it in a clean kitchen towel to remove extra moisture. I’ve done it both ways, and canned is definitely more convenient, but fresh works if that’s what you have.
Why did my bars turn out too wet?
This usually happens for one of two reasons: either you used pumpkin pie filling instead of plain pumpkin purée (the filling has added sugar and liquid), or you didn’t measure your flour correctly. Make sure you’re spooning the flour into your measuring cup and leveling it off, not scooping directly from the bag. Also, check that your pumpkin purée isn’t watery—some brands are thinner than others.
Can I make these ahead of time?
Absolutely. These bars actually taste better the next day after the flavors have had time to meld. You can bake them up to two days ahead and store them in an airtight container at room temperature. They also freeze beautifully for up to three months—just wrap them well and thaw when you’re ready.
Can I use a different size pan?
You can, but you’ll need to adjust the baking time. A 9×9-inch pan will give you thicker bars that need about 30-35 minutes of baking time. A 9×13-inch pan (what this recipe calls for) gives you thinner bars that bake faster. I don’t recommend going smaller than 8×8 or larger than 9×13, as the texture will change significantly.
How do I know when the bars are done baking?
Look for three signs: the edges should be golden brown and pulling away from the sides of the pan, the top should look set and dry (not shiny or jiggly), and a toothpick inserted in the center should come out clean or with just a few moist crumbs attached. Start checking at 22 minutes, because ovens vary and pumpkin bars can go from perfect to overdone quickly.
Pin This Recipe!
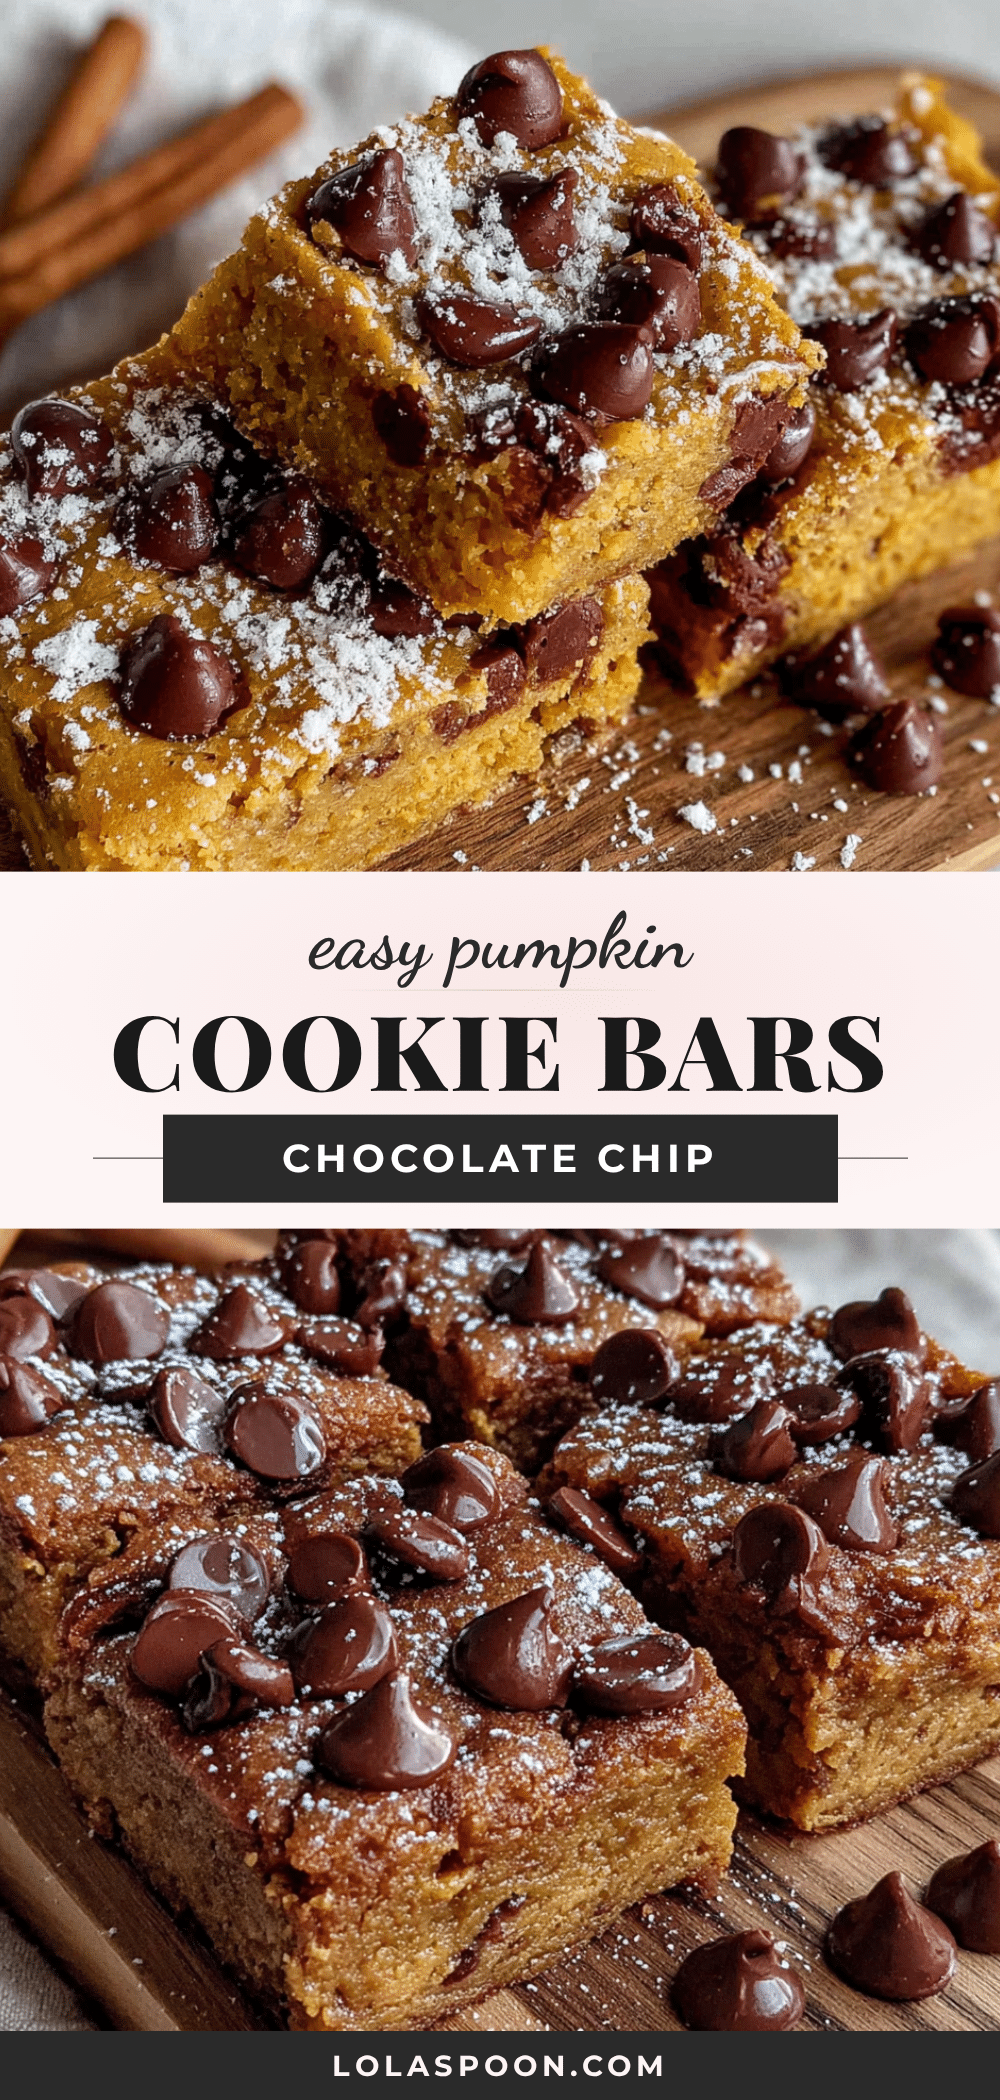
Easy Pumpkin Chocolate Chip Cookie Bars: Best Fall Dessert
These easy pumpkin chocolate chip cookie bars are the perfect fall dessert—soft, cakey, and studded with melty chocolate chips. Made with simple ingredients and ready in under an hour, they’re a crowd-pleaser for weeknights or gatherings.
- Prep Time: 15 minutes
- Cook Time: 24 minutes
- Total Time: 39 minutes
- Yield: 16 servings 1x
- Category: Dessert
- Cuisine: American
Ingredients
- 1 ¾ cups (220g) all-purpose flour
- 1 teaspoon baking soda
- ½ teaspoon baking powder
- 2 teaspoons ground cinnamon
- ½ teaspoon ground nutmeg
- ½ teaspoon ground ginger
- ¼ teaspoon ground cloves
- ½ teaspoon salt
- ½ cup (113g) unsalted butter, melted
- ¾ cup (150g) granulated sugar
- ¾ cup (150g) packed light brown sugar
- 1 large egg, at room temperature
- 2 teaspoons vanilla extract
- 1 cup (245g) pumpkin purée (not pumpkin pie filling)
- 1 ½ cups (270g) semi-sweet chocolate chips
- Optional: ½ cup chopped pecans or walnuts
Instructions
- Preheat your oven to 350°F (175°C). Line a 9×13-inch baking pan with parchment paper, leaving overhang on the long sides.
- In a medium bowl, whisk together flour, baking soda, baking powder, cinnamon, nutmeg, ginger, cloves, and salt. Set aside.
- In a large bowl, whisk together melted butter, granulated sugar, and brown sugar until smooth. Add egg and vanilla extract, whisk until combined.
- Add pumpkin purée and whisk until fully incorporated.
- Add dry ingredients to wet mixture in two batches, folding gently with a spatula until just combined. Do not overmix.
- Fold in chocolate chips (reserve a handful for topping if desired).
- Spread batter evenly into prepared pan. Sprinkle reserved chocolate chips on top and press in gently.
- Bake for 22-26 minutes, until edges are golden brown and a toothpick inserted in the center comes out clean or with a few moist crumbs.
- Cool completely in the pan on a cooling rack (at least 30 minutes) before lifting out using parchment overhang and cutting into squares.
Notes
Don’t overmix the batter to avoid tough bars. Use room temperature ingredients to prevent butter from seizing. Let bars cool completely before cutting to avoid crumbling. For best results, line the pan with parchment paper for easy removal. Bars taste even better the next day.
Nutrition
- Serving Size: 1 bar
- Calories: 280
- Sugar: 28
- Sodium: 180
- Fat: 12
- Saturated Fat: 7
- Carbohydrates: 42
- Fiber: 3
- Protein: 4
Keywords: pumpkin chocolate chip cookie bars, easy pumpkin bars, fall dessert, pumpkin dessert, chocolate chip pumpkin bars